
How To Make Your Pumpkins Last Longer On The Porch
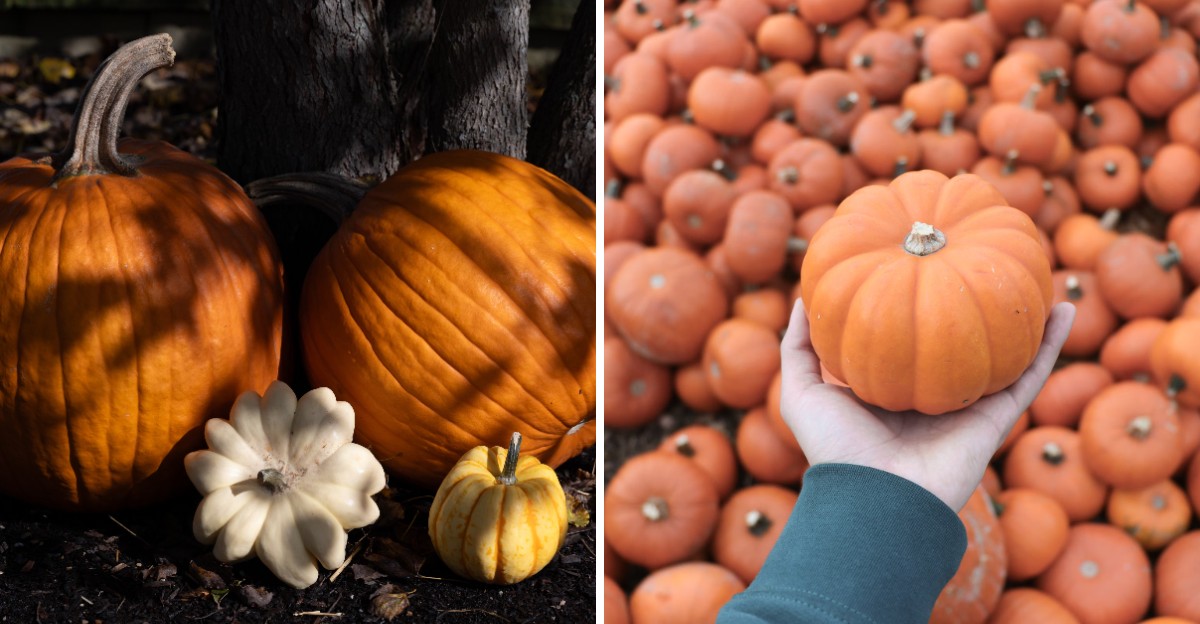
Your porch pumpkin is slowly losing quality while you admire it. Moisture collects around the stem and invites gray mold before you notice.
Lifting it by the stem can snap it and invite bacteria in. Squirrels target softening flesh with their keen noses.
Direct afternoon sun warms the exposed side until it starts softening. Wiping the skin with diluted bleach water slows microbes noticeably.
Petroleum jelly on cut edges seals in moisture and delays shriveling. Elevating it on a wooden board lets fresh air circulate underneath.
Choose a pumpkin with a firm, dry, intact stem before you pay. Cold snaps help you, but hard freezes turn firm flesh soft overnight.
Candles heat a carved face from the inside, so you should switch to battery LEDs. Imagine your pumpkin plump and proud on Halloween night, thanks to a trick costing pennies.
1. Pick A Healthy Pumpkin With A Sturdy Stem
Farmers like to say a great season starts at the field, and the same goes for decor. A strong pumpkin bought today will thank you in three weeks.
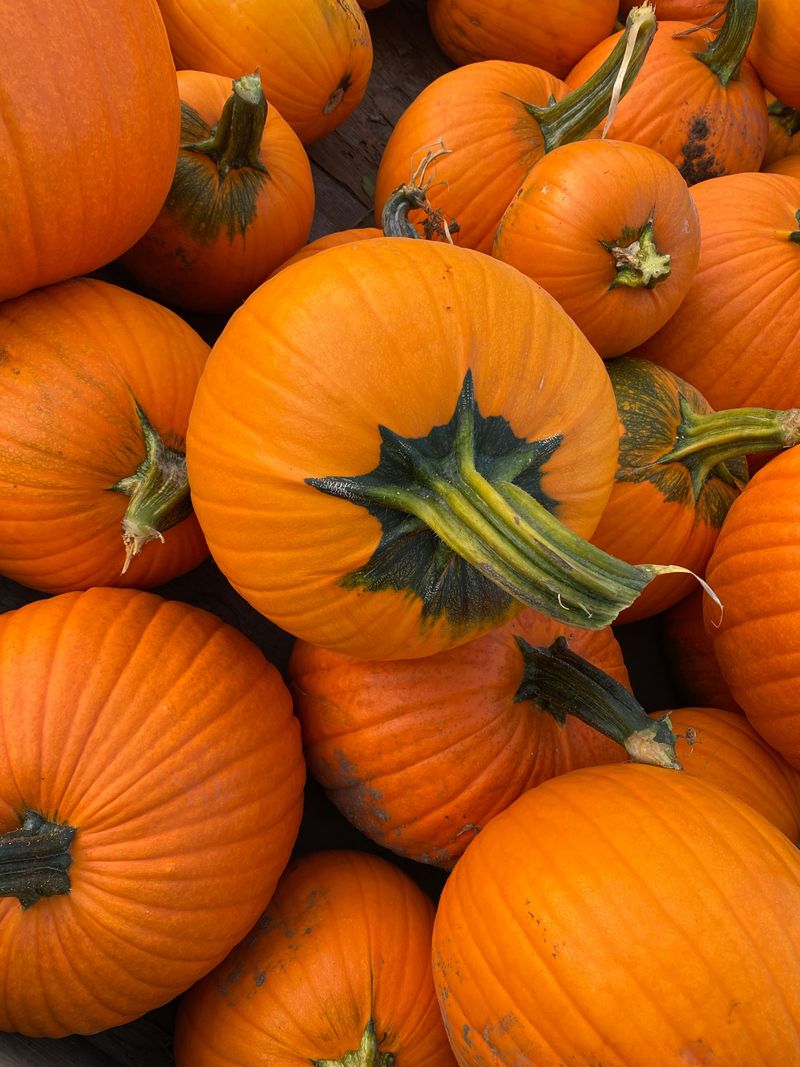
Start by checking the stem, which works like a little cork for the fruit. Look for one that is green or brown, firm, and two to three inches long.
Skip any pumpkin with a missing or broken stem, even if the price looks tempting. Microbes and moisture can enter through that open spot on top.
Next, press gently around the skin with your fingertips, including the sides and the shoulders. It should feel hard all over, like knocking on a wooden table.
Soft patches, wrinkles, or dark bruises usually mean rot has already started inside. Cuts and scratches are trouble too, since they create entry points for microbes.
Tip the pumpkin over and inspect the bottom before heading to the checkout line. Wet or mushy undersides are a clear sign to choose another pumpkin.
Pay attention to how you carry your pick as well. Lifting it by the stem can snap it right off, so cradle it from underneath.
Local farms and patches often sell fresher pumpkins than big stores that ship them long distances. Fresh picks have more time left on their clock before they soften.
Bring along a helper if you want a big one for the steps. Heavy pumpkins dropped on pavement crack easily, and those cracks invite mold.
2. Wash Your Pumpkin With A Mild Bleach Bath
Picture tiny mold spores riding home on your pumpkin as unseen passengers. A quick bath removes them before they settle in.
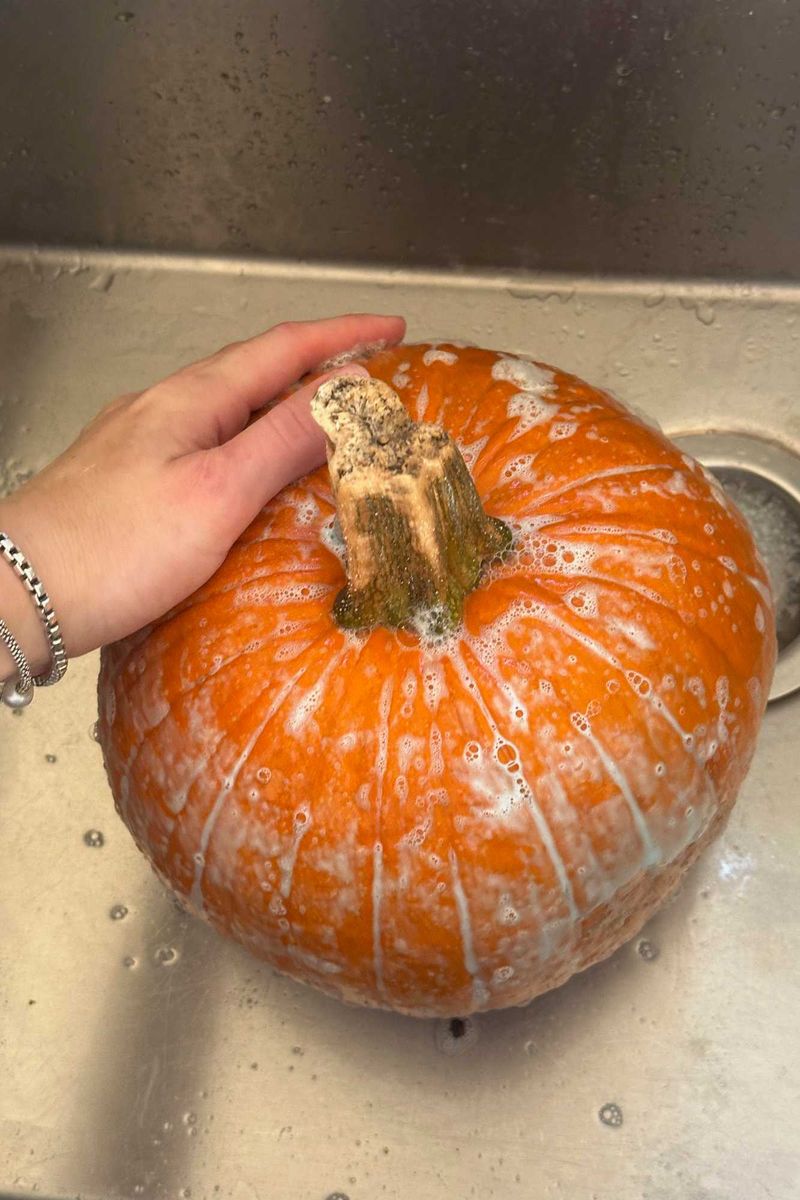
Mix about one tablespoon of household bleach into one gallon of cool water in a large bucket. Wear rubber gloves and old clothes, since bleach can spot fabric fast.
Never mix bleach with vinegar or ammonia cleaners, since the combination releases toxic gas. Set the pumpkin in the bucket, or wipe it down with a soft cloth dipped in the mix. Cover every inch, including the creases near the stem.
Let it soak or sit wet for about two minutes. That short wait gives the solution time to reduce the surface microbes.
Afterward, dry the pumpkin thoroughly with a clean towel. Any leftover water can pool in the grooves and encourage the very decay you want to stop.
Some folks prefer a vinegar rinse instead of bleach, though it is less effective. Use one part white vinegar to about ten parts water for a gentler clean.
Keep kids and pets away from the bucket. Pour the leftover mixture down a sink drain, not onto your garden beds or lawn. A clean pumpkin often holds its shape longer than one fresh from a muddy field.
Many decorators repeat the wash every week or so during damp weather. It takes just a few minutes and keeps fresh spores from moving in.
Carved pumpkins benefit from this bath a lot, inside and out. Scoop out and set aside the seeds first, then spray the hollow interior with the same mix. Treated seeds should not be eaten.
3. Seal The Skin With A Protective Coating
Think of this step as sunscreen and a raincoat rolled into one. A light coating locks moisture inside while keeping weather and germs outside.
Petroleum jelly is a popular choice that many grandparents swear by. Rub a thin layer over the whole skin, paying extra attention to the stem area.
Vegetable oil or a clear floral sealant spray can do a similar job. Some people use acrylic spray from the craft store for a glossy finish.
Whatever you pick, apply it only after the pumpkin is clean and dry. Trapping dirt or water under the layer defeats the whole purpose.
Carved jack-o-lanterns need this help even more than whole ones. Coat every cut edge, the eyes, the mouth, and the inside walls.
Those freshly sliced surfaces dry out quickly and start to shrivel within days. A slick barrier slows that wrinkly, caved-in look you see on neighbors’ porches.
Reapply the coating every few days, especially after rain washes some of it away. A quick touch-up takes less time than tying your shoes.
Be careful with candles if you used oil or petroleum jelly inside. Battery tea lights are safer and will not melt the coating or start a flare-up.
Shiny pumpkins also photograph beautifully, which is a sweet bonus for social media fans. Your porch might become a favorite photo spot on the block.
Skip thick paint layers, since they can trap moisture against the rind. A thin coat is enough to protect the surface and keep it firm.
4. Keep Your Pumpkin Off The Cold, Wet Ground
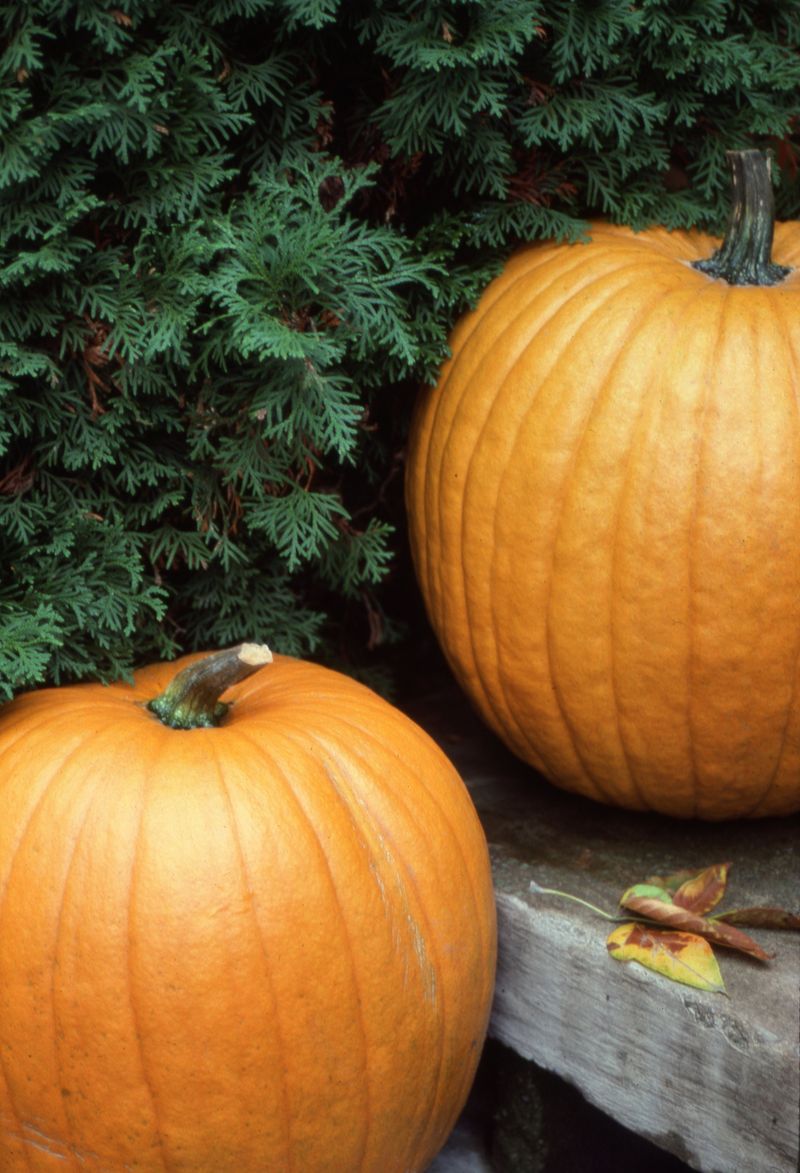
Ever lifted a pumpkin and found a slimy brown circle underneath? That soggy patch is what happens when moisture has nowhere to go.
Concrete steps and wooden porches hold dampness after rain and morning dew. The bottom of the pumpkin sits in that moisture all day long.
A simple fix is to give your pumpkin something to sit on. Old cardboard, a folded towel, or a small wooden board all work well.
Cardboard soaks up water, so swap it out once it gets soggy. A plastic plant saucer turned upside down makes a sturdier, longer-lasting stand.
Decorative crates, hay bales, and wooden stools add height and charm to the display. They also lift pumpkins away from curious critters and splashing puddles.
Check the underside once or twice a week during your regular porch sweep. Catching a soft spot early lets you move or trim the problem fast.
Stacking pumpkins on top of each other looks adorable in photos, but it traps moisture between them. Leave a little gap so air can circulate around each one.
Frost is another risk that often arrives on chilly October nights. Freezing temperatures turn the flesh mushy once it thaws the next afternoon.
Bring pumpkins inside or cover them with an old blanket when the forecast dips below freezing. Your garage or mudroom makes a fine overnight hotel.
A dry seat and a warm blanket sound like a cozy evening for you, too. Your pumpkins benefit too.
5. Find A Shady Spot Away From Strong Sun
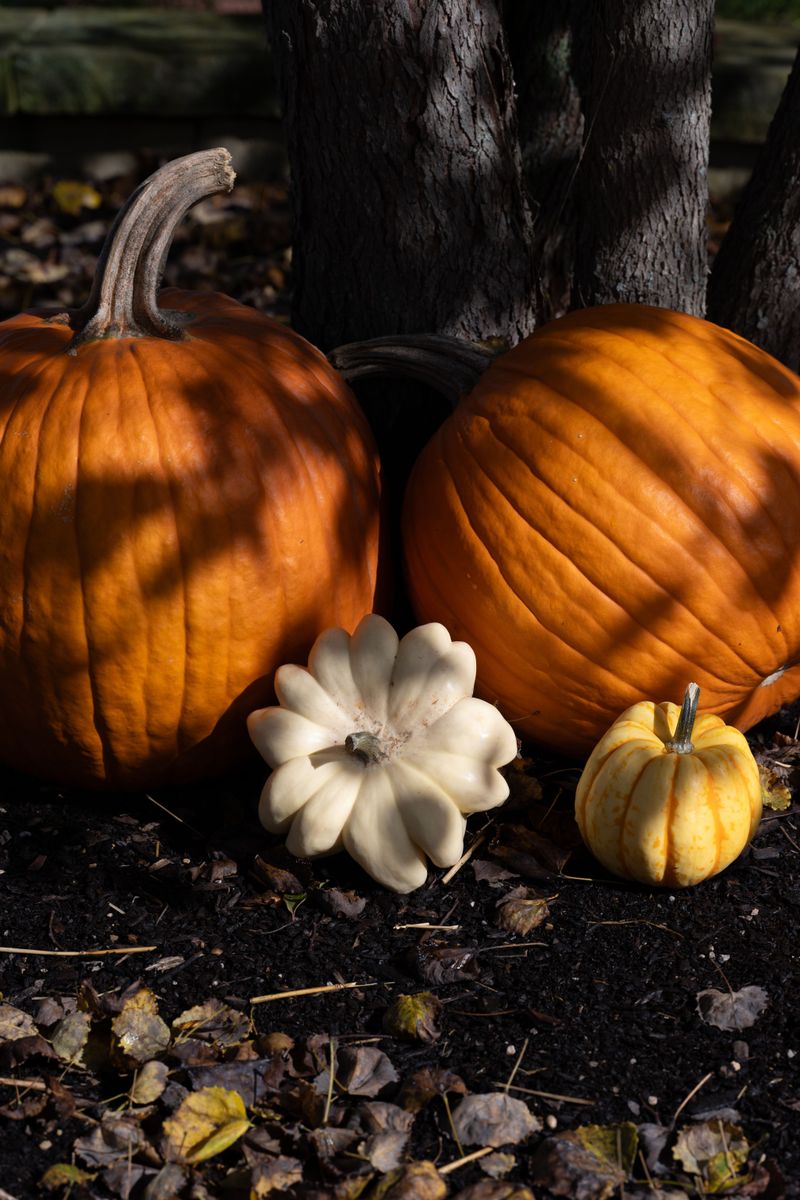
Sunshine feels great on a crisp fall afternoon, yet pumpkins see it differently. Hours of direct rays can overheat the skin and speed up softening.
Heat makes a pumpkin lose water faster, much like a puddle shrinking on hot pavement. Once it dries out, the shell wrinkles and caves in.
Look for a spot on your porch that gets shade for most of the day. Covered porches, spots beside the door, and areas under an awning are ideal.
Notice where the sun hits your entryway at different times of day. A sunny morning patch might become a shady haven by noon.
South-facing porches tend to get the strongest light in the Northern Hemisphere. If yours faces that way, tuck pumpkins into corners or behind planters.
Warm spells in early fall can be tough on displays in southern states. Some families wait until the weather cools to set out their pumpkins for that reason.
Rain can be a problem too, so a covered area helps twice over. Your pumpkins stay drier and cooler without any extra work from you.
Moving pumpkins around feels like rearranging furniture, but it pays off. Try shifting them a few feet if one side starts turning pale or spotty.
Carved pumpkins are even more sensitive to heat because their insides are exposed. Keep them in the coolest shade you can find during the day. Cool, shady, and breezy sounds like the perfect fall hangout. Your pumpkins benefit from it.
6. Guard Your Display Against Hungry Critters
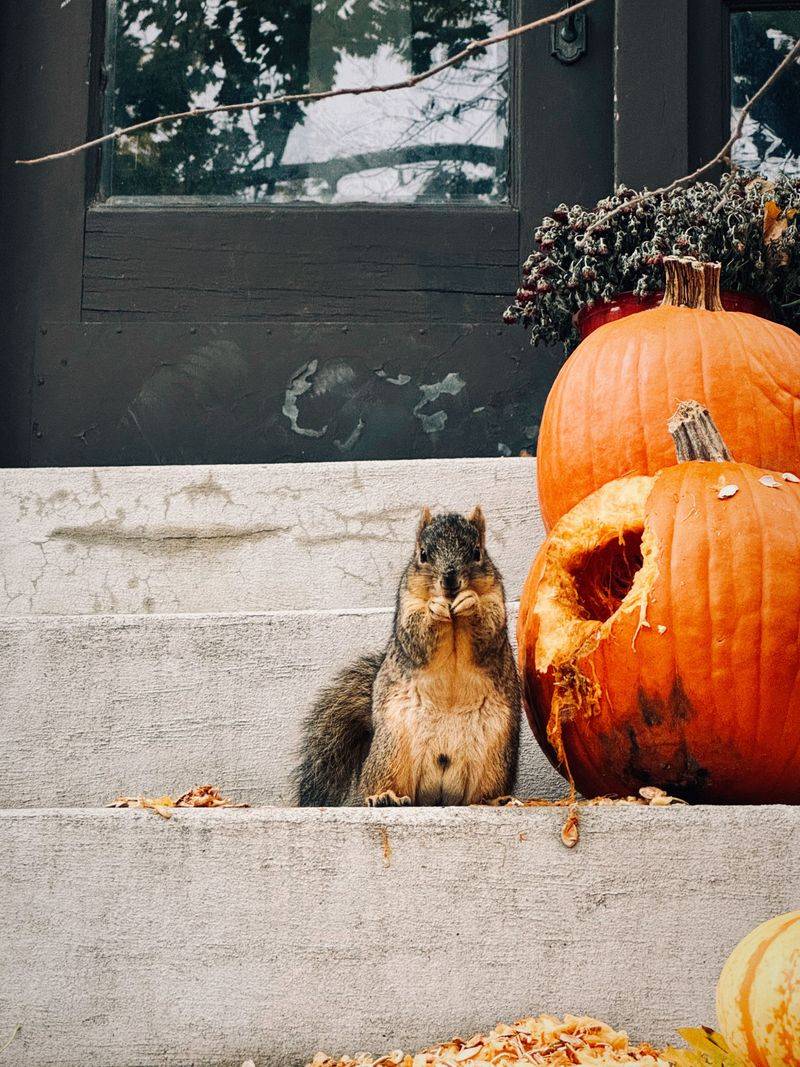
Squirrels target pumpkins often, and they tend to come back for more. One bite can create an opening for decay.
Chipmunks, raccoons, deer, and even neighborhood rabbits may join the feast too. Your porch can become an easy meal stop overnight.
Sprinkling cayenne pepper or red pepper flakes on the skin is a classic trick. Many critters dislike the spicy burn, though rain washes it off. Keep it away from pets and wash your hands afterward.
Garlic spray works for some families, too, though it smells a bit strong. Mix crushed garlic with water and mist it over the pumpkin every few days.
Some people try petroleum jelly, though there is little evidence it deters animals. It does help seal in moisture.
Motion-activated lights or sprinklers can startle visitors that sneak around at night. A cheap fake owl perched nearby sometimes scares off squirrels for a while.
Move the owl every few days so the critters do not catch on. Smart squirrels figure out quickly that plastic birds do not chase anyone.
Placing pumpkins higher up, on tables or shelves, may keep ground animals away. Deer are tall, though, so they will not mind the extra height.
Remove any fallen seeds, food scraps, or birdseed near your porch. Snacks on the ground invite animals to stick around and explore your decor.
Some people put out a spare pumpkin far from the house as a decoy. Sharing with the squirrels might be the friendliest truce of all.
7. Time Your Carving Close To Halloween
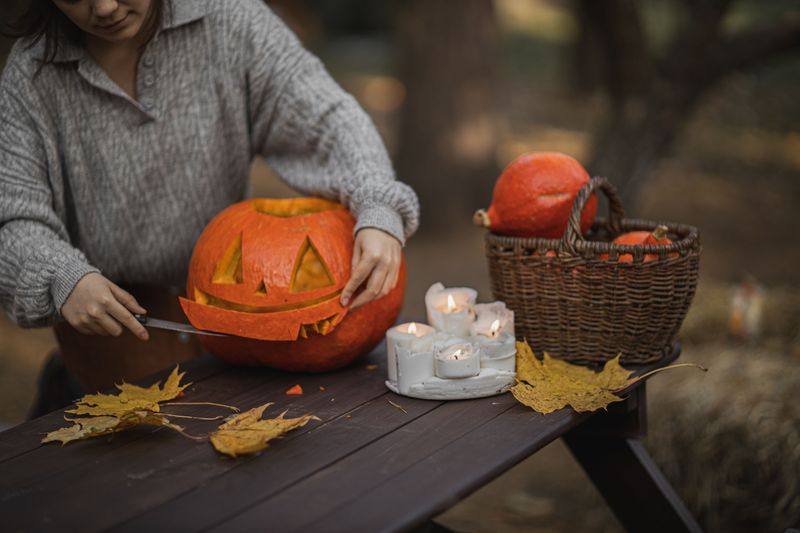
Carving night is a beloved tradition, but timing matters a great deal. A cut pumpkin typically lasts around five days to two weeks.
Once you slice into the shell, air and microbes enter the flesh quickly. Decay begins the moment that first lid pops off.
Carve about three to five days before Halloween for the best results. Pick a date early and plan your carving night around it.
Until then, enjoy whole pumpkins on the porch for decoration. Uncut ones can last several weeks on a porch, and up to three months in cool, dry storage.
Scrape the inside walls well when you do carve, removing the stringy goop. Leftover pulp rots faster and attracts fruit flies.
Try carving the opening on the bottom or back instead of the top. Keeping the stem attached helps the pumpkin hold its shape longer.
Painting or decorating with stickers is a great alternative for little kids. You get creative faces without breaking the skin at all.
Drilling small holes with a power drill makes a cool polka-dot glow pattern. Fewer cuts mean less exposed flesh and a longer porch life.
If a carved face starts to shrivel, give it a cold water bath for a few hours. The flesh soaks up water and plumps back up nicely.
Pat it dry afterward and apply a fresh coat of sealant. Your toothy grin will look sharp again by trick-or-treat time.
Save the seeds for roasting, but only from untreated pumpkins. A little salt and a hot oven turn goop into snacks.
8. Check Your Pumpkins Every Few Days
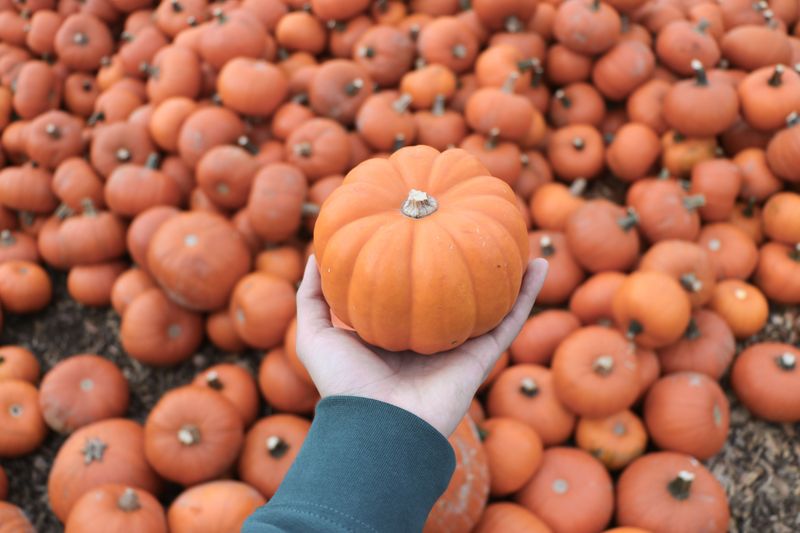
Good gardeners have a saying that the best fertilizer is the farmer’s shadow. Pumpkins on a porch benefit from that same attention.
Make a habit of looking over your display when you grab the mail. A quick glance takes seconds and can protect the whole arrangement.
Watch for soft spots, white or gray fuzz, and dark patches near the base. Leaking liquid or a sour smell means the pumpkin is no longer worth keeping.
Remove a rotting pumpkin right away, even if only one side looks bad. Mold spreads quickly to neighbors that touch or sit close by.
Small blemishes on whole pumpkins can sometimes be treated if you catch them early. Wipe the spot with your bleach mix and dry it really well.
Turn each pumpkin a little every week so no single side sits damp for too long. Rotating also evens out sun exposure on the skin.
Keep a damp cloth and a small spray bottle handy near the door. Quick cleanups become easy when your supplies are right there.
Snap a phone photo when the display first goes up. Comparing pictures later helps you spot changes you might otherwise miss.
When the season ends, put pumpkins treated with bleach, sealants, or spices in the trash. Compost untreated leftovers.
Smashing pumpkins at a local pumpkin smash event is a hilarious send-off. A little regular care gives you a standout porch display this season. Uncarved pumpkins may still look great well into November.


