Follow These 7 Simple Steps To Propagate Petunias From Cuttings
Did you know that you’re missing out on an even cheaper way to propagate petunias? And I’m not talking about seeds!
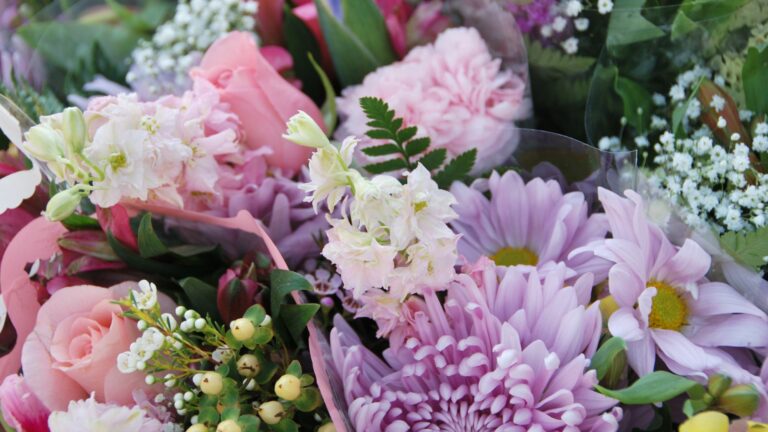
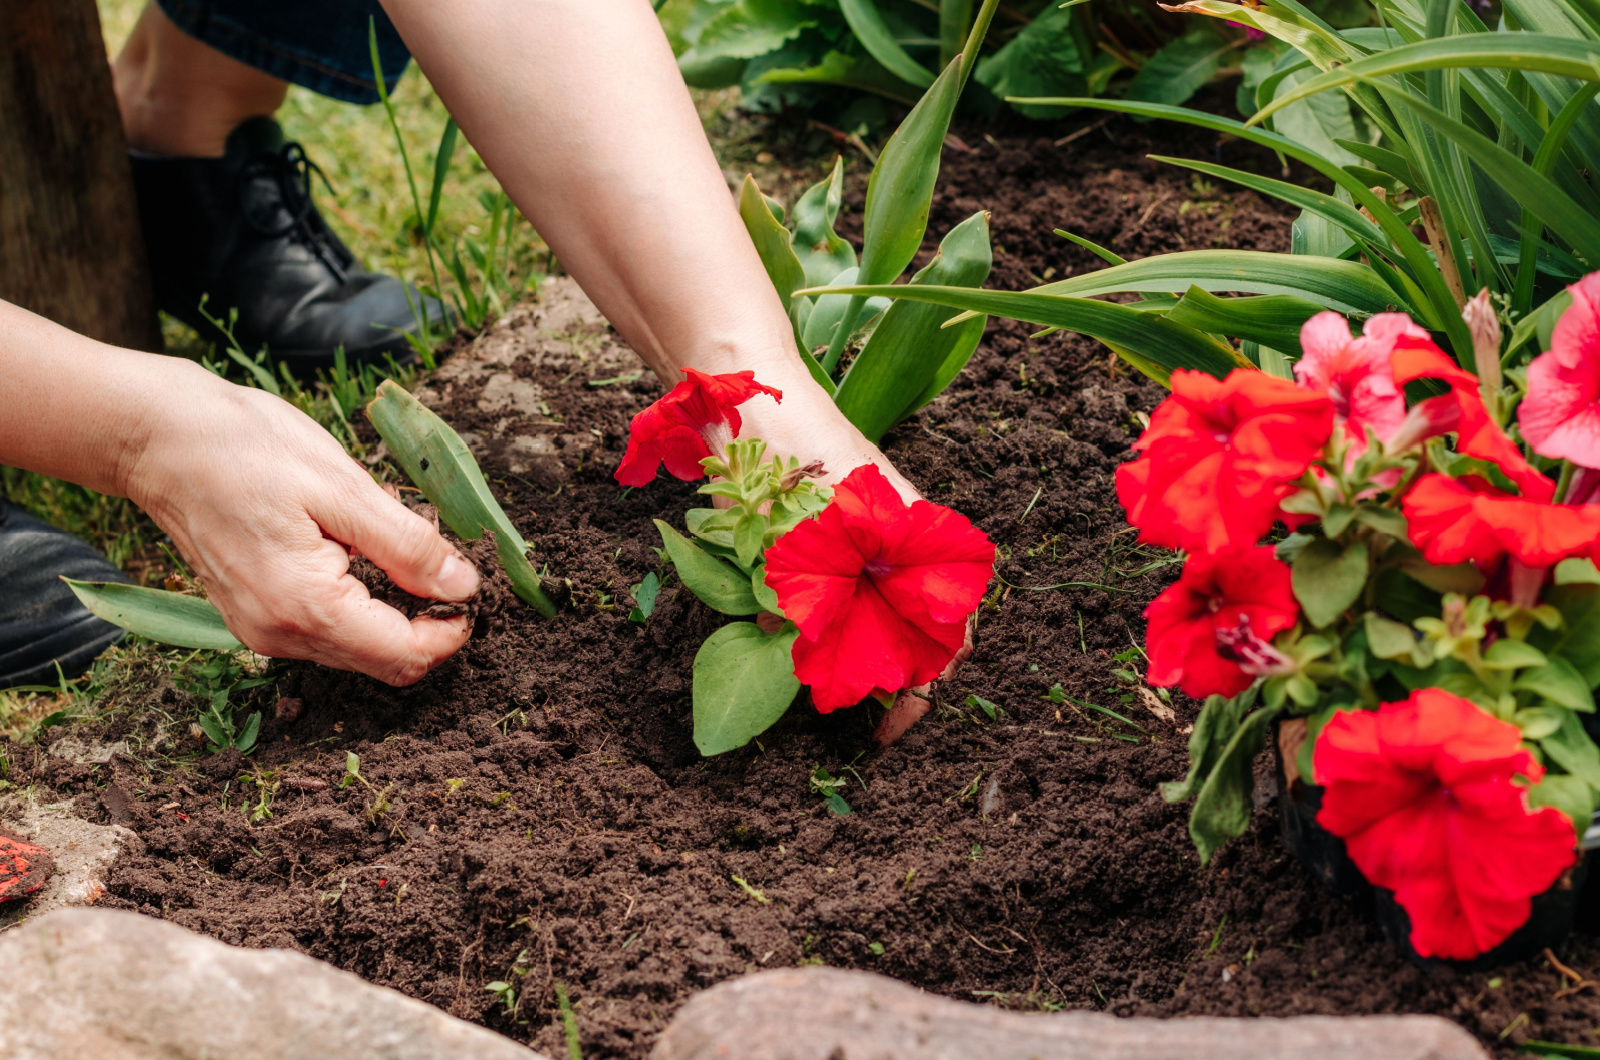
You can multiply your own petunias by growing them from cuttings, get the exact same plants faster and for free, and use them for gorgeous garden displays.
Let’s compare this propagation method with the classic one – from seeds, and see how to multiply petunias by using cuttings!
Cuttings vs Seeds
There are various plant propagation methods, and using cuttings or seeds are some of the more common ones.
When we think of growing petunias, we immediately imagine the seeds or starters we can get in our local nurseries.
Growing petunias from seeds is time-consuming and might not always give you the best-looking flowers.
On the other hand, nurseries cannot have hundreds of petunia varieties at all times, but they can have seeds. Or you can find them in online stores and choose the ones you like the most. So, unlike starters, seeds give you more options.
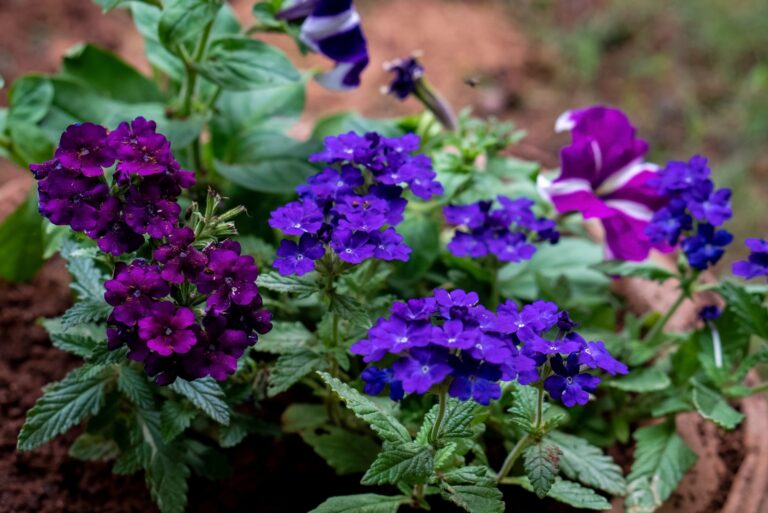
But if you have a particularly gorgeous or rare petunia variety you want to spread all over your garden, and the nurseries have already run out of it, you can always propagate your own.
Taking and rooting the cuttings will give you the exact plant you were hoping for and yield blossoms sooner than growing the entire thing from seeds.
Additionally, taking cuttings from your own or your friends’ or neighbors’ petunias will allow you to spend less money, especially if you’re into landscaping with petunias.
7 Steps Of Cutting Propagation
Here are the seven holy-grail steps of almost any propagation, including for petunias.
Follow them, and you’ll have no issues, lose no petunias, and quickly get the flowers you were looking for.
Step 1: Gathering Materials
The first step is to gather all the materials you’ll need. This will help you slide through this process without any difficulties or constantly having to search for something.
It will also make the propagation more successful because cuttings can’t last that long without water or soil when removed from the parent plant.
Things you’ll need:
• Pruners or cutting shears
• Nursery pots or a tray
• Seed starting mix
• Water
• Plastic wrap or humidity dome
• Rooting hormone (optional)
You don’t necessarily have to use a rooting hormone, but it can help your cuttings establish faster. Or you can use cinnamon as a rooting hormone and lower the possibility of rot.
Step 2: Taking Cuttings

Your next step is to take the cuttings. Choose a healthy and soft stem that’s not woody, and ensure it’s 3-4 inches long.
Take the cutting right below a leaf set to increase the probability of success.
You can also opt for leggy or wilting stems because you’ll have to remove them from your plants anyway. However, they may have a harder time rooting, so make sure to choose some healthy ones as well.
If you’re taking cuttings from multiple plants, label them and start them in separate containers so you don’t have to figure out which is which.
P.S. You can also take cuttings with flowers on; it won’t affect the propagation.
Step 3: Removing The Leaves
Now you’ll need to remove the bottom leaves and flowers or buds (if there are any) to make sure your cutting focuses on rooting.
Next, dip the ends in a rooting hormone for the best results possible. This step is optional, but it will help rooting and prevent fungal infections from attacking your young plant.
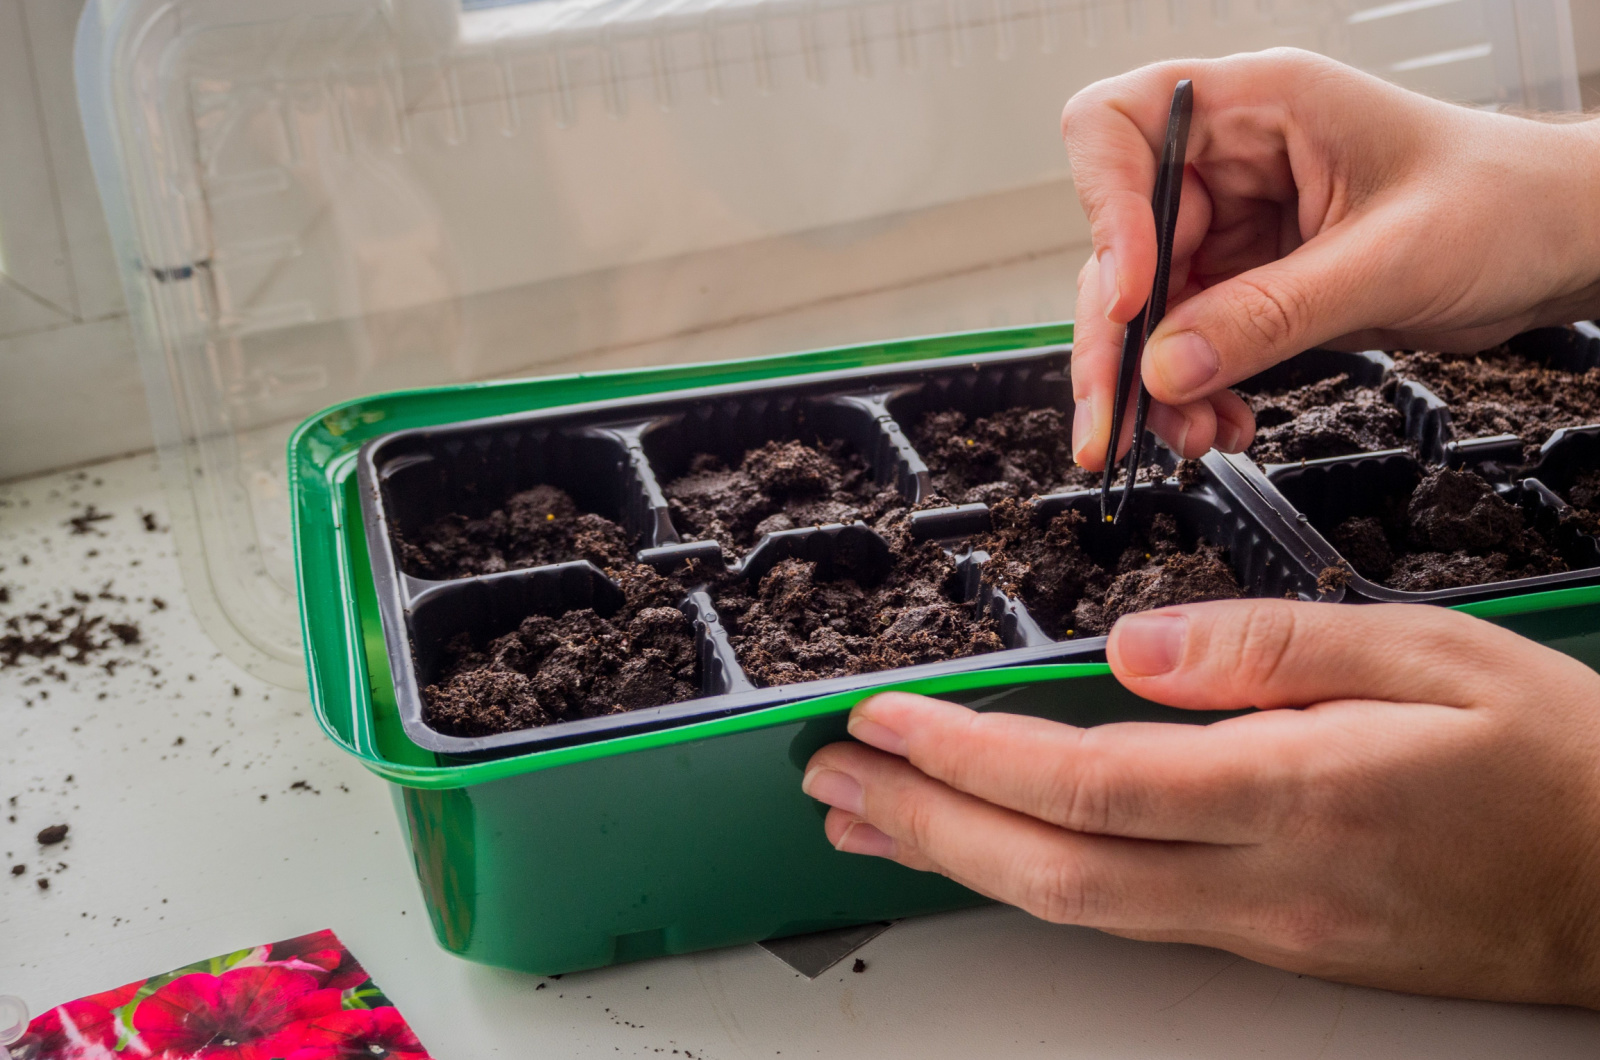
Step 4: Planting The Cuttings
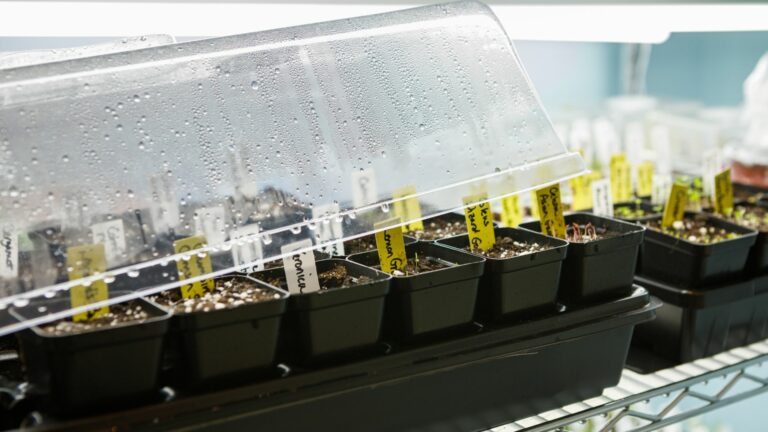
After dipping the cuttings in rooting hormone, it is time to plant them in a nursery tray filled with a seed starting mix.
I always like to pre-moisten the soil because it makes it easier to work with and your cuttings will get enough moisture for the time being.
Stick the cuttings into the soil and water them lightly if you didn’t moisten the seed starting mix beforehand.
Step 5: Finding The Right Location
Place your petunias in a warm location with temperatures between 65 and 75°F. Cover them with a humidity dome or a plastic wrap to trap that moisture in and prevent them from drying out.
If they dry out, your propagation will fail, so make sure you keep them moist and irrigate them every 4-5 days.
When using plastic wrap, make sure it’s not touching the leaves because it can promote fungi development. You can make some holes in it or remove it for a short period of time to discourage fungal growth.
Finally, place your cuttings in a location where they get plenty of indirect sunlight to photosynthesize and develop properly.
Here are some more tips on how you can propagate petunias:
Step 6: Transplanting
These plants don’t take a long time to grow and you should be able to transplant them to their new home in about 3-4 weeks.
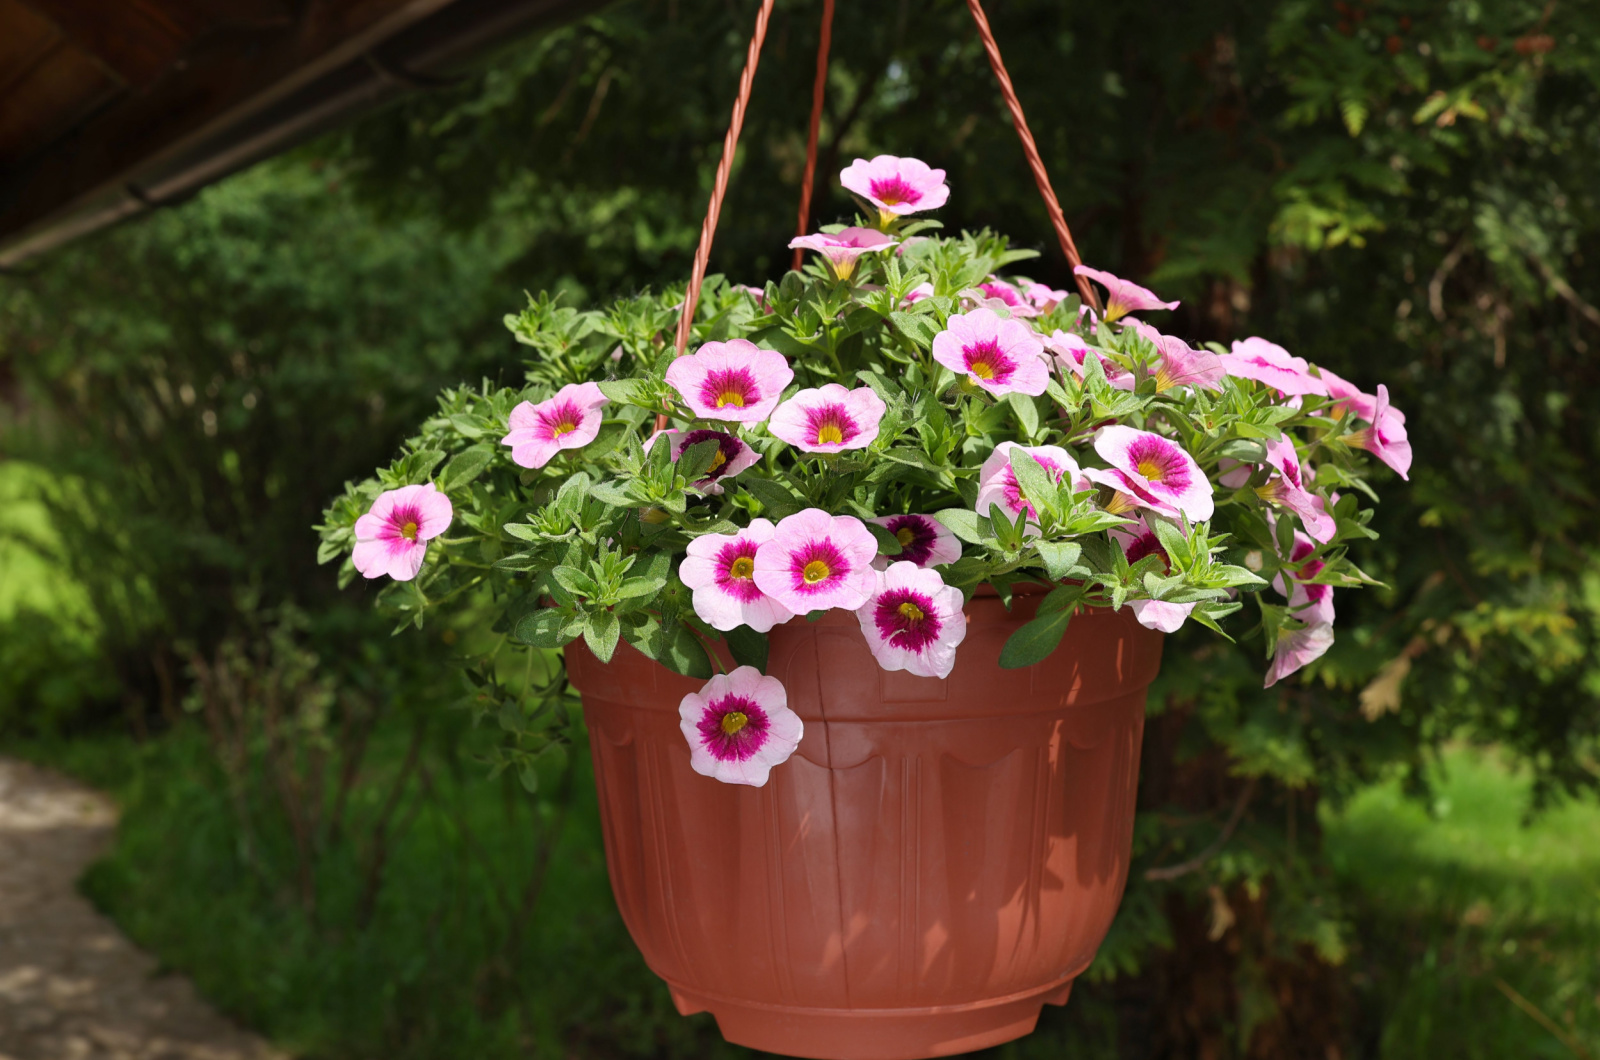
Plant your petunias in hanging baskets or regular pots for a cascading effect.
But before you move them outside for good, make sure to harden them to reduce the effects of transplant shock.
That means putting your petunias outside in a shaded location for an hour or two and then taking them back indoors. Repeat this process for about a week, gradually increasing the sun exposure and the amount of time your plants spend outside.
Once your petunias can last an entire day and night outside, you can take them out for good.
P.S. You have to harden seedlings grown in your home, garage, or greenhouse to allow them to acclimate to lower humidity, more sun exposure, and higher temperatures.
Step 7: Aftercare
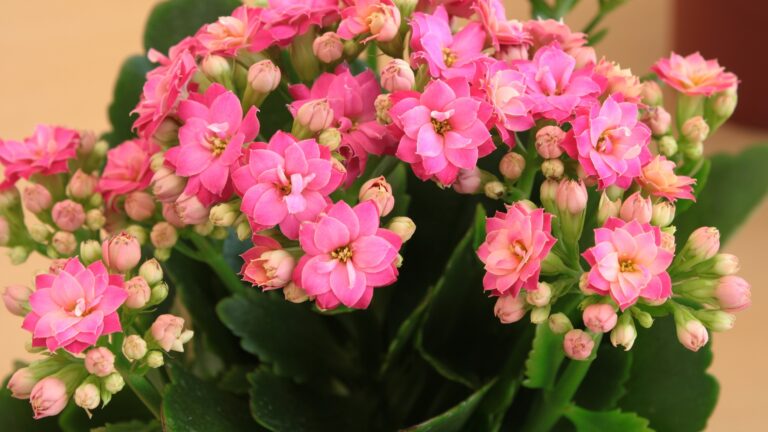
Whether you have a black magic petunia, crazytunias, or any other variety, make sure they get at least 5-6 hours of sun each day, although they’ll do best in full sun conditions.
Water them deeply a couple of times a week to encourage them to grow deeper roots and handle drought a bit better.
Potted petunias require more moisture, so check their topsoil every once in a while. Once it’s dry, irrigate your plants until you notice moisture draining through the bottom.
Prune your petunias once a month starting in July to encourage them to bloom profusely.
Finally, if you live in warm regions (USDA zone 10 and above), you can grow petunias as perennials and enjoy their beauty all year long.
However, these plants are usually grown as annuals because the first fall frost kills them. Luckily, you can easily grow them the next year and have a gorgeous flush of flowers come summer.
Final Thoughts
One of my favorite things about petunias is that you can propagate them from cuttings and decorate your entire landscape with them (even in sweltering Florida).
The process is simple and it yields many new plants in just 3-4 weeks, so give it a try!