How to protect a rose cutting on the way home and give it a real chance at rooting in Oregon
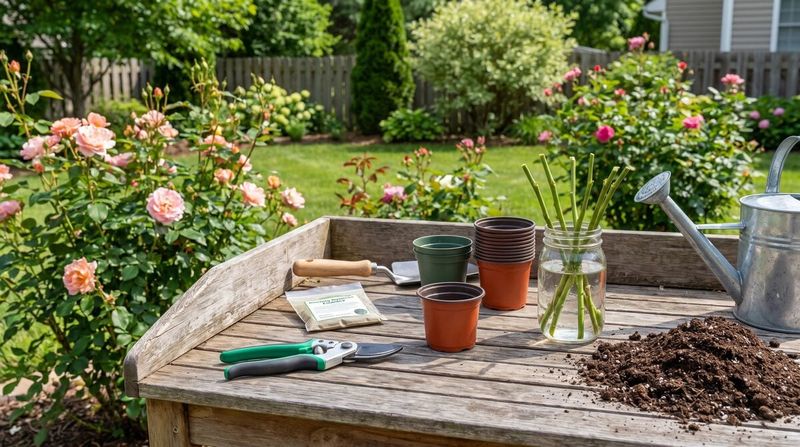
Getting a rose cutting home without it shriveling up is half the battle, and a damp paper towel tucked inside a plastic bag can save the day. But that bag is just a ride, not a rooting bed.
Once you walk through the door, the real work begins: preparing the cane, potting it up, and creating the humid little environment it needs to have any chance of growing roots. If you are an Oregon gardener west of the Cascades, fall is a reasonable time to try this, and the steps below will walk you through exactly how.
The towel protects the cane on the way home
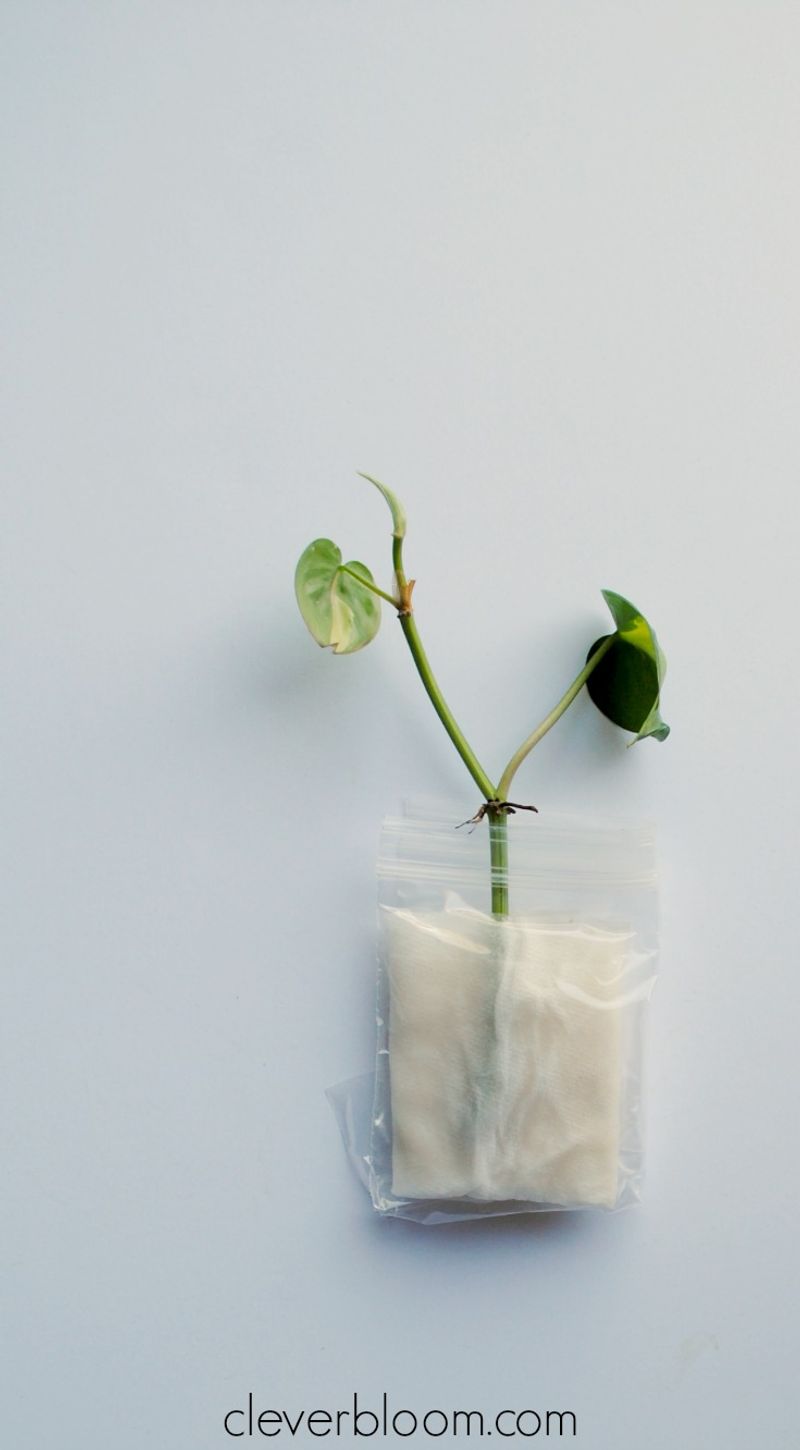
A damp paper towel wrapped around the cut end of a rose cane and sealed inside a plastic bag does one job well: it keeps the cane from drying out while you carry it home. That moisture protection matters because a rose cutting can start to desiccate within minutes of being cut, especially on a breezy Oregon fall day.
Think of the bag as a temporary travel case, not a rooting chamber.
The Oregon State Extension rose-propagation workshop handout asks participants to bring a healthy cane with its cut end wrapped in a damp towel inside a plastic bag, precisely because the goal is to arrive with a cane that is still viable. The towel should be damp, not dripping.
A soaking-wet wrap can soften and damage the cut end rather than protect it.
Once you are home, the bag comes off and the real setup begins. Rooting happens in growing medium, not in a towel.
You will prepare the cutting, place it in a pot of moist propagation mix or potting soil, and then cover that pot with a separate clear bag to hold humidity around the leaves. Those are two distinct bags doing two completely different jobs, and keeping that distinction clear will save you a lot of confusion and a lot of dead cuttings.
Fall timing depends on the kind of cane
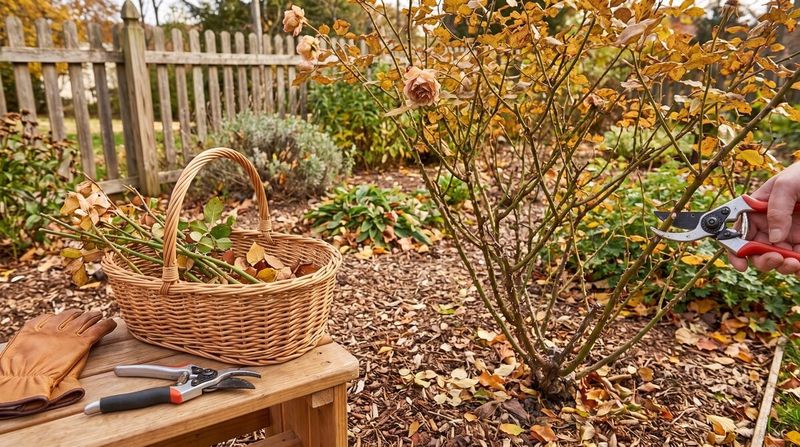
Not every rose cane you might snip in October or November is the same thing, and the timing advice that applies to one type does not automatically apply to the other. There are two main categories worth knowing before you reach for your pruners.
A still-leafy, partly mature cane taken in fall is often called a semi-hardwood cutting. Guidance on propagating roses generally places semi-hardwood rose cuttings in mid-to-late summer, when the season’s new growth has firmed up but not fully hardened.
By November in western Oregon, many canes are past that window, though a green, pencil-thick cane with some flexibility may still qualify depending on the variety and the season’s weather.
A dormant hardwood cutting is a different matter. The Royal Horticultural Society describes hardwood cuttings as an option from mid-autumn through late winter, taken once the cane has gone fully dormant and lost its leaves.
Hardwood cuttings tend to root more slowly than semi-hardwood ones, and patience is genuinely required.
The Oregon State Extension propagation workshop does accept green rose canes brought in during November, which tells you that local gardeners are trying this in fall. What the workshop handout does not claim is that November is the ideal rooting window or that success is likely.
Your Oregon Garden Changes Every Week. Your Plan Should Too.
Gardening in Oregon changes quickly throughout the season. Every Friday you’ll receive a simple weekly plan showing exactly what to plant, prune, fertilize, harvest, and protect so you never miss the right timing.
Knowing whether your cane is still leafy or fully dormant will help you match it to the right guidance and set your expectations honestly from the start.
Choose and prepare a healthy cane
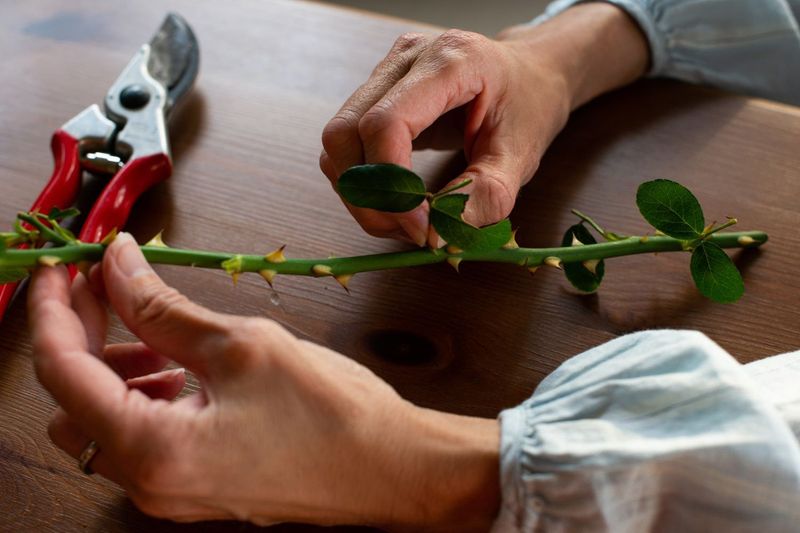
The cane you choose matters as much as anything else in this process. Start with a stem that looks genuinely healthy: no spots, no powdery coating, no signs of pest damage, and no soft or mushy sections.
A stressed or diseased cane is unlikely to root, and it can introduce problems to your potting mix.
For a leafy green cutting, local Oregon guidance recommends a pencil-thick cane roughly eight inches long. The Oregon State Extension workshop handout suggests looking for a cane with a spent bloom and four to five leaf nodes, which are the small bumps along the stem where leaves attach.
Those nodes are where roots are most likely to develop.
Clean tools are not optional here. OSU’s safe plant propagation guidance recommends sanitizing pruners before and between cuts to avoid spreading disease from plant to plant.
A quick wipe with rubbing alcohol or a dilute bleach solution works well.
When you make your cut, aim for a fresh angled slice just below a node. The angle helps water run off the cut surface rather than pooling on it.
Oregon Extension’s local propagation advice recommends removing the lower leaves from the bottom half of the cutting while keeping a few leaves at the top. The top leaves continue photosynthesizing and supporting the cutting; the lower leaves, if left on and buried, would rot in the growing medium.
Work quickly once the cane is cut, and get it into its damp towel or directly into the pot without letting the cut end sit open to the air.
Plant the cutting in moist growing medium
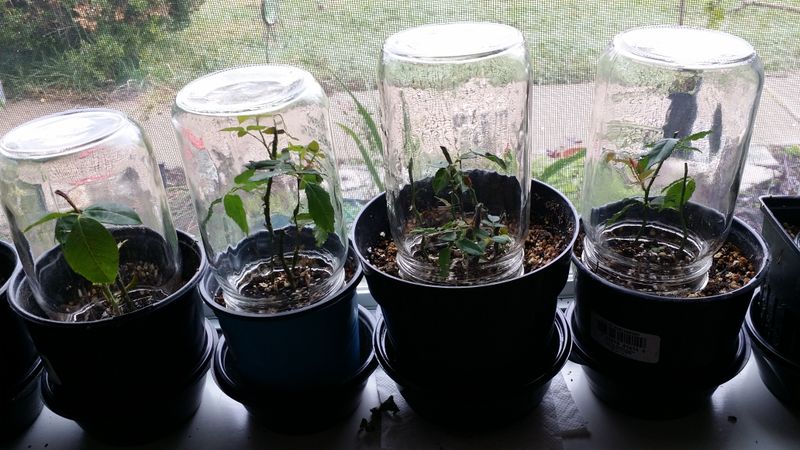
With the cutting prepared, the next step is getting it into a pot. Choose a clean container with drainage holes at the bottom.
A pot that holds water without letting it escape will drown the cutting before it ever has a chance to root.
Fill the pot with a commercial propagation mix or a quality potting soil. OSU’s propagation safety guidance recommends using sterile or commercial growing media and clean containers to reduce the risk of introducing soil-borne pathogens.
A fresh bag of potting mix is a reasonable choice; garden soil pulled straight from a bed carries too many unknowns.
Moisten the mix before you insert the cutting. You can water it in the pot and let it drain, or dampen the mix in a separate container and then fill the pot.
Either way, the goal is medium that holds together when you squeeze a handful but does not drip water. Oregon Extension’s local advice on rooting rose cuttings is clear that the medium should stay moist, not waterlogged.
Soggy conditions invite rot, which is the most common reason cuttings fail.
Make a small hole in the medium with a pencil or dowel before inserting the cutting, so the angled tip does not scrape off any rooting hormone you may have applied. Push the cutting in deep enough that at least one or two nodes are buried in the medium.
Firm the mix gently around the stem so it makes good contact, then water lightly once more and let the excess drain completely before moving on to the next step. UC Davis Foundation Plant Services’ rose propagation guidance reinforces that overwatering is one of the main obstacles to success.
Cover the pot and choose a protected spot
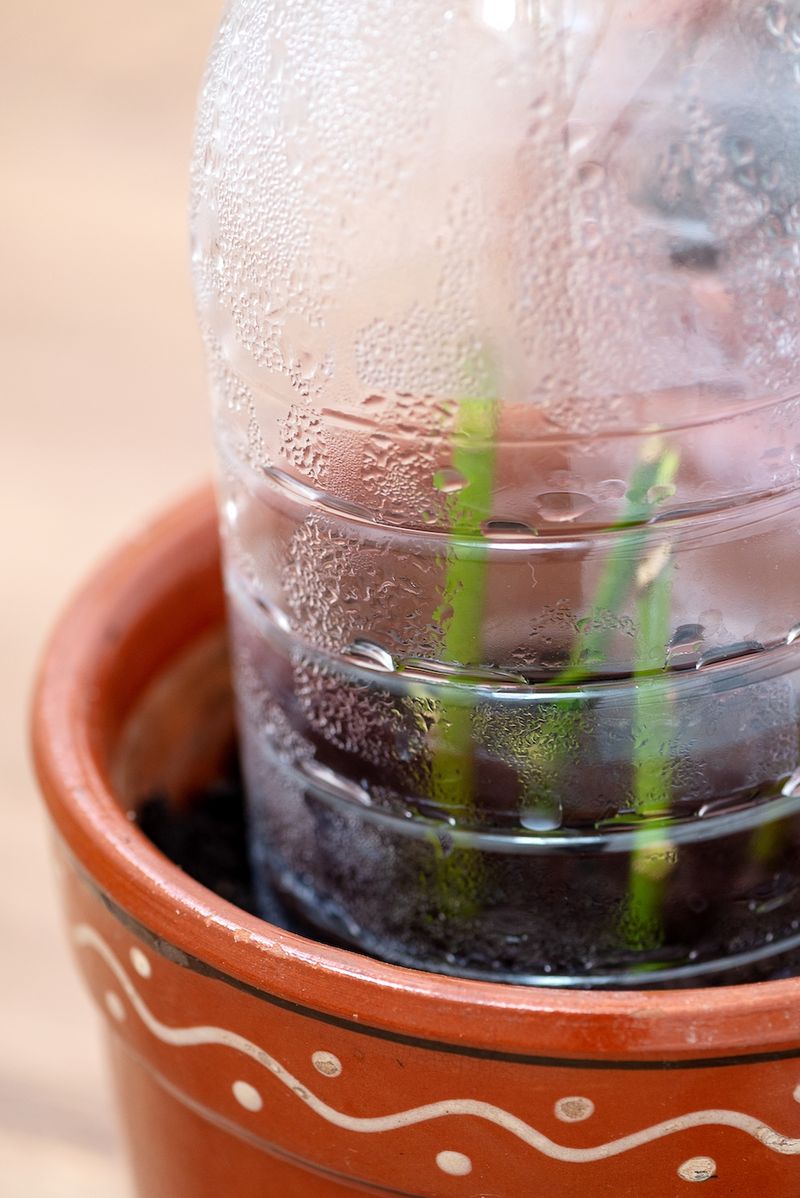
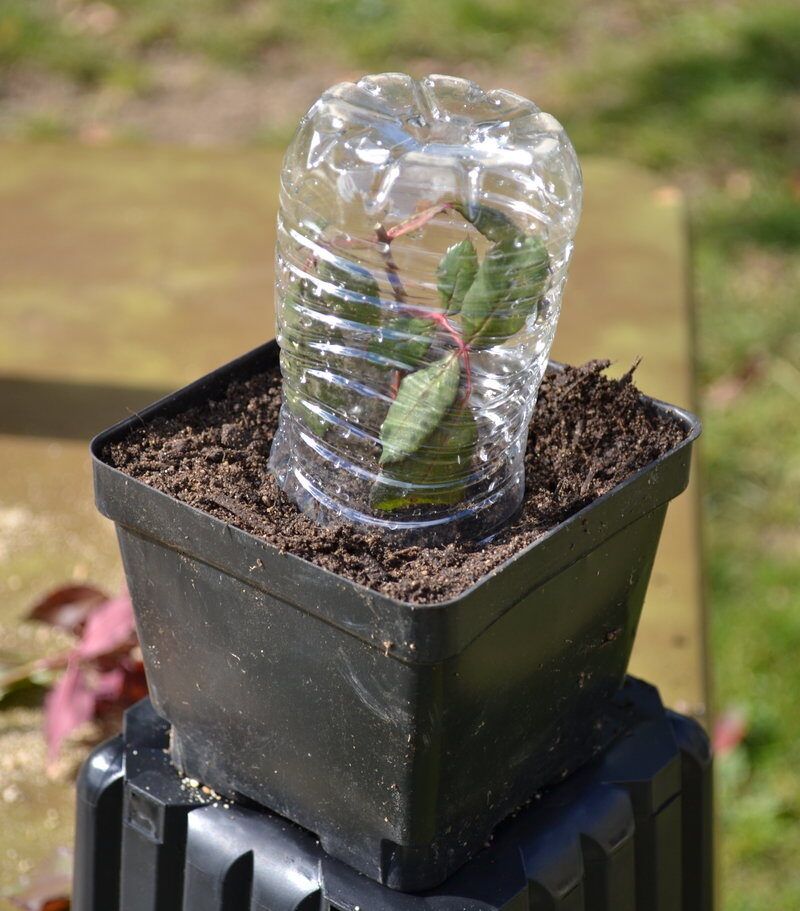
Once the cutting is in its pot, it needs a humid environment around the leaves to slow moisture loss while the stem works on producing roots. A clear plastic bag placed over the pot, supported so it does not press against the cutting, creates that mini-greenhouse effect.
A wooden skewer or a few short sticks pushed into the medium work well as a frame to hold the bag off the foliage.
This bag over the pot is entirely separate from the transport bag you used to carry the cane home. UC Davis Foundation Plant Services’ rose propagation notes describe covering the cutting to maintain humidity as a standard part of the rooting setup, not an optional extra.
The bag traps moisture in the air around the leaves, which reduces the stress on a stem that has no roots yet and cannot pull water from the soil on its own.
Placement matters. Oregon Extension’s local rooting guidance recommends bright indirect light rather than direct sun.
A south- or east-facing windowsill that gets good light but is shaded from the hottest rays is a reasonable spot. Direct sun through a window can overheat a bagged cutting quickly, which causes wilting rather than rooting.
For Oregon gardeners west of the Cascades, fall and winter bring the wet season. Oregon’s seasonal precipitation patterns make outdoor conditions during this period unpredictable and often saturated.
Keeping your potted cutting indoors or in a covered space gives you much more control over moisture and temperature than leaving it outside to cope with November rain. If you garden east of the Cascades, where fall and winter are considerably drier and colder, the outdoor exposure risks are different and this advice needs to be adjusted for your conditions.
Treat rooting as a possibility, not a promise
Rooting a rose cutting is genuinely possible, and many Oregon gardeners manage it. But it is worth being honest about the odds before you get attached to the outcome.
UC Davis Foundation Plant Services notes that rooting success depends heavily on the rose variety. Some varieties root readily from cuttings; others are notoriously stubborn.
There is no method that guarantees results across all roses, and the cutting you have may or may not cooperate regardless of how carefully you follow the steps.
Timelines vary too. Oregon Extension’s local propagation answer suggests waiting around six weeks before checking for roots, with timing dependent on temperature.
Other guidance estimates that a cutting may need closer to six months to develop a strong enough root system to be potted on. These are approximate ranges, not a schedule you can count on.
A gentle tug on the cutting after several weeks can tell you whether something is anchoring in the medium, but do not rush the process.
If the rose you are working with came from a grafted plant, there is another distinction worth understanding. The Royal Horticultural Society cautions that a cutting-grown rose will not reproduce the rootstock the original plant was grafted onto, and it may not perform exactly like the grafted parent you admired.
The cutting grows on its own roots, which can behave differently in your soil and climate.
Before you root multiple cuttings or share rooted plants with friends, check whether the rose variety carries any propagation restrictions. The USPTO explains that plant patents can restrict asexual reproduction, which includes rooting cuttings, and those restrictions apply even for private use in some cases.
A separate layer of protection, Plant Variety Protection through the USDA, covers different categories of plants under different rules. Permission from the plant’s owner and intellectual-property restrictions are two separate questions, and a neighbor’s generosity does not automatically resolve the second one.
A quick search of the variety name can often tell you whether it is patented. Growing one cutting for your own garden is a modest experiment.
Rooting a dozen to pass around is a different situation worth looking into first. The best outcome here is a surprise, not a certainty, and that is part of what makes it worth trying.