Use These 8 Tips To Prune Your Orchids And Enjoy More Stunning Blossoms
If any plant could win an award for high-maintenance vibes, it’d be the orchid, always keeping even the pros guessing. Don’t get me started on how many orchids I’ve destroyed over the years…
Light, water, and food keep orchids blooming, but could a few hidden tips help them reach their full potential?
You bet! I’ve got one tried-and-true method for orchids that boosts blooms and speeds up growth. Pruning could be just the ticket for yours as well!
Well, pruning isn’t the usual move for orchid parents, but maybe it’s time to turn over a new leaf. Let’s see how a simple trim could have your orchids bursting with growth!
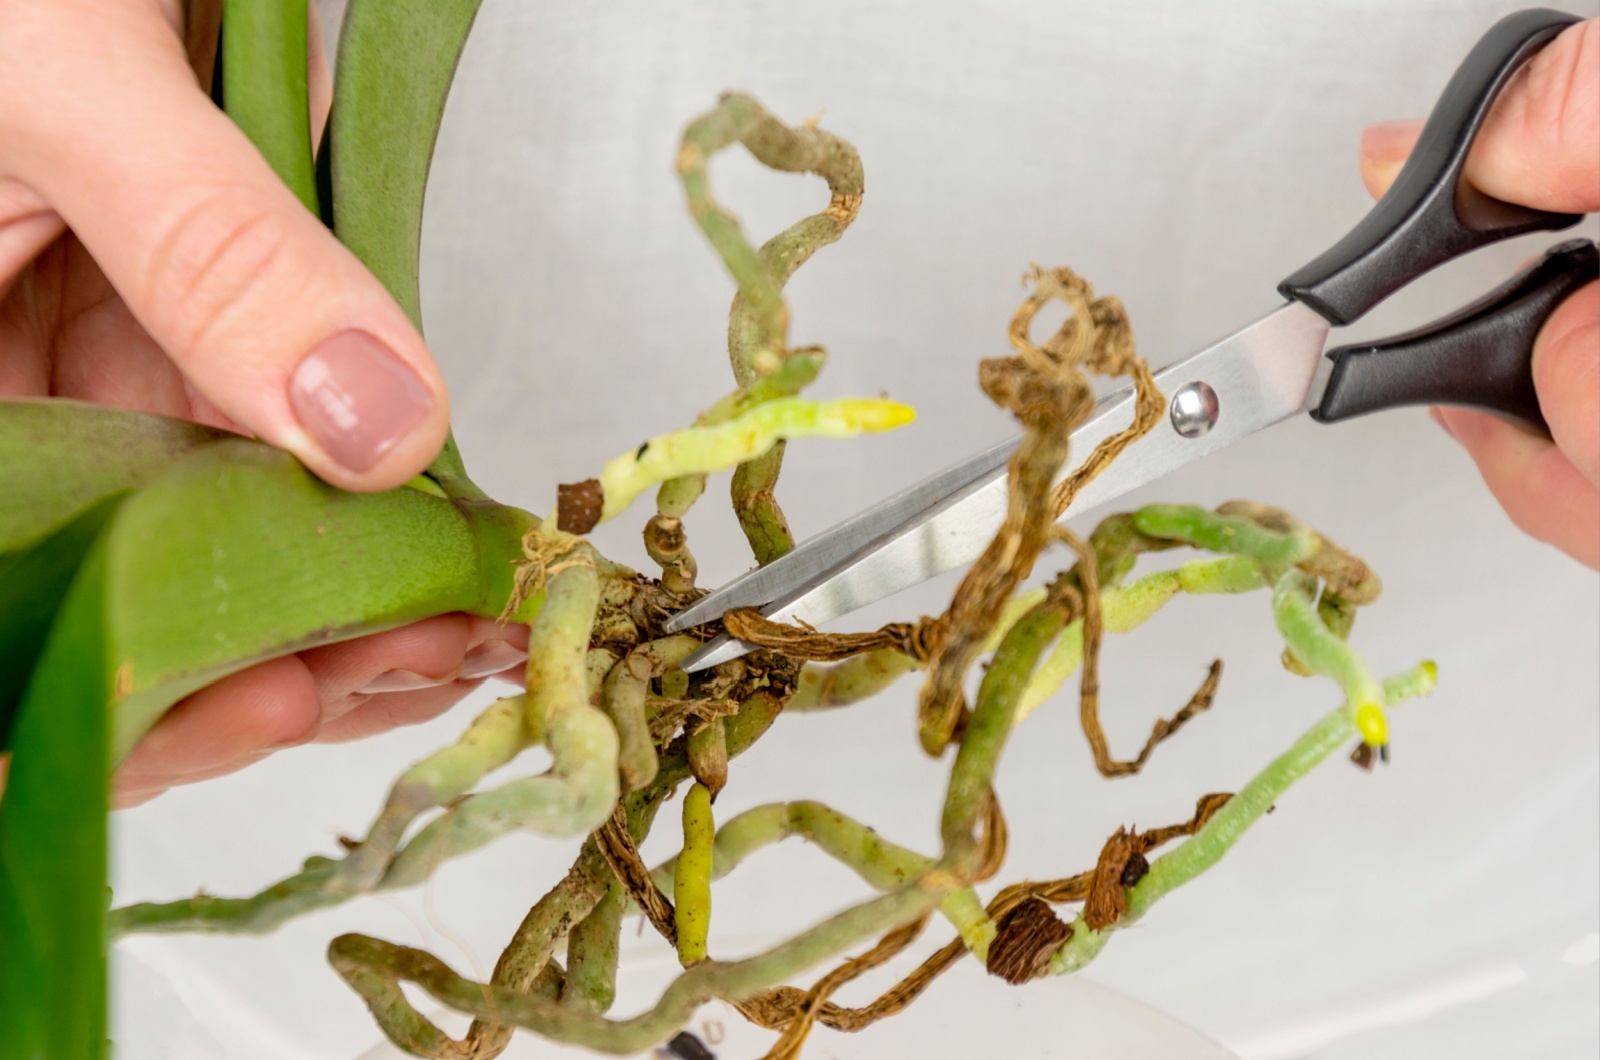
1. Identify The Node And Prune Away

Do you grow monopodial orchids? If so, you should know that these orchids can quickly rebloom with the help of pruning the flowers.
As soon as the flowering stage ends and flowers fall off, you can clean those pruners and start cutting. The best method is to identify the second or third node on the flowering stalk and cut about half an inch just above it.
It typically takes two months for monopodial orchids to recover from pruning and send new blossoms. I always use this technique and I can’t really remember when it didn’t work. So, thumbs up for it!
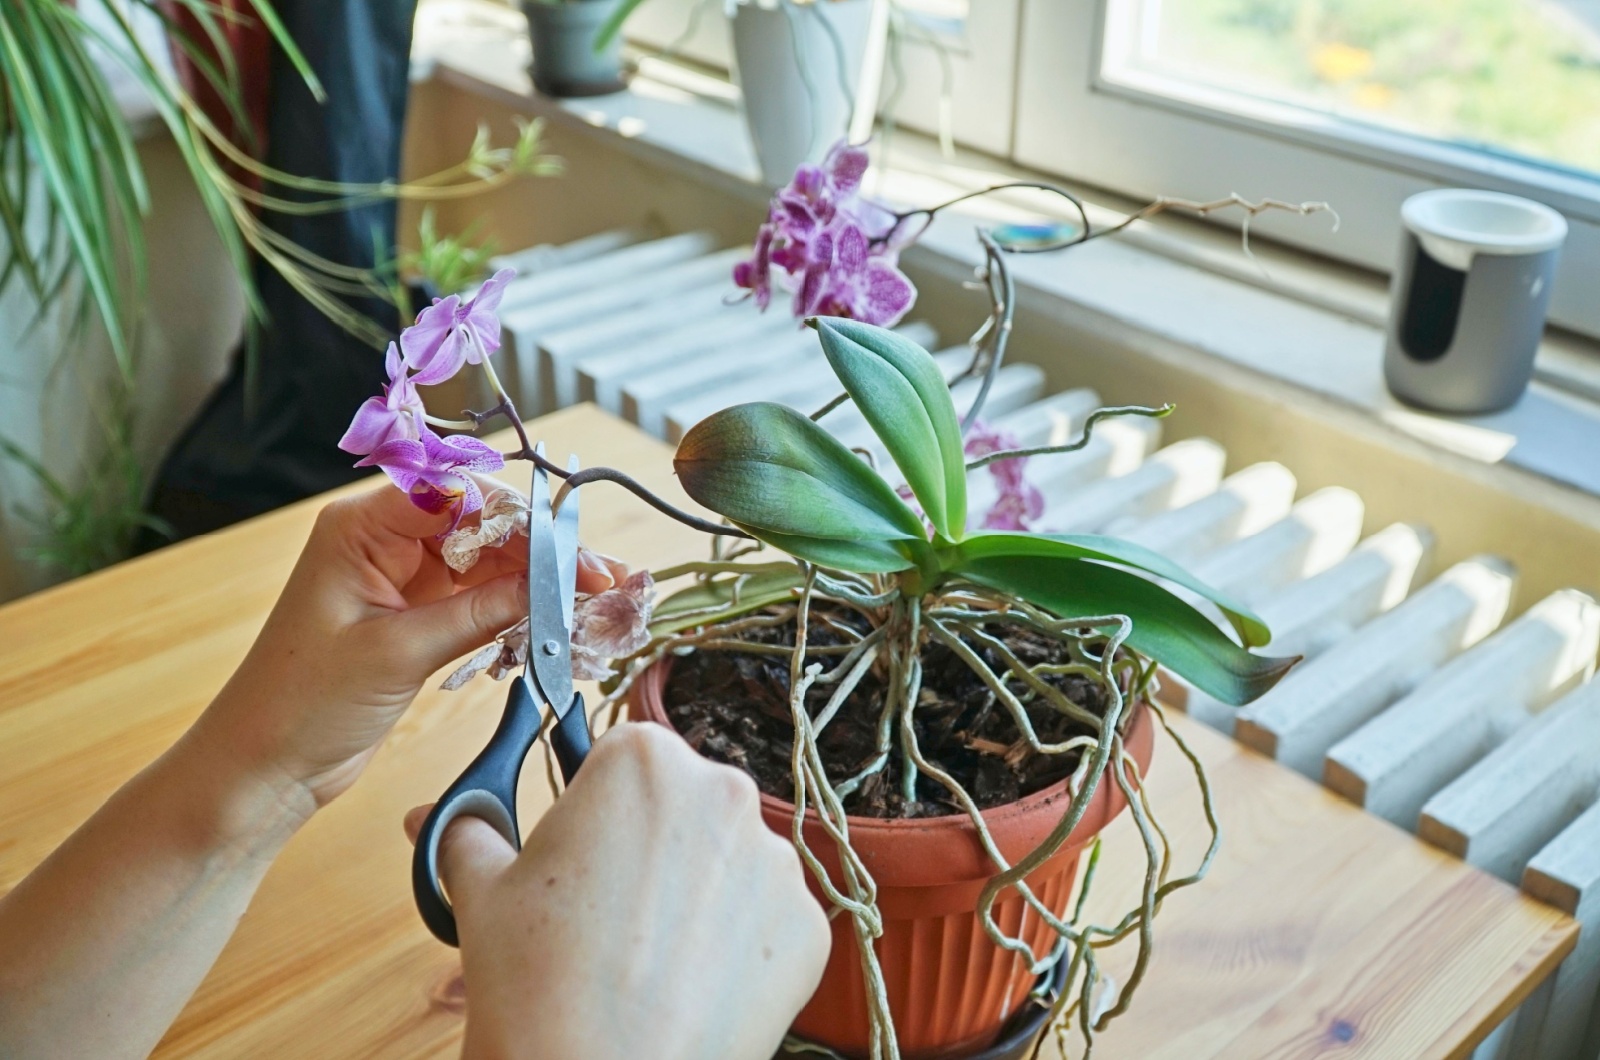
2. Or Cut Off The Entire Flowering Stem After Blooming
Another pruning technique for these types of orchids is to cut off the entire flowering stem after it blooms and turns brown. If you leave it on the plant, it’ll still use the energy and prevent your orchid from generating new growth.
Once you remove it, the energy will refocus on root growth and new stalks and blossoms.
If you grow sympodial orchids, this method isn’t for you. You see, they bloom on new growth that develops from roots, and trimming won’t get them to bloom again.
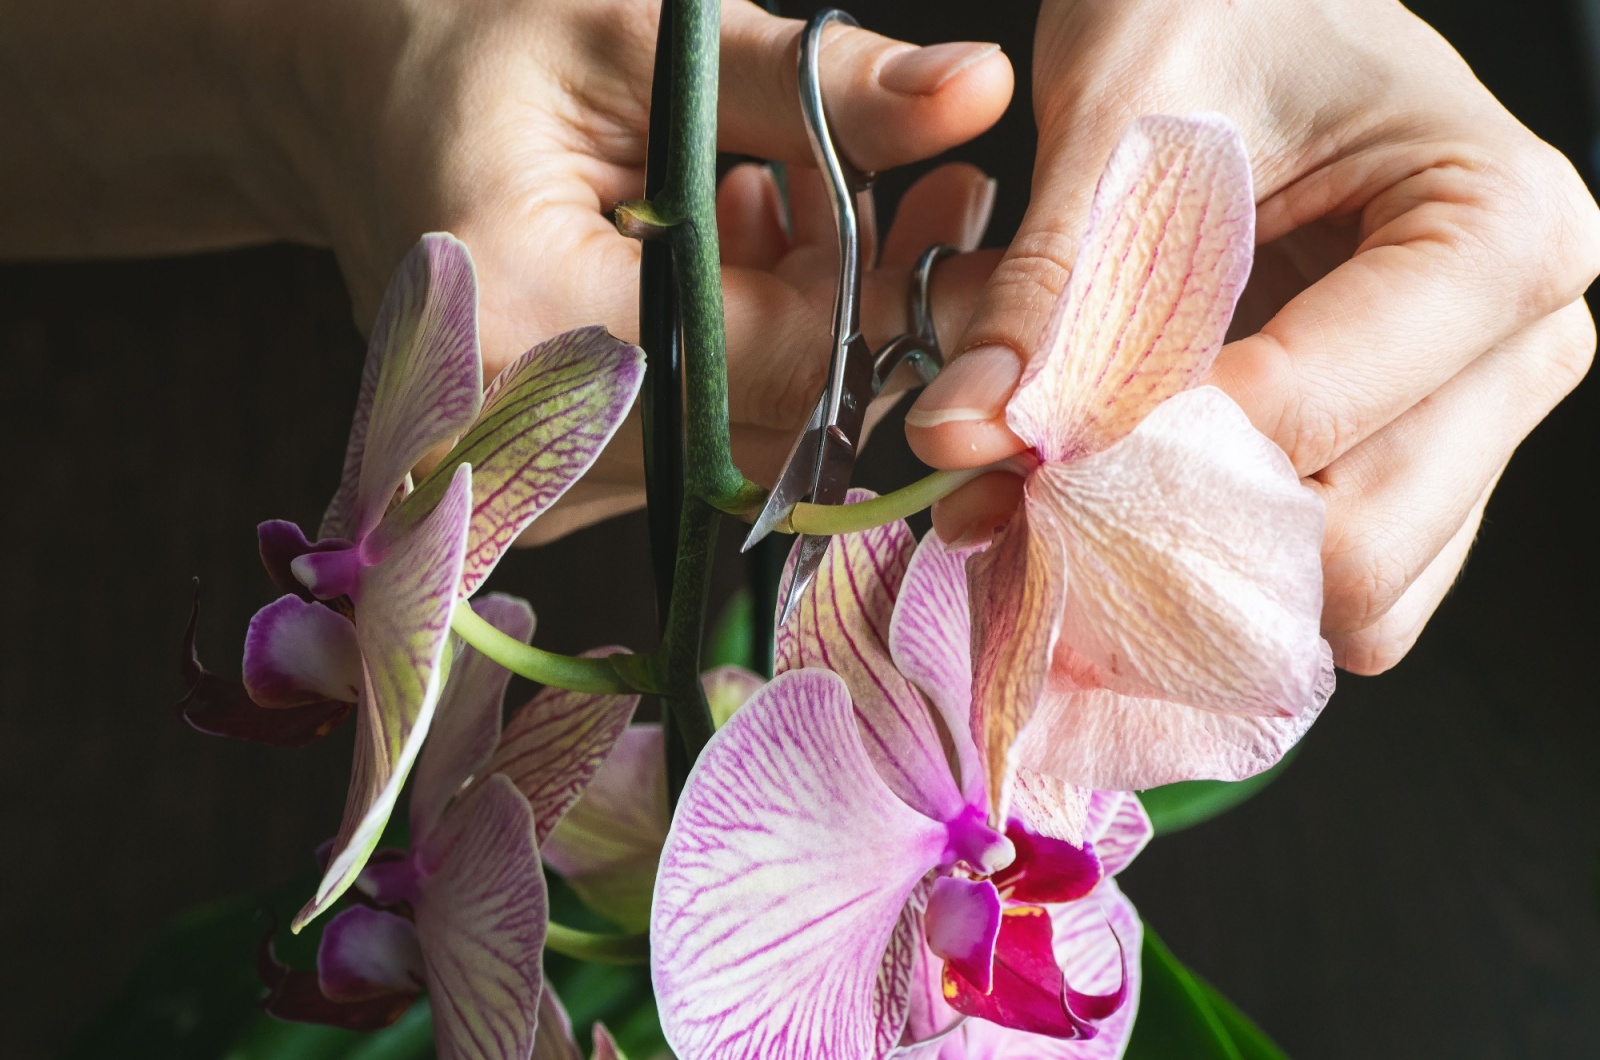
You may be tempted to remove the leaves from your orchids after blooming, but don’t do it. Orchids need their leaves for energy. You can clean the plant by removing the spent blossoms, but that’s where you should stop.
3. Prune During The Right Season
When pruning your orchids, it’s important to consider the right timing. Pruning too early in the growing season could stunt the plant’s growth, while pruning too late might delay blooming.
The best time to prune most orchids is right after the blooming cycle, usually in late winter or early spring, just as new growth begins to emerge. This gives the plant enough time to recover and produce new flower spikes.
Keep in mind that different orchids have different blooming cycles, so make sure to research your specific orchid type for the best time to prune.
4. If You’re Propagating Your Orchids, Prune This Way
Who doesn’t want more orchids, especially if they are for free? Yes, I know new orchids are on the more expensive side when it comes to flowering plants.
The easiest way to get new orchid plants is to propagate them.
For monopodial orchids, you should know that they produce baby plants commonly referred to as keiki and they appear on the stalks after flowering.
What you can do is prune these baby orchids and plant them in a separate container. With regular orchid care, you’ll have brand-new and healthy plants in no time.
If you grow sympodial orchids, you can’t propagate them this way; a proper method is to divide the rootball and plant each part separately.
5. Make Sure To Always Use Clean Your Pruning Tools
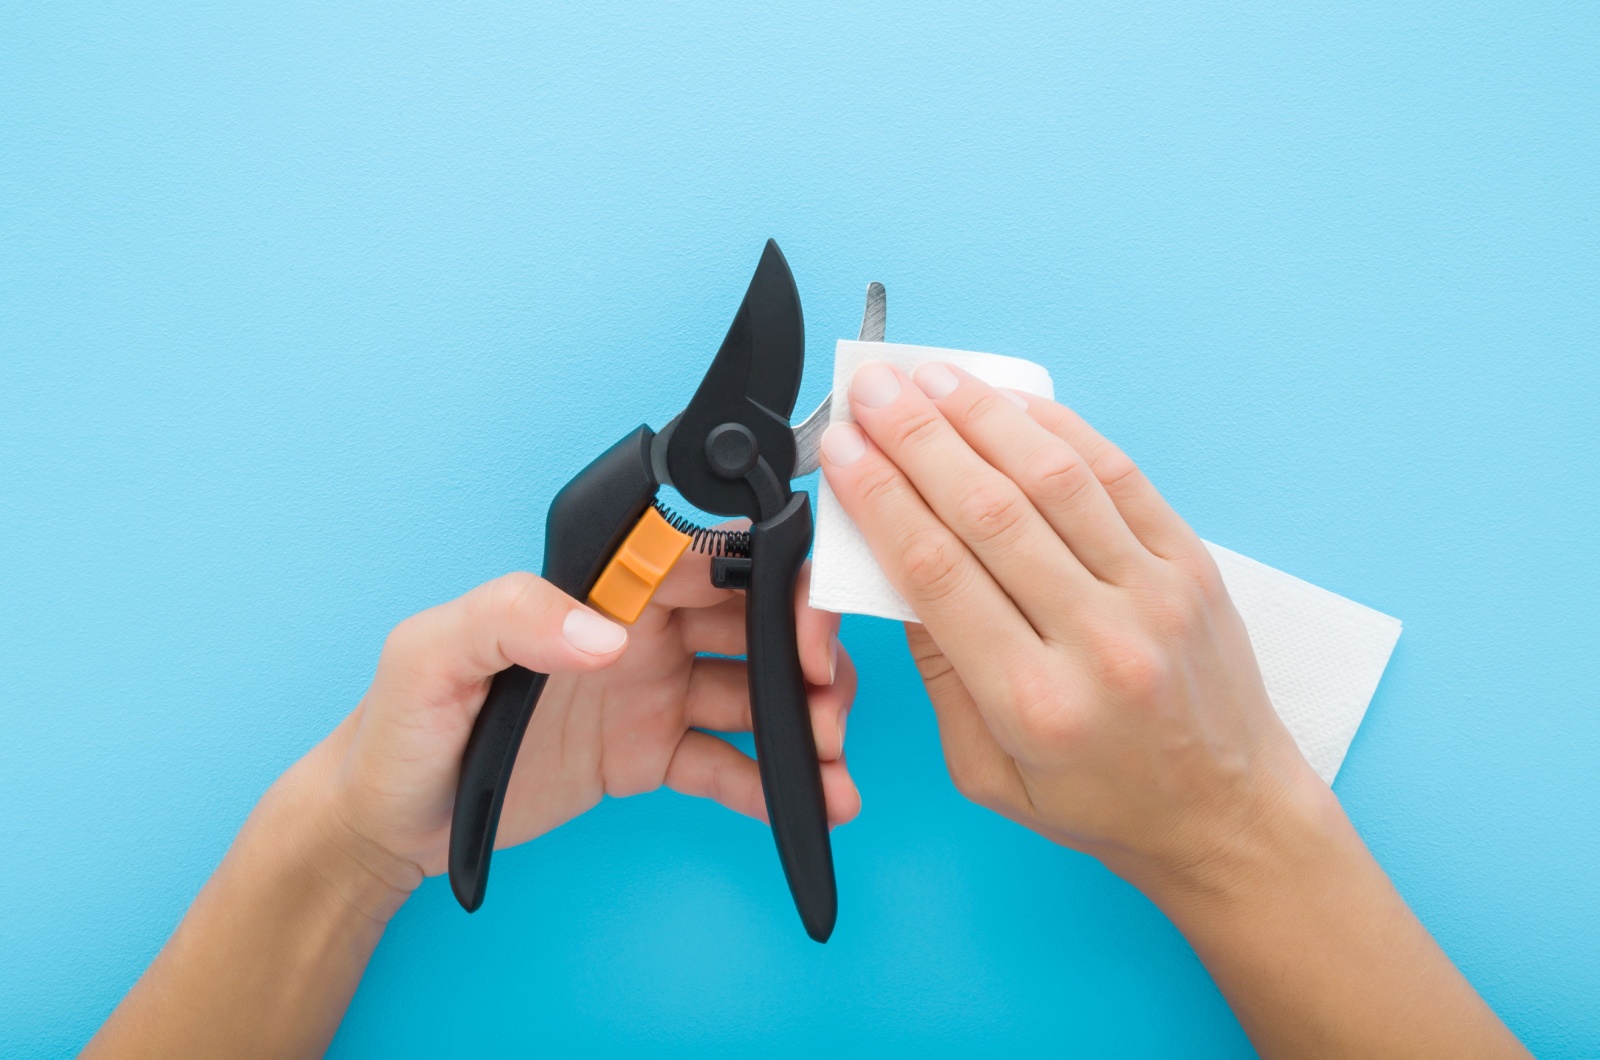
Orchids are susceptible to infections and diseases, and pruning can sometimes open the plant up to pathogens. That’s why it’s essential to sterilize your tools before and after every cut.
Soak your pruning shears or scissors in rubbing alcohol for about 30 seconds, or use a diluted bleach solution.
This will ensure that no harmful bacteria or fungus transfer from one plant to another.
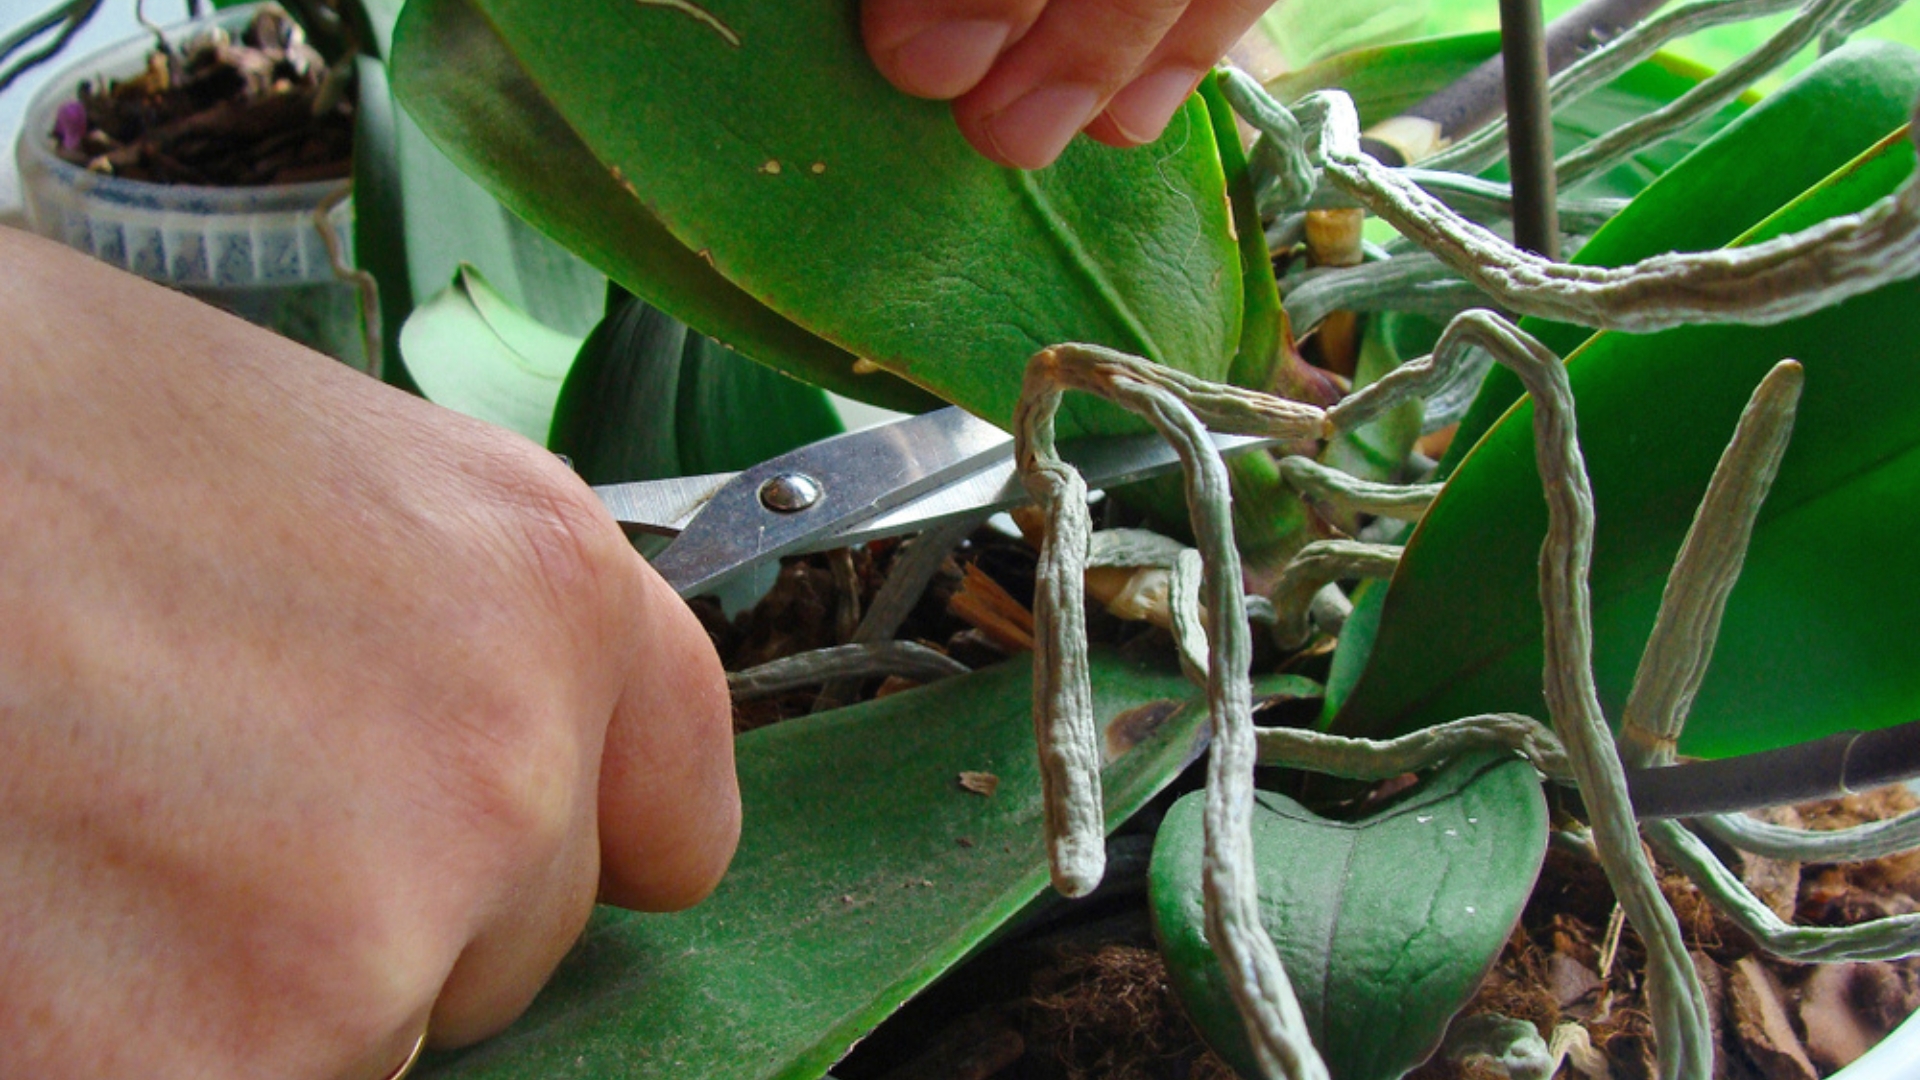
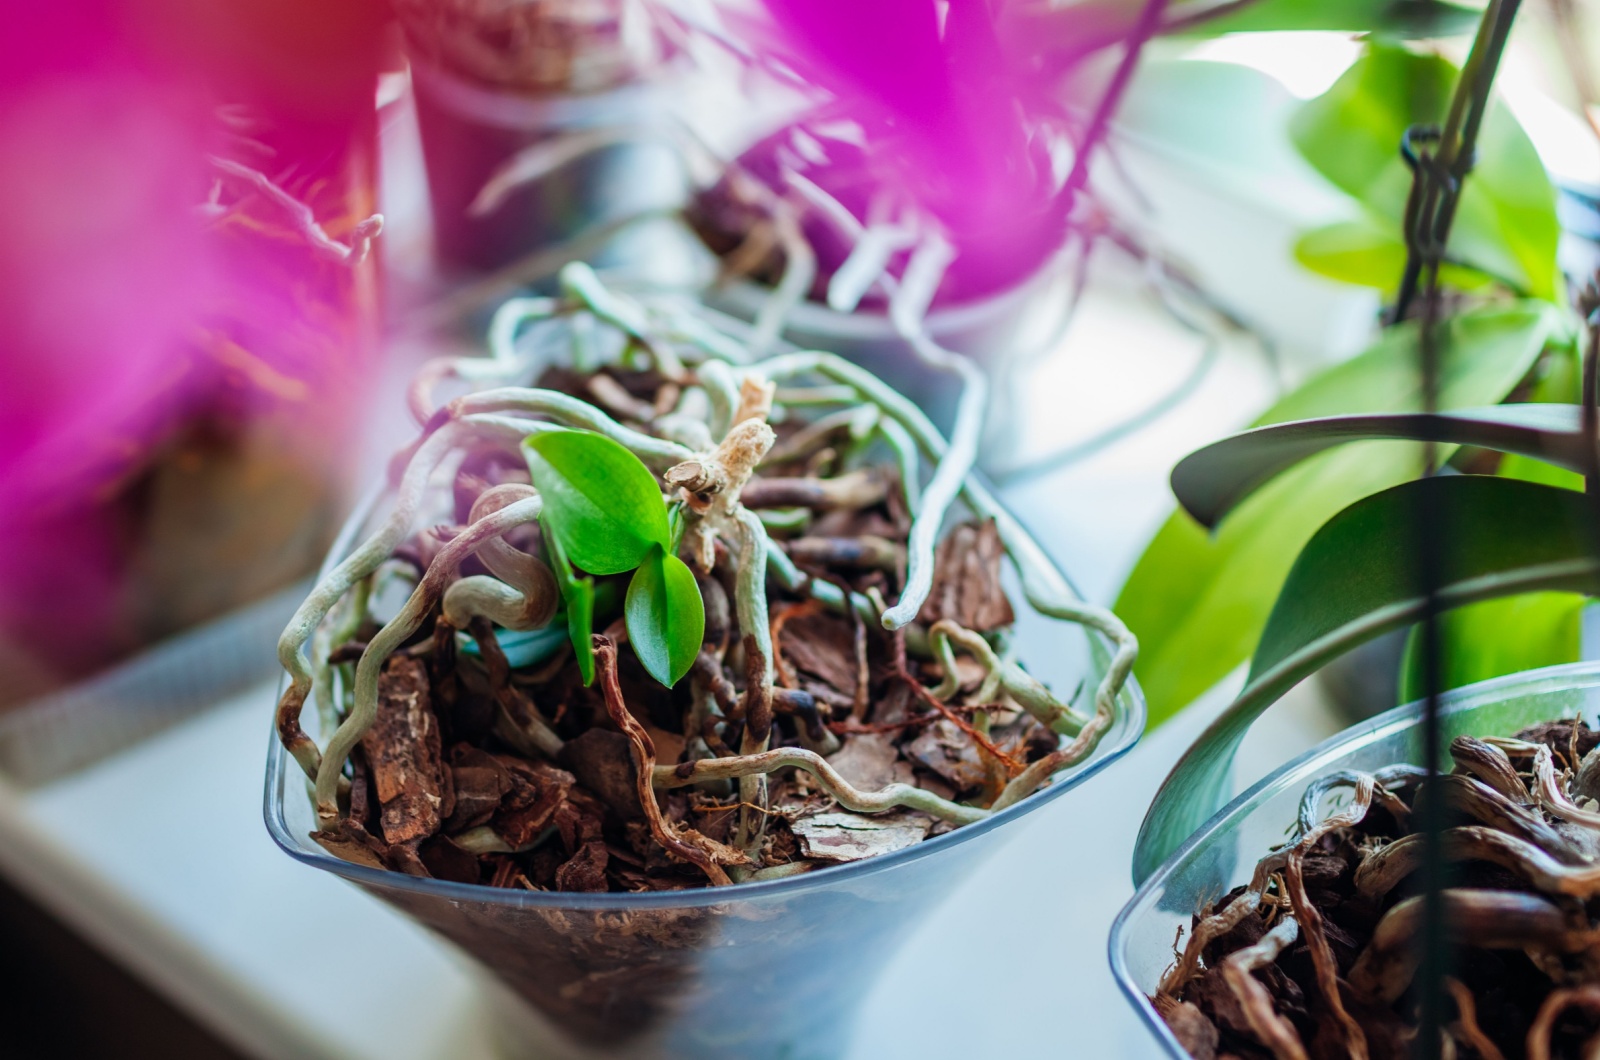
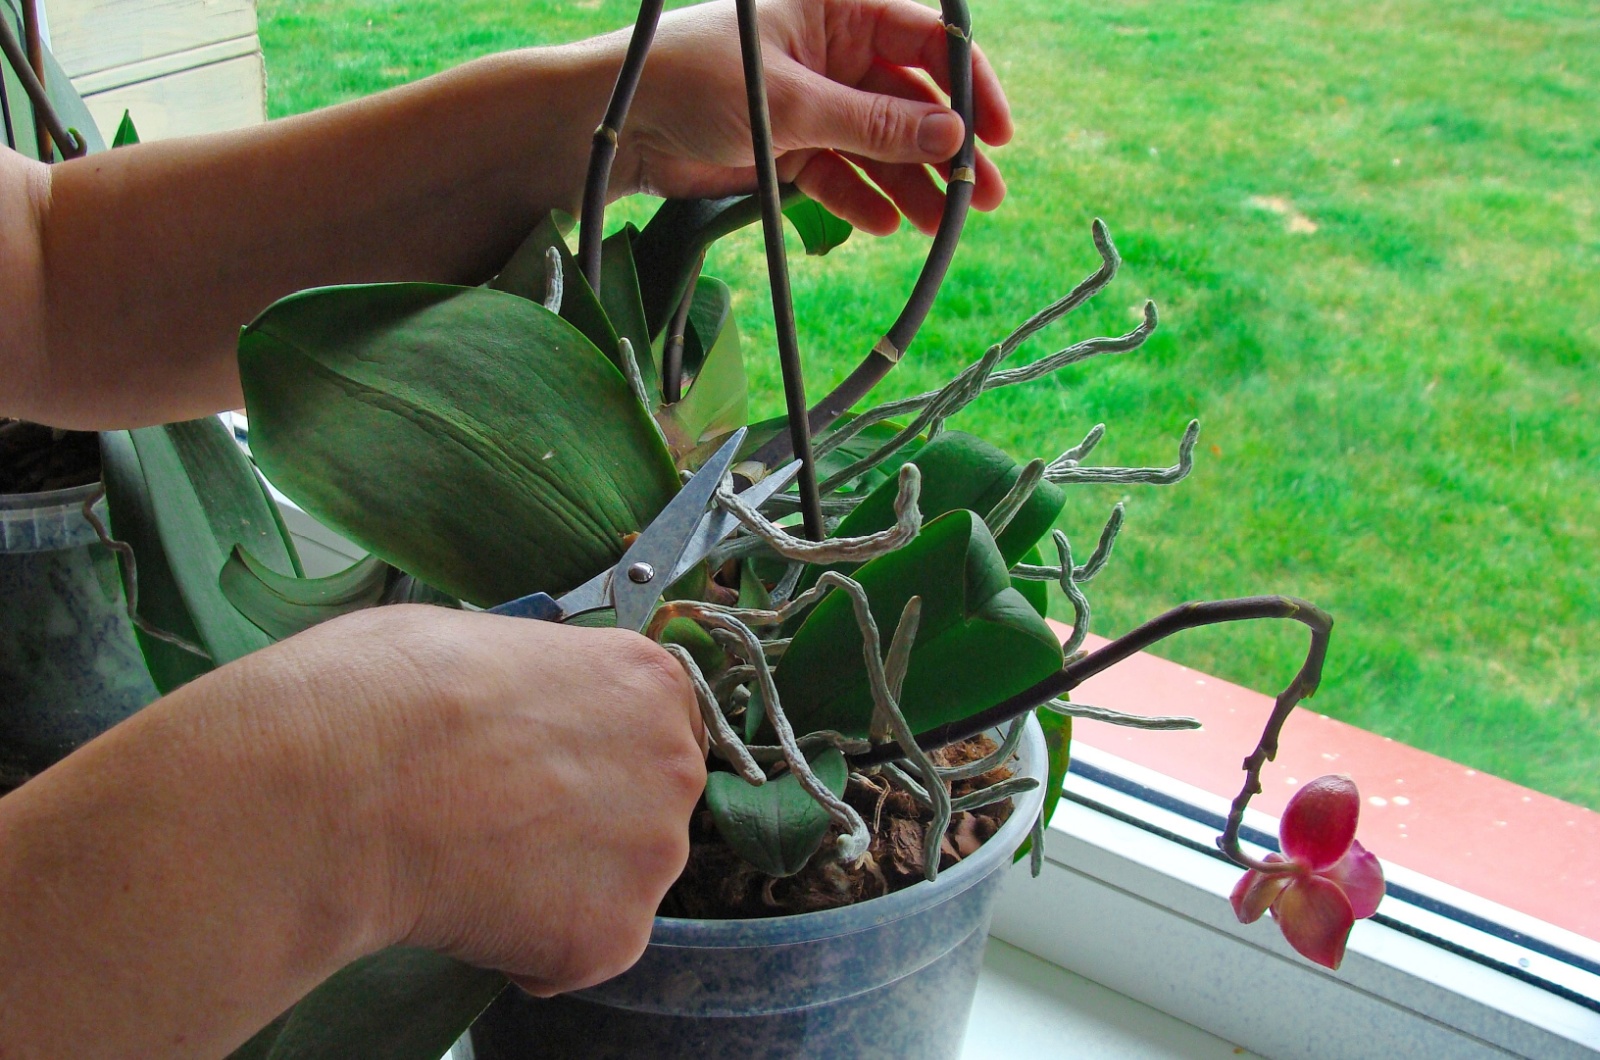
6. Don’t Forget To Trim Those Roots When Repotting
No matter which type or variety you grow, you must repot your orchids. I have an orchid collection, and each plant typically outgrows the pot in about two years.
And while you’re repotting these beauties, you should use the opportunity to prune the roots.
Of course, you’ll start repotting by taking your orchid out of its original pot. The next step is to inspect the roots closely and this is when you can start pruning.
You must prune all the dead roots, stems, canes, and bulbs. Healthy roots will be plump and white or gray in color. All other roots must be removed!
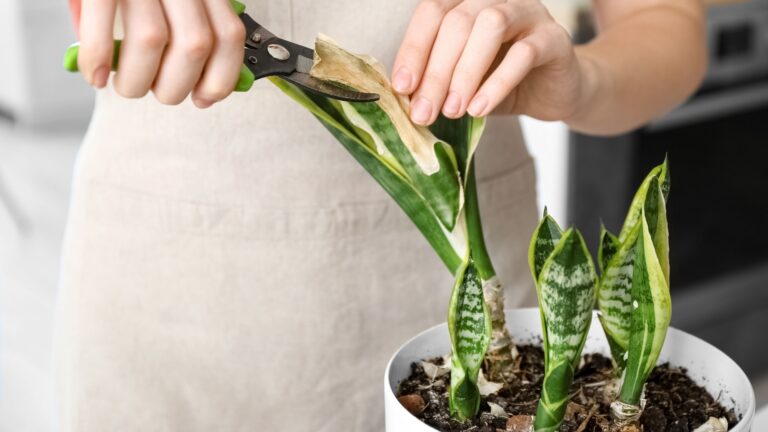
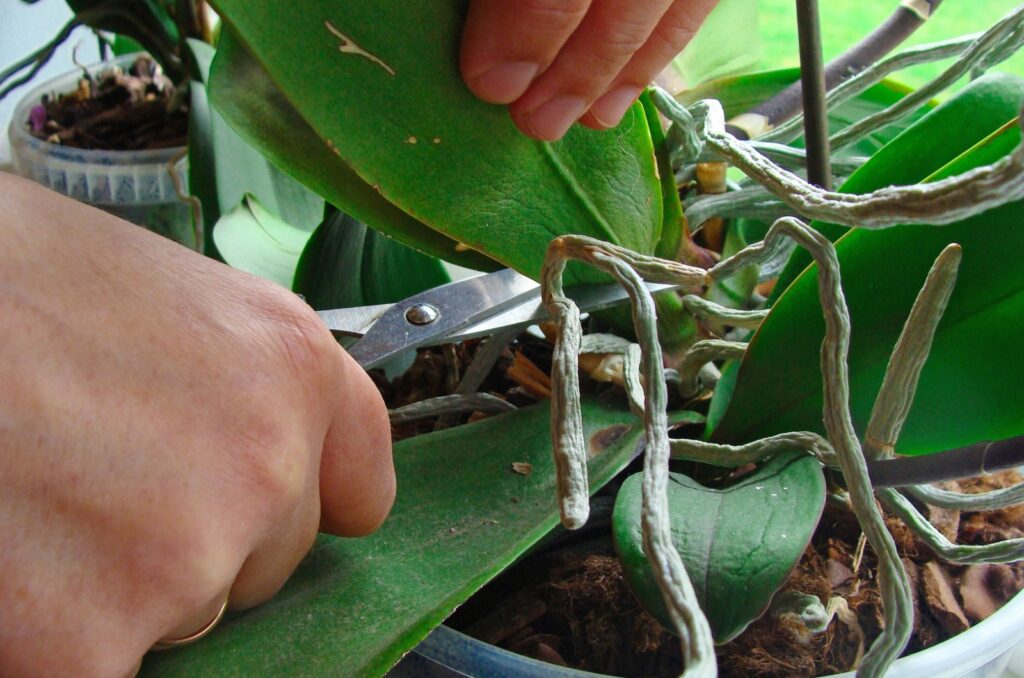
7. Old And Diseased Foliage Must Go!
The last scenario when you should prune your orchids is when there’s dead or diseased foliage. If your orchids are turning yellow or brown, you must cut off those leaves.
The thing is that diseases are some of the most common causes of a dying orchid, so you must cut off the infected parts to prevent the disease from spreading.
Sometimes you’ll notice your monopodial orchids shed their old bottom leaves. This is completely normal because the leaves reached the end of their lifespan.
You can simply prune these leaves and help your orchid focus its energy on new growth.
In sympodial orchids, this yellowing can occur in leaves and pseudobulbs. If the plant looks healthy and there aren’t any signs that would indicate some problems, you can remove these parts and your orchids will be back on track soon.
8. Don’t Over-Prune Your Orchid
Although pruning is beneficial for your orchid’s health, it’s important not to overdo it. Orchids are sensitive plants, and excessive pruning can lead to shock, poor growth, or even death.
Make sure to only prune the dead or damaged parts of the plant. Avoid cutting back too many stems or flower spikes at once, as it can limit the orchid’s ability to store nutrients and bloom in the next cycle.
When in doubt, it’s better to prune conservatively. These plants can always recover from minimal cuts, but too much pruning might harm the plant.
We can all agree that orchids may be fussy, but there’s no denying they’re some of the most stunning blooms around. With a little pruning, you can help them reach their prime and enjoy even more breathtaking blossoms!