How To Save Pumpkin Seeds From Your California Jack O Lantern For Next Year’s Garden
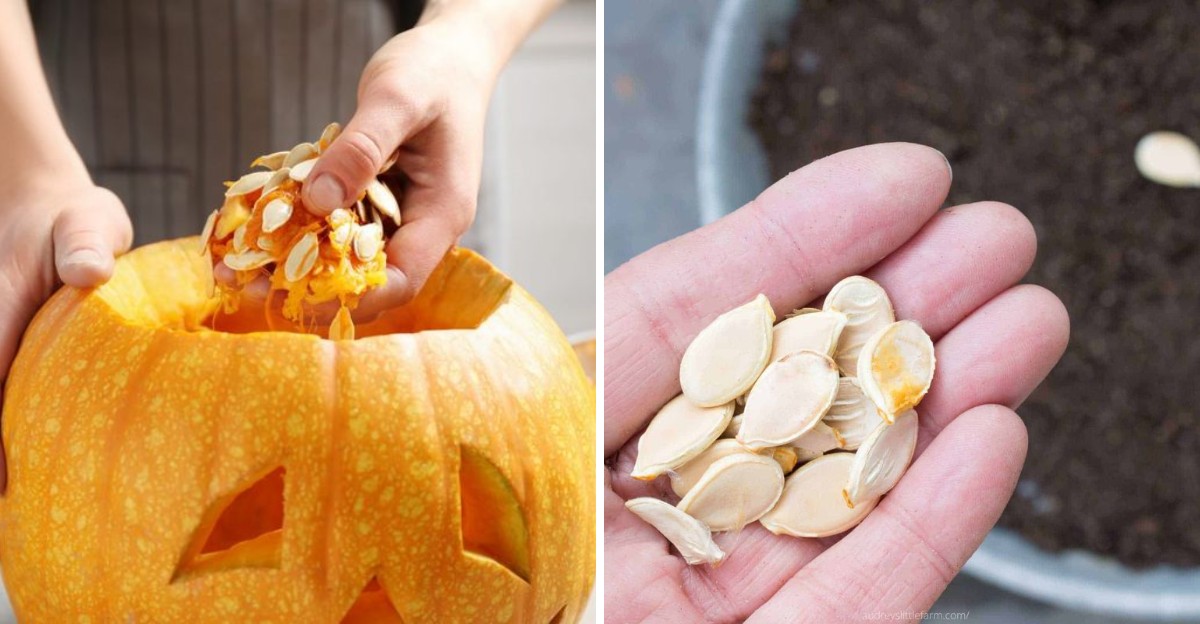
Your jack o’ lantern has one last trick up its sleeve, and it is hiding under all that slimy goo. Most people scoop it out, toss it in the trash, and never think twice.
Big mistake. Those seeds are tiny treasures, and with a little effort they can turn this year’s Halloween fun into next summer’s pumpkin patch.
Yes, it involves getting your hands messy, which the kids will absolutely love. The steps are simple, the supplies are basically a bowl and a towel, and a California garden has plenty of sunshine waiting for those future vines.
Saving seeds takes a bit of patience, but the payoff is worth it. Let’s turn that slimy mess into something your garden can use.
1. Pick The Right Pumpkin Before You Carve
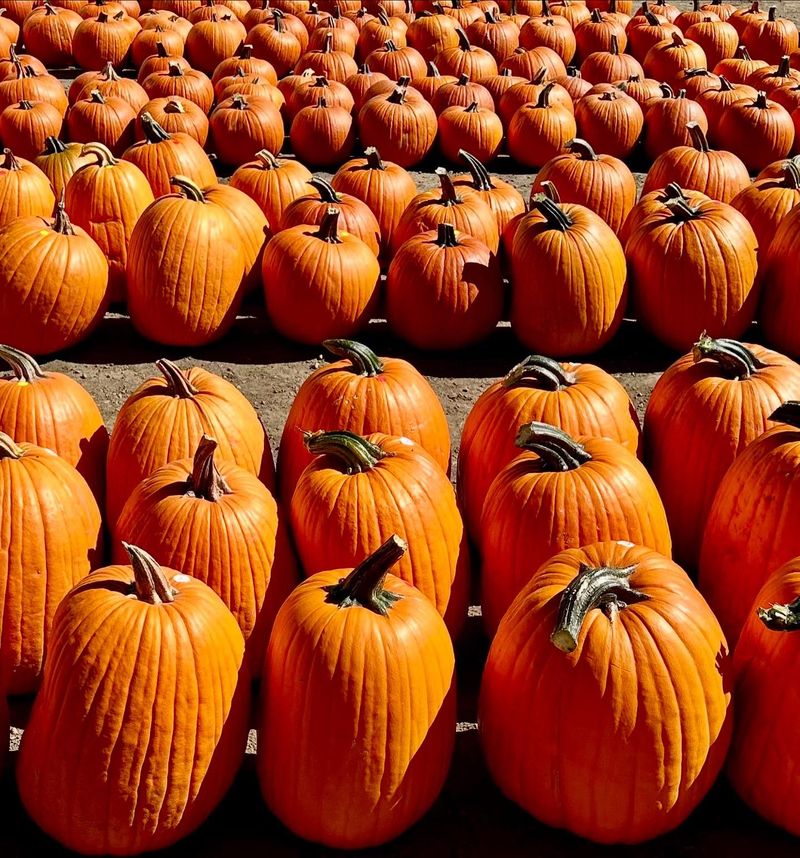
Not every pumpkin makes a good parent. Many store pumpkins are hybrids, which means their seeds may grow something different from the pumpkin they came from.
Look for heirloom or open-pollinated types like Connecticut Field. Many farm stands across California sell these, and the farmers can usually tell you what you are buying.
Howden is also popular, but some commercial Howden seed is hybrid, so check the seed source before assuming it is open-pollinated.
Ask a few simple questions at the patch. Was it grown near other squash?
Is it an heirloom? Squash plants can cross-pollinate, but only within the same species.
Pumpkins belong to Cucurbita pepo, the same species as zucchini, many summer squashes, acorn squash, and some gourds. A pumpkin grown near those plants may produce seeds that grow odd, lumpy fruit next year.
The pumpkin you carve looks normal, and any surprises show up in the next generation.
Choose a pumpkin that feels heavy and firm. A solid stem and smooth skin with no soft spots suggest the inside is healthy.
Seeds from a mature pumpkin tend to be plumper and more likely to sprout.
California’s long, warm growing season helps pumpkins ripen fully on the vine. That gives the seeds time to fill out, which is great news for savers like you.
Write down the variety name if you know it. A quick note on your phone saves guessing later.
Many local seed libraries also welcome labeled heirloom seeds, so your effort could help neighbors too.
Picking well at the start makes every next step easier. A little care now can mean a much happier garden come spring.
2. Scoop Jack O Lantern Seeds Right Away
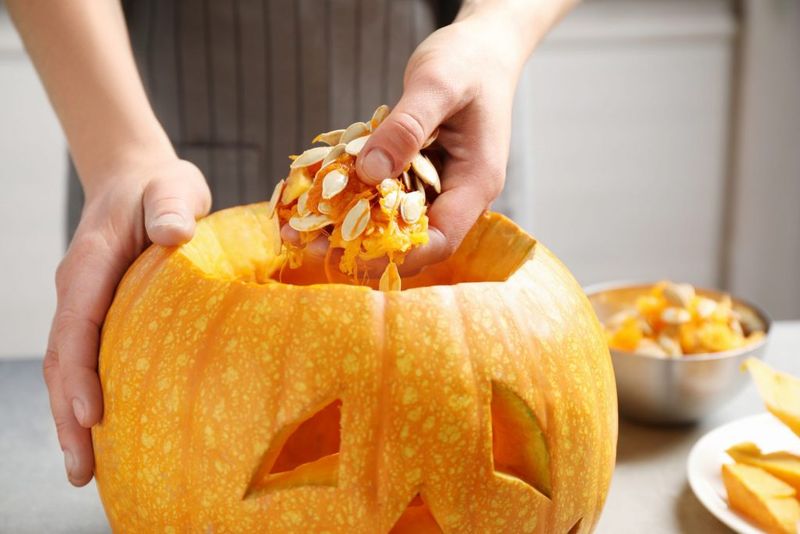
Timing matters more than you might think. Once you carve, the clock starts ticking, especially in warm parts of California where pulp spoils quickly.
Grab seeds the same day you carve, ideally before the face goes on display. A pumpkin that sits on a sunny Los Angeles porch for a week can start to mold inside, and those seeds may not be safe to keep.
A big metal spoon or an ice cream scoop works great. Scrape along the inner walls and drop the gooey mix into a large bowl.
Your California Garden Changes Every Week. Your Plan Should Too.
Gardening in California changes quickly throughout the season. Every Friday you’ll receive a simple weekly plan showing exactly what to plant, prune, fertilize, harvest, and protect so you never miss the right timing.
Kids usually love this job, so hand them a spoon and let them get messy.
Skip any seeds that look cracked, flat, or discolored. You want the fat, creamy white ones that feel full when you pinch them.
Those have the best chance of growing strong.
Keep an extra bowl nearby for seeds you want to roast. That way you can snack on some and still save the very best for planting.
A quick tip from longtime gardeners: work on newspaper or an old towel. Pumpkin goo is sticky and loves to dry onto tables.
Cleanup is a breeze if you plan ahead a little.
Fresh seeds are happy seeds. Moving fast gives you the healthiest batch for next season.
3. Rinse Off The Goo
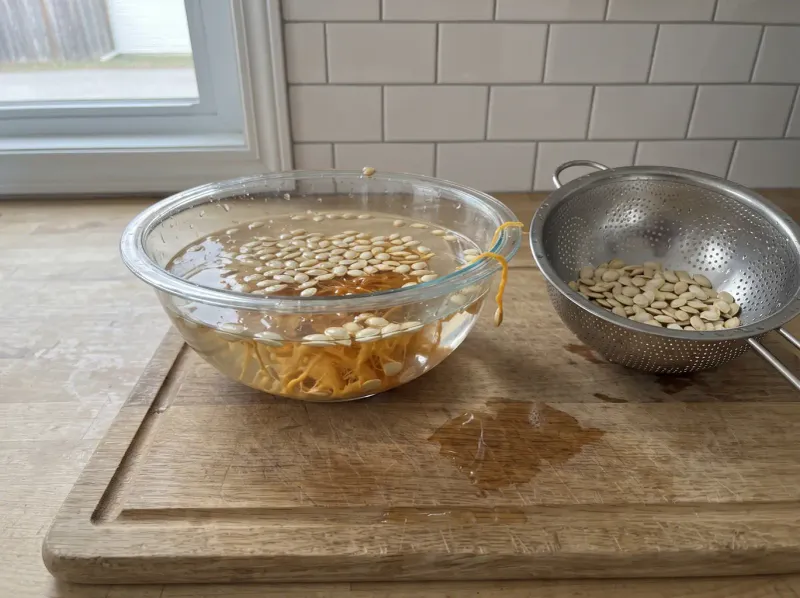
Slimy strings cling to seeds like glue. Getting them clean is a key step, because leftover pulp can grow mold during drying.
Drop the seeds into a bowl of water and swish them with your fingers. Seeds that sink are often the plumper ones, while light seeds that float are more likely to be empty.
Treat this as a rough guide only, since some good seeds can float because of trapped air. Check floaters by pinching them, and toss any that feel flat or hollow.
Next, pour the seeds into a colander and rinse under running water. Rub them gently between your palms to slip off the last bits of goo.
Many families in California are careful with water, especially during dry years. You can save water by rinsing in a bowl instead of under the tap.
Afterward, pour that pulp water onto your garden beds or a thirsty plant.
Skip the soap. It can leave a coating that may harm the seed.
Plain, cool water does the job just fine.
When you are done, the seeds should look smooth and feel only slightly slippery. A few tiny strings will not hurt, but big chunks should be picked off.
Honestly, this part is oddly relaxing. Put on music, roll up your sleeves, and enjoy the cool water on a warm October afternoon.
4. Dry Seeds Slowly In Sunshine Or Indoors
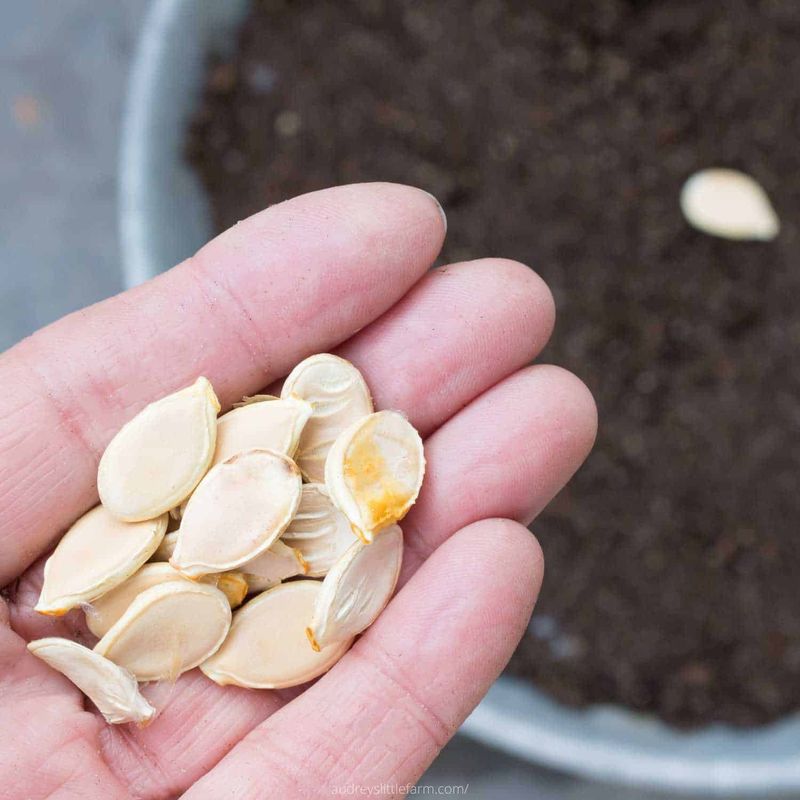
Patience is the secret ingredient here. Rushing the drying process is the most common mistake new seed savers make.
Spread the clean seeds in a single layer on a paper plate, screen, or coffee filter. Paper towels work, but seeds can stick to them, so a plate is often easier.
Find a spot with good airflow and gentle warmth. In much of California, a shady patio or a bright room works well because autumn days are mild and dry.
Avoid direct hot sun in inland areas like Fresno, since high heat can harm the tiny plant inside.
Stir or flip the seeds once a day. That keeps them from sticking and helps both sides dry evenly.
Plan on one to three weeks. Coastal homes in places like San Francisco may take longer because of foggy, damp air.
A small fan nearby can speed things up.
Please skip the oven and microwave. Those are great for roasting snacks, but they cook the seed, and cooked seeds won’t sprout.
You will know they are ready when they snap instead of bend. A dry seed feels hard and light.
Test one or two before packing the whole batch away.
5. Store Seeds Safely Through Winter
Think of your seeds as sleeping. They need a cool, dark, dry bedroom until spring wakes them up.
Paper envelopes are a great first choice. They breathe, so any leftover moisture can escape.
For extra safety, place those envelopes inside a glass jar with a tight lid.
Toss in a small packet of silica gel, the kind found in shoe boxes. Some gardeners use a spoonful of dry rice wrapped in tissue instead.
Both soak up moisture that might sneak in.
Where you store them matters too. A closet or pantry away from the stove works well.
Garages in California can get surprisingly warm, even in winter, so they are usually not the best spot.
Some folks keep seeds in the fridge. That works if the jar is sealed tightly, since fridges can be damp.
Let the jar warm to room temperature before opening so water drops don’t form on the seeds.
Check on your stash once a month. Look for any fuzzy spots or strange smells, and remove anything that seems off.
Stored well, pumpkin seeds can stay healthy for four to six years. That means one great jack o lantern could feed your garden for a long time.
6. Label Everything Like A Pro
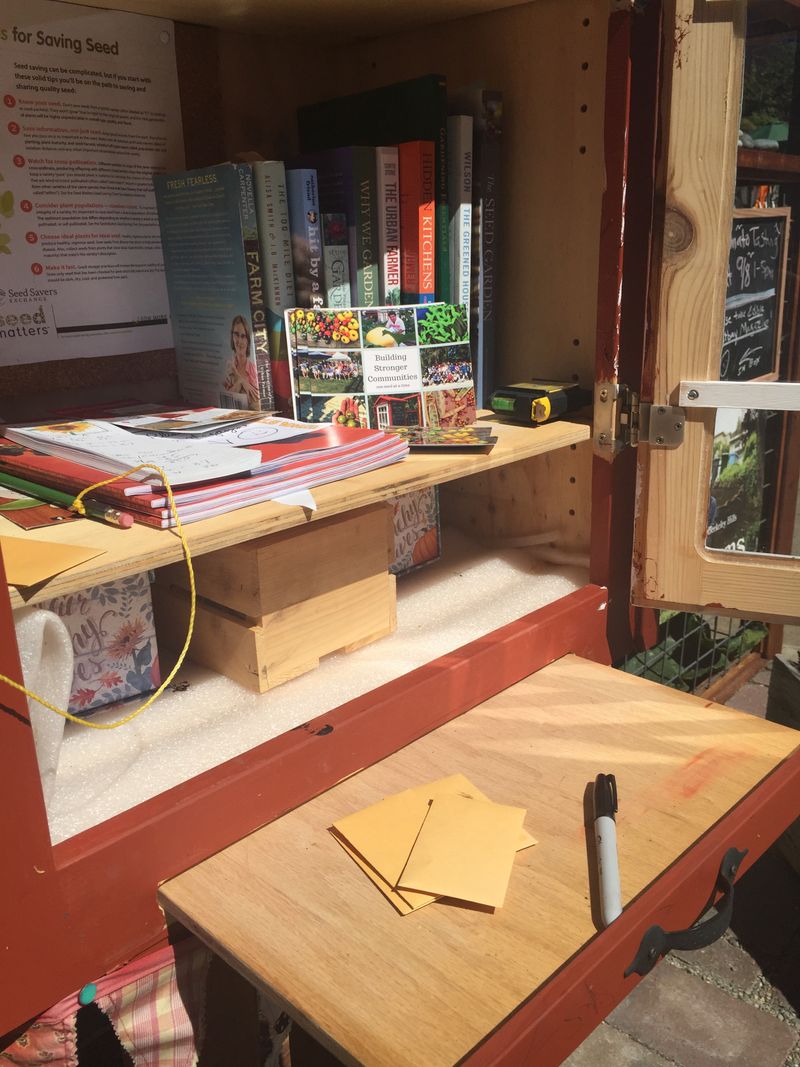
Here’s a confession many gardeners share. They saved a bunch of seeds, forgot to label them, and spent spring wondering what on earth they had planted.
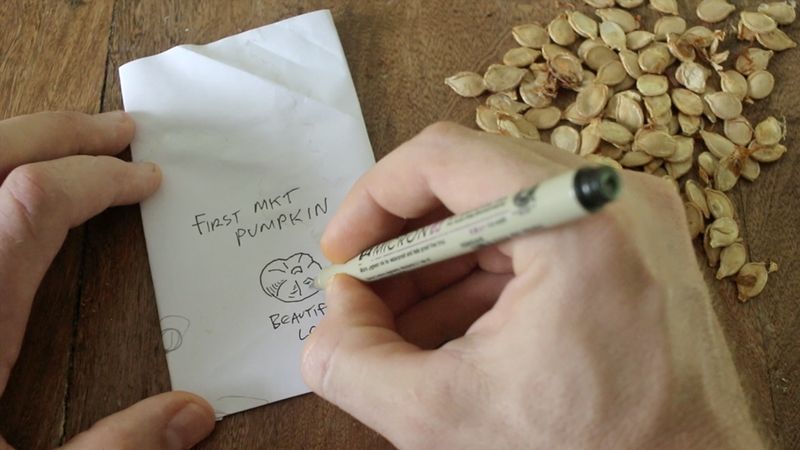
Avoid that puzzle by writing details on every envelope. Include the pumpkin type, the date you saved them, and where it came from.
Even a simple note like “big round farm stand pumpkin, Half Moon Bay” is helpful.
Half Moon Bay hosts a famous pumpkin festival, and growers there love to swap stories about varieties. Keeping notes lets you join those friendly chats with confidence.
Add a short line about the pumpkin itself. Was it super orange?
Did it have thick walls for carving? Those clues help you decide which seeds to plant first.
Many public libraries in California now run free seed libraries. Clear labels make your seeds easy to donate or trade.
You might give away pumpkin seeds and come home with tomatoes or beans.
Use a permanent marker so the ink won’t smear. Pencil works too, and it holds up well if paper gets a little damp.
A tidy label takes ten seconds. It turns a mystery envelope into a real plan, and that feels pretty great when planting season rolls around.
7. Test Seed Sprouting Before Planting Season
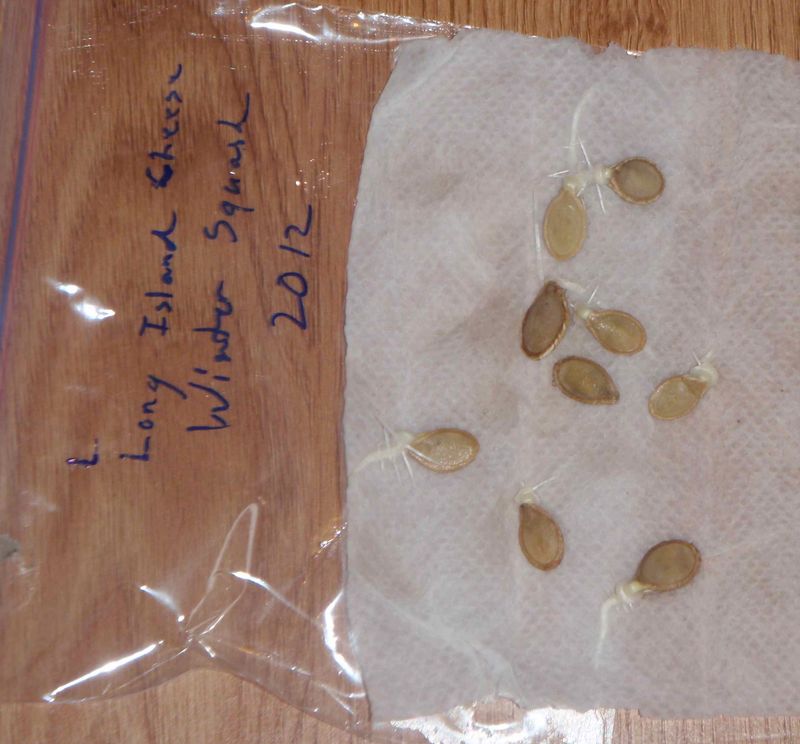
Nobody likes planting a whole row and waiting for nothing. A quick sprout test, done a few weeks early, tells you if your seeds are ready to go.
Grab ten seeds and lay them on a damp paper towel. Fold it over, slide it into a plastic bag, and keep it somewhere warm, like the top of the fridge.
Check every couple of days and keep the towel moist, not soaking. Within about a week, healthy seeds will push out tiny white roots.
Count how many sprouted. Seven out of ten means a 70 percent rate, which is pretty good.
If only a few sprout, plan to plant extra seeds in each spot.
California gardeners often do this test in March or April. That leaves time to find backup seeds if your batch is weak.
Here’s a neat bonus: the sprouted seeds don’t have to go to waste. Gently plant them in small pots with soil, and you’ll get a head start on the season.
Kids find this test fascinating. Watching a root poke out of a seed feels like a science show right on the kitchen counter, and it builds excitement for the garden ahead.
8. Know When To Plant Pumpkins Across California
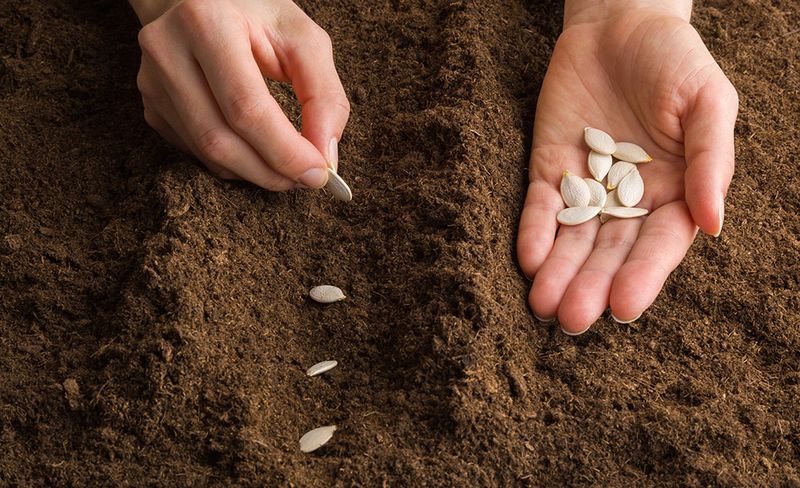
Pumpkins are sun lovers through and through. They sulk in cold soil, so planting at the right time is a big deal.
Wait until the soil reaches about 70 degrees and frost is behind you. In much of California, that often means late April through early June.
A cheap soil thermometer takes the guessing out of it.
Timing changes depending on where you live. Folks in Southern California and the Central Valley can often plant earlier.
Mountain areas near Lake Tahoe have a much shorter frost-free season, so planting usually waits until late spring or early summer. Because pumpkins need a long stretch to mature, gardeners there may want short-season varieties and a plan for frost protection.
Success is not guaranteed at higher elevations.
Count backward from October if you want jack o lanterns in time for Halloween. Most pumpkins need roughly 90 to 120 days to mature, depending on the variety.
A late May planting is a sweet spot for many families in warmer areas.
Plant two or three seeds about an inch deep in a small hill of soil. Once they sprout, keep the strongest seedling and snip the others.
Give each plant plenty of room. Vines can sprawl ten feet or more, so save a corner of the yard where they can roam freely.
Mix compost into the soil before planting. Pumpkins are hungry plants, and rich soil gives them the fuel they need to grow big, bright, and carve-worthy.
9. Water Wisely And Grow Strong Pumpkin Vines
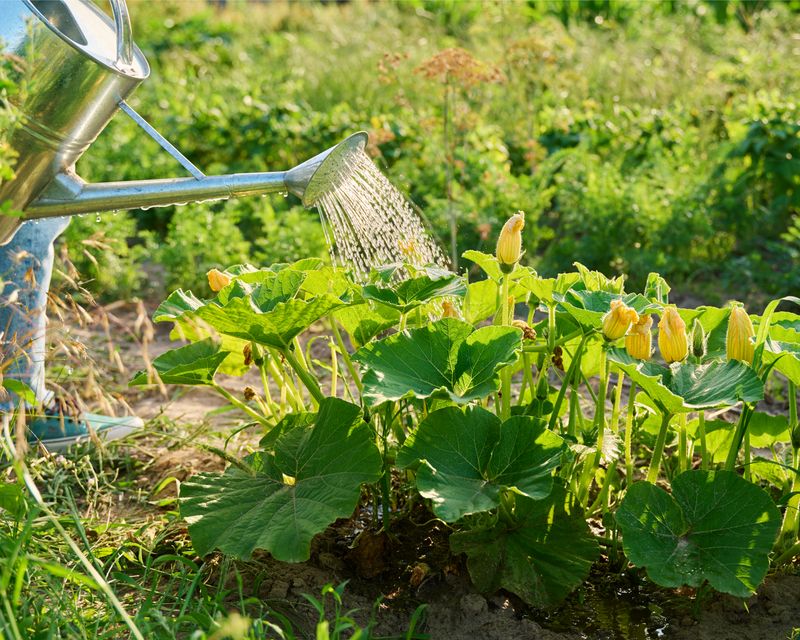
Dry summers shape how gardens grow in California. Pumpkins drink a lot, so smart watering helps your saved seeds turn into happy, healthy vines.
Water deeply once or twice a week instead of a little every day. Deep soaking pushes roots down where the soil stays cooler and moister.
Drip lines or soaker hoses are a gardener’s best friend. They send water right to the roots and use water efficiently.
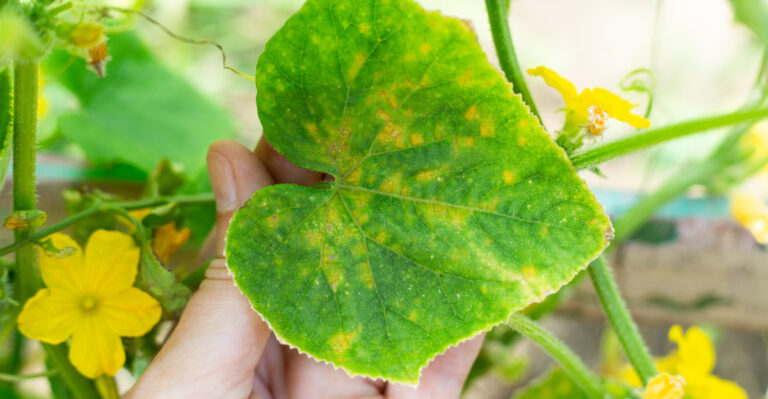
Keep an eye out for powdery mildew, the white, powdery coating that can slow plants down. It does not need wet leaves to develop and often shows up in humid conditions, even when foliage is dry.
If you spot it early, talk to your local UC Master Gardener program about options.
Water in the early morning. Less water is lost to heat and evaporation, and any moisture that does land on leaves dries quickly.
Spread straw or wood chips around the base of each plant. Mulch holds moisture, keeps weeds down, and gives growing pumpkins a clean spot to rest.
Watch for bees buzzing around the bright yellow flowers. They move pollen from flower to flower, and pumpkins rely on that pollination to set fruit.
If few bees visit, you can hand-pollinate by dabbing pollen from a male flower onto a female flower with a small brush.
Planting a few sunflowers nearby can help draw in more pollinators.
By fall, your vines may reward you with plump orange pumpkins. Then the fun starts all over again: carve, scoop, rinse, and save.
If you save seeds from your best-performing pumpkins year after year, your plants can gradually become better suited to your own backyard. That is a pretty special cycle to be part of.