How To Store Tomato Cages And Stakes So They Survive The Winter in Michigan
Early blight spores can hang around on a garden support long after the vines are gone. That wire hoop you leaned against the fence in October might carry next summer’s leaf spots right back into your bed.
I tend to think we treat our garden gear like it can handle anything. A Michigan winter brings snow, sleet, thaw, and refreeze, often all in one week. Bare metal rusts, soft wood rots, and thin plastic turns brittle in the cold.
I know how frustrating it can be to tug a stake from a pile in May and watch it snap in half. Replacing a full set of sturdy supports adds up fast, too. A good cage can cost more than the tomato plant it holds.
So why do some gardeners use the same supports for ten years or more? The answer starts with a few simple chores that take about one afternoon.
1. Those Tomato Cages Carry More Than Dirt Into Winter
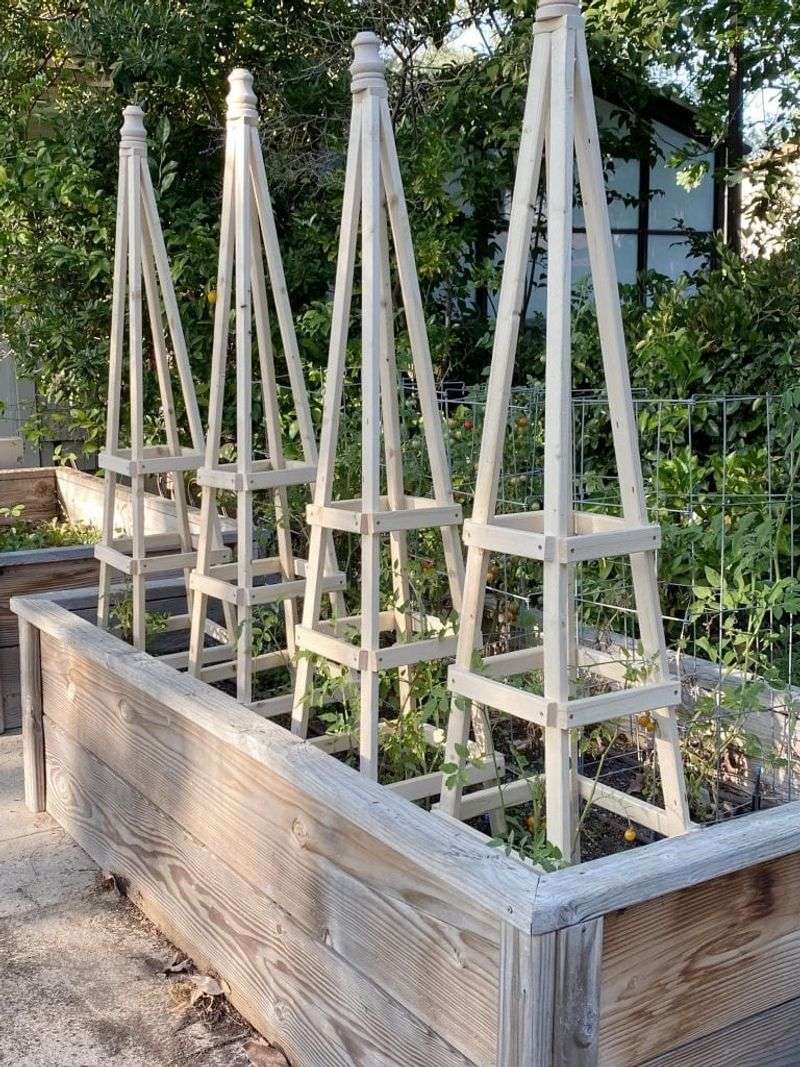
Fungal diseases are sneaky hitchhikers. Early blight, Septoria leaf spot, and bacterial spot can all survive on old plant bits stuck to cages and stakes.
So the first job is pulling every scrap of vine off your supports. Dried tendrils love to wrap around wire joints and cling to rough wooden stakes. Grab gloves and a pair of pruners, then snip and peel until the metal or wood is bare.
Don’t toss diseased vines into your home compost pile. Most backyard piles don’t get hot enough to break down those pathogens, so bag them for yard waste pickup instead.
After that, knock off the soil. Bang the bottom legs of each cage against a bucket, or use a stiff brush on the ends of the stakes. Then give everything a strong spray with the garden hose.
Timing matters here. In much of Michigan, the first hard frost arrives somewhere between late September and late October, depending on where you live. Pull your supports soon after the plants are finished, while the ground is still soft.
Frozen soil grips stakes tightly, and yanking hard can bend wire legs or crack wood. A little effort in fall means much less frustration next spring.
2. A Quick Disinfecting Soak Keeps Blight Off Next Year’s Plants
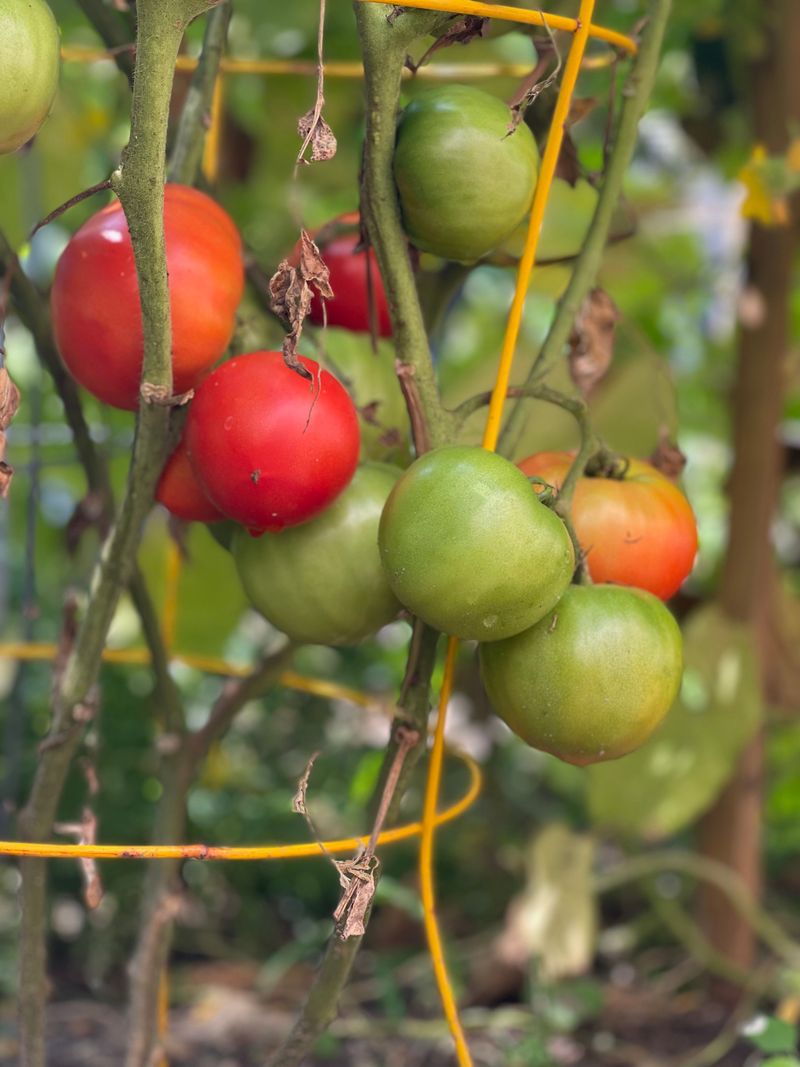
Here’s my favorite part, because it feels like a fresh start. Once the cages and stakes are clean, a disinfecting step goes after the germs you can’t see.
Many gardeners mix one part household bleach with nine parts water. Scrub or spray every surface, let it sit for about ten minutes, then rinse well with plain water. Bleach can speed up rust on bare metal, so that rinse really counts.
Prefer something gentler? A three percent hydrogen peroxide solution, the kind sold in brown bottles at the pharmacy, works as a milder option. Spray it on and let it bubble a bit before rinsing.
Wear gloves and old clothes either way. Work outside on a calm day, and keep pets and kids away from the buckets.
This step matters most if your plants had spotted, yellowing leaves this year. Healthy-looking plants can still carry spores, though, so a yearly cleaning is a smart habit.
Bamboo and wooden stakes soak up liquid, so give them a quick dip rather than a long bath. Too much soaking can soften the fibers. Remember that crop rotation helps too, so move tomatoes to a new spot next season if you can.
3. Let Every Cage And Stake Dry In The Sun Before Storing
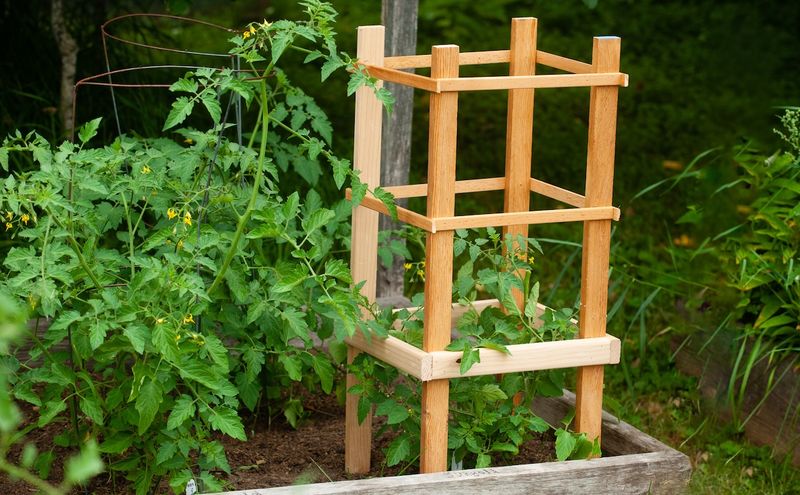
Patience pays off at this stage. Stacking wet cages in the garage is one of the fastest ways to invite rust spots and mold.
Spread everything out on the lawn, a patio, or a driveway on a sunny afternoon. Lay stakes flat and space them apart so air can reach all sides. Tip cages on their sides and turn them once or twice.
Wooden stakes take the longest. The ends that sat in the soil hold water deep inside, so give them a full day or two if you can. Press a fingernail into the bottom tip. If it feels cool and damp, it needs more time.
Fall weather in Michigan can be moody. A sunny morning can turn into lake-effect drizzle by late afternoon, especially near Lake Michigan. Keep an eye on the forecast and pick a dry stretch.
No sun in sight? Move your gear into a garage with the door cracked open, or set a box fan nearby. Moving air speeds things up nicely.
Dry wood shrinks a little and resists fungus. Dry metal keeps its coating intact much longer. That small wait might add years to your supports.
4. Rust Spots On Wire Cages Need A Little Oil And Paint
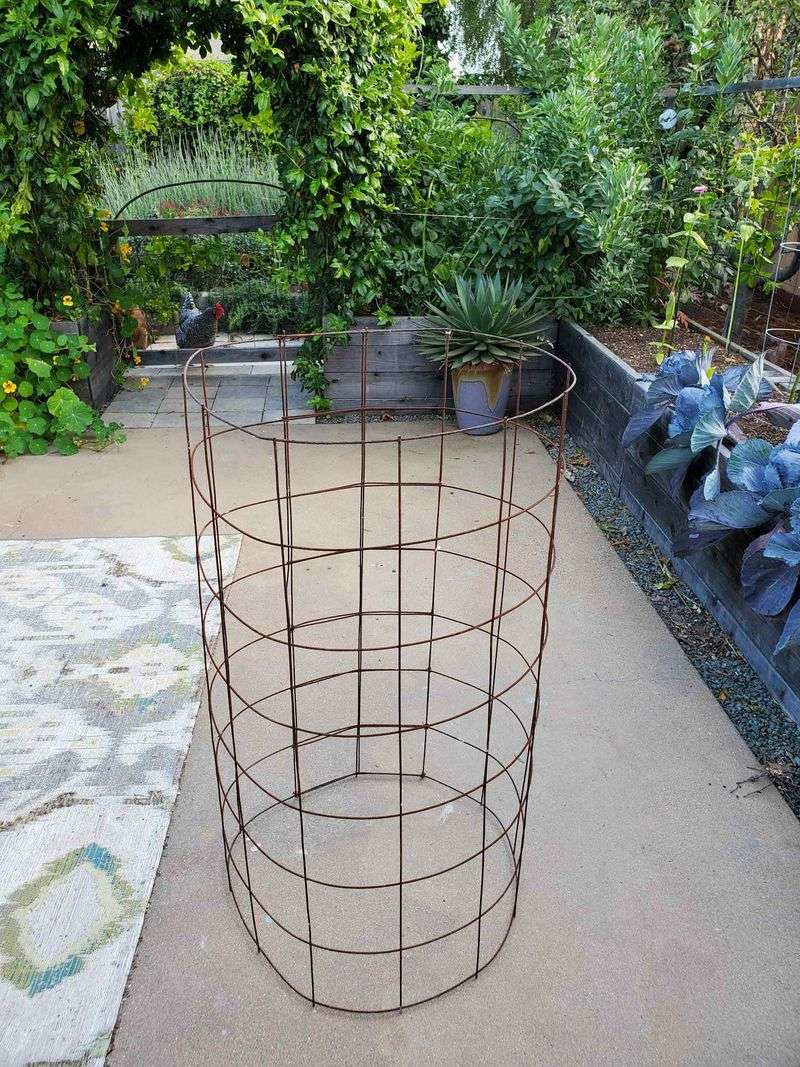
Rust works like a slow leak. A tiny orange spot on a welded joint can spread until the wire snaps under the weight of a heavy plant.
Start with a close look. Check the joints, the bottom legs, and any spots where the coating has chipped. Those are the weak points.
Scrub rusty areas with a wire brush or coarse sandpaper until you reach clean metal. Wipe away the dust with a dry rag.
Next, add protection. A rust-inhibiting spray paint made for metal does a good job on bare patches and welds. Let it cure fully, following the label, before storing.
For a quicker fix, wipe a thin coat of mineral oil or light machine oil over the metal. It leaves a barrier that keeps moisture from settling in. Skip heavy coats, since oily cages attract dust and get messy to handle.
Galvanized and powder-coated cages hold up better than plain steel. Still, scratches from summer use expose metal underneath.
Fun fact: galvanizing means coating steel in zinc, which rusts first and shields the steel. That idea dates back to the 1800s. Touching up the scratches keeps that shield doing its job.
5. Wooden Tomato Stakes Last Longer With A Coat Of Sealer
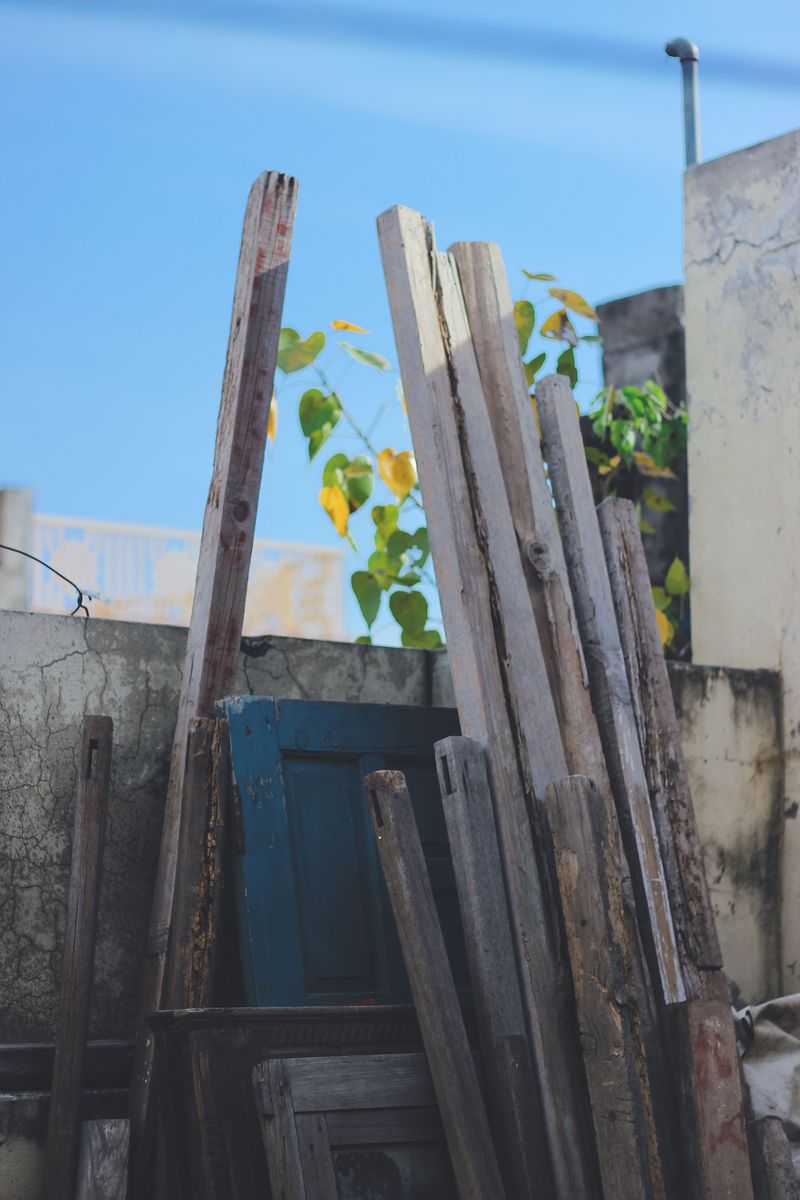
Wood has a soft spot, literally. The bottom foot of a tomato stake spends all summer in damp soil, and that’s where rot begins.
Run your hand along each stake. If the tip feels mushy or crumbles, trim it off with a saw and sharpen a new point. A slightly shorter stake still works fine for most bush and smaller vining tomatoes.
Untreated hardwood and cedar stakes benefit from a light coat of exterior wood sealer or linseed oil once they’re bone dry. Focus on the bottom end. Let it soak in and cure before storage.
Choose your products with food crops in mind. Older wood preservatives like creosote aren’t meant for vegetable gardens. Look for sealers labeled safe for garden use, or stick with raw linseed oil.
Bamboo stakes need different care. Check for cracks running along the length, since water slips in and splits them further. Wrapping a cracked section with tape can buy another season.
Store wood off the floor with space around it. Damp concrete pulls moisture into the grain all winter. A few minutes of care keeps those stakes sturdy for many summers.
6. Your Garage Wall Beats The Backyard For Winter Storage
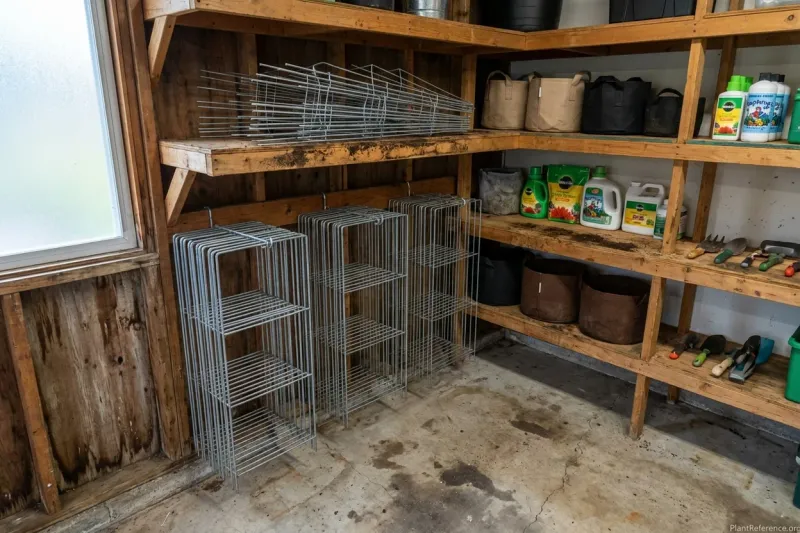
Leaving supports outside all winter is tempting. I get it, they’re bulky. But snow, ice, and constant freeze-thaw cycles wear down coatings and split wood quickly.
A garage, shed, or covered porch makes a far better winter home. Michigan State University Extension suggests keeping garden tools dry and off concrete floors, since moisture can wick up from below. The same advice fits cages and stakes.
Hang cages on sturdy wall hooks or ceiling hooks. Lay stakes across a pair of brackets or stand them in a bin. A wooden pallet works great if wall space is tight.
Damp basements are a poor choice. Humidity lingers there and can lead to mold on wood and rust on metal.
Remember that Michigan stretches across USDA zones 4 through 6. Winters in the Upper Peninsula run longer and colder than in Detroit or Grand Rapids. Unheated sheds in the north see bigger swings, so good airflow and elevation matter even more there.
No shed at all? Lean cages under a deck and cover them with a tarp. Weigh down the edges and leave the bottom slightly open for air.
7. Nest Those Cone Cages And Fold The Square Ones Flat
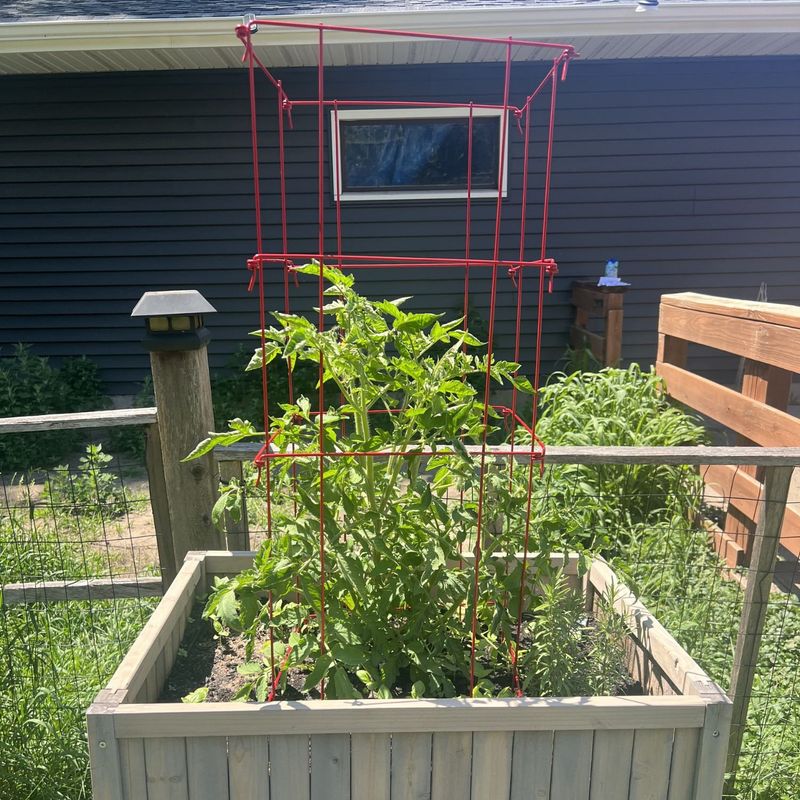
Ever tried to stuff a dozen tomato cages into a corner? It feels like wrestling an octopus made of wire.
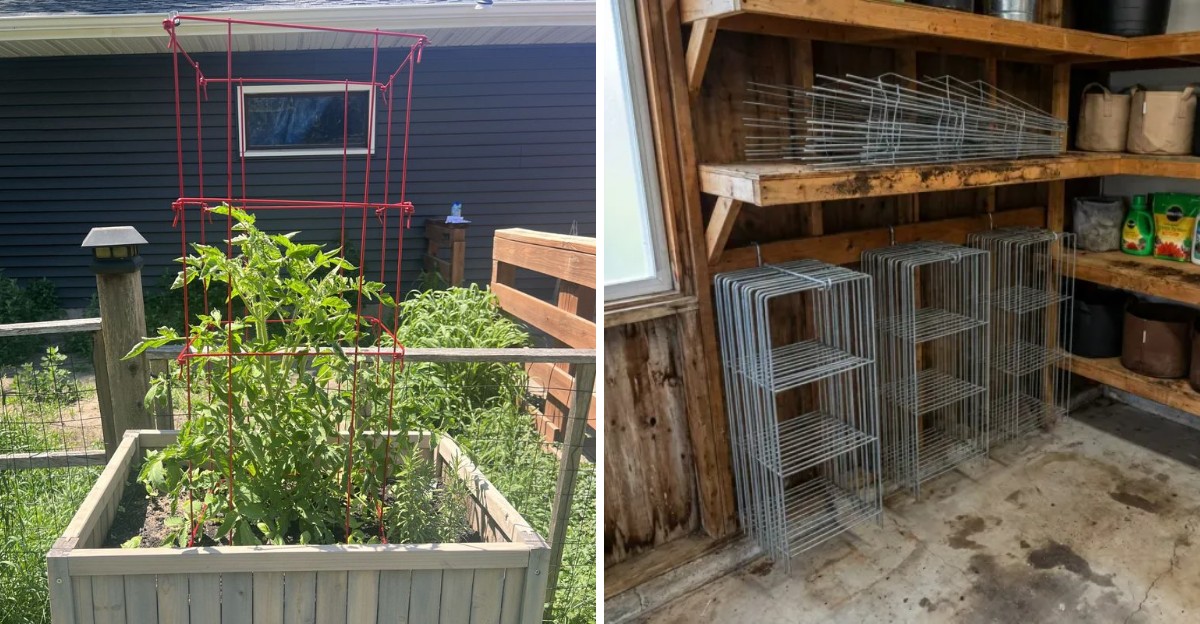
Cone-shaped cages are the easiest to tame. Flip them upside down and slide one inside another. A stack of ten takes up barely more room than one or two.
Many square and rectangular cages fold flat by design. Unclip or swing the panels together and they lie like a stack of books. Lean them against a wall or slide them behind shelves.
Tie bundles with twine, bungee cords, or a few twist ties. That keeps them from springing loose when you reach for something else.
Stakes love a tall container. An old trash can, a five-gallon bucket, or a couple of stacked milk crates hold them upright and tidy. A simple wall rack made from two scrap boards with drilled holes also works well.
Group supports by size or type. Tall stakes in one bin, short ones in another. Label each bundle if you have several sizes. Come May, you’ll grab exactly what you need in seconds. That alone feels like a small spring gift.
8. A Quick Spring Check Gets Tomato Supports Ready For Planting Day
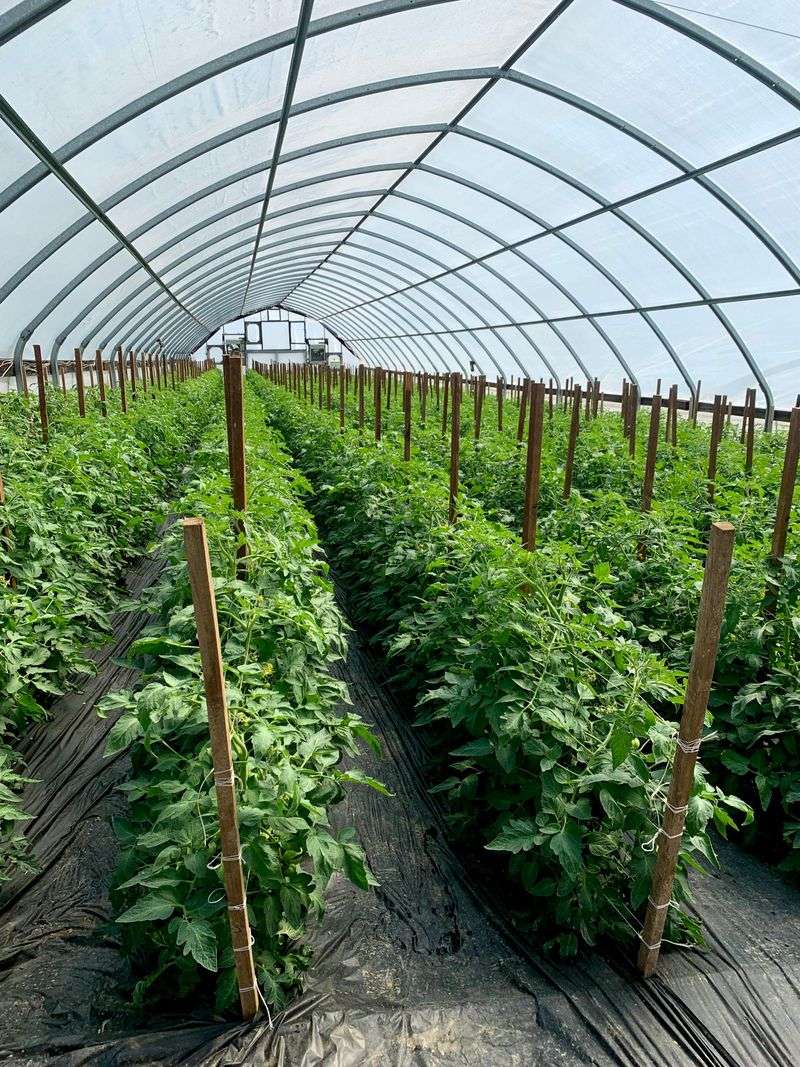
Spring planting in Michigan usually waits until frost danger passes. That’s often mid to late May in the south and early June up north.
Before that day arrives, pull your supports out for a quick look. Check wire cages for loose welds, bent legs, or new rust spots. Bend legs back into shape with pliers and touch up any bare metal.
Inspect wooden stakes for cracks and soft tips. Trim or replace any that seem weak. A stake that fails in July, loaded with fruit, makes a real mess.
Think about sizing, too. Indeterminate tomatoes can grow six feet or taller, and small store-bought cages often struggle with them. Upgrade to taller cages or sturdy stakes for those big growers.
Set supports in place at planting time, not weeks later. Pushing a stake in next to an established plant can damage its roots.
Jot a few notes in a garden journal. Record which cages held up and which ones bent. Over a few seasons, you’ll know exactly what to buy and what to retire. Good gear, cared for each fall, quietly makes every summer harvest easier.