14 Easy Steps To Bring Your Amaryllis Bulb Back To Life

Many gardeners stash away their amaryllis bulbs, hoping for a second bloom. If you’re one of them, you might be wondering—what’s next?
It’s time to wake that bulb from its slumber and bring it back to life.
Just follow these simple steps to get your amaryllis growing strong and blooming bright once again!
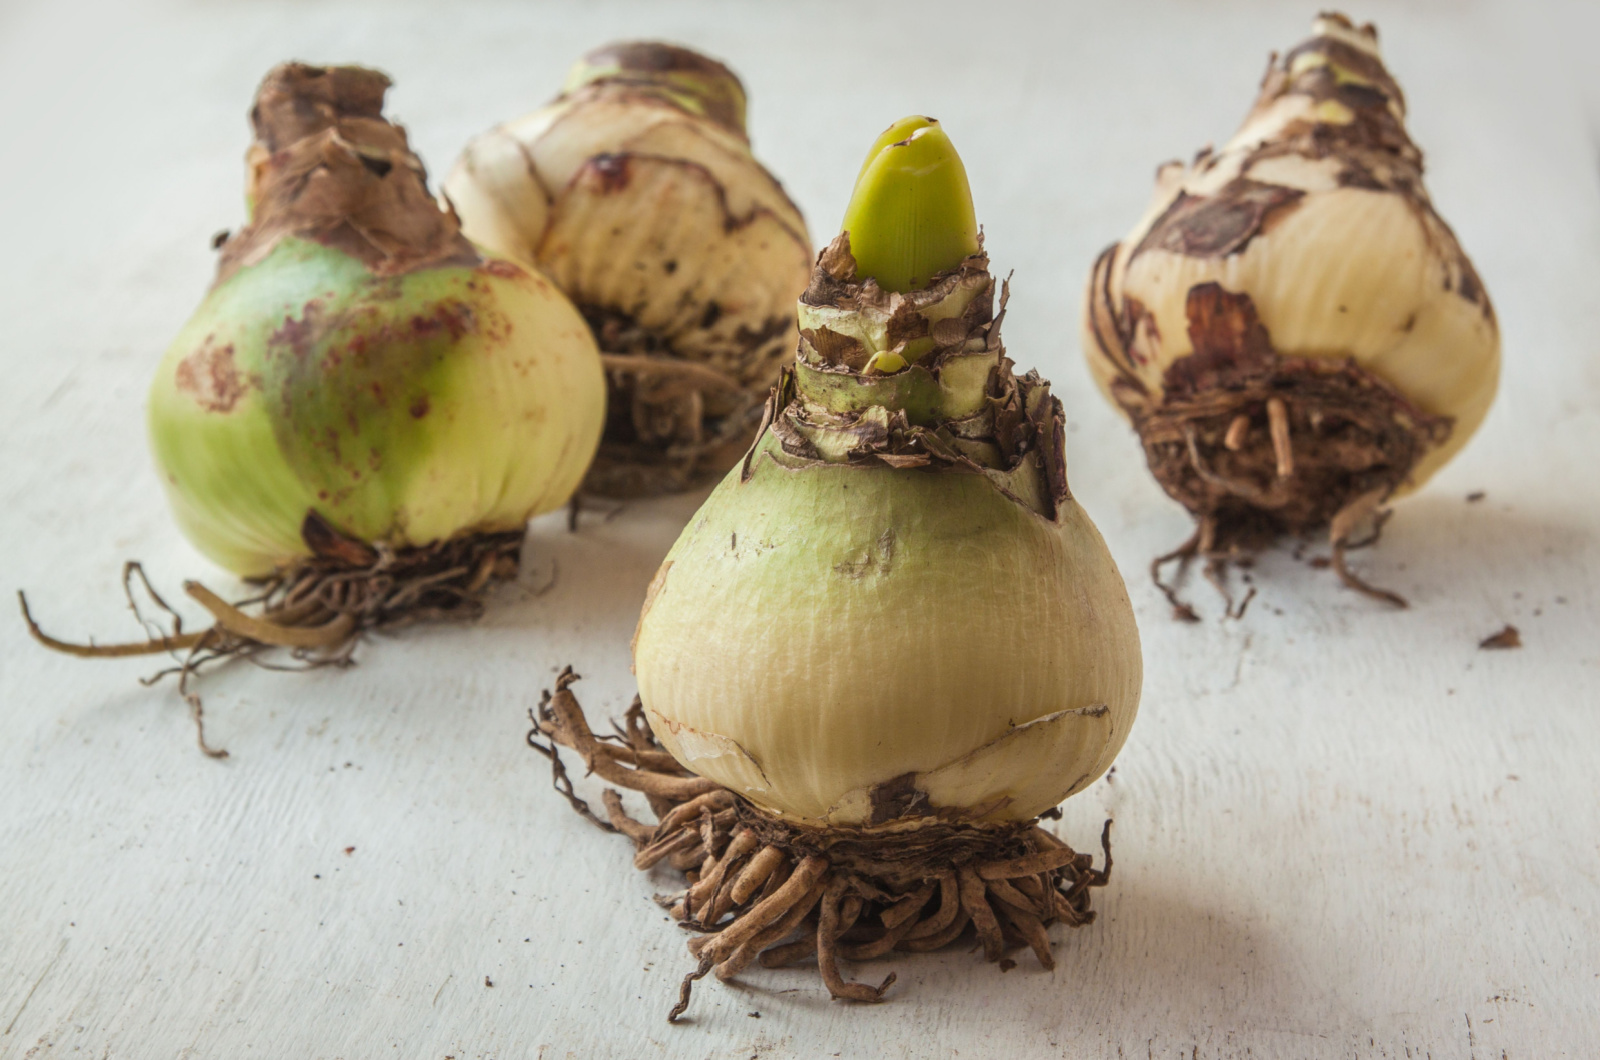
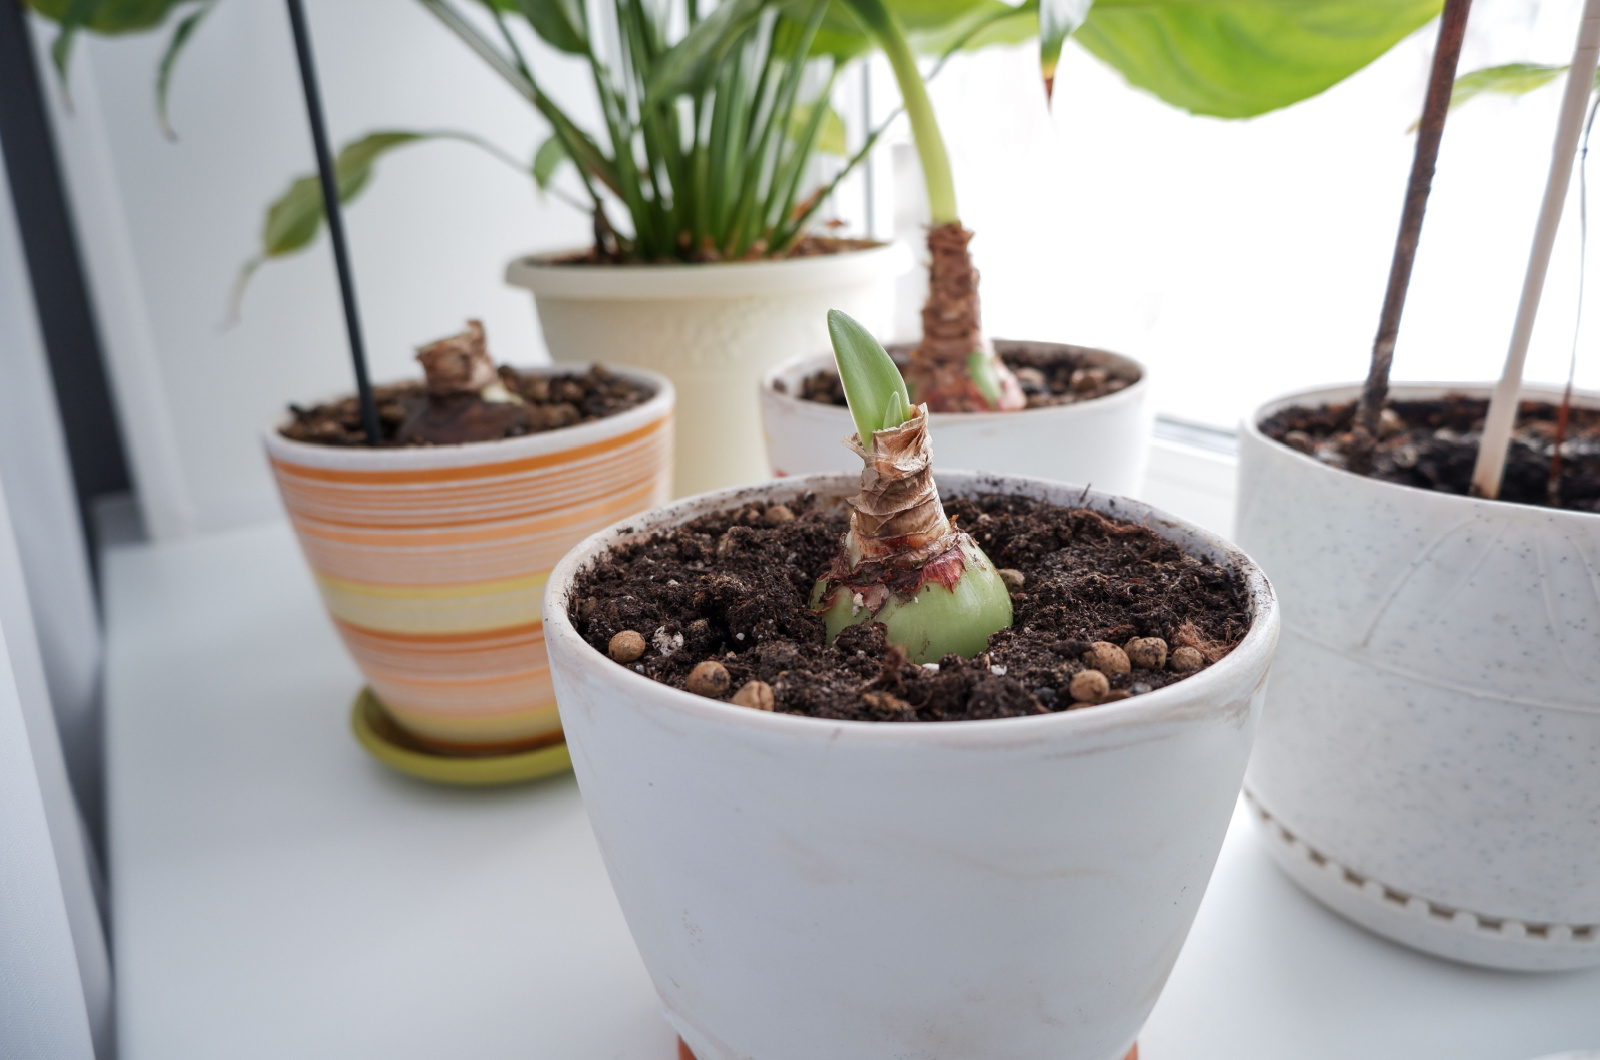
1. Inspect The Bulb
You can actually choose the time when you want your amaryllis bulb to bloom. For instance, if you take the bulbs out of storage in November, they’ll be ready for blooming during Christmas.
If you do it in early December, you can expect blooms a little later.
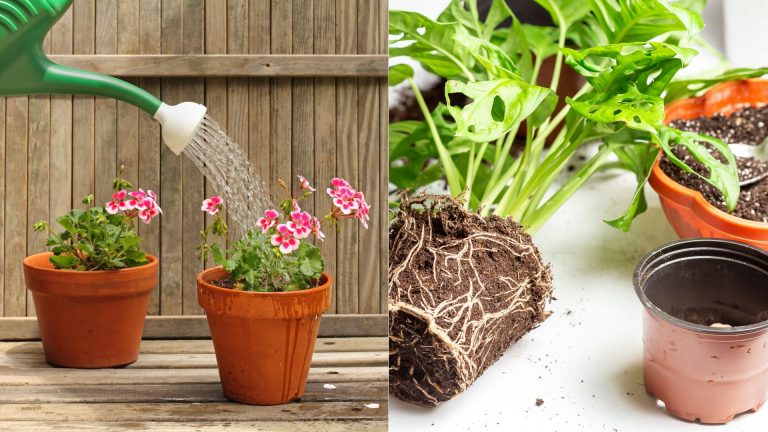
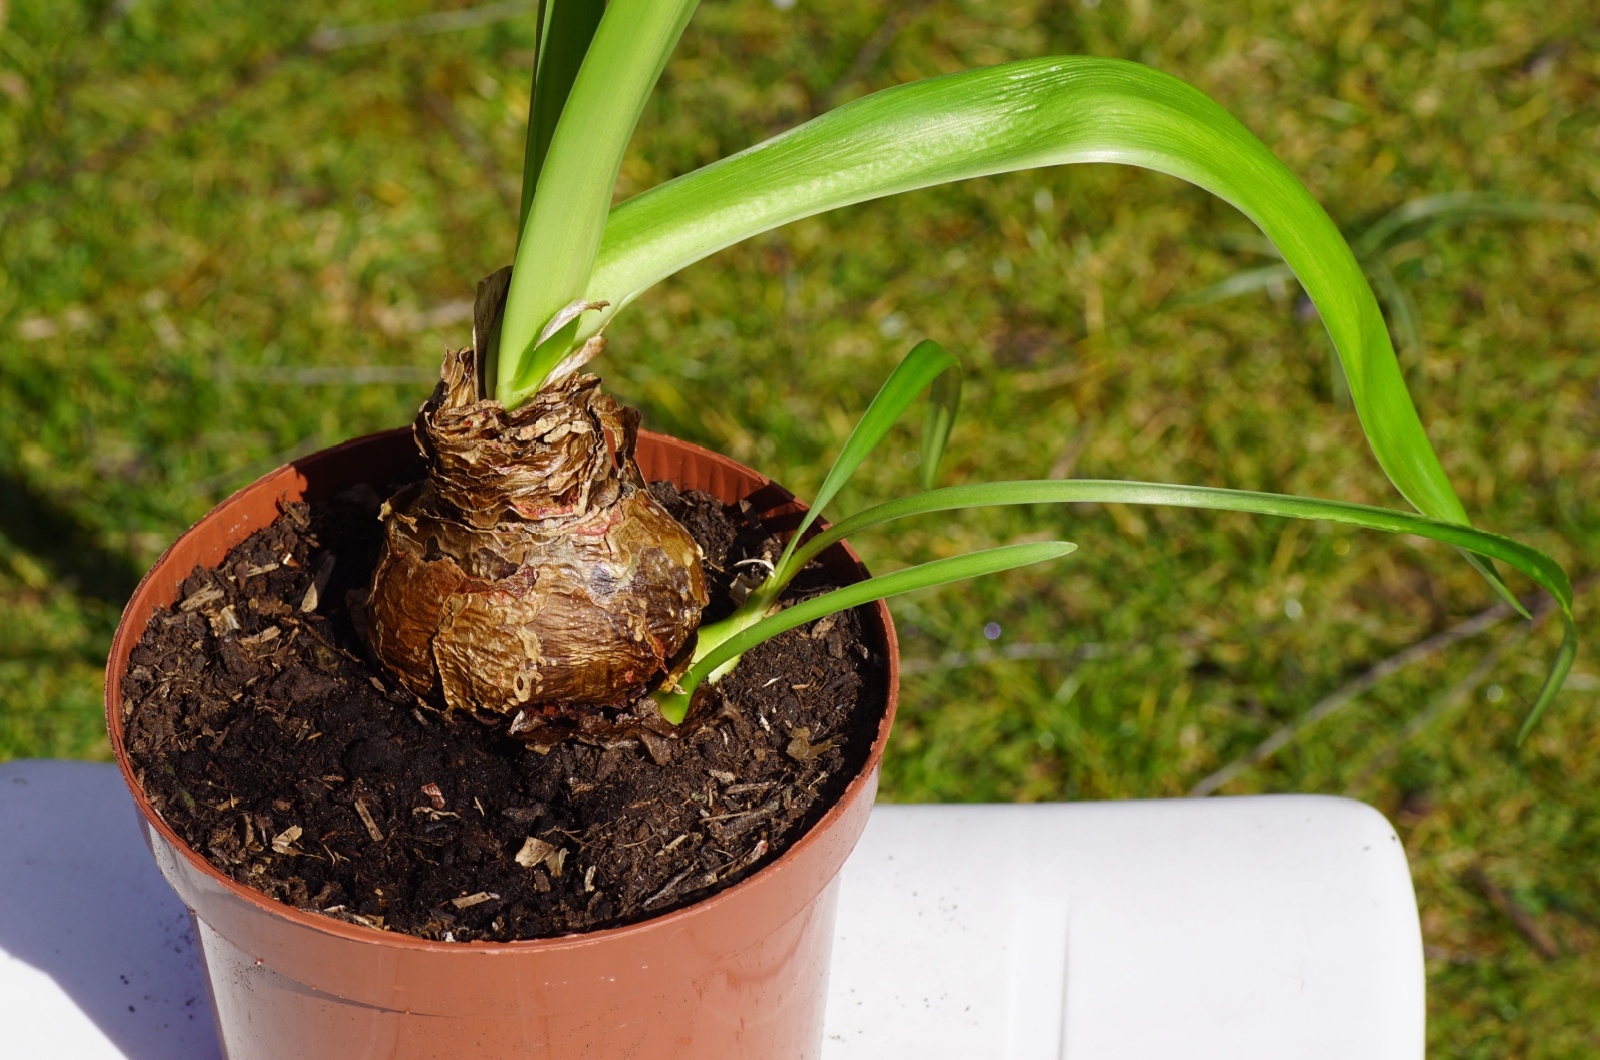
The first step in reviving amaryllis bulbs is to inspect them carefully. So, take your bulbs and squeeze them gently. If they’re firm and their outer skin is papery, you have healthy bulbs.
On the other hand, if the bulbs are mushy, there is mold on the outer skin, or the roots are diseased, your bulbs are unhealthy and there’s not much you can do.
2. Clean The Root System
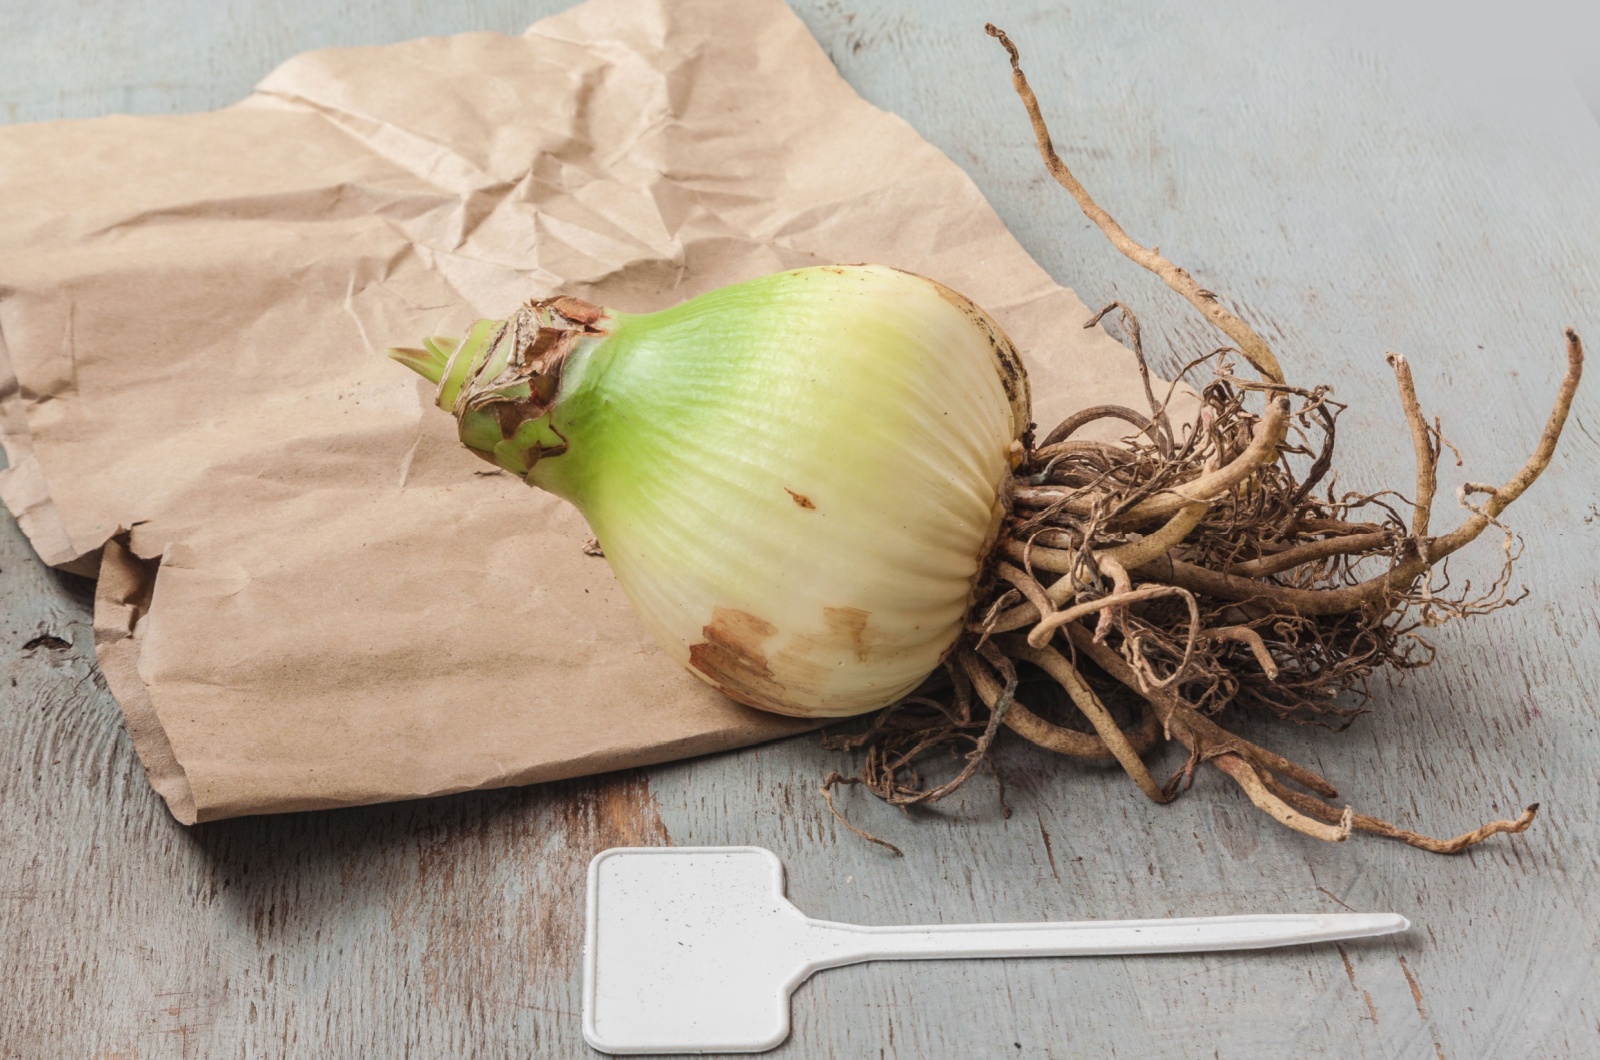
The next step is to clean the amaryllis bulb root system. Your main goal is to remove any excess dirt but be careful not to damage the roots.
I always use a soft nail brush for this purpose but make sure it’s dry before use.
After you get rid of the soil, the next step is to remove the elongated, untidy roots that are closest to the bottom of the bulb.
The best idea would be to leave amaryllis roots that are about an inch long.
3. Select A Pot
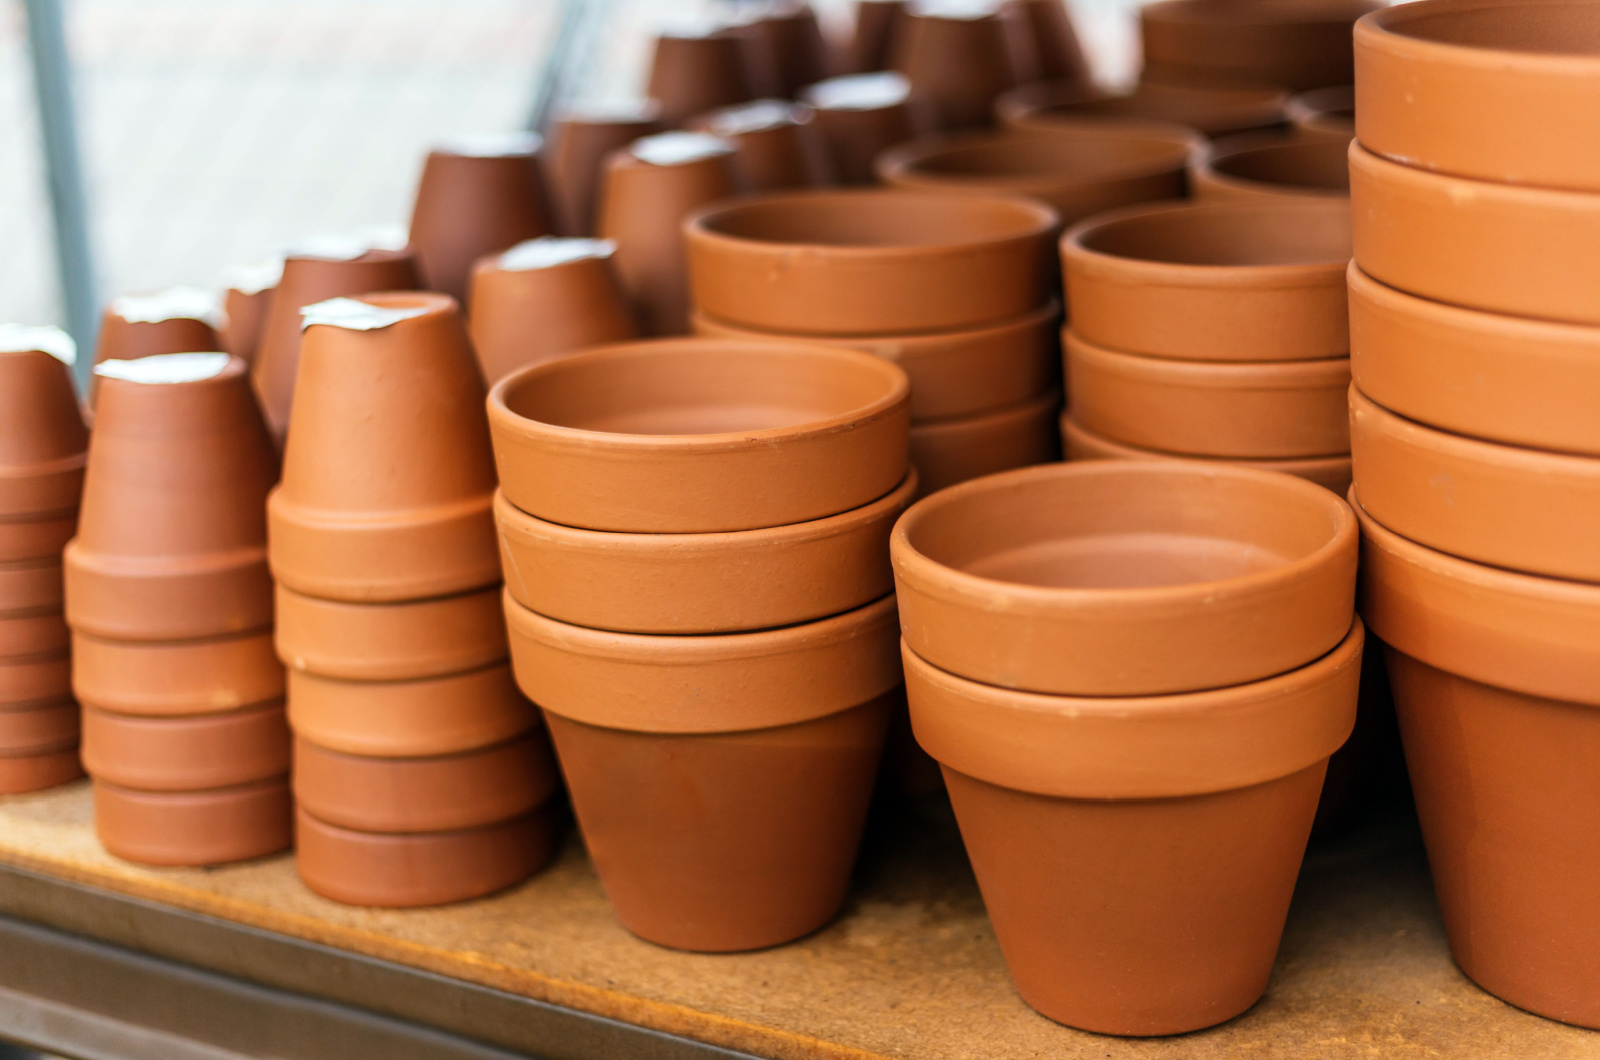
Your Christmas plant will need a new pot, approximately 2 inches larger in diameter than the bulb.
Since overly wet soil is the leading cause of rotting in amaryllis bulbs, make sure the selected pot has drainage holes.
You can always go with the classic terracotta pots or select some with adorable festive decorations.
If the pot you like most doesn’t have drainage holes, keep the bulbs in a standard nursery pot. Put a layer of pebbles in a decorative pot and add the nursery pot above.
This method will help you avoid waterlogging and rotting, but make sure you empty the decorative pot after every watering.
4. Add Growing Substrate
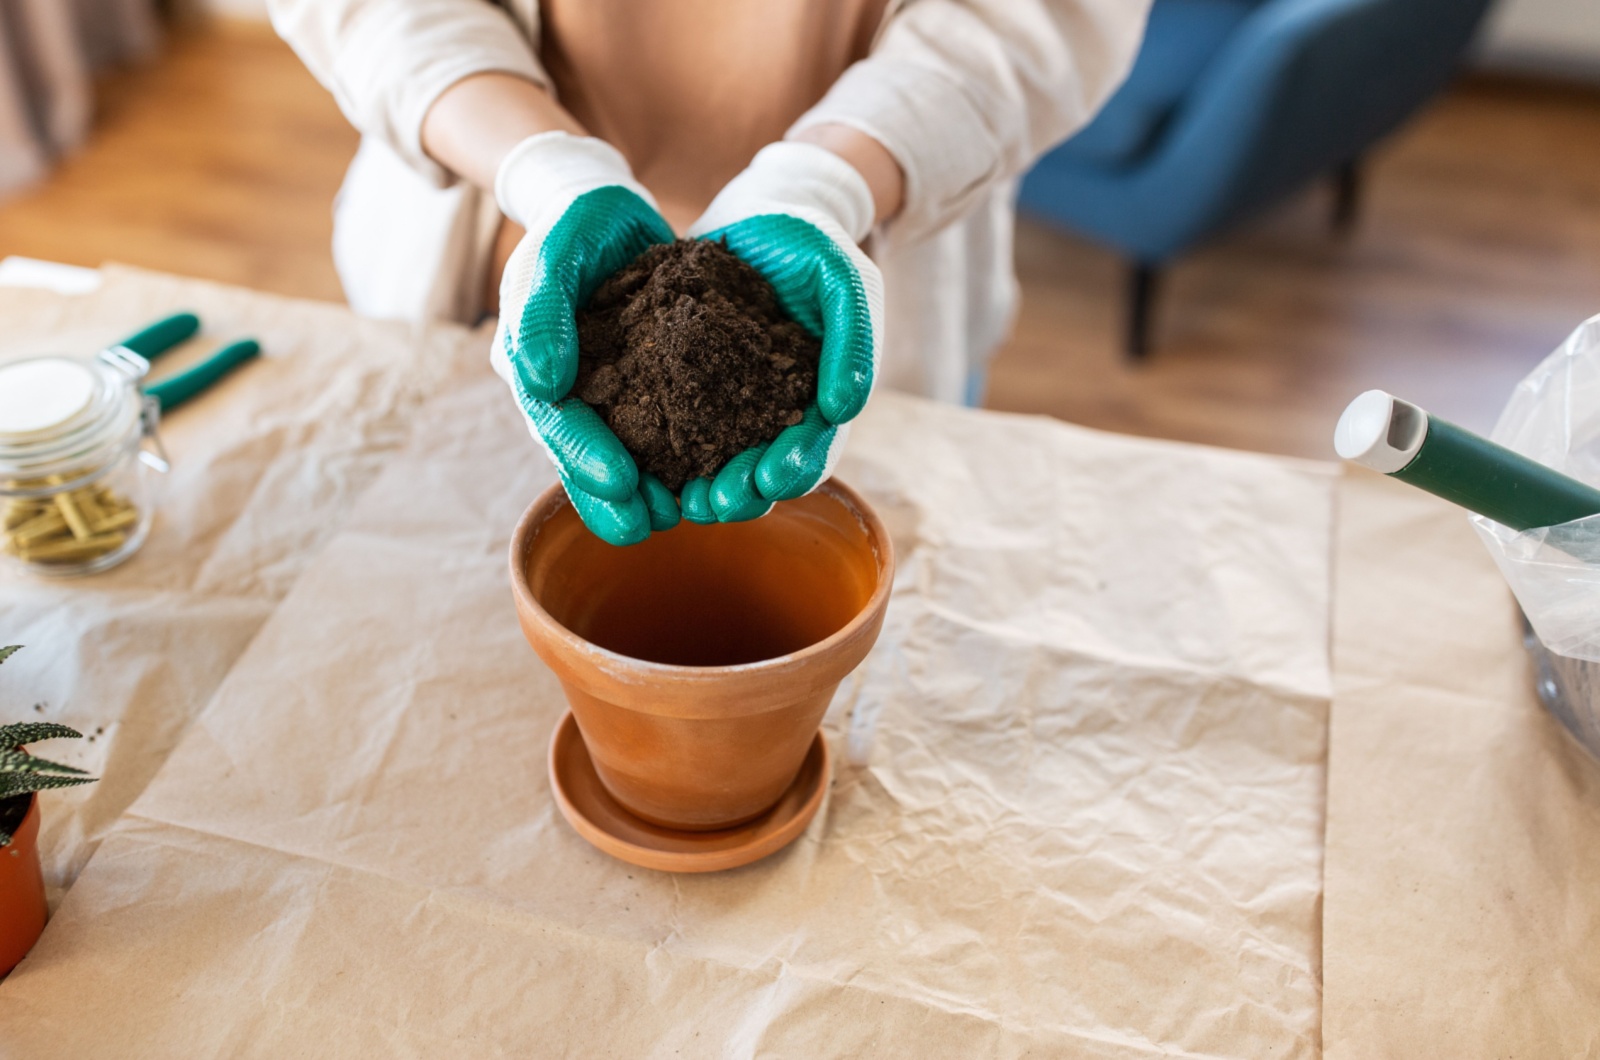
Amaryllis plants aren’t finicky over the growing substrate. The essential thing is to select a substrate with excellent drainage.
For instance, if you have ready potting soil at hand, simply add some perlite to improve drainage and put your amaryllis bulb in it.
Alternatively, use coconut coir, which has proven to be amazing for bulbs.
5. Replant The Bulb
After you prepare the pot and fill it with a suitable growing substrate, you can move on to replanting your amaryllis bulb.
Carefully press the bulb into the pre-moistened growing substrate, making sure the upper ⅔ of the bulb stays above the soil surface.
Pack the soil around your replanted amaryllis bulb well.
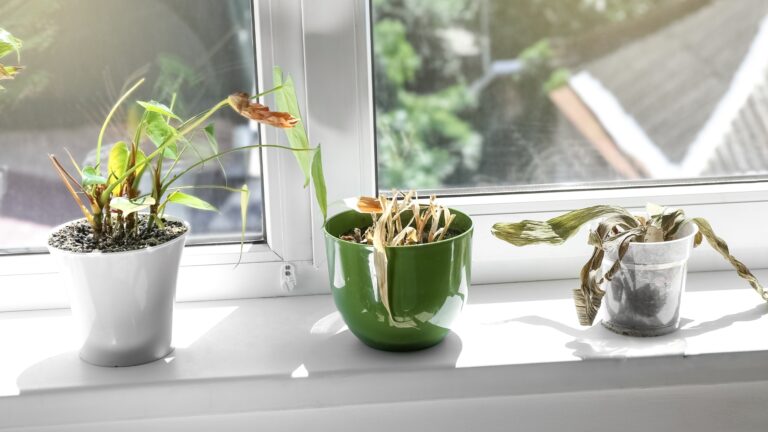
6. Irrigate
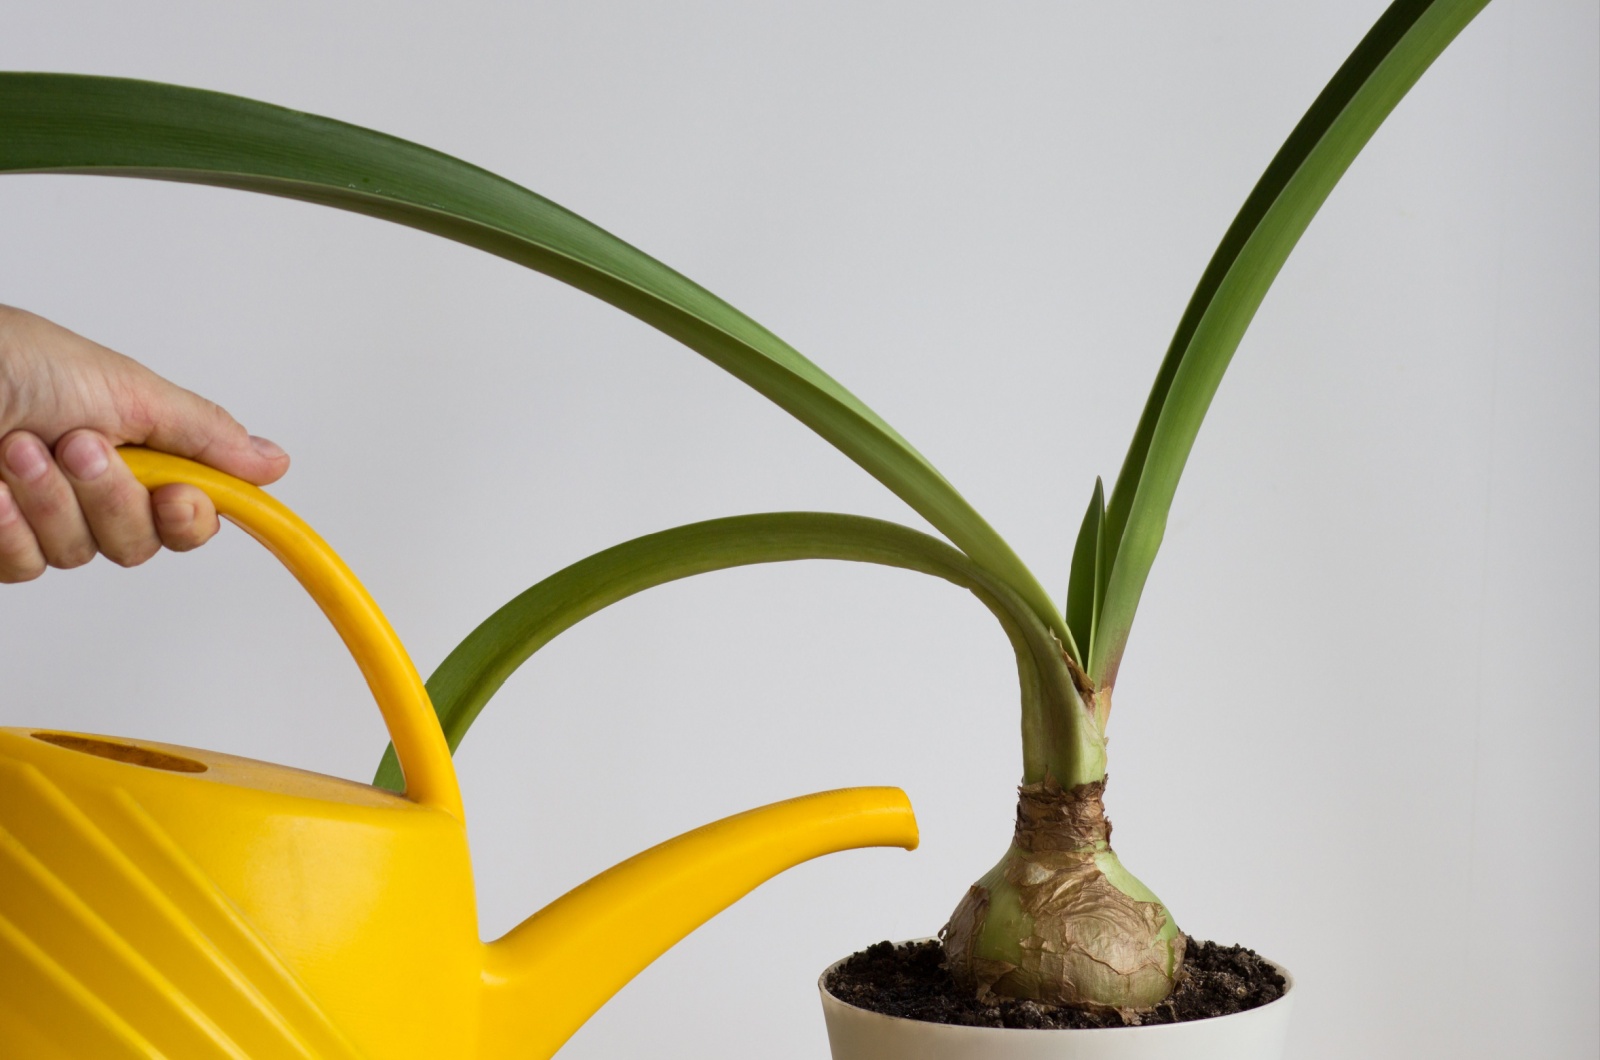
Your bulbs need to be rehydrated at this point, so water them thoroughly. Make sure you let the soil drain well after irrigation to avoid rotting in your amaryllis bulbs.
It’s essential to keep the growing substrate consistently moist in the next few weeks. Never allow the soil to dry out entirely, but be careful it’s not waterlogged.
Simply put your finger in the soil before you water your amaryllis; if it’s dry an inch below the surface, continue watering.
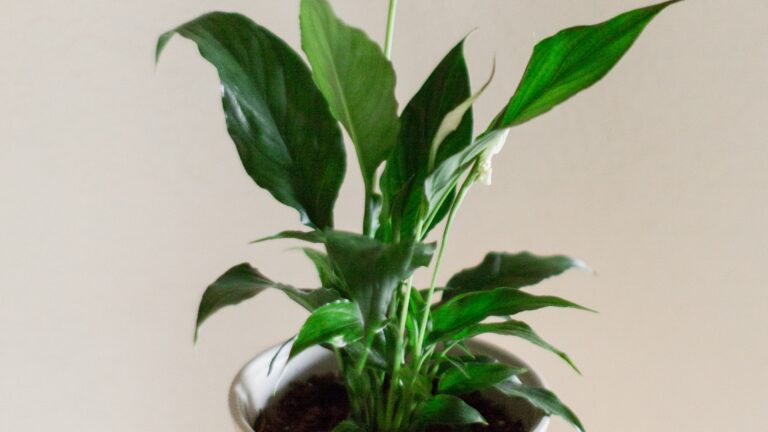
7. Ensure Enough Light
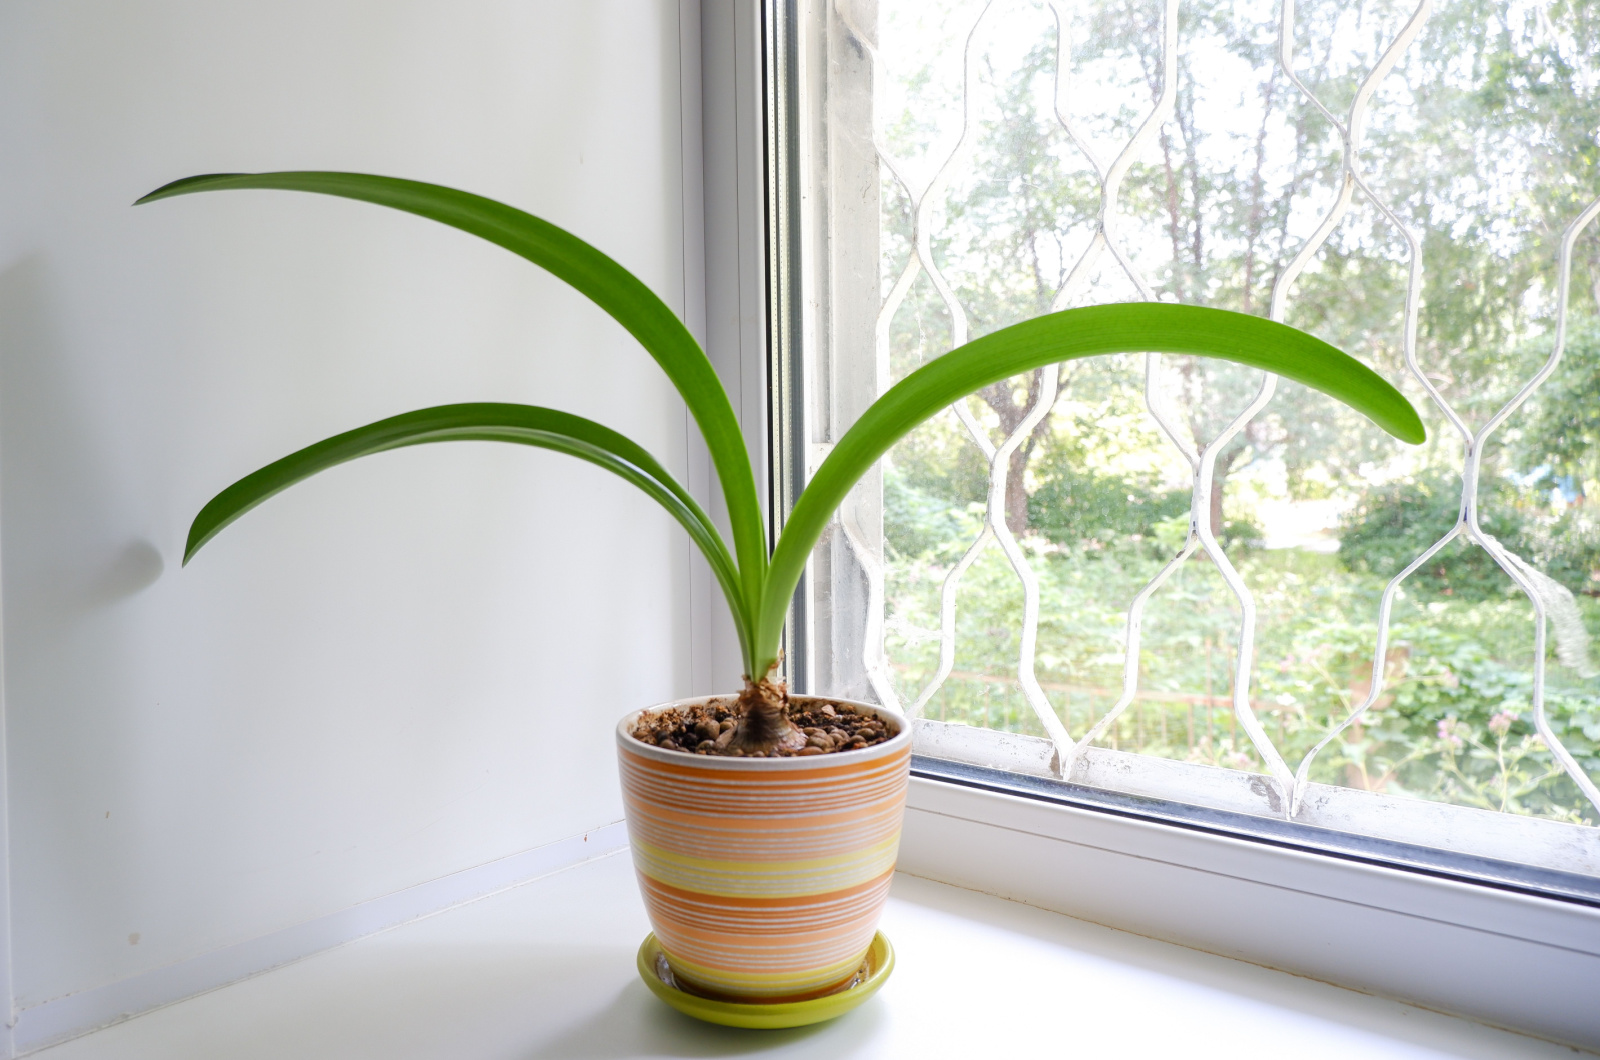
Your amaryllis bulbs will need a lot of sun to rebloom. You should find the sunniest spot in your household; a spot near a south- or west-facing window is ideal.
Just like other blooming plants, amaryllis is sensitive to direct sun, so make sure to select a spot with a lot of bright but indirect light.
If you can’t provide your bulbs with such a spot, I highly recommend using artificial lights.
8. Fertilize Your Amaryllis Bulb
As soon as your amaryllis bulbs display new shoots, you should start with feeding. A balanced liquid fertilizer is an excellent option and you should apply it every few weeks for best results.
Your bulbs need more nutrients to display new and healthy growth. However, you’ll need to supplement them with phosphorus-rich fertilizers, such as bone meal, during the warmer months.
9. Ensure Support
This step isn’t always necessary, so it’s important to observe the development of the buds.
If they are too large compared to the stem, you’ll need to ensure structural support; a bamboo stake or wooden dowel will do a perfect job.
I have to mention that amaryllis stems are robust but the last thing we want is breaking.
10. Control The Temperatures
One of the ways to encourage your amaryllis to generate blossoms during Christmas is to control temperatures.
You can keep the bulbs in a dark room at temperatures ranging from 60 to 65 degrees Fahrenheit a couple of weeks after initial planting.
After the dark and cool period, you can relocate your amaryllis bulbs to a well-lit spot to encourage flower production.
11. Rotate for Even Growth
Your amaryllis will naturally reach for the light, which can cause it to lean in one direction. To keep the stem growing straight and balanced, rotate the pot every few days.
A quarter turn every couple of days should do the trick! This simple step helps prevent a lopsided plant and ensures that all sides receive equal exposure to light. If your amaryllis starts looking like it’s doing yoga poses, it’s time for a spin!
12. Deadhead Spent Blooms
Once the flowers fade, it’s time for a little cleanup. Use sterilized scissors or pruning shears to snip off spent blooms right where they meet the stem.
This keeps your plant looking tidy and encourages energy to be directed back into the bulb for future growth. Just be careful not to remove the leaves—they help your amaryllis store energy for the next blooming cycle!
13. Prune Foliage After Blooming

After your amaryllis finishes blooming and the flower stalk begins to wither, it’s time to prune. Cut the stalk back to about an inch above the bulb, but leave the green foliage intact.
These leaves are crucial—they’ll continue photosynthesis, which helps your bulb recharge for next season. Think of them as little solar panels gathering energy. Keep the plant in a sunny spot and continue regular watering and feeding.
14. Prepare For Dormancy

Once the growing season ends (usually late summer or early fall), your amaryllis needs a rest. Begin reducing watering and stop fertilizing altogether. As the leaves naturally yellow and wither, cut them back gently.
Then place the bulb—still in its pot or removed—in a cool, dark area with temperatures around 50–55°F. Let it rest for about 8–10 weeks before beginning the revival process again. A good nap equals a better bloom!
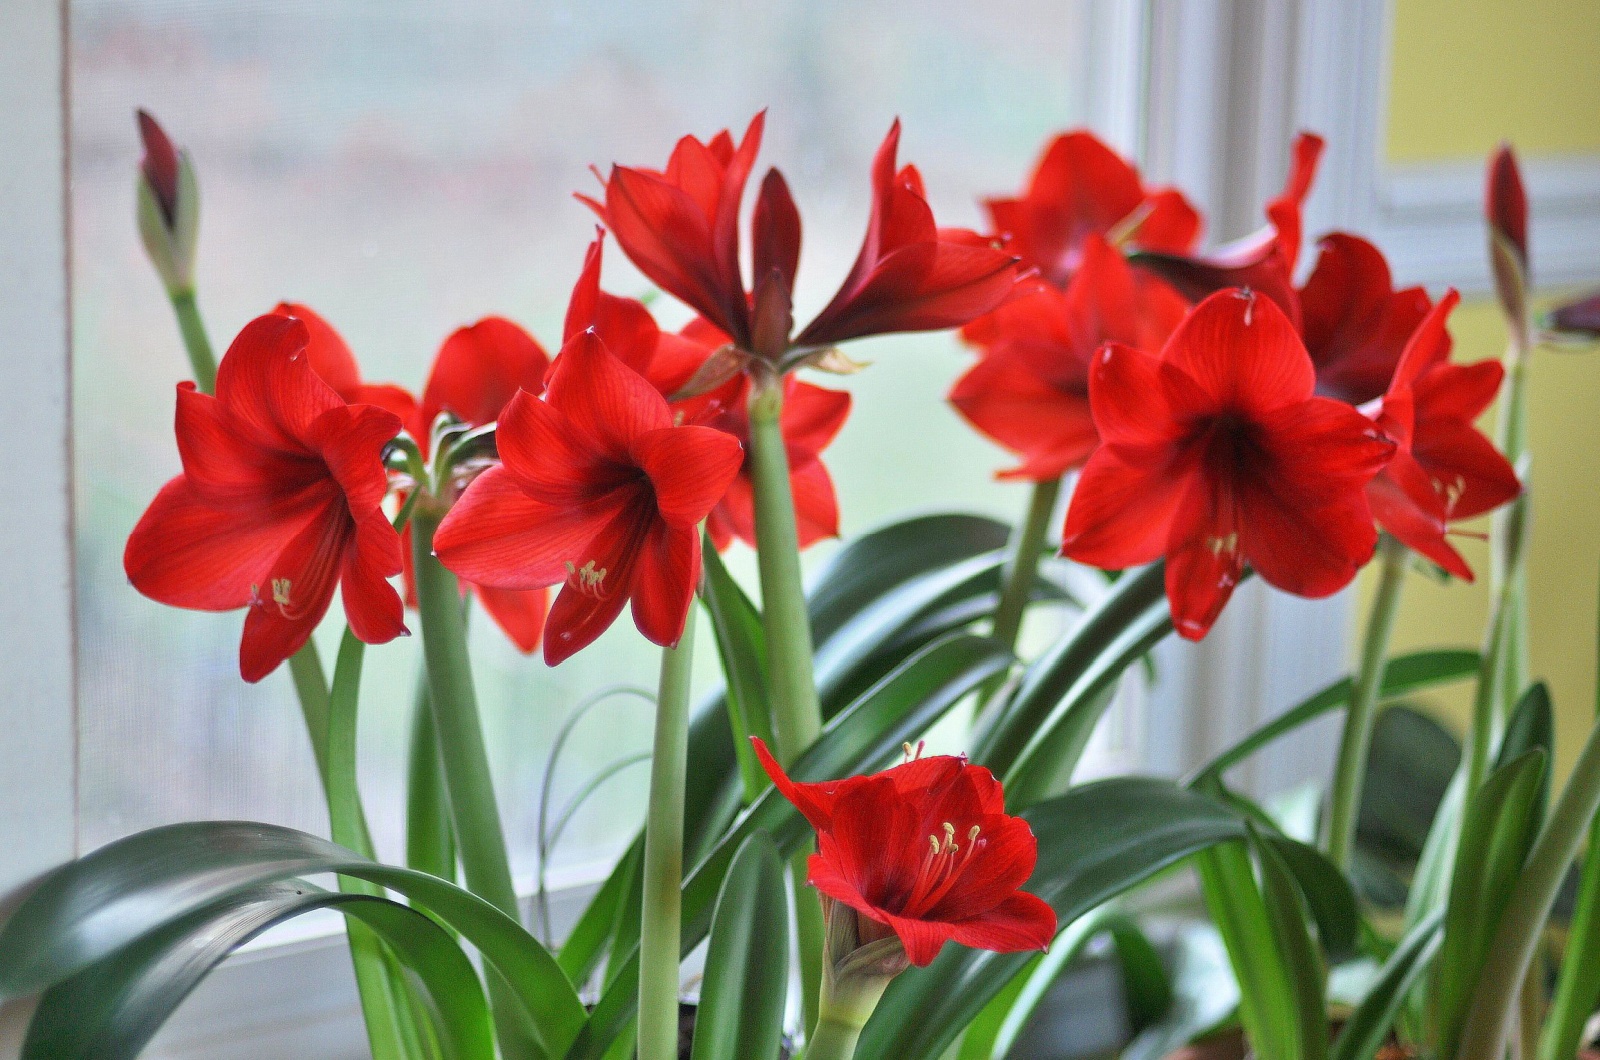
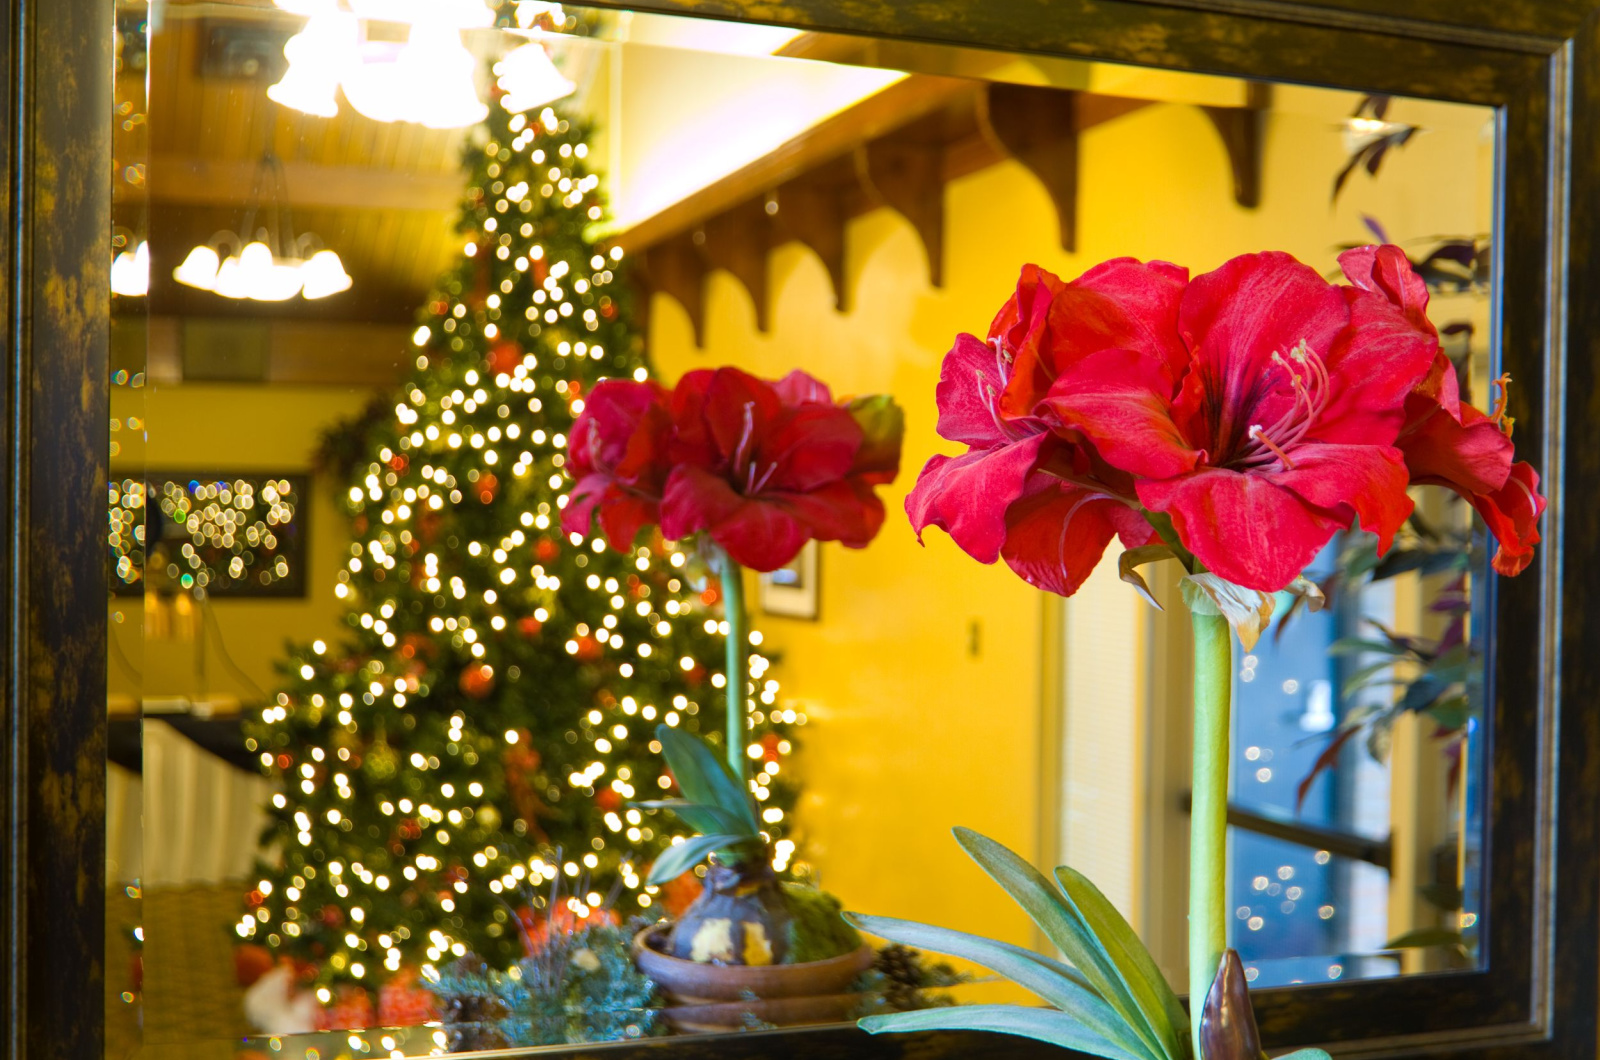
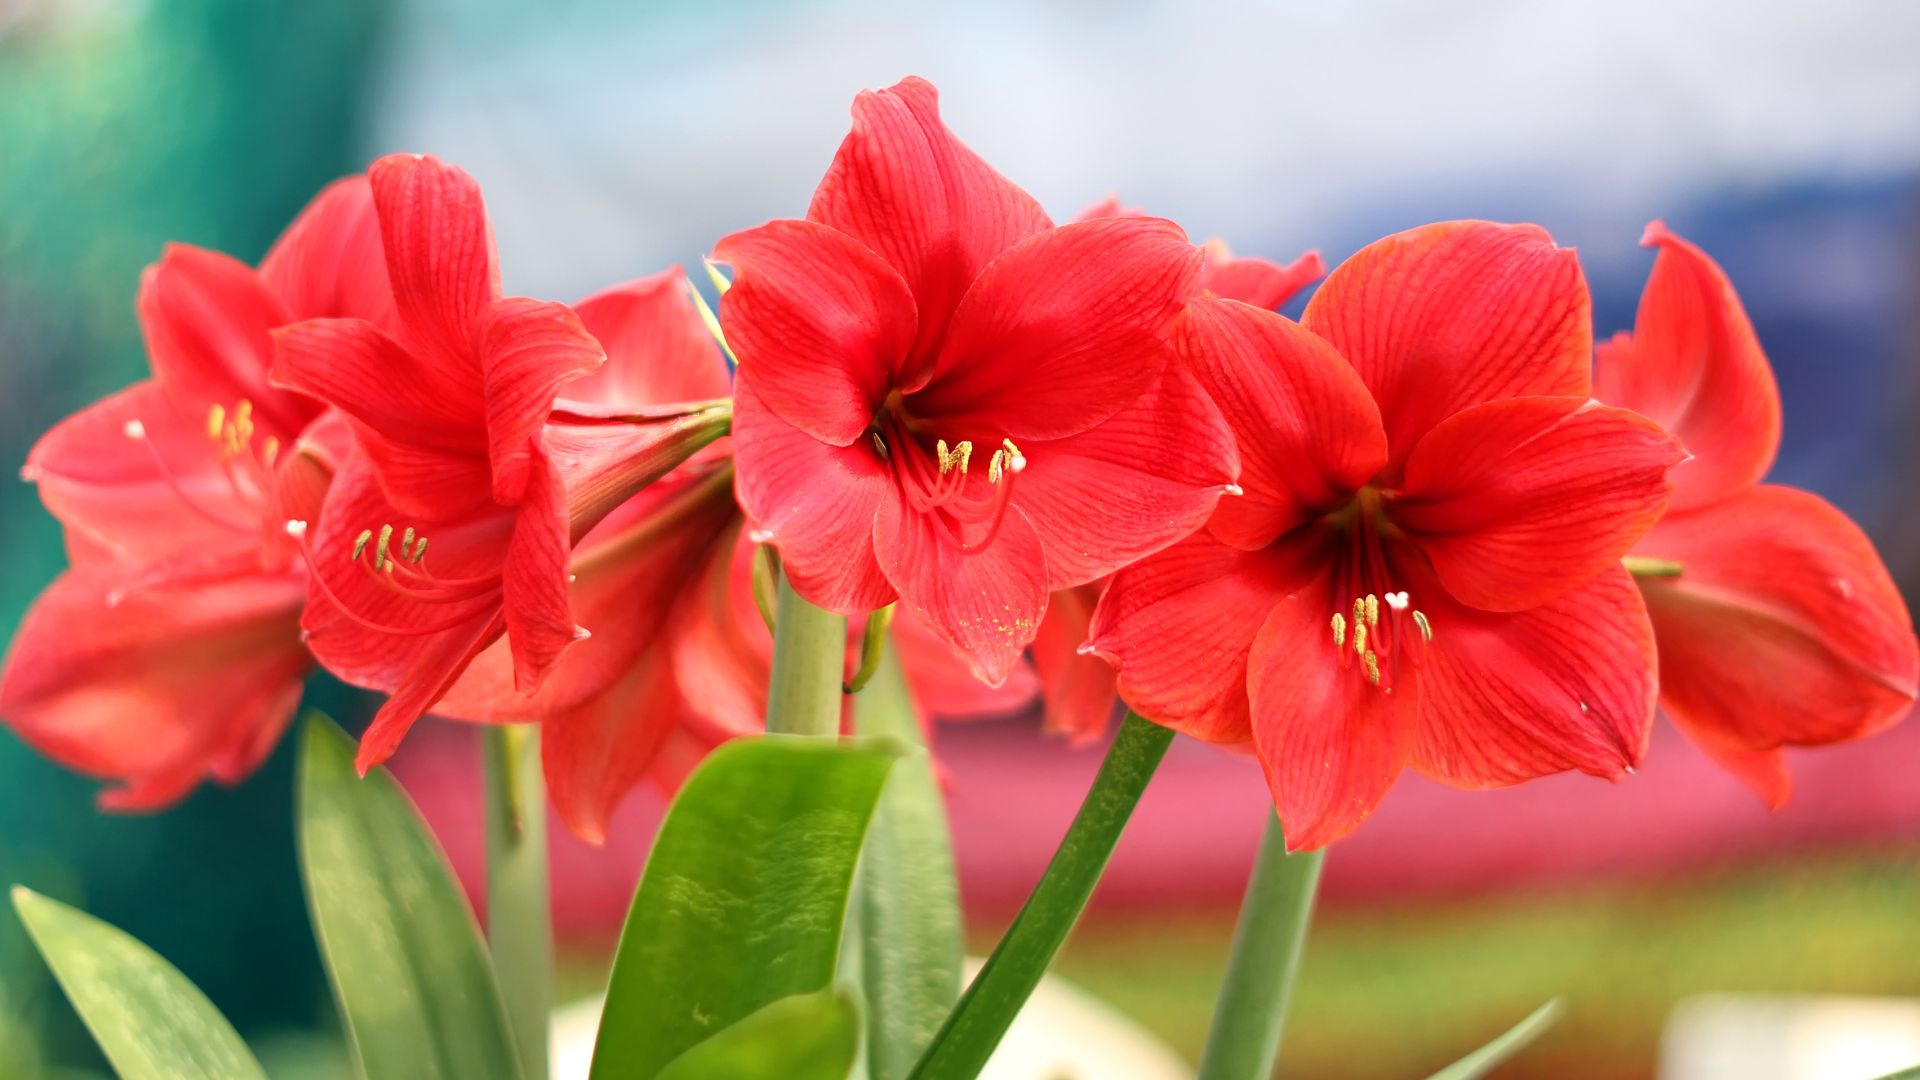
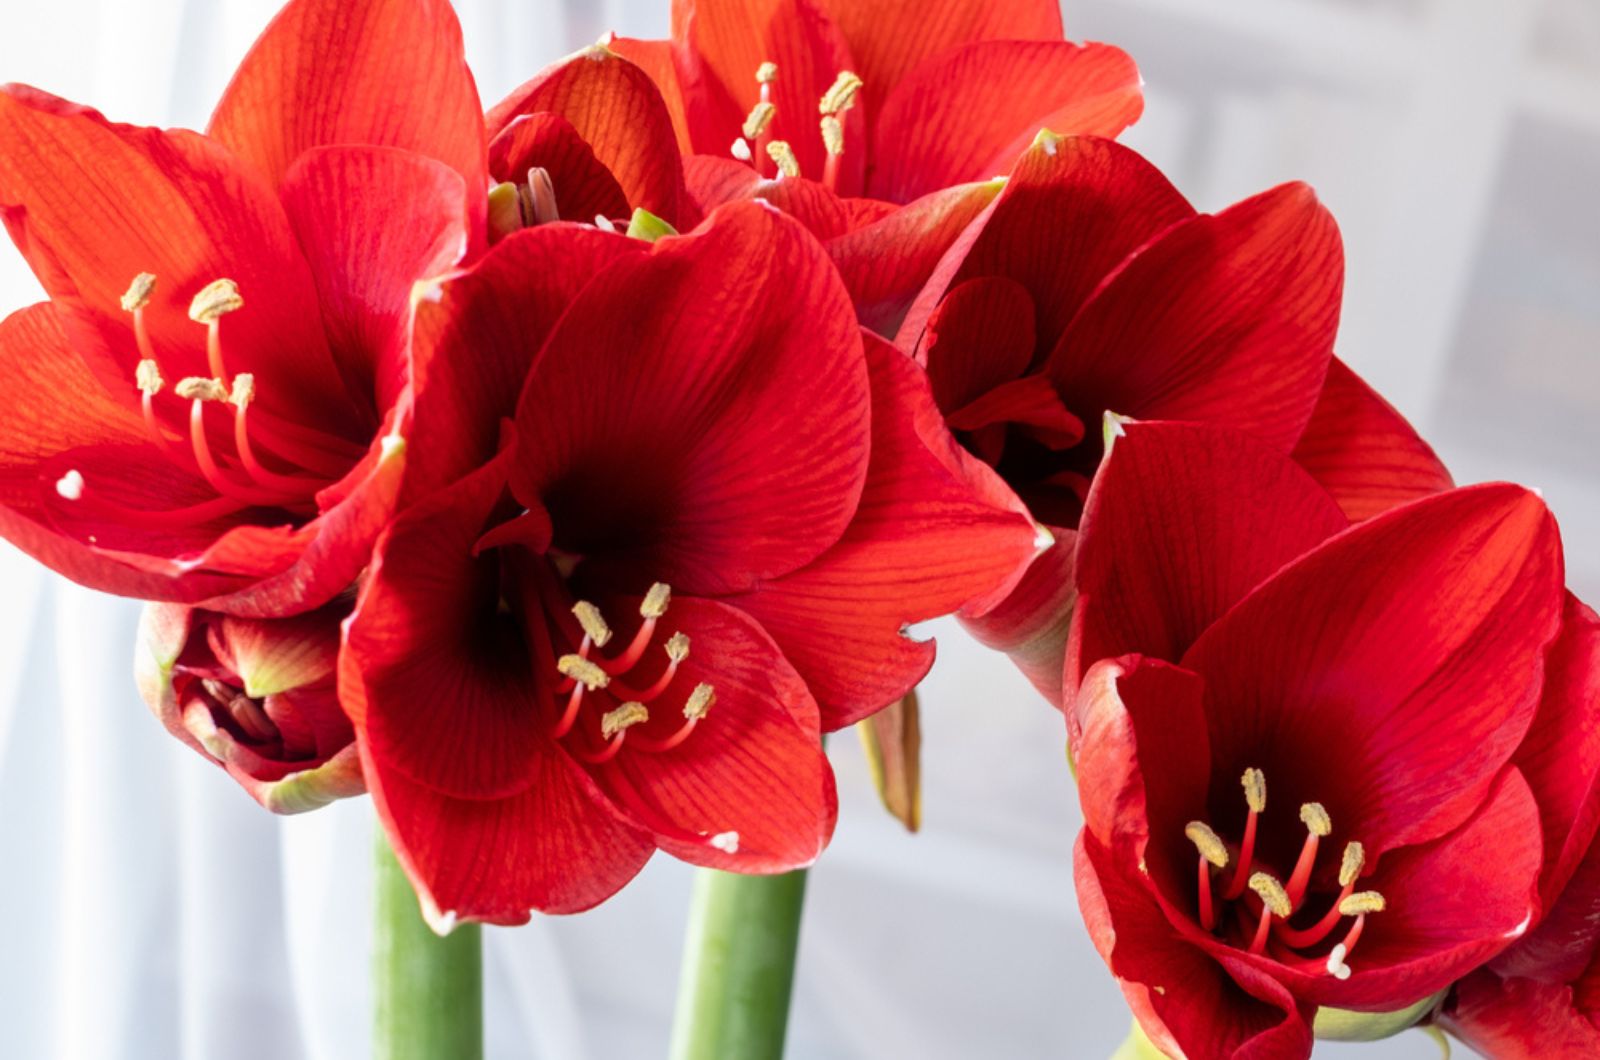
One more thing! Don’t forget to enjoy the magnificent amaryllis blooms during or after the festive season!