Late August Is A Good Time To Take Crape Myrtle Cuttings In Georgia

Those long flower clusters have finished their show, but your crape myrtle can still give you something new before summer slips away.
Late August opens a useful propagation window. Healthy shoots from this season can become the beginning of entirely new plants with surprisingly little plant material today.
This is where Georgia gardeners can turn routine garden growth into free crape myrtles for another spot outside.
Choose your stems carefully rather than grabbing whatever looks convenient.
Fresh cuttings need the right balance of maturity and flexibility. Timing matters too, since summer growth changes as the plant begins moving toward its next seasonal phase.
One small branch can hold more potential than it seems. Handle it correctly now, and you may have young crape myrtles developing from plants you already enjoy.
1. Choose Healthy Stems From This Season
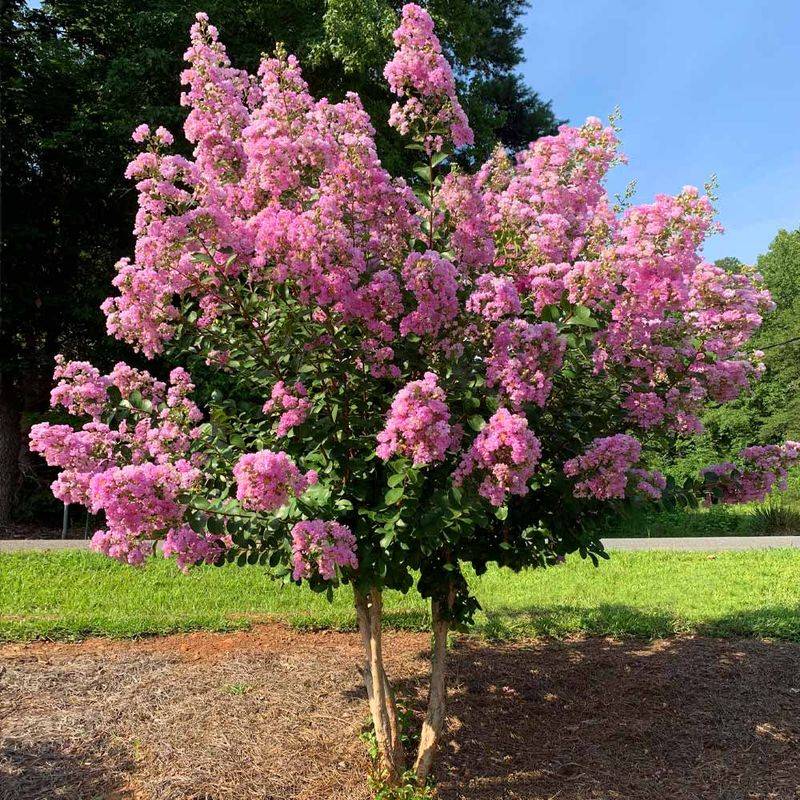
Not every stem on a crape myrtle is worth cutting. Picking the right one from the start makes a real difference in how well your cutting roots.
Look for stems that grew this year. Semi-hardwood growth is what you want.
That means stems that are no longer soft and floppy, but have not fully hardened into woody bark yet. Bend a stem gently.
If it snaps with a little resistance, it is ready. If it bends without breaking, it is too soft.
If it feels like a small branch, it is too old.
Healthy stems should be a consistent green or slightly reddish color with no spots, no discoloration, and no visible pest damage. Avoid stems that look stressed or pale.
A cutting from a weak stem rarely performs well, no matter how carefully you handle it afterward.
Aim for stems that are roughly four to six inches long and have at least two or three sets of leaves. Thicker is not always better.
A pencil-thin stem with good color and firm texture is often the ideal candidate.
Take cuttings in the early morning when the plant is well hydrated. Heat can stress a freshly cut stem quickly.
Getting them into your rooting setup fast gives each one the best possible start.
Choosing several suitable stems at once also gives you a better chance of ending up with multiple successfully rooted plants.
2. Cut Each Stem Just Below A Leaf Node
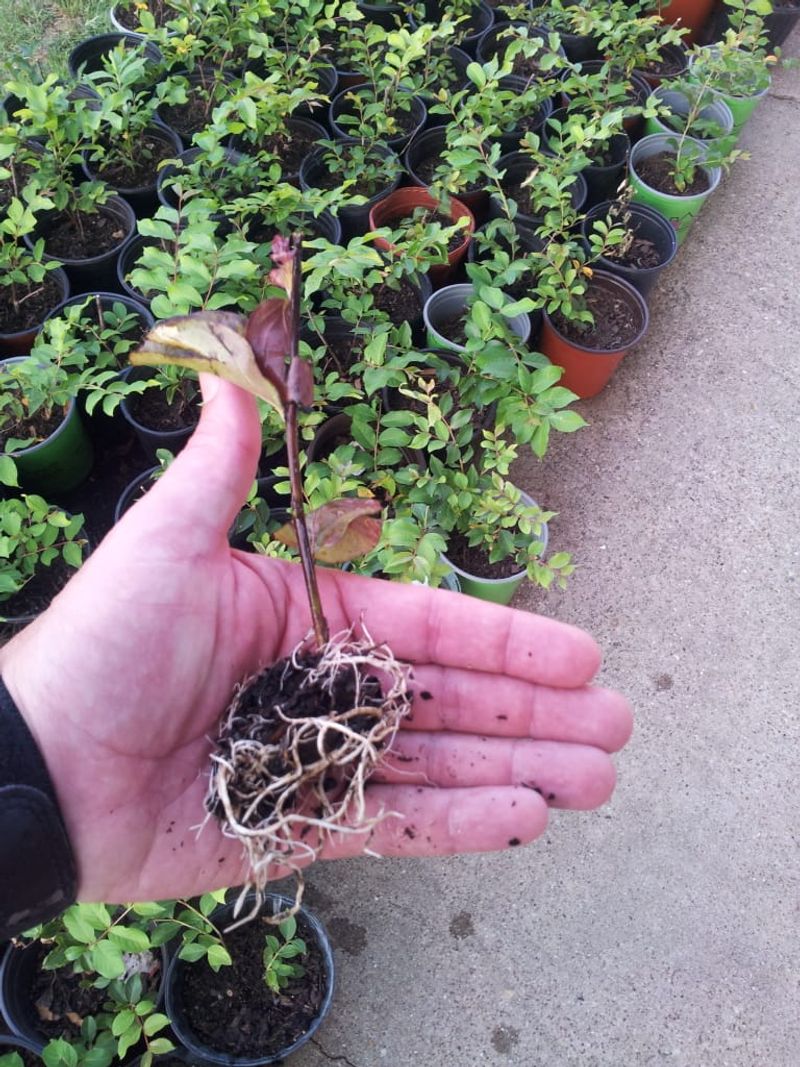
Where you make the cut matters more than most beginners expect. Cutting in the wrong spot can slow rooting or prevent it from happening at all.
A leaf node is the small bump or joint where a leaf attaches to the stem. Roots tend to develop most readily from these points.
Cutting just below a node, roughly a quarter inch down, puts that rooting zone right at the base of your cutting where it contacts the rooting medium.
Use sharp, clean pruning shears or a blade. A clean cut reduces the chance of stem damage at the base.
Ragged or crushed ends can struggle to root properly. Wipe your blade with a clean cloth between cuts if you are working with multiple plants.
Your Georgia Garden Changes Every Week. Your Plan Should Too.
Gardening in Georgia changes quickly throughout the season. Every Friday you’ll receive a simple weekly plan showing exactly what to plant, prune, fertilize, harvest, and protect so you never miss the right timing.
Cut at a slight angle if you prefer. Some gardeners find that an angled cut increases the surface area at the base, which may support faster root development.
Others cut straight across with good results. Either approach can work.
Make each cut decisive. Do not saw back and forth.
One smooth motion keeps the stem tissue intact and clean. Once cut, keep the stem out of direct sun and get it into your rooting setup quickly.
Wilting a cutting before it even gets started puts it at a disadvantage right from the beginning.
Having your rooting container prepared beforehand lets you place each fresh cutting into the medium without unnecessary delay.
3. Strip The Lower Leaves From Each Stem
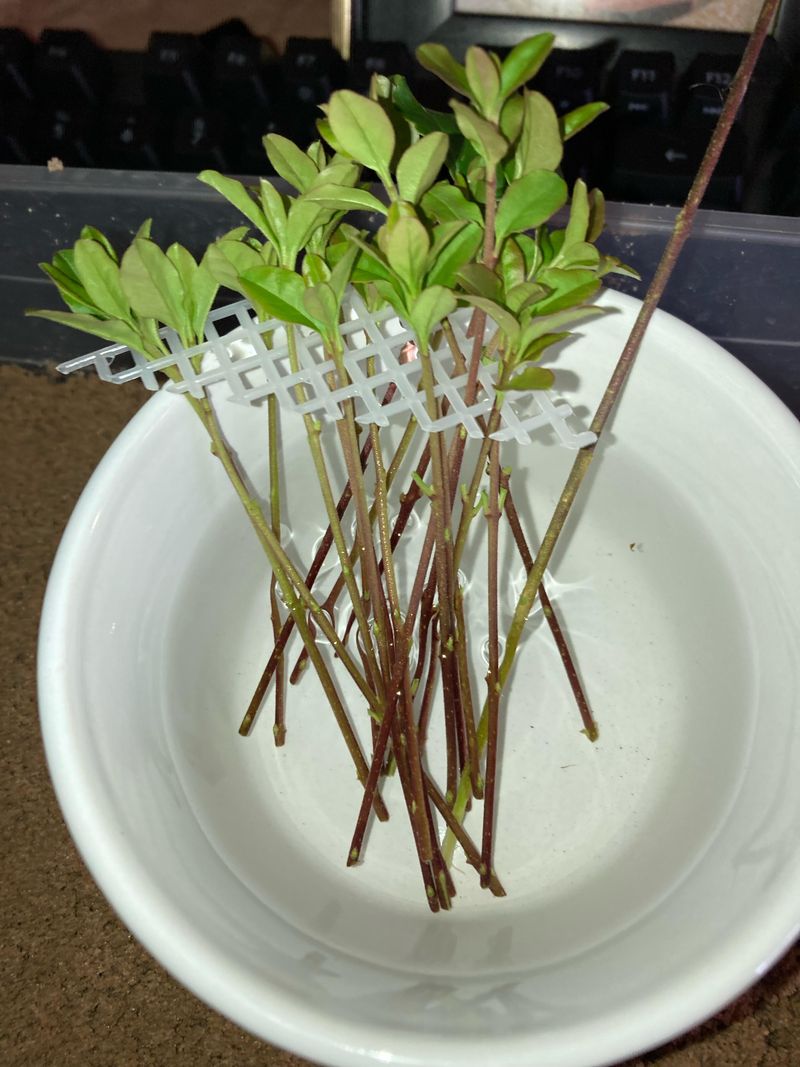
Bare stems root better than leafy ones. Stripping the lower leaves is a small step that carries a lot of weight in the propagation process.
Leaves left below the soil line will break down quickly in a moist rooting mix. That decay can introduce bacteria and create problems around the base of your cutting.
Removing those leaves before you plant prevents that issue before it starts.
Leave only the top two or three sets of leaves in place. Those remaining leaves still allow the cutting to photosynthesize a little, which helps it stay alive while roots are forming.
Too many leaves, though, pull moisture out of the stem faster than the cutting can handle without an established root system.
Strip leaves with a downward motion, pulling toward the base of the stem. Be gentle.
Tearing bark along with a leaf can create a wound that slows rooting. If a leaf does not come off cleanly, use a small blade to remove it instead.
Some gardeners also trim the remaining leaves in half to reduce moisture loss even further. This is not required, but it can help during warm spells when heat stress is a concern.
In Georgia’s late August heat, keeping moisture balanced is one of the trickier parts of getting cuttings to root successfully.
4. Pinch Off Any Flowers Or Seed Heads
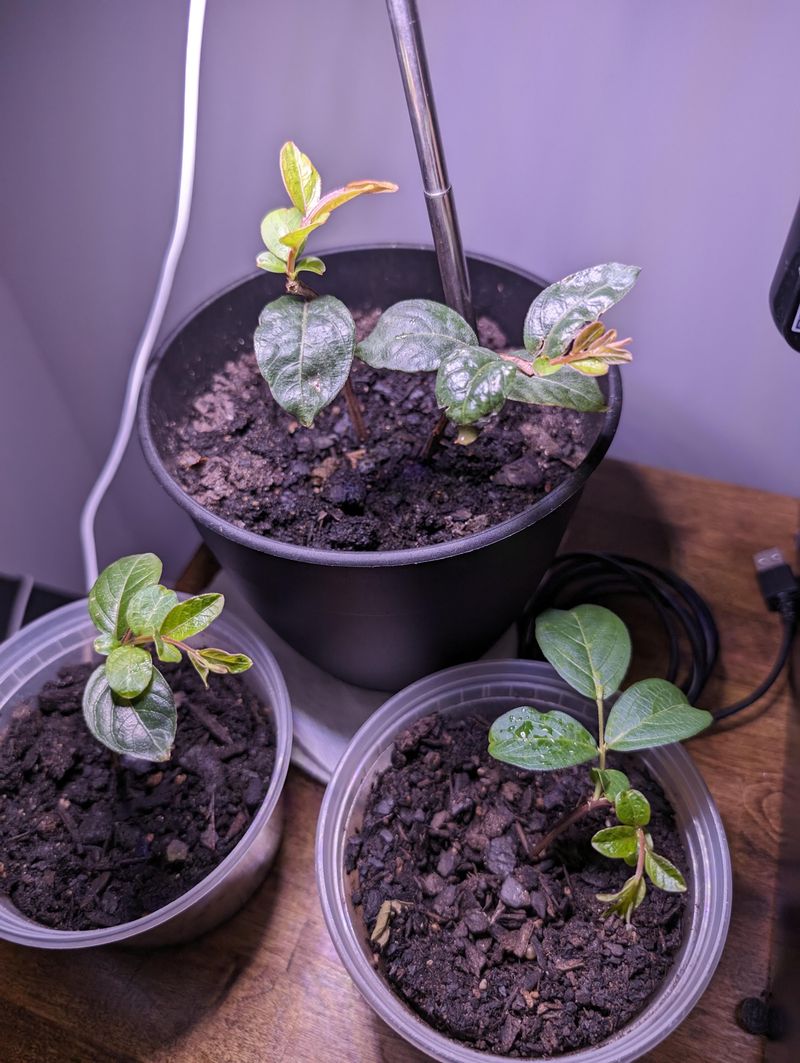
Flowers look beautiful on a crape myrtle, but they are a liability on a cutting. Any energy the stem spends on blooms is energy that will not go toward producing roots.
Late August is prime bloom time across much of the South. Many cuttings you take will still have flower clusters or developing seed heads at the tips.
Pinch them off cleanly before you do anything else with the cutting.
Removing flowers redirects the plant’s energy. Without a bloom to support, the stem focuses its resources on survival and root production.
That shift can make a meaningful difference in how quickly roots appear.
Seed heads are worth removing too. Even if a flower has already faded, a developing seed pod continues to draw resources.
Snap it off or trim it with a blade. The goal is a clean stem with just a few healthy leaves at the top and nothing competing for energy at the tip.
Some gardeners worry about removing flowers from a cutting they paid good money for at a nursery. That concern is understandable.
But a cutting that spends its energy on blooms instead of roots often fails to establish. Removing the flowers is not a loss.
Getting a rooted plant that can bloom for years to come is the real reward, and that starts with a clean, flower-free cutting.
5. Place Each Cutting In A Well Drained Rooting Mix
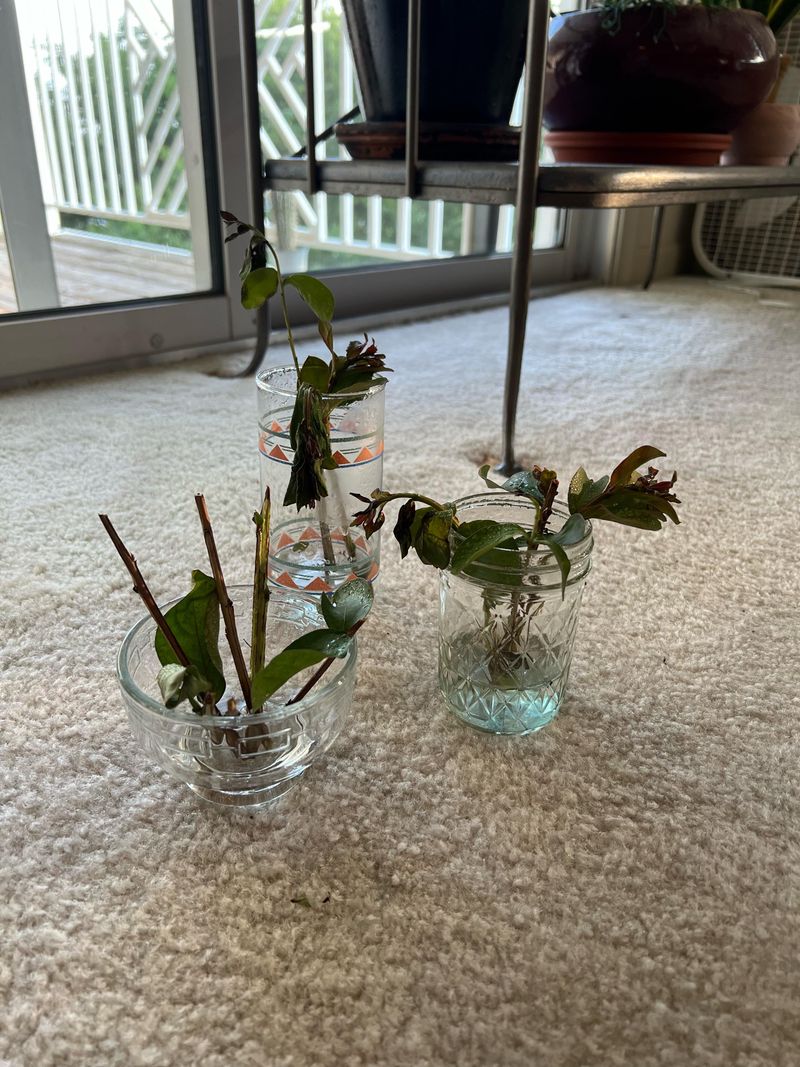
Soggy roots are a problem before roots even exist. Choosing the right rooting medium sets the foundation for everything that follows.
Standard potting soil holds too much moisture for cuttings. It can stay wet for too long, which creates conditions that are not ideal for a stem trying to develop roots.
A mix designed for propagation works better.
Combine equal parts perlite and peat moss for a simple and reliable option. Perlite keeps the mix airy and draining.
Peat holds just enough moisture without staying waterlogged. Coarse sand can be added in place of some perlite if that is what you have on hand.
Fill small containers or cell trays with the mix and moisten it before inserting your cuttings. Use a pencil or stick to create a small hole first.
Pushing a cutting directly into dry or compacted mix can scrape off rooting hormone and damage the base of the stem.
Firm the mix gently around each cutting after inserting it. The stem should stand upright on its own without flopping.
Good contact between the stem base and the rooting mix is important for root development.
Make sure your containers have drainage holes at the bottom. Standing water beneath the mix can cause problems even when the mix itself is well formulated.
Drainage is a detail that is easy to overlook and hard to fix after the fact.
6. Keep The Medium Consistently Moist
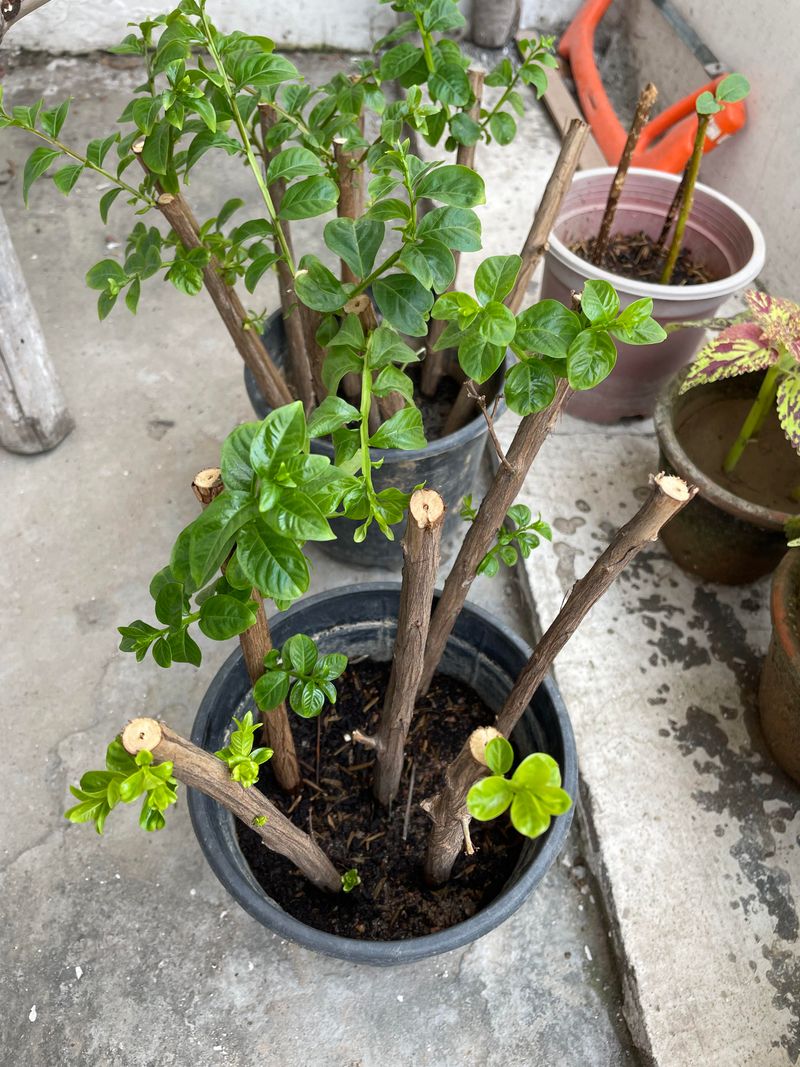
Moisture management is where many propagation attempts fall short. Too dry and the cutting shrivels.
Too wet and the base of the stem struggles. Finding that middle ground takes a little attention.
Check the rooting mix daily, especially during the warm days that are common in late August. The surface should feel damp but not soaking.
Stick your finger about an inch into the mix. If it feels dry at that depth, it is time to water.
Use a gentle spray bottle or a watering can with a fine rose head. Avoid pouring water directly and forcefully into the mix.
Strong streams can shift the cutting out of position and disturb the delicate base before any roots have formed.
Covering your cuttings loosely with a clear plastic bag or placing them inside a humidity tent can help keep moisture levels steady. This reduces how often you need to water and limits moisture loss through the leaves.
Leave a small opening for airflow to prevent excessive humidity from building up.
Remove the cover for a few minutes each day to let fresh air circulate. Stale, very humid conditions without any airflow can encourage mold on the mix surface.
A small fan nearby on low setting can help if you are propagating indoors or in a greenhouse space. Consistency matters more than perfection here.
7. Provide Shade While New Roots Develop
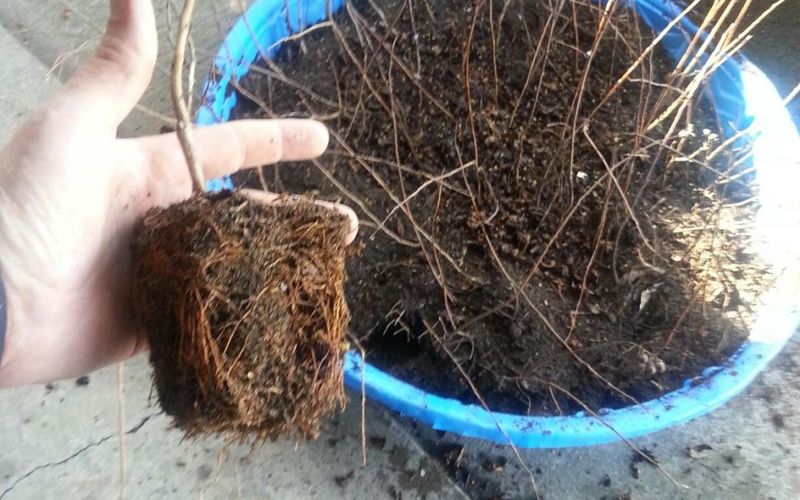
Full sun and freshly cut stems are a rough combination. Before roots exist to pull water from the soil, a cutting relies entirely on what little moisture it already holds inside its stem and leaves.
Direct afternoon sun in Georgia during late August can be intense. That kind of heat pulls moisture out of unrooted cuttings fast.
Placing your cuttings in a spot with bright, indirect light is a much safer approach during the rooting phase.
Filtered light under a large tree works well. A covered porch that receives morning light and afternoon shade is another solid option.
Shade cloth rated at forty to fifty percent is useful if you are setting up a more organized propagation area.
Avoid deep shade entirely. Cuttings still need some light to keep their remaining leaves functioning.
A spot that is too dark can slow the process and make the cutting more vulnerable over time.
Watch how your cuttings respond to the light level you choose. Leaves that look perky and hold their color are a good sign.
Leaves that curl, yellow quickly, or look limp may signal that conditions need adjusting.
As roots begin to develop over the following weeks, you can gradually introduce more light. Moving cuttings into brighter conditions too early, before roots are established, often sets back progress that took weeks to build.
8. Wait For Roots Before Moving New Plants
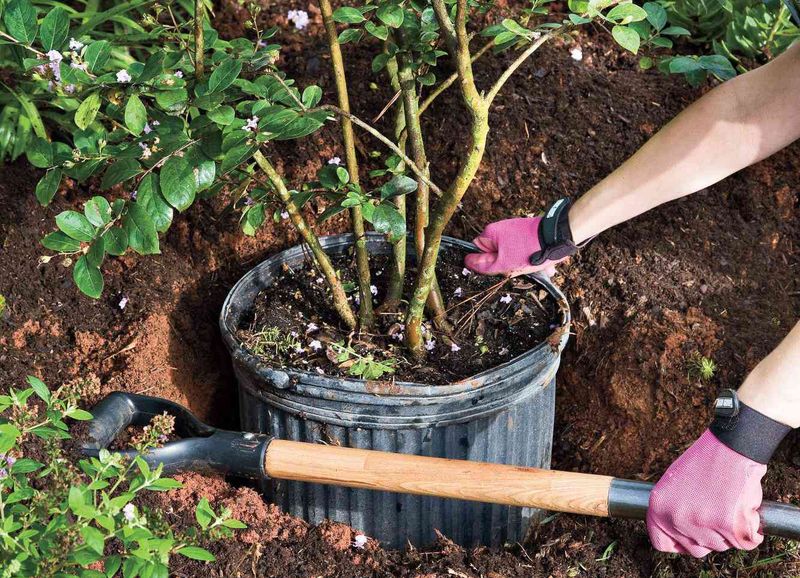
Patience is genuinely the hardest part of propagating crape myrtles. Once the cuttings are in place, the waiting begins, and it can feel like nothing is happening for quite a while.
Roots typically begin forming within three to five weeks under good conditions, though timing can vary depending on temperature, light, and how healthy the original stem was. Cooler spells or cloudy stretches can slow the process noticeably.
Resist the urge to tug on a cutting to check for roots. Pulling too early can break off tiny developing roots before they have a chance to anchor.
Instead, watch for new leaf growth at the tip of the cutting. New leaves are often a reliable sign that roots are forming below.
A gentle tug test after five or six weeks can give you a better sense of progress. If the cutting resists being pulled from the mix, roots have likely formed.
If it slides out easily, give it more time.
Once rooted, move each cutting into a slightly larger container with regular potting mix. Let it grow there for several more weeks before considering planting it in the ground.
Newly rooted cuttings benefit from a gradual transition rather than an abrupt move to full outdoor conditions.
Gardeners across the South have grown entire crape myrtle collections this way. With good timing and a little care, one healthy plant can become many.