10 Reasons For Monstera Black Spots And The Best Solutions
I typically don’t panic when I notice discolorations on my houseplants. I mean, yellowing and browning are often normal and a part of the plant’s life cycle.
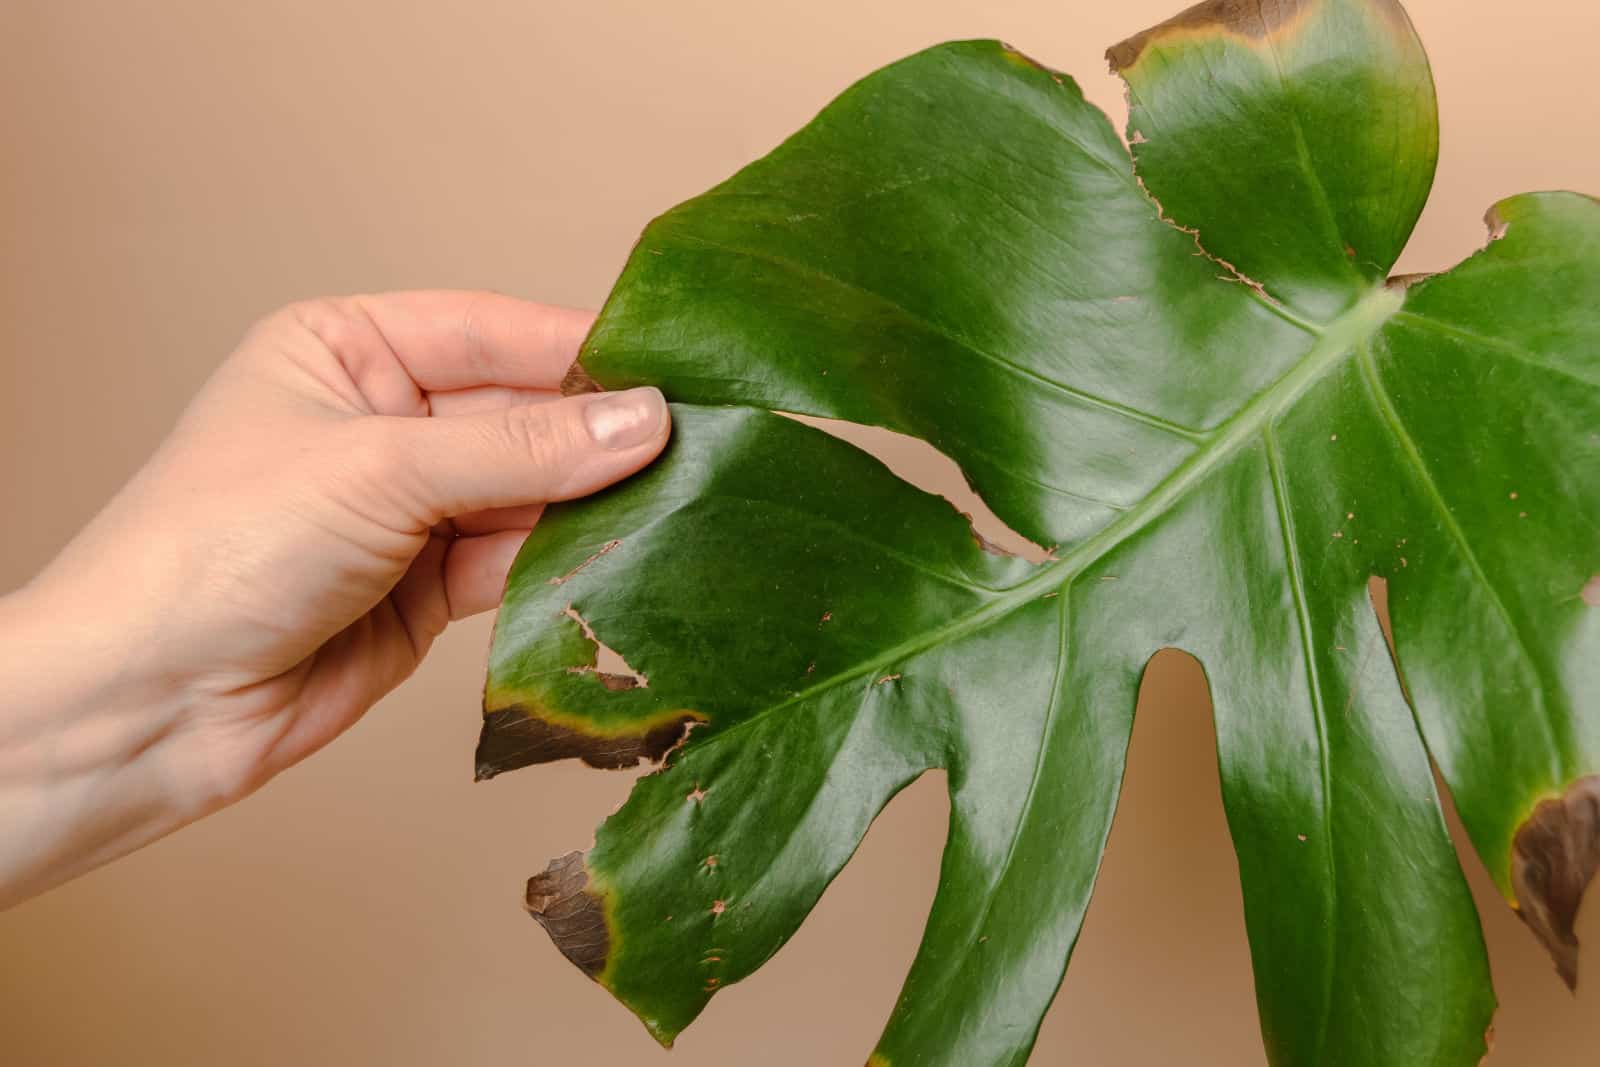
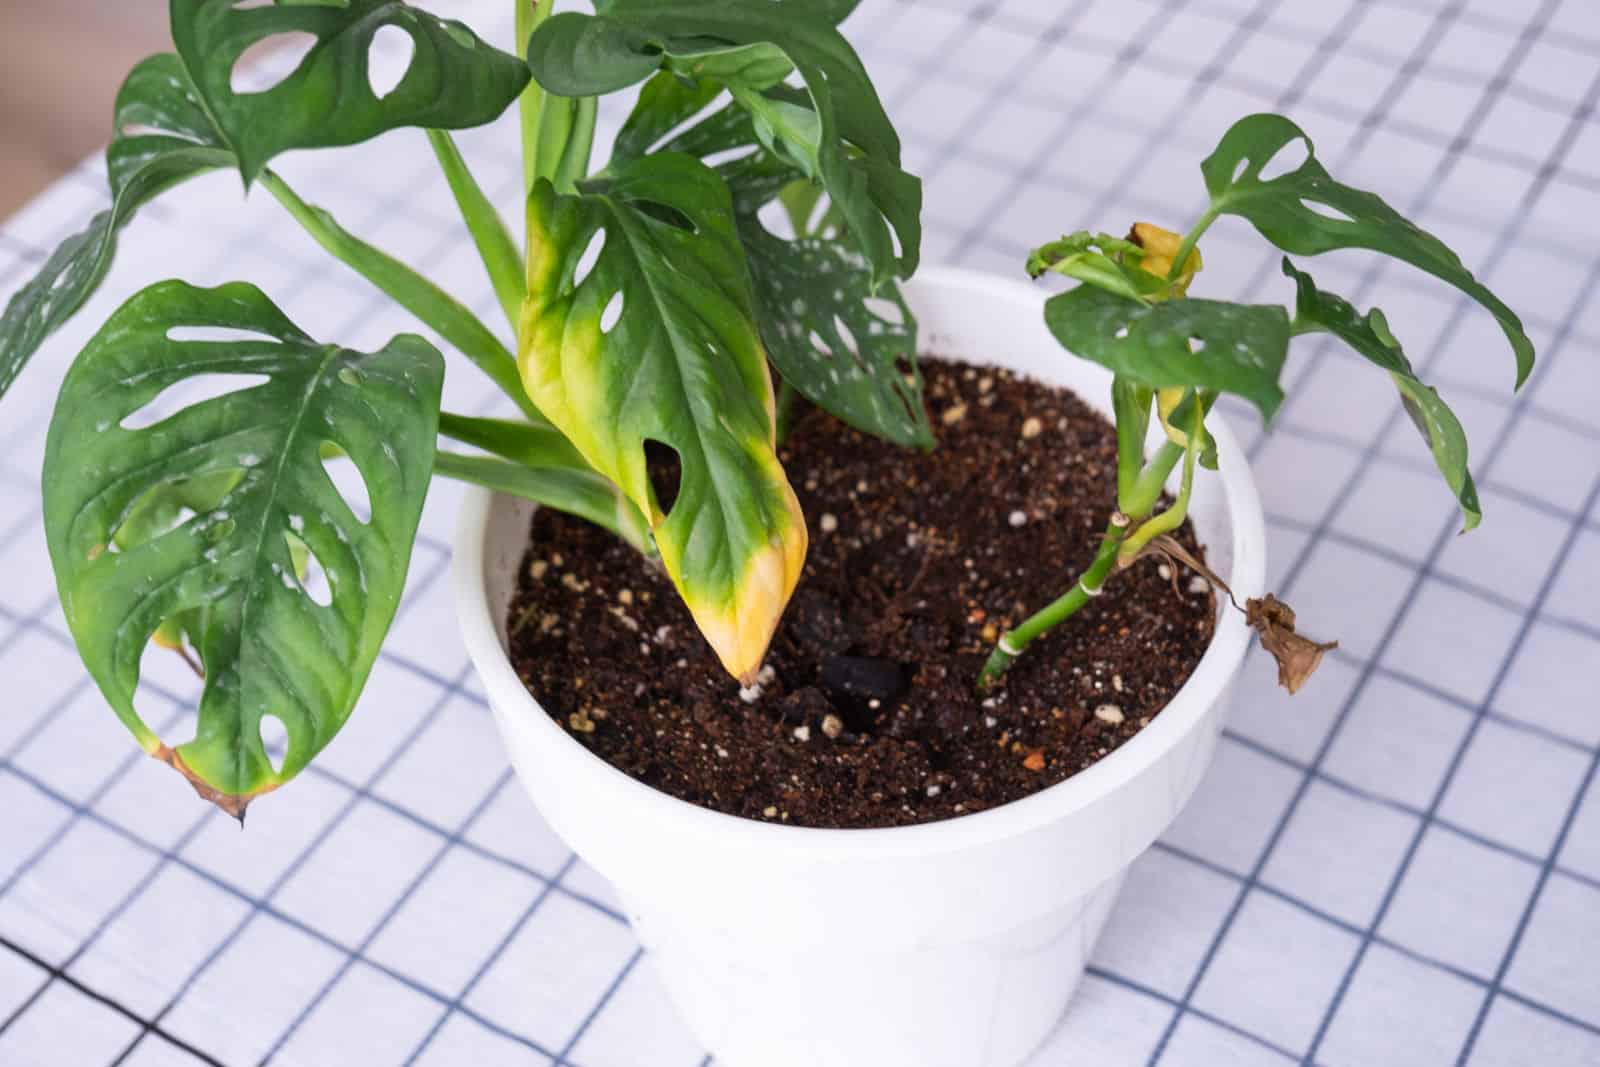
But there’s one thing that really scares me, black on my plants!. This mainly refers to black spots on the leaves, though the entire plant can sometimes turn black.
Monsteras aren’t particularly sensitive houseplants, but many things can go wrong if their basic requirements aren’t met.
Monstera black spots can occur for many reasons, so it’s essential to react ASAP. You first need to determine the cause of the spots before you start treating them.
In this article, I’ll list 10 potential causes of black spots on Monstera leaves, and I’ll also tell you how to fix the issue and protect your Monstera from damage.
Let’s get started!
10 Causes Of Monstera Black Spots
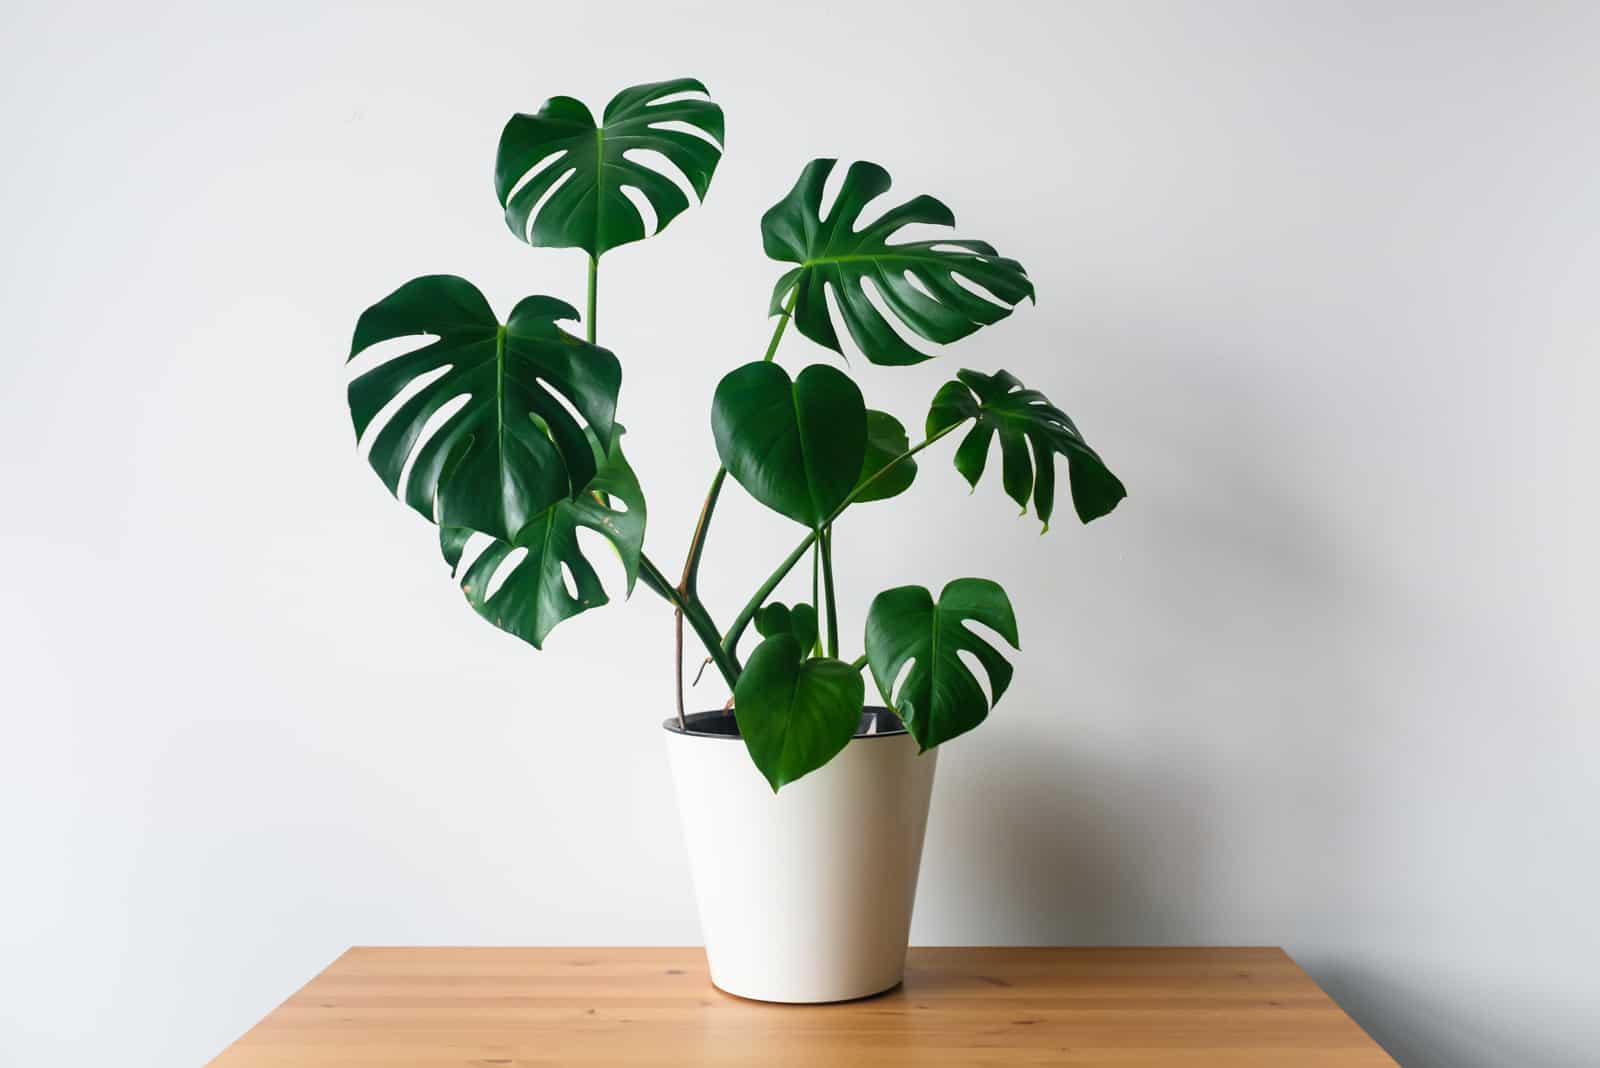
Swiss cheese plants aren’t finicky about growing conditions and will tolerate slight changes in light, humidity, or temperature.
So, what causes these unattractive black spots? Here are the possible culprits:
• Overwatering
• Underwatering
• Direct sunlight
• Physical Damage
• Low humidity.
Let’s learn more!
1. Your Monstera Is Overwatered,
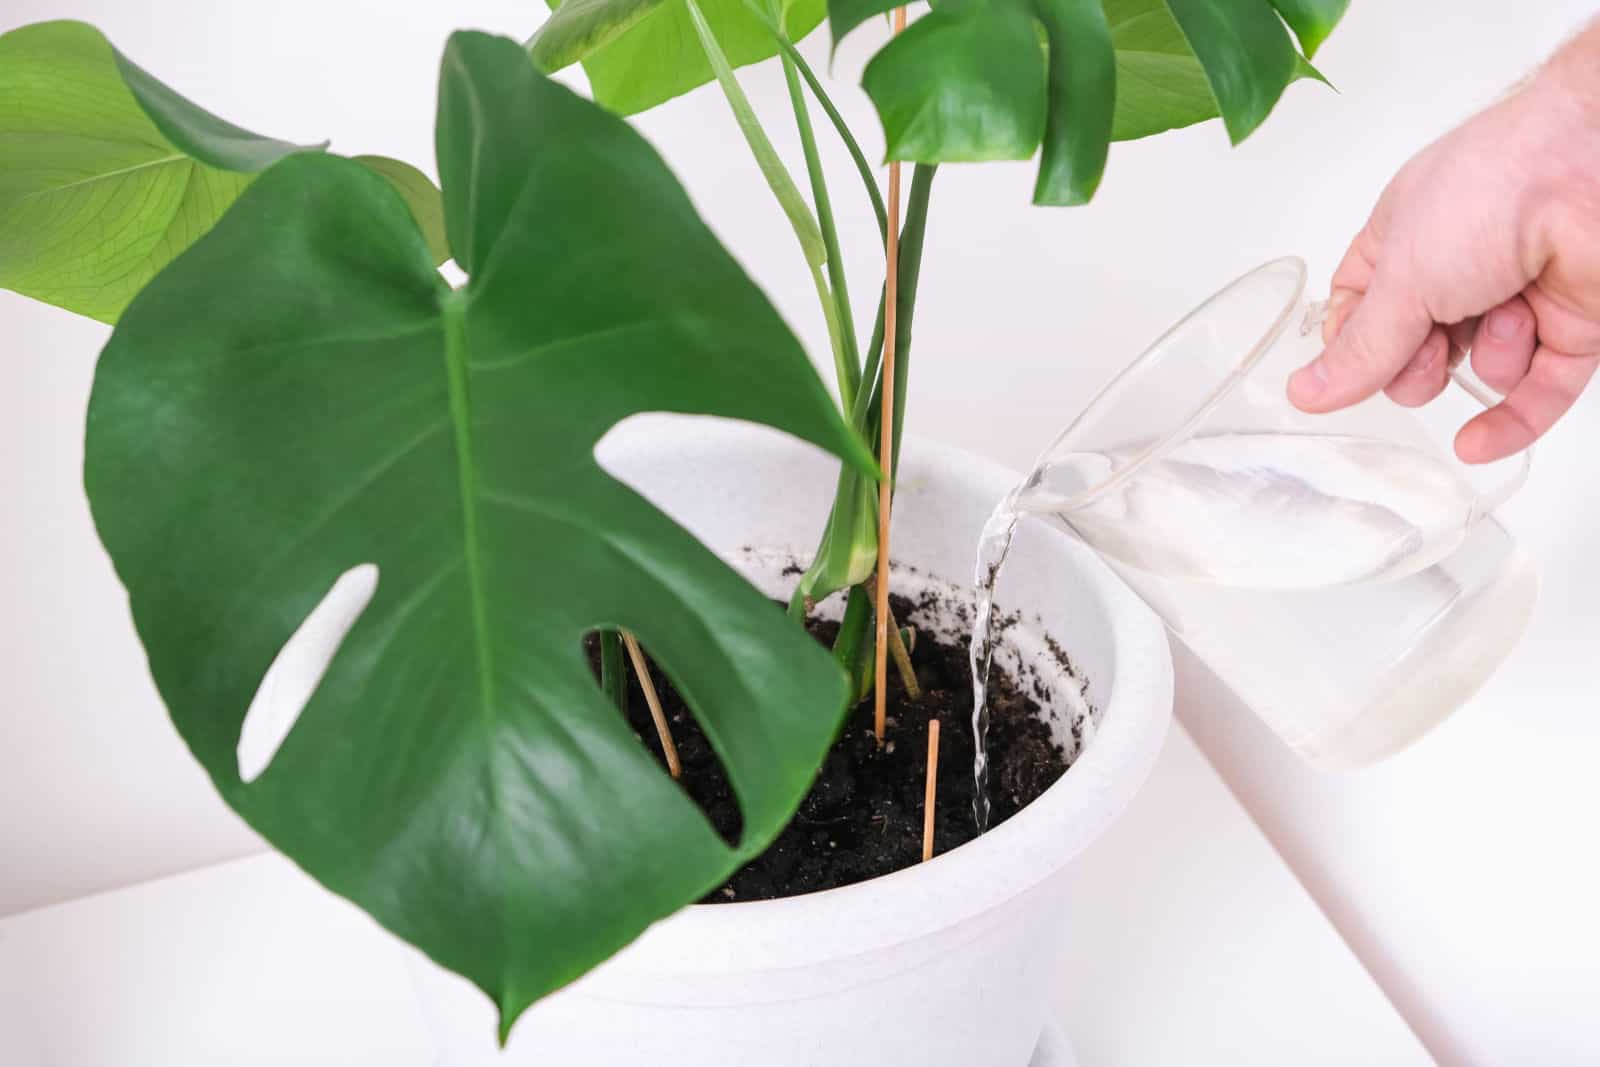
Unfortunately, overwatering in Monstera plants isn’t really rare. We often add water to our plants to encourage healthier growth even when they’re not thirsty.
We think we are doing the right thing for our plants, but the truth is totally different. The fact is that Monsteras love moisture in their soil but will not tolerate sogginess
If the soil of your Swiss cheese plant is overly saturated, your watering schedule is wrong. You probably watered more frequently than recommended or didn’t check soil moisture before watering.
When Swiss cheese plant roots are suffocated due to excess water in the soil, the leaves will display black spots. To put it simply, roots can’t provide the foliage with food, and the result is blackening.
Sometimes, an inadequate watering schedule isn’t the only way your Monstera gets overwatered. If you are using too compact soil types, they’ll retain more water than Monstera roots can withstand.
Keep reading to find out more about the ideal watering schedule and soil type for Monstera plants.
2. Underwatering
You shouldn’t let the water accumulate in the growing medium; however, that doesn’t mean you should avoid watering and keep the soil dry all the time either.
Underwatering in Monstera plants is equally dangerous since all plants need water to survive.
Dehydration will weaken your Monstera so it will be more susceptible to diseases and pest infestations.
As you can see, leaving your Monstera without water isn’t the best way to avoid overwatering.
Similarly to the previous scenario, the type of soil can lead to underwatering. Compact soils retain too much water and loose soils don’t retain enough water. This is why succulent or cactus soil mixes aren’t suitable for any species from the Monstera genus.
You need to find a balance; the growing substrate should include equal amounts of water-retaining and free-draining ingredients.
3. Too Much Sun
When I started growing Monsteras, I thought they needed a lot of bright light to thrive. I was right, but these plants need a lot of light – though it should never be direct.
In this case, the black spots on the leaves are actually sunburns and your Monstera is telling you that it doesn’t need that much light!
If you aren’t sure that your Monstera is receiving enough light, it’s better if the spot is shady than exposed to full sun.
Sunburns are common with variegated Monsteras, such as the Monstera albo and Monstera deliciosa variegata. These cultivars need more light than the standard green ones since the white parts on the leaves lack the chlorophyll essential for photosynthesis.
Keep reading to learn about the perfect spot for Monstera plants.
4. Humidity Is Too Low
I often discuss humidity levels for Monsteras with my grower friends. Many of them claim that humidity over 60% is too much for Monsteras.
My advice is to keep humidity levels for these tropical plants at least 50%; the best results will come from humidity over 60%. Why risk it when there are so many ways you can increase humidity, and some are even free?!
Why do black spots appear on the leaves when humidity around your Monstera is low? Water evaporates faster when humidity is high, which helps avoid overwatering.
The lower the humidity, the slower the water evaporation rate, so low humidity can lead to water pooling in the soil and root suffocation. Monstera leaves won’t get any nutrition and will display black spots in this case.
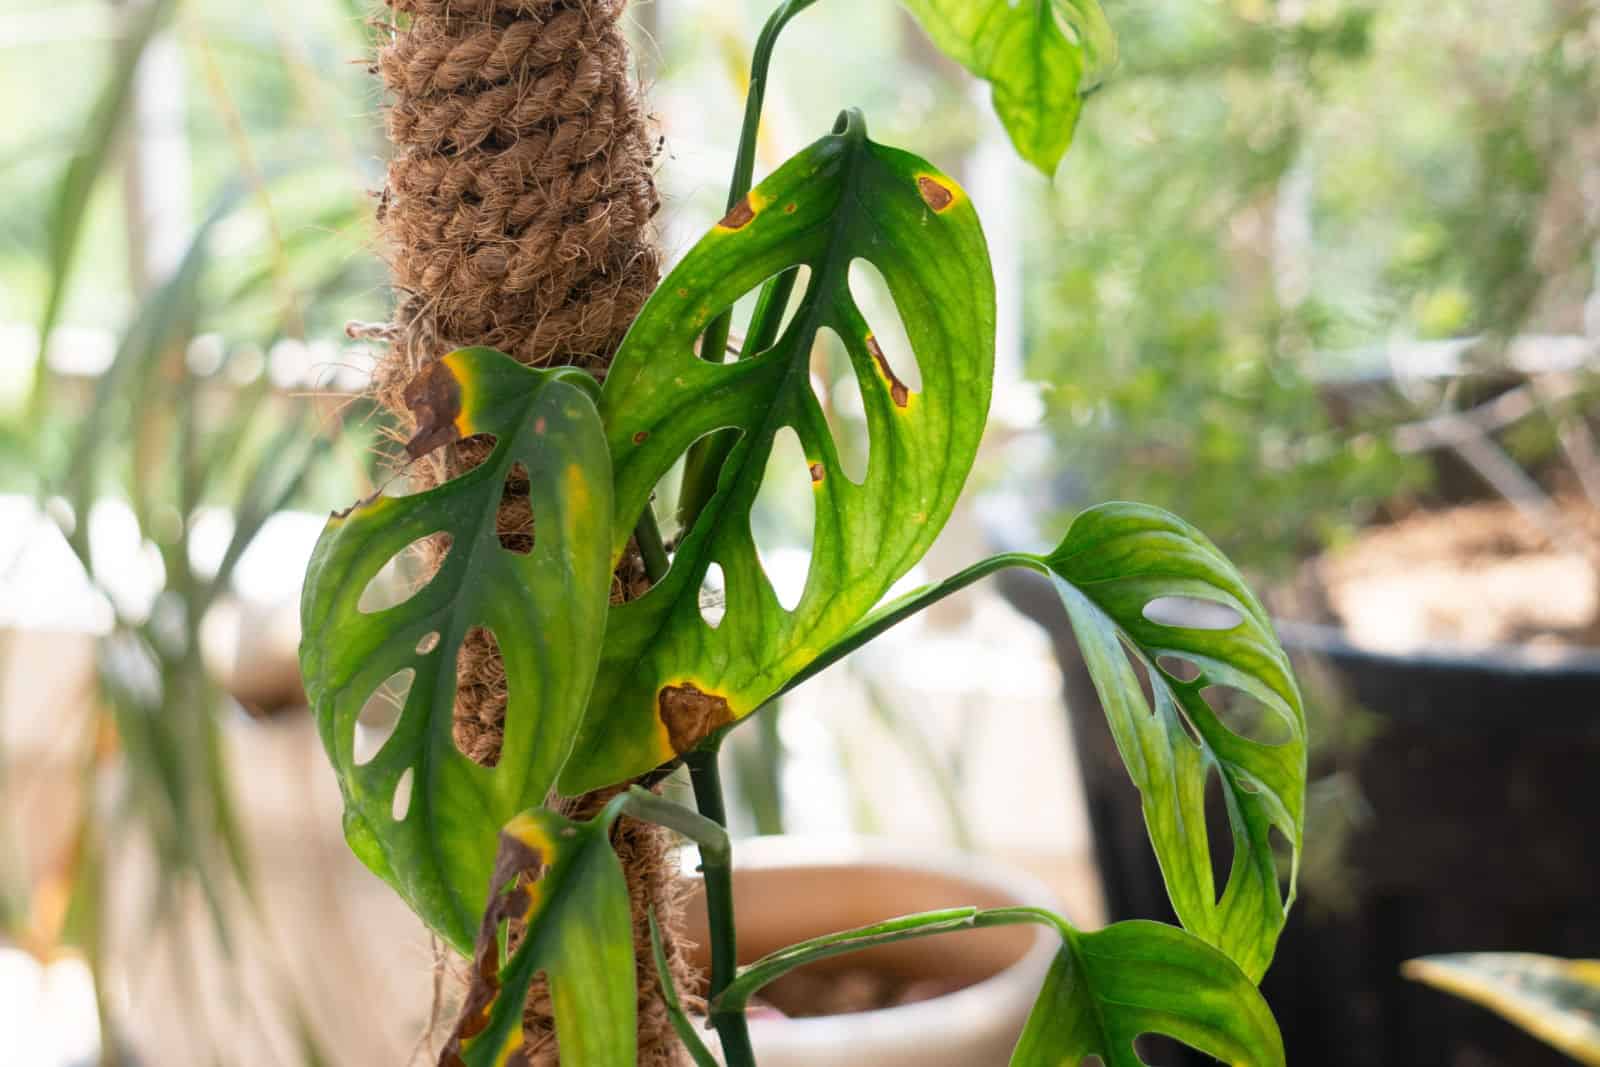
5. Your Monstera Is Physically Damaged
Two years ago I purchased a Monstera adansonii and noticed a few black spots on the leaves. Since the plant was wrapped pretty tightly, I figured that it was physically damaged.
I inspected my plant thoroughly and it was healthy and pest free, so I decided not to touch it.
I adjusted all growing conditions according to the Monstera’s needs and I didn’t cut off the leaves with black spots. The edges of the black spots started turning brown after a while, so I concluded that my Monstera was healing itself.
It’s not uncommon for newly-bought plants to be slightly damaged due to transport, and the good thing is that it’s harmless in most cases.
Handle your Monstera with care and be gentle when repotting or cleaning Monstera leaves. Inspect your plant after purchasing; if it has a few black spots but seems healthy, just give it some time and make sure all conditions are correct.
6. Low Temperatures
Black spots on Monstera deliciosas and other cultivars can also occur due to low temperatures. These plants are native to warm regions but may tolerate temperatures as low as 55 degrees Fahrenheit.
These plants are highly adaptable except when it comes to freezing temperatures. Cold stress in Monsteras occurs primarily in winter. If you keep your Monsteras outdoors, move them indoors when temperatures drop.
If the indoor temperatures are too low during a Monstera’s dormancy, the plant will go through a cold shock and display black spots as a result.
7. High Temperatures
This may sound contradictory to what I said earlier about Monsteras being native to warm regions, but warm doesn’t mean too hot!
Anything higher than 85 degrees Fahrenheit can have fatal consequences for your Monstera plant. One of the signs your Monstera is growing in too high temperatures is black spots on the leaves.
Unfortunately, this is just the beginning; if you don’t relocate your Monstera, the damage will be severe after a short period of time.
Bear in mind that heat stress doesn’t occur during summer only; if you keep your Monstera near heating devices during winter, heat stress is inevitable.
8. Overfertilization
When it comes to fertilization, more isn’t really better. Swiss cheese plants benefit from monthly feeding during the growing season and will be happy if you use all-purpose fertilizer types diluted to half strength.
If you feed your Monstera three times a month, it won’t display new growth and it’ll be severely damaged. Black spots are just some of the consequences of overfeeding.
If you apply fertilizer without diluting it, the Monstera roots will suffer fertilizer burn that can kill them.
The best thing you can do for your Monstera is use fertilizer in the way it’s described on the package.
9. Pests
Annoying pests will never leave our houseplants in peace, no matter how hard we try to deter them.
If your prized Swiss cheese plant has black spots on the leaves or any other part, you might be dealing with a pest infestation.
Thrips are most likely the culprits of tiny black spots on the plant that often look like dirt. Instead of inspecting our Monstera further, we can clean the leaves to remove the spots.
It’s not always thrips, but as soon as you notice these tiny dots, you should inspect your plant further before taking action.
Thrips can be very dangerous to houseplants and cause irreparable damage if left untreated. As the thrips enter the mature growth stage, brown spots will occur on the leaves and turn darker and darker as time passes.
Pest infestations may lead to the complete blackening of the Monstera foliage, no matter the species. For instance, a scale infestation on Monstera will manifest in tiny dots on the foliage that can be brown, white, or black. If you don’t react in time, Monstera leaves can turn completely black!
10. Diseases
Fungal infection is probably the scariest thing that can happen to a houseplant, especially if you are a beginner grower.
It doesn’t always end fatally, but the chances are pretty high.
If your Monstera displays black spots, they might have been caused by Pseudomonas cichorii, which causes Bacterial blight disease.
This pathogen thrives in soggy soil, so you may have overwatered your Monstera if it develops Bacterial blight disease.
Rhizoctonia, Phytophthora, and Pythium are the three main pathogens that lead to root rot in Swiss cheese plants.
Similarly to Pseudomonas cichorii, pathogens that cause root rot thrive in overly saturated growing substrates. Root rot in Swiss cheese plants is pretty common, and the problem is that it can spread to other indoor plants quickly.
How To Fix Black Spots On Monstera Plants
Yes, there are many causes of black spots on Monstera plant leaves, but if you inspect your plant carefully, you can quickly determine the cause you are dealing with.
Inspection should include the surface and undersides of the leaves, stems, roots, sun exposure, humidity level, soil moisture content, and temperature.
Let’s see how to fix the problem and some care tips for Monstera plants!
Solution To Watering Issues
If you conclude that overwatering caused the black spots, you need to allow your Monstera to dry out well and inspect the roots to check for root rot.
If the roots are mushy, discolored, and smell terrible, your Swiss cheese plant needs repotting!
Here are the steps:
1. Take your deliciosa (or any other specimen) out of its pot.
2. Get rid of the potting soil around the roots.
3. Sterilize a sharp pair of scissors and remove each and every diseased root.
4. Apply fungicide on the remaining roots of the Monstera plant.
5. Discard the old soil and pot (you can reuse the pot, but only after you sterilize it).
6. Add fresh growing substrate to the new pot and gently put your Monstera in it.
7. Ensure enough bright indirect light to help your repotted Monstera adapt to the new environment!
If your Monstera is severely dehydrated, irrigate it more frequently until you see signs of improvement.
Monsteras require irrigation only when the soil is about 2 inches dry below the surface! Never irrigate your Monstera if you haven’t checked the soil moisture content.
Adjust Sun Exposure

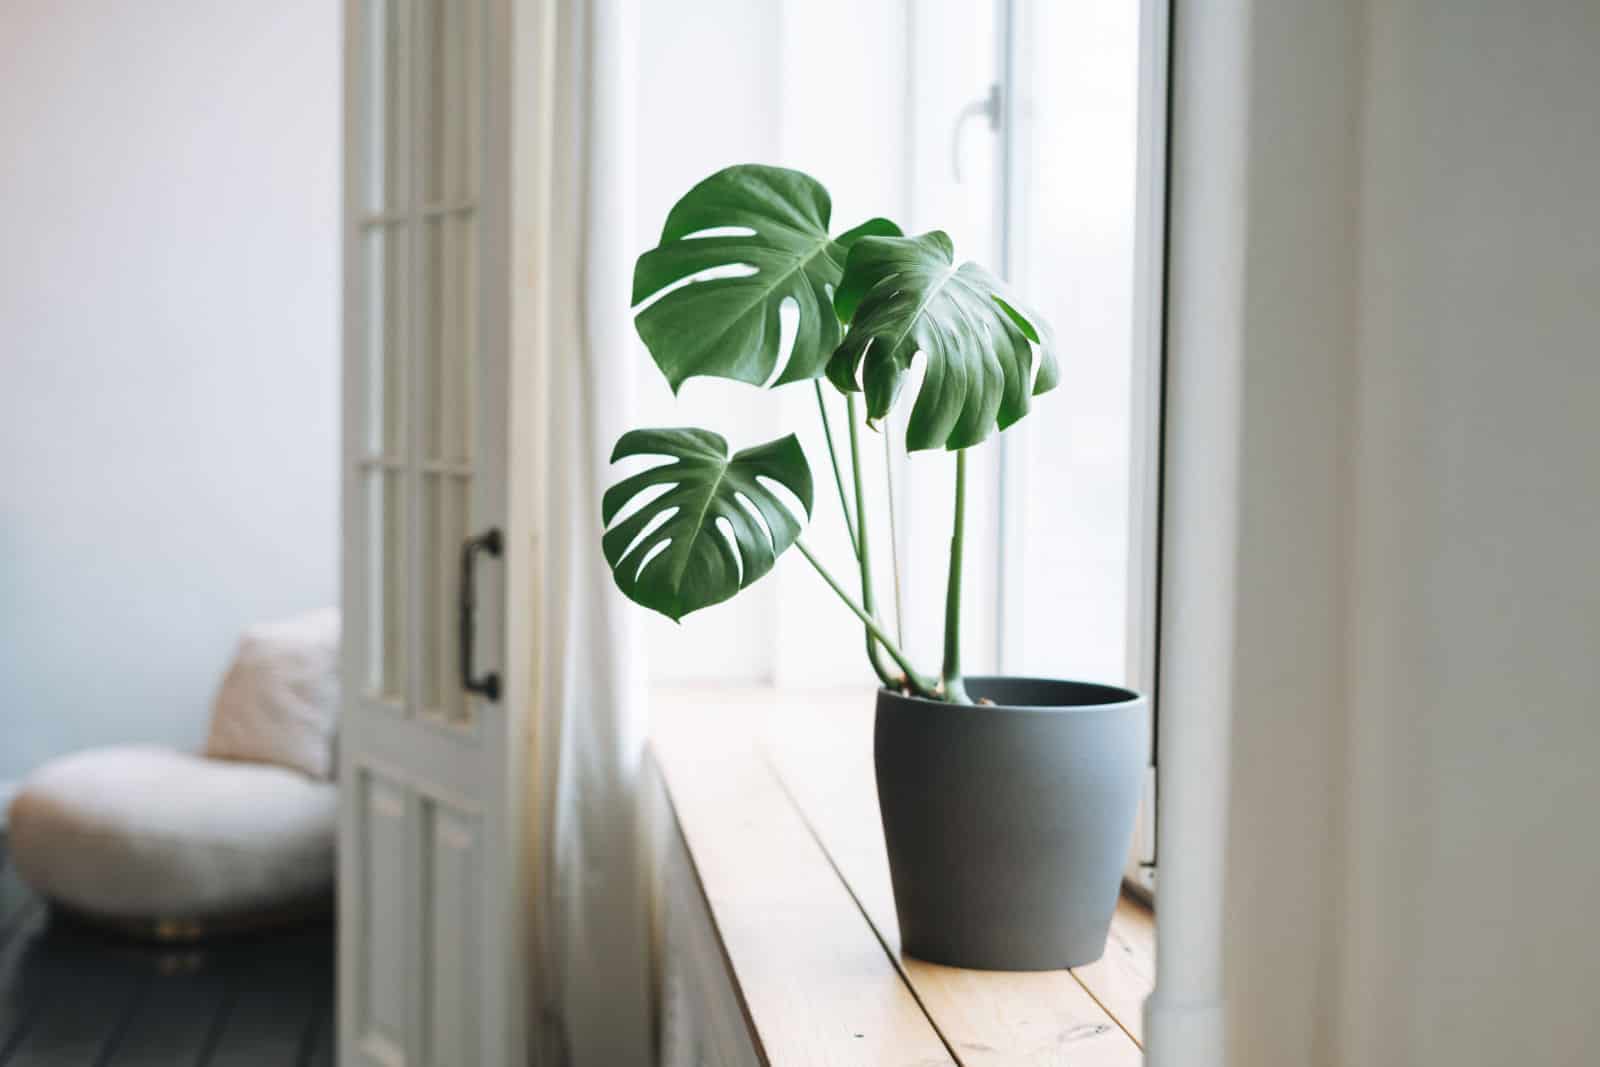
Light is a crucial factor for healthy Monstera development. You should aim for a spot that receives bright, filtered sunlight.
Put your Swiss cheese plant near a sunny window; preferably one with southern or eastern exposure. If the direct sun can reach the foliage of your Monstera, filter it by putting sheer curtains on the windows.
Never grow your Monstera in complete shade; these plants adapt well to lower light levels, but too much shade will do more harm than good.
Raise Humidity
Since adansonii, dubia, deliciosa, and other Monstera plants enjoy high humidity, you need to find the best way to raise it.
A humidifier will solve all your problems with humidity by simultaneously monitoring and adjusting humidity according to the Monstera’s needs.
If your budget won’t cover this pricey device, here are some excellent DIY methods:
1. Put other houseplants near your Monstera to create a microclimate. Water will evaporate from the growing media of all plants, which will result in higher humidity.
2. Mist your Swiss cheese plants. Regular misting will slightly raise air moisture for your Monstera.
3. Put your deliciosa or dubia in more humid rooms, such as a bathroom or kitchen.
4. Take a shallow dish, fill it with gravel/rocks, add some water, and put your Monstera on top.
I have to warn you that one DIY method for increasing air moisture won’t suffice, so you’ll need to combine the pebble tray, misting, and microclimate methods.
Adjust Temperatures
Put your prized Monstera in an area where temperatures are between 65 and 85 degrees Fahrenheit. Slightly lower or higher won’t inhibit growth, but the recommended range will give you the best results.
Here is a list of spots where you SHOULD NOT put your Monstera:
1. Near heating devices; radiators, heating vents, or fireplaces
2. Near air-conditioners
3. Near drafty windows
Pest Management
If the cause of the black spot is pest infestation, there are some helpful methods that will eliminate these creatures. The essential thing is to isolate your Monstera (or any other plant) as soon as you notice pests.
Neem oil won’t affect Monstera leaves and will win the battle against all pest species. Insecticidal soap and rubbing alcohol will have a similar effect.
In the case of a severe infestation, I recommend using insecticides. They contain chemicals, but if that’s the only way to save your Monstera, you should use them.
Disease Management
We’ve seen how to treat root rot in Swiss cheese plants. If Bacterial blight is the culprit for black spots, you should dispose of the plant in order to save other houseplants.
Here are some tips on preventing diseases in these plants:
1. Use clean tools – sanitizing solutions are your friends in plant care. You’ll avoid transferring any diseases to other houseplants this way.
2. Adjust the irrigation schedule; tips for watering are above.
3. Use the correct type of soil: a free-draining and porous soil type is the key to the healthy development of your Monstera plant.
4. INSPECTION: Don’t blame me for repeating this word. This is the easiest way to avoid any Monstera problems.
Wrapping Up
You should never leave your plants to deal with problems by themselves. There’s no reason to panic in most cases, but your plant depends on you.
You’ve seen the causes of Monstera black spots, so before taking any action, determine the culprit for your Monstera.
Now that you know how to fix this issue in the Monstera plant, what are you waiting for? Go and save your green buddy!
Until next time!