8 Post-Bloom Care Steps That Set Up Next Year’s Azalea Flowers
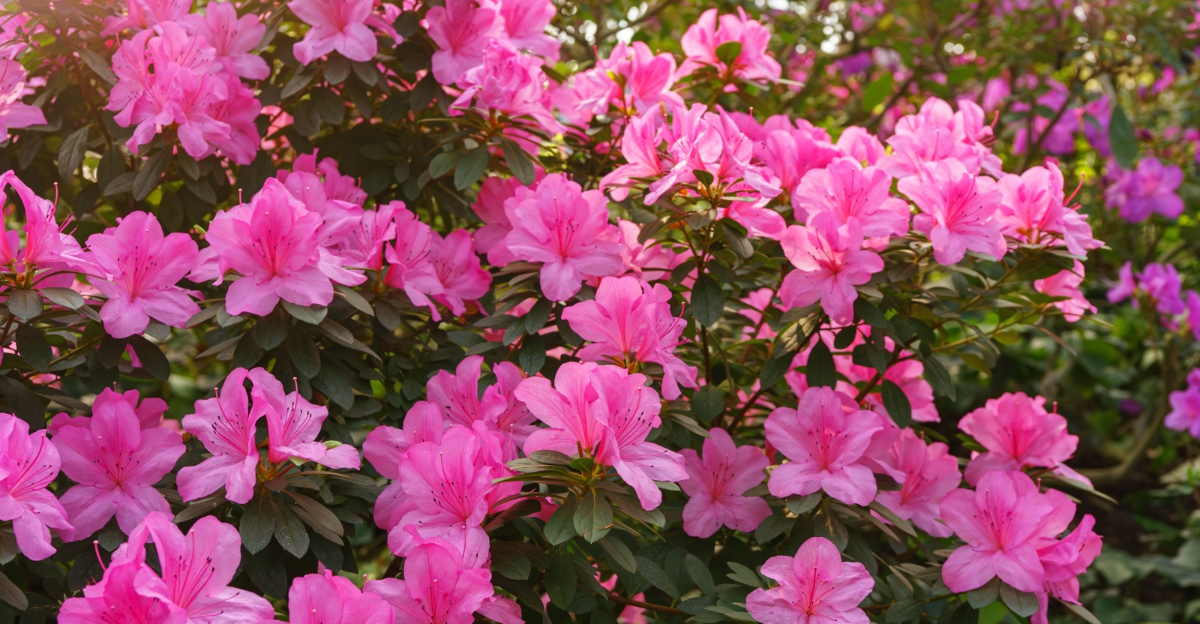
Your azaleas just finished their big moment, and now they’re asking for something in return. Most gardeners walk away at this point, assuming the hard work is done.
It isn’t.
The weeks right after bloom are quietly one of the most important windows in your gardening year. Your azaleas are still working beneath the surface, setting next year’s buds and storing energy for the season ahead.
What you do now, or don’t do, shows up directly in next spring’s flowers.
The good news is that post-bloom care is straightforward once you know what to focus on. These eight steps cover everything your New Jersey azaleas need after the flowers fade.
Straightforward, effective, and worth every minute.
Work through them now, and next spring you’ll understand exactly why it was worth it.
1. Remove Spent Blooms Before They Go To Seed

Faded flowers are stealing energy your azalea needs for next year. Once a bloom is done, the plant’s instinct is to pour resources into making seeds instead of building new buds.
Removing spent blooms before they form seed pods redirects that energy back where it belongs. Just pinch the old flower head off at the base with your fingers or a pair of clean pruning snips.
Work through the entire shrub systematically and don’t skip sections. Missing even a few spent clusters can redirect some of the plant’s stored energy toward seed production, which may mean fewer buds come next spring.
When it can’t make seeds, the plant channels that effort into building new growth and setting flower buds for the following spring. That’s exactly what you want happening right now.
This step takes maybe twenty minutes for an average-sized shrub, and it’s where post-bloom care actually starts. Twenty minutes now saves next spring’s flowers.
Bag up the old blooms and toss them in the trash rather than the compost pile. Spent azalea flowers can carry fungal spores that you don’t want cycling back into your garden beds.
2. Prune Right After Bloom Before Buds Set For Next Year

Timing is everything when it comes to pruning azaleas. Cut too late in the season and you’ll accidentally remove the very buds that would have bloomed next spring.
The window closes faster than most people realize.
Azaleas begin setting their buds for the following year just a few weeks after bloom ends. In New Jersey, that means you have roughly four to six weeks after the last flower fades to do any shaping or size control.
Start by removing any damaged or crossing branches. These steal light and airflow from the healthier parts of the shrub.
Clean cuts made at the right spot encourage fresh new growth to fill in naturally.
Next, shape the outer edges of the plant. You’re not trying to create a perfect ball or box shape.
Azaleas look best when they keep a soft, natural form that fits the space without looking forced or over-managed.
Your New Jersey Garden Changes Every Week. Your Plan Should Too.
Gardening in New Jersey changes quickly throughout the season. Every Friday you’ll receive a simple weekly plan showing exactly what to plant, prune, fertilize, harvest, and protect so you never miss the right timing.
Never remove more than one-third of the plant in a single session. Taking off too much at once stresses the shrub and slows its ability to recover and push out new growth before summer heat arrives.
Sharp, clean tools matter more than people think. Dull blades crush stems instead of cutting them cleanly, which creates entry points for disease.
Wipe your pruners with rubbing alcohol between plants to avoid spreading any hidden issues from one shrub to the next. Smart pruning now sets the whole season up right.
3. Feed Them While They’re Still In Growth Mode

Right after bloom, your azalea is hungry. It just burned through a huge amount of stored energy putting out all those flowers, and now it needs fuel to rebuild.
Choose a fertilizer made specifically for acid-loving plants. Azaleas need a lower soil pH to absorb nutrients properly, and regular all-purpose fertilizers often don’t account for that.
Slow-release granular fertilizers work especially well at this stage. They break down gradually over several weeks, feeding the roots steadily rather than all at once.
Sprinkle the granules evenly around the drip line, not directly against the main stem. That concentration of nutrients can burn the bark and damage the plant.
Water the area thoroughly after applying. This helps the granules begin breaking down and carries the nutrients down to where the roots can actually reach them.
Skip any feeding after mid-summer. In New Jersey, late-season fertilizing pushes tender new growth that won’t have time to harden before the first frost arrives, and that soft growth is easy prey for frost damage.
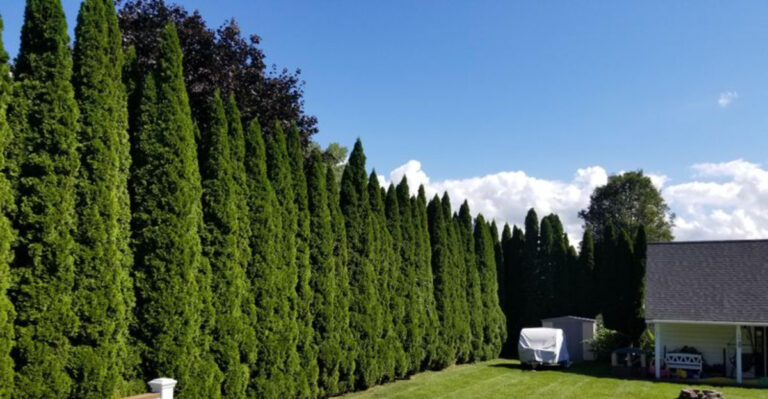
4. Mulch Around The Base To Lock In Moisture

A bare soil surface around your azalea is an open invitation for trouble. Without mulch, the ground dries out fast, weeds move in quickly, and the shallow roots of the shrub get baked by summer sun.
Pine bark mulch or pine straw are the top choices for azaleas. Both break down slowly, add a touch of acidity to the soil over time, and give the planting bed a clean, finished look.
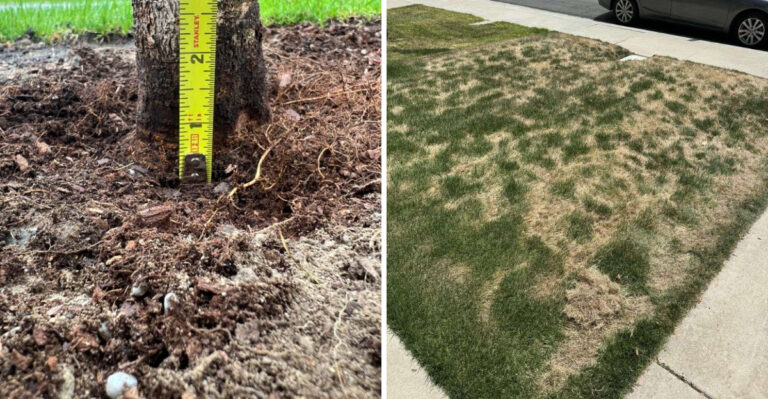
Aim for a layer about three inches deep. Too thin and it dries out before it does much good, and too thick and you risk suffocating the roots by trapping too much moisture right against the base of the plant.
Keep the mulch pulled back about two inches from the main stem. Mulch piled up against the bark holds moisture in a spot that should stay dry, which creates conditions where rot and fungal issues can take hold.
Spread the mulch out to at least the drip line of the shrub. The feeder roots extend out to that edge and beyond, and those are the roots that benefit most from even soil temperature and consistent moisture retention.
Refresh the layer each year after bloom. Old mulch compacts and loses its effectiveness, and adding fresh material on top keeps the bed looking sharp and the root zone protected through the heat of summer.
5. Keep Up With Watering Through The Summer Dry Spells

Summer dry spells are sneaky. Your azalea might look perfectly fine on the outside while its shallow root system is quietly suffering below the surface.
By the time you notice wilting leaves, the plant is already under serious stress. Azaleas have roots that stay close to the soil surface, which means they dry out faster than deeper-rooted plants.
They can’t reach down into the earth to find moisture the way a mature oak tree can. They depend almost entirely on what falls from above or what you provide.
Water deeply and less frequently rather than giving light sprinkles every day. A thorough soaking two or three times a week during dry stretches encourages roots to spread wider and deeper into the soil.
Morning is the best time to water. The foliage has time to dry out before evening, which reduces the chance of fungal problems taking hold on the leaves.
Check the soil moisture before reaching for the hose. Push a finger about two inches into the ground near the drip line, and if it feels dry at that depth, it’s time to water.
Consistent moisture through summer is what keeps bud development on track. Stress during this period can cause the plant to drop developing buds before they ever get the chance to open next spring.
6. Test Your Soil PH Because New Jersey Soil Doesn’t Always Cooperate

Your azalea could be sitting in soil that’s slowly working against it, and you’d have no idea just by looking at the plant. Soil pH controls whether your shrub can actually absorb the nutrients already present in the ground.
Get it wrong and feeding becomes nearly pointless. Azaleas thrive in soil with a pH between 4.5 and 6.0.
Most garden soils in the Northeast, including a lot of New Jersey yards, drift higher than that over time.
Lawn care products, heavy rainfall, and proximity to concrete can all influence pH over time. Testing is easy and inexpensive.
Simple test kits from a garden center give you a reliable reading in minutes.
Your local cooperative extension office also offers more detailed soil testing services, often for just a few dollars, with specific recommendations included.
If your pH is too high, sulfur is the most common fix. Granular sulfur worked into the soil around the drip line gradually brings the number down over several weeks.
It’s not an overnight solution, so testing early in the season gives you time to make adjustments before fall. Aluminum sulfate works faster than elemental sulfur but should be used more carefully.
Too much applied at once can harm roots.
Always follow the package directions and err on the conservative side when starting out. Post-bloom care for azaleas has to include a soil check.
A plant that looks lackluster despite good watering and feeding is often struggling with pH. One simple test can reveal the real problem and point you toward a fix that actually works.
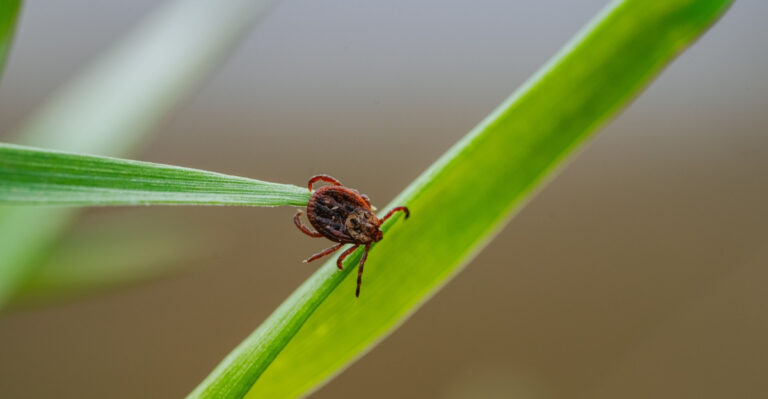
7. Check For Pests And Disease Before They Get A Foothold

Pest pressure on azaleas ramps up fast once warm weather settles in. The tricky part is that the damage often starts on the underside of leaves where you’re not naturally looking.
By the time you spot the symptoms on top, the population has already grown into a real problem. Azalea lace bugs are among the most common troublemakers.
They feed on the undersides of leaves and leave behind a telltale stippled, grayish appearance on the upper surface. Flip a few leaves and look for the tiny insects themselves, along with the dark, sticky waste they leave behind.
Spider mites show up during hot, dry stretches. A fine webbing on the undersides of leaves and a dusty, dull look to the foliage are your first clues.
In the early stages, a strong spray of water from the hose can knock populations back before you reach for anything stronger. Petal blight is a fungal disease that makes blooms turn brown and mushy instead of fading naturally.
It spreads through infected plant debris left on the ground. Cleaning up fallen petals and spent flowers right after bloom reduces the spore load dramatically heading into the rest of the season.
Leaf gall is another fungal issue that causes leaves or flower parts to swell into pale, waxy-looking masses. Remove and bag any affected tissue immediately.
Don’t compost it, because the spores survive and can reinfect the plant the following year. A quick inspection every week or two through summer keeps small problems from becoming expensive ones.
Healthy plants resist pests better, so every other step in this list also supports your pest defense. Stay curious and stay watchful.
8. Protect The Root Zone From Summer Heat

Scorching summer soil is one of the quietest threats to azalea health. The roots sit close to the surface, and when the ground heats up past a certain point, root function slows down.
That slowdown affects water uptake, nutrient absorption, and bud development all at once. Shade plays a huge role in root zone protection.
Azaleas naturally grow as understory shrubs beneath taller trees, which means they evolved with filtered light and cooler ground temperatures. Planting them in full afternoon sun without any overhead canopy puts them outside their comfort zone fast.
If your shrubs are in a sunny spot, consider adding a shade cloth during the hottest weeks of summer. New Jersey summers can be brutal on shallow-rooted plants.
It’s a simple fix that makes a measurable difference. Mulch does double duty here beyond just holding moisture.
A proper three-inch layer of pine bark or shredded wood insulates the soil beneath it, keeping root zone temperatures more stable even when the air above is sweltering. Think of it as a buffer between the roots and the heat.
Avoid cultivating or digging around the base of the plant during summer. Disturbing the shallow roots when they’re already under heat stress adds another layer of damage that the plant has to recover from.
Leave the soil undisturbed and let the mulch do its job. Post-bloom care for azaleas comes full circle right here at the root zone.
Everything you do above ground only works if the roots beneath stay healthy, cool, and protected. Guard that root zone well and next spring’s flowers will show it.