9 Practical Options For What To Do With Fallen Pine Needles
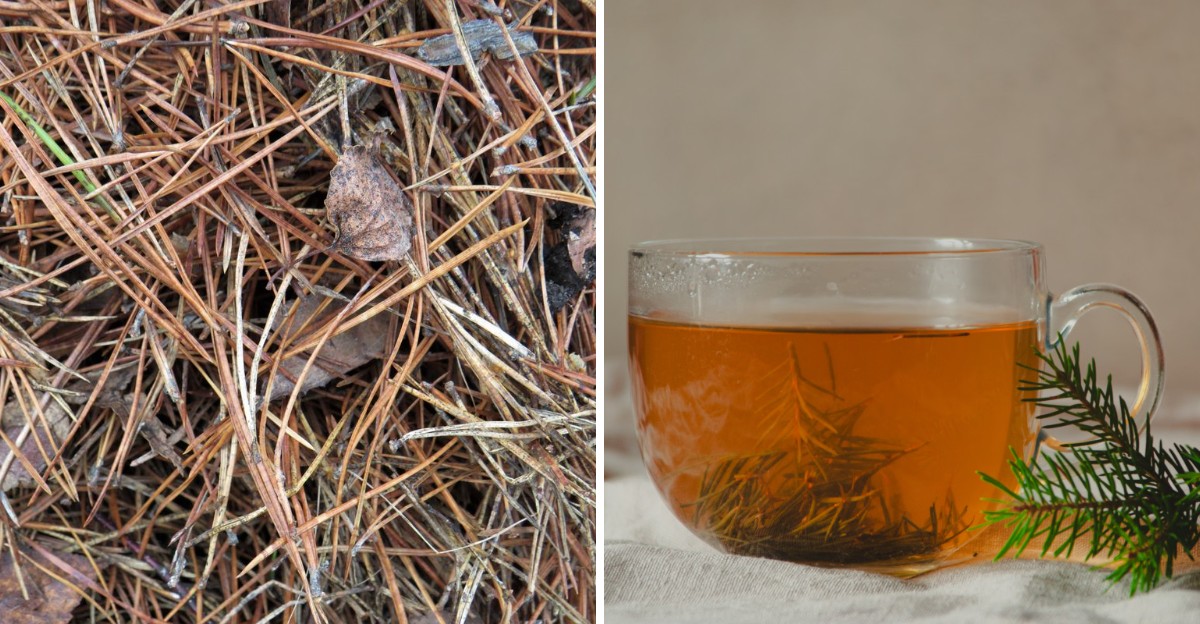
Why does the brown carpet under your pines deserve a closer look? You can spread it around blueberries and suppress weeds all season.
Those needles interlock, so rain soaks through without washing them away. Tuck a handful under your tomato plants and watch moisture linger longer.
Crafters will weave them into baskets, coasters, and small bowls you can gift. Sewers stuff them into small sachets that freshen your closets and drawers.
Dry bundles ignite quickly, so you get fire starters without buying a thing. Pile them into your compost to balance wet kitchen scraps with dry carbon.
Your trash bags have hauled away useful mulch, tinder, and craft supplies. Skip some bagged mulch purchases at the garden center.
Gather the harvest while the needles stay dry, because damp piles can develop mildew. Grab a tarp and claim your needle haul.
1. Spread Them As Mulch Around Garden Beds
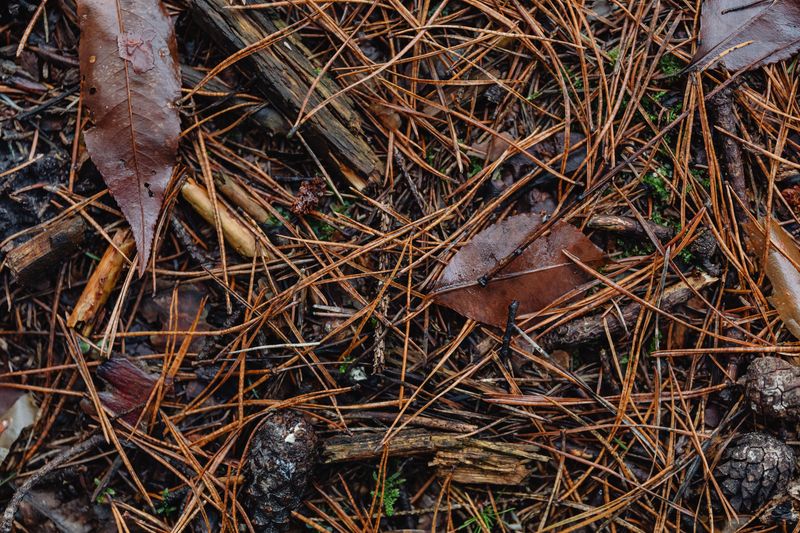
In the American South, this material is sold as pine straw. Growers spread it under berry rows because it keeps fruit clean and off the soil.
Your garden can enjoy the same perk at little cost. Fallen needles knit together loosely, so they stay put better than chunky bark during windy weather.
A layer about two to four inches thick works well around shrubs and perennials. It blocks weeds, holds moisture, and keeps soil from baking during hot afternoons.
Many gardeners worry that needles will make their soil too acidic. In practice, reports show little change in soil acidity, especially once needles are brown and dry
Acid-loving plants like blueberries, azaleas, and camellias still seem to appreciate the cover. Hydrangeas, rhododendrons, and hollies also look tidy and happy with a soft needle blanket.
Keep the mulch a few inches away from stems and trunks. Piling it right against bark can trap dampness and lead to rot or attract pests. In wildfire-prone areas, keep needle mulch several feet away from buildings and decks.
Needles also break down slowly, so one good layer can last a year or longer, depending on climate. That means less hauling, less spending, and more time enjoying your yard.
October is a smart time to start collecting, since trees drop plenty right now. Rake them up on a dry afternoon and store extras in a breathable bin.
2. Lay Them Down On Walking Paths
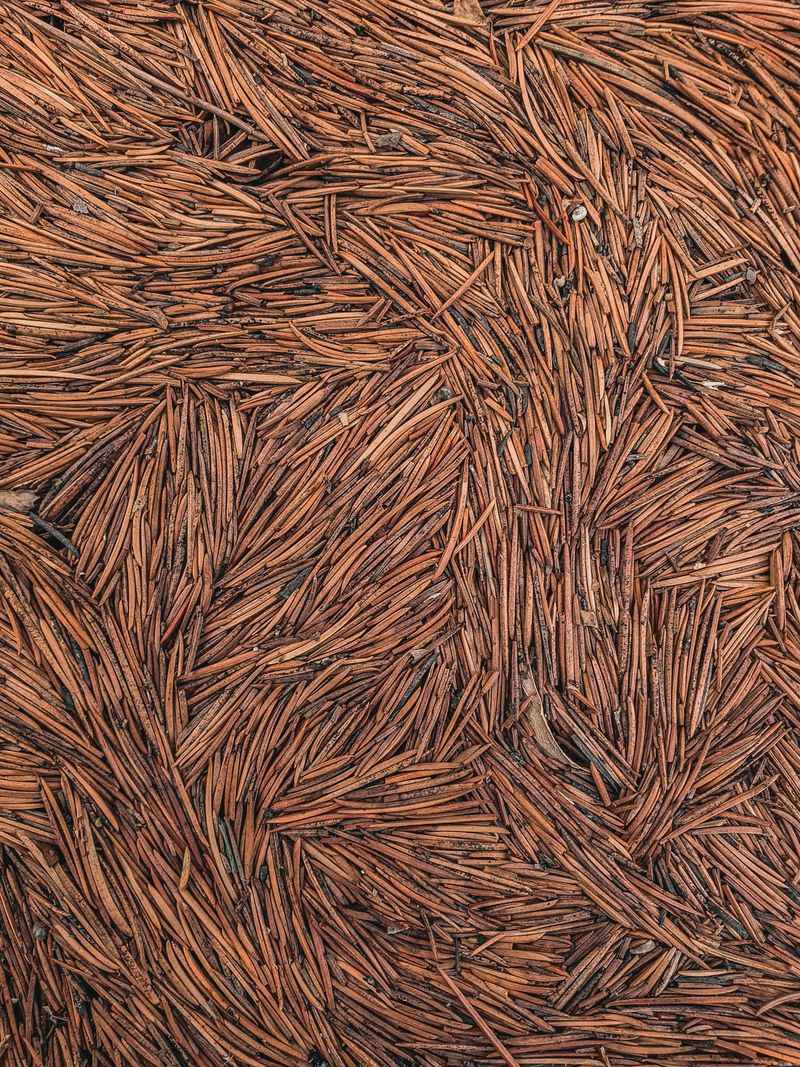
Picture walking through a forest trail where every step makes a soft, springy crunch. You can borrow that cozy feeling for your own backyard without hiring a landscaper.
Needles make a practical cover for garden paths, dog runs, chicken yards, and muddy shortcuts. They soak up splashes and keep shoes cleaner on rainy autumn days.
Start by pulling weeds or laying down plain cardboard along the route. Then pile the needles about three to four inches deep and rake them smooth with a garden rake.
With regular foot traffic, the needles settle into a firm, cushioned surface. The surface stays loose enough for water to drain, so puddles form less often.
Many kids enjoy these paths because they crunch softly underfoot. Pets seem to enjoy them too, especially dogs who like to sniff everything.
One small bonus is the smell after a rain shower. The whole walkway releases a fresh, woodsy scent after rain.
Top off the path once or twice a year as older needles settle down. Fresh fall drops are perfect for this job, so October gives you a free refill.
Edging helps the path stay neat and keeps needles from drifting into the lawn. Bricks, logs, or flat stones all work and add a tidy look. Avoid needle paths on steep slopes or steps, where they can get slippery.
3. Toss Them Into The Compost Pile
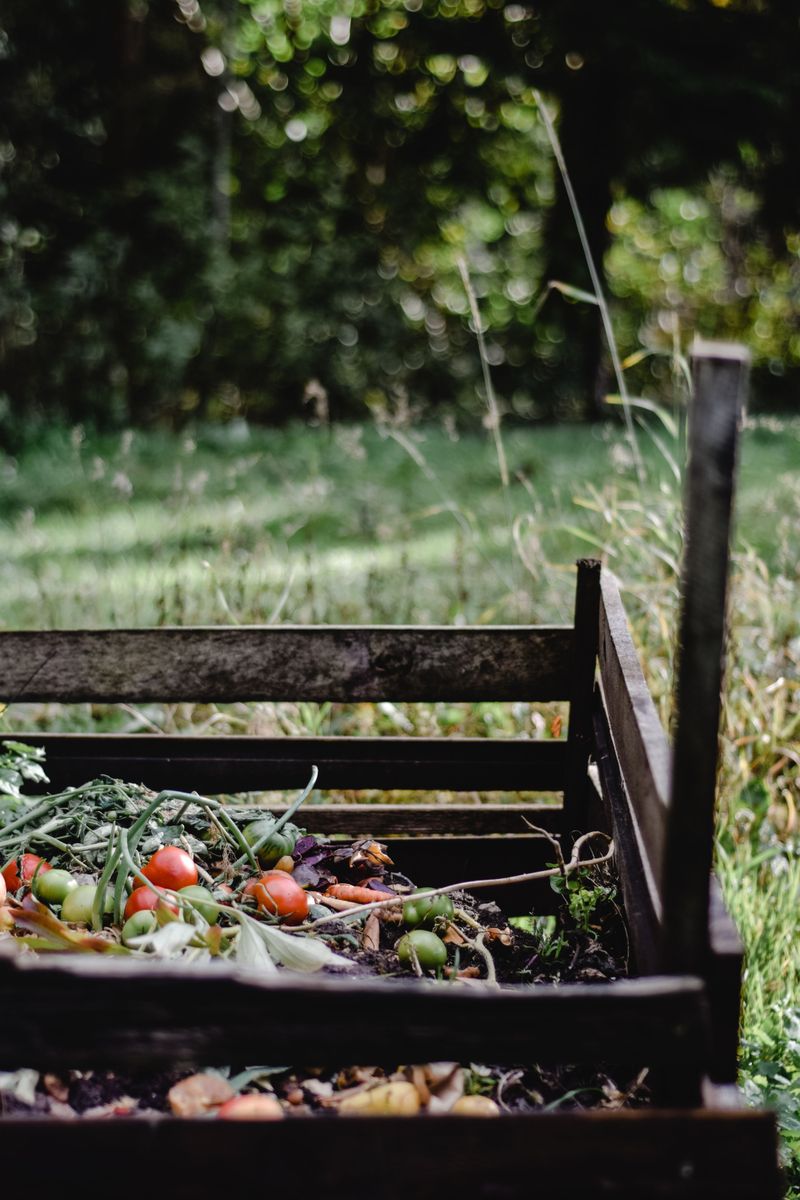
Compost experts like to say a healthy pile needs a mix of browns and greens. Dry needles land firmly in the brown team, with leaves and cardboard.
Browns supply carbon, while greens like grass clippings and veggie scraps supply nitrogen. A common rule of thumb is two to three parts brown to one part green by volume.
Needles do break down slower than most yard waste, thanks to their waxy coating. Whole needles can take a year or more to break down in a quiet pile.
You can speed things up with a few simple tricks. Run them over with a mower first to chop them up.
Mixing them with fresh grass clippings or coffee grounds also helps the microbes get busy. Turning the pile every couple of weeks adds air and keeps things cooking.
Worried about acid? The finished compost usually ends up close to neutral, so most garden plants will happily accept it.
Keep needles to a modest share of the pile and mix them with other browns and greens. Too many can make the heap loose and slow to decompose.
Store extra needles in a bag beside the bin for later. They make a handy brown layer whenever you add a big batch of kitchen scraps.
Autumn is prime compost season since leaves, needles, and garden cleanup all show up together. With chopping and regular turning, you could have dark, crumbly compost within several months to a year.
4. Tuck Them Around Plants For Winter Protection
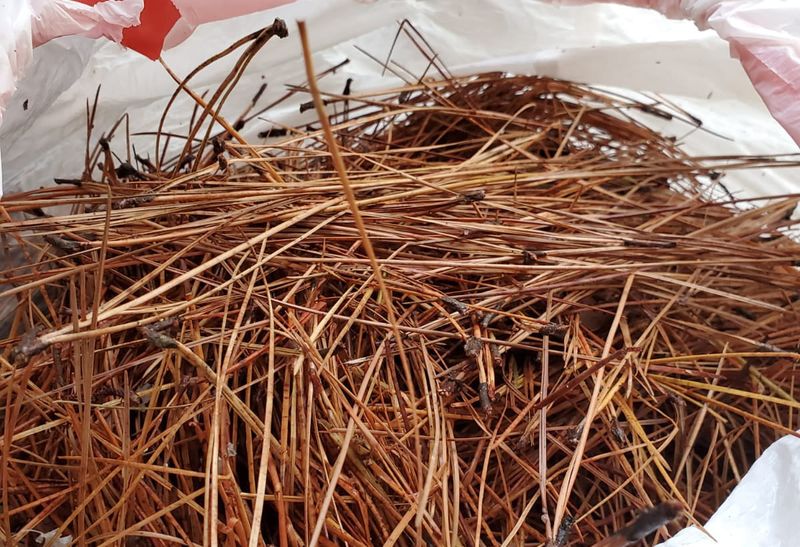
Gardeners in cold regions have long covered tender plants each fall with loose, airy material such as fallen needles.
Needles make effective winter insulation because they trap air without packing down into soggy mats. That airy layer shields roots from large swings between freezing and thawing.
Those swings cause trouble by pushing plants up out of the ground, a problem called frost heave. A loose cover keeps the soil temperature steadier through cold snaps.
Wait until the ground has frozen lightly before spreading your layer. Going too early can invite mice to build a cozy winter home under there.
Strawberries, garlic beds, perennials, and young shrubs all benefit from this treatment. Aim for four to six inches piled loosely over the crowns and roots.
Rosemary and lavender can rot under moisture-holding mulch, so keep needles off their crowns. Roses are usually protected with a mound of soil or compost, and needles can go on top as extra cover.
When spring sunshine returns, gently rake the needles away from new shoots. You can then spread them between rows as summer mulch, so nothing goes to waste.
Collect a big stash in October and keep it covered near the garden. That way, your cozy supply is waiting when the first hard frost finally arrives.
5. Weave Them Into Handmade Baskets
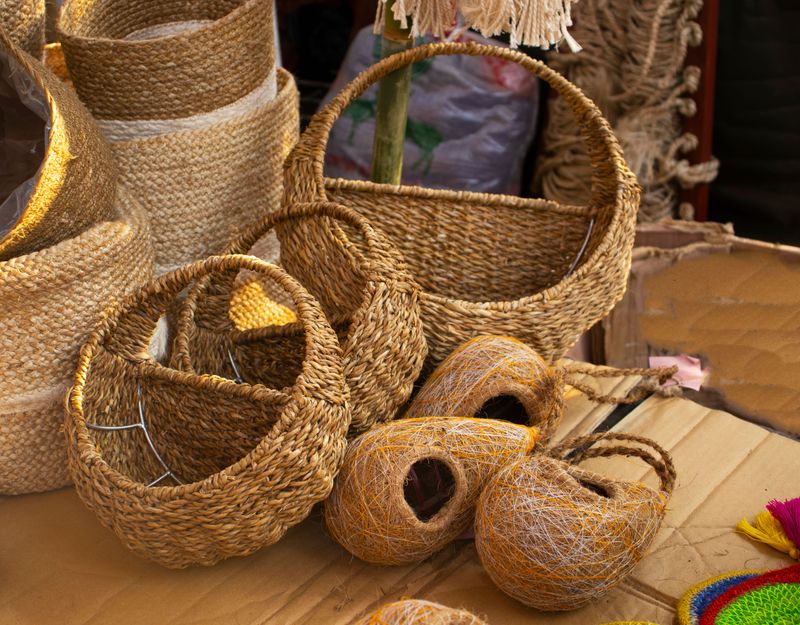
Pine needle basketry is a long-standing craft, practiced by Indigenous communities such as the Seminole and Coushatta. Well-made baskets can last for many years with simple care.
Longleaf pine needles are the favorite choice because they can stretch over a foot long. Still, other long, flexible needles, around six inches or more, can work for small projects.
Start by washing the needles in warm water and letting them dry on a towel. Before weaving, soak them again for about thirty minutes so they bend easily.
Bundle a small handful together and wrap them in a tight coil with strong thread. Raffia, embroidery floss, or waxed sinew all make lovely stitching materials.
Each new row gets stitched onto the row underneath, spiraling outward like a cinnamon roll. Slowly, a flat base grows, and you can tilt the coils upward to form walls.
Beginners often start with coasters or tiny trinket bowls before trying full baskets. Such quick projects take an afternoon and make thoughtful handmade gifts.
Add a pinecone slice, a bead, or a wooden button in the center for extra charm. Every basket ends up a little different, which is half the joy.
Rainy October evenings are perfect for this calm, cozy craft at the kitchen table. Put on music, grab some cocoa, and watch your yard waste become art.
6. Simmer Them For A Natural Room Scent
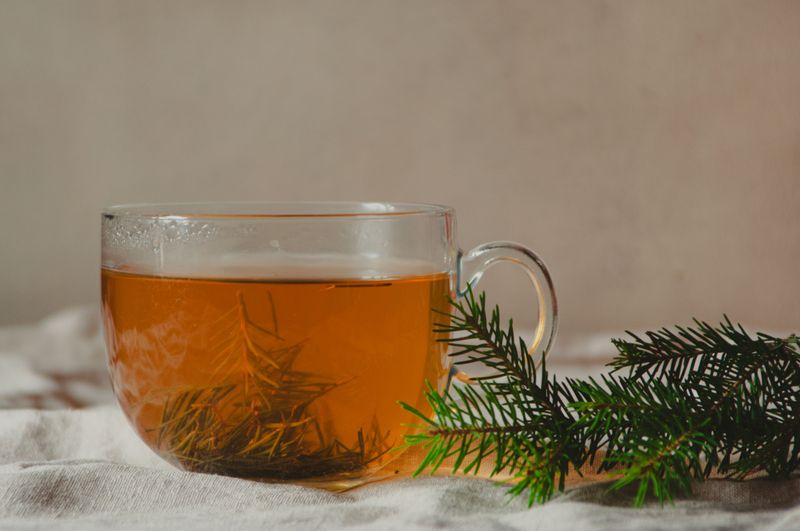
Brown needles under the tree smell lovely when simmered on the stove as a natural room freshener. Rinse a handful, drop it into a pot of water, and keep the heat low.
Add cinnamon sticks and apple peels for a cozy autumn scent. Orange slices or a few cloves work well too. Top up the water as it evaporates, and do not leave the pot unattended.
When you finish, strain the water and add the used needles to your compost. Your kitchen will smell like a cabin in the woods by dinnertime.
Do not brew these needles into tea. Drinking needle tea calls for fresh green needles and positive tree identification, since some evergreens, such as yew, are toxic. Pregnant people should skip it.
7. Stuff Them Into Homemade Sachets And Pillows
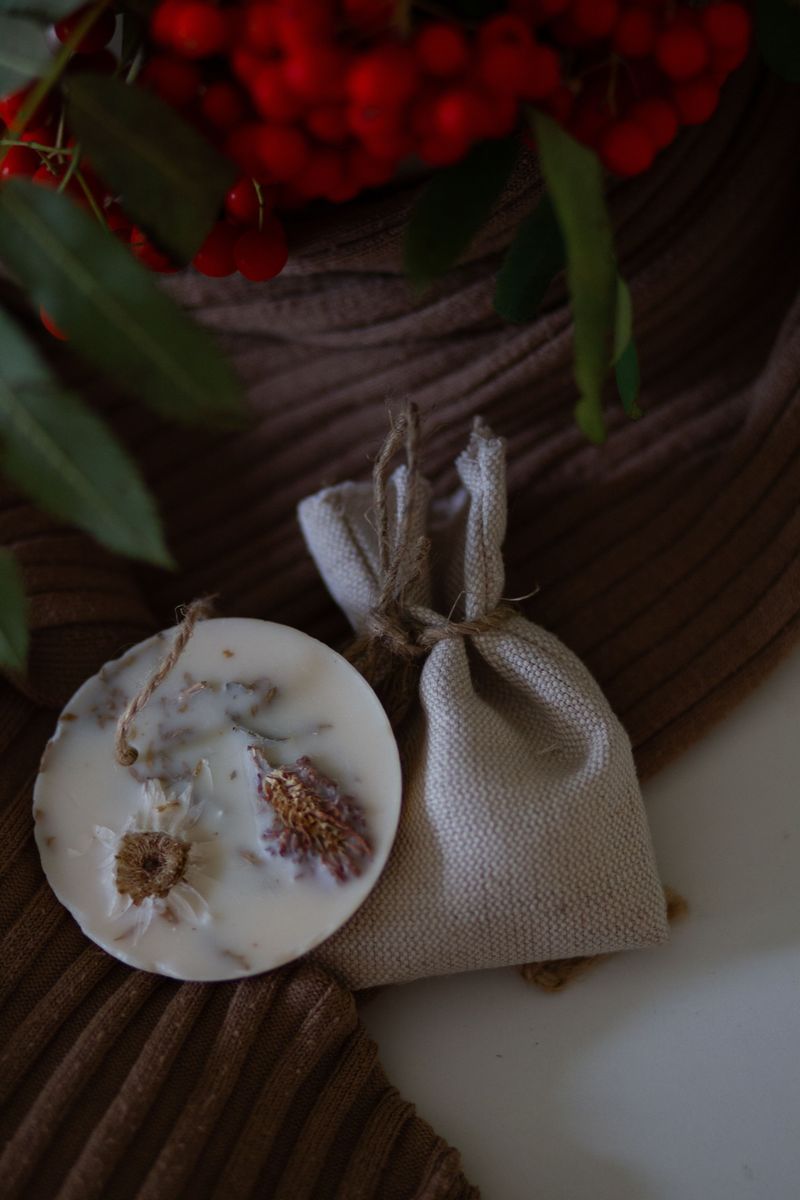
Open a drawer filled with needle sachets and you get a burst of forest air. It feels like a mini camping trip, minus the packing.
Fallen needles keep a mild scent, and fresher ones hold more of it. Pick the cleanest ones from the top of the pile, avoiding muddy or moldy clumps.
Spread them on a tray and let them air-dry indoors for a few days. Needles are resinous, so avoid oven drying.
Once dry, snip them into short pieces so they pack easily. Scoop them into small cloth bags, old socks, or fabric scraps tied with ribbon.
Tuck sachets into closets, shoe racks, car glove boxes, and linen drawers. The woodsy scent helps cover musty smells and keeps fabrics smelling fresh.
For a bigger project, sew a small throw pillow and stuff it with needles. Craft fairs and gift shops in New England have long sold balsam fir pillows, and pine needles can be used in a similar way.
Give the pillow a gentle squeeze to wake up the scent anytime. A few drops of essential oil can refresh older stuffing after several months.
Homemade sachets make sweet holiday gifts for teachers, grandparents, and neighbors. Starting in October gives you plenty of time to sew a whole batch before December.
8. Bundle Them As Fire Starters
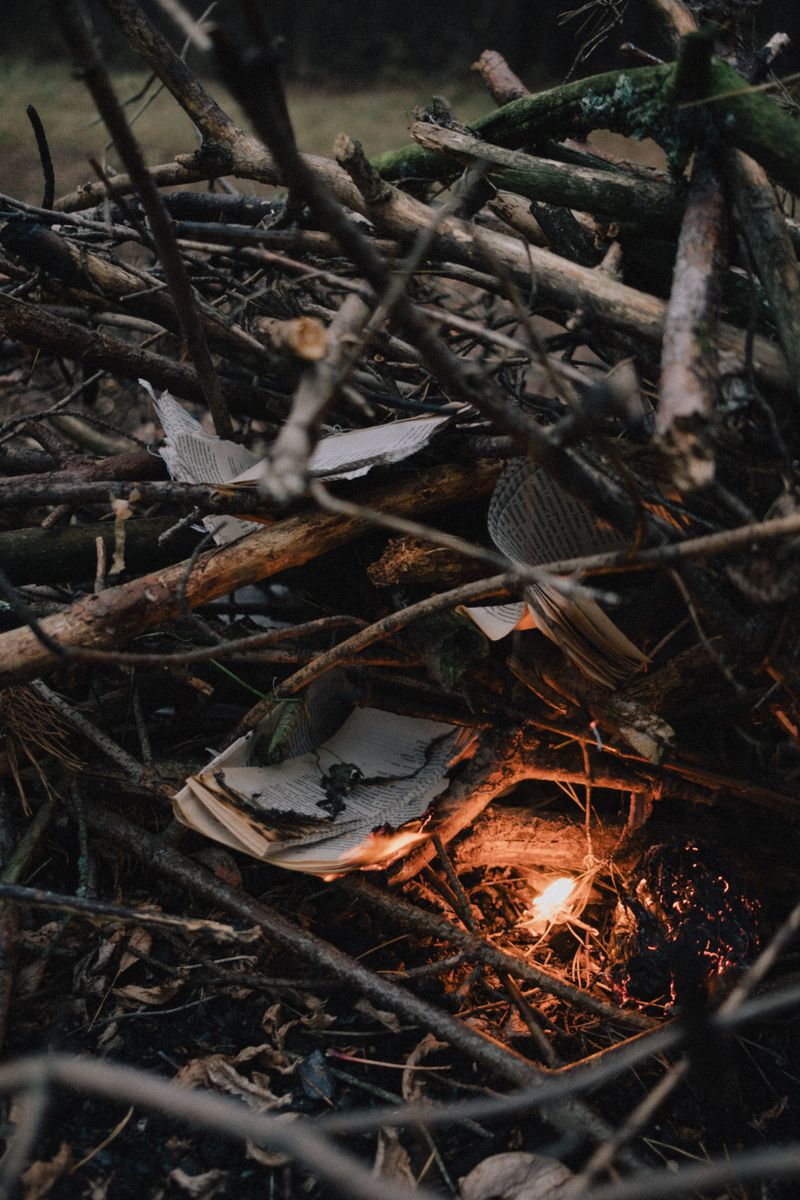
Campers commonly use dry needles as tinder. They catch a spark quickly because they are thin, airy, and full of natural resin.
That resin is a sticky, flammable sap that helps flames grow strong. It helps kindling and logs catch more easily.
Gather the driest, crispiest needles you can find on a sunny October afternoon. Store them in a paper bag in the garage so they stay dry.
For simple starters, bundle a thick pinch of needles and tie it with cotton string. Toss in a small pinecone for extra burning power.
Want something fancier? Pack needles into cardboard egg carton cups and pour a little melted candle wax over the top.
Once the wax hardens, cut the cups apart and stash them in a jar. Each little cup can burn for several minutes, plenty to light kindling.
Safety matters here, so take care with hot wax and matches, and check local burn restrictions first. Keep starters away from heaters, and use them only in fire pits or fireplaces.
Avoid using needles as the main fuel inside a wood stove. They burn fast and hot, so they work better as a starter than as fuel.
A jar of homemade starters also makes a handy gift for camping friends. Add a ribbon and a tag, and you have a rustic present at little cost.
9. Give Them Away To Neighbors And Gardeners
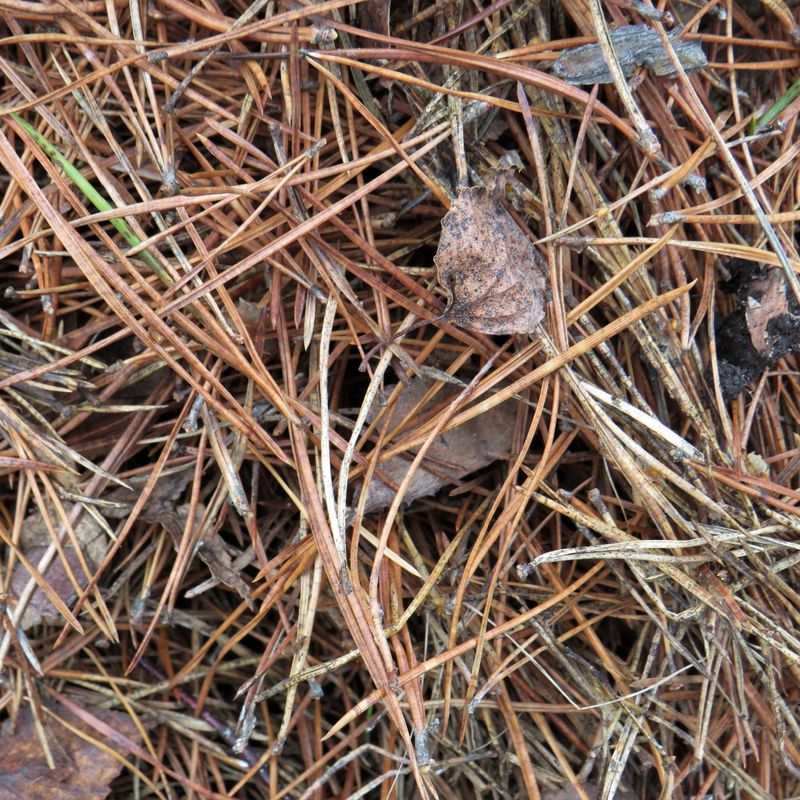
One neighbor’s yard chore can be another neighbor’s treasure. Gardeners with blueberries, strawberries, or azaleas often look for free mulch in fall.
Bagged pine straw is sold by the bale at garden centers, with prices varying by region. Offering yours for free can save someone money and keep material out of the landfill.
Posting on a neighborhood app or community board is an easy way to start. A short note like free needles, bring your own bags, usually gets quick replies.
Community gardens and school gardens are another great place to check. Many run on tiny budgets and welcome donations of clean, untreated yard material.
Chicken keepers may want them too for coop bedding and nesting boxes. Needles are loose and airy, and many keepers find they mat down less than straw.
Before sharing, make sure the pile is free of trash, sticks, and pet waste. Also skip needles from areas treated with weed spray or other chemicals.
Bag them in breathable sacks or leave a neat pile by the curb with a sign. Paper yard bags work better than plastic, which can trap moisture.
Some cities run fall yard waste programs that turn collected needles into public mulch. Check your local website for pickup dates.
Sharing builds friendly connections around the block, too. You might trade needles for tomatoes next summer, which is a fair exchange.
These uses assume needles free of pesticides and herbicides. Pine sap can irritate skin, so wear gloves when handling large amounts.