8 Proven Ways To Strengthen Weak Hydrangeas This Season
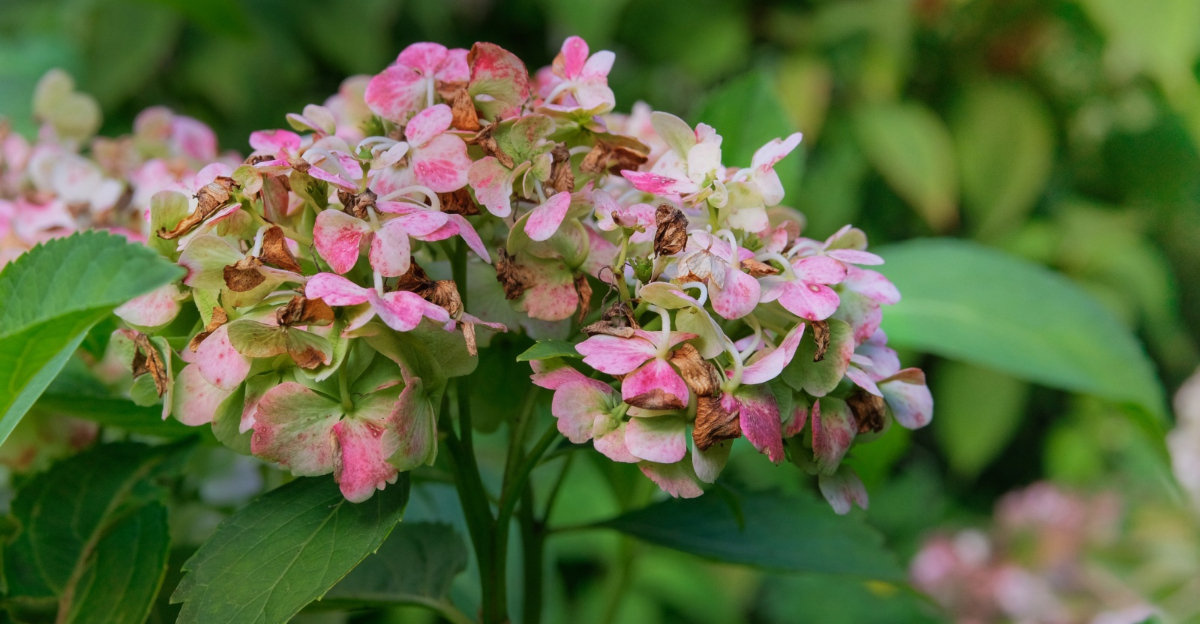
Your hydrangeas had so much promise, and they still do. Those drooping stems and pale blooms are not the full story.
Something shifted, and you can shift it back. Weak hydrangeas frustrate home gardeners more than almost any other plant. Why? Because they looked perfect in the nursery.
You brought them home, planted them with care, and then watched them fade. Every gardener knows that sinking feeling.
Still, the situation is rarely permanent. Soil chemistry, watering habits, and light exposure are the usual suspects.
Fix those, and the transformation can be dramatic. Simple adjustments are waiting for you, and none require a horticulture degree or an expensive overhaul.
Small changes, made consistently, separate struggling plants from showstoppers. Right now, your hydrangeas are holding back everything they have got.
What comes next might surprise you. Your hydrangeas are not gone. They are just waiting for you to make your move.
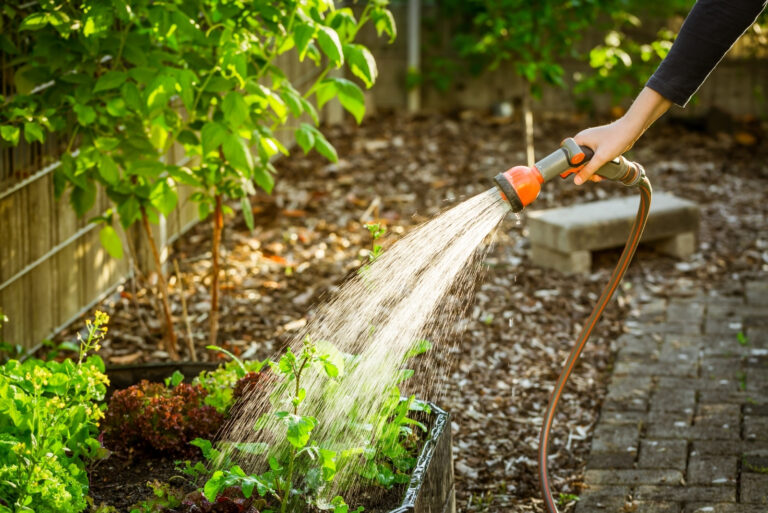
1. Water Deeply 2-3 Times A Week

Hydrangeas are thirsty plants, and shallow watering is one of the fastest ways to leave them struggling.
When you only wet the top inch of soil, roots stay near the surface and become fragile. A plant with shallow roots has nothing to anchor it through heat, drought, or stress.
Deep watering encourages roots to grow downward, making the whole plant more stable and resilient. Aim to soak the soil deeply enough to reach the full root zone each session.
That kind of thorough watering builds the strong foundation your hydrangeas need to push out those full, heavy blooms.
Water your hydrangeas two to three times per week during warm months. Morning is the best time, so leaves dry before nightfall and avoid fungal problems.
Wet foliage sitting through cool nights creates exactly the conditions that mildew and leaf spot need to take hold.
Use a slow trickle from a hose rather than a quick splash from a watering can. Slow water penetrates deeply instead of running off the surface.
Positioning the hose at the base of the plant keeps moisture where it matters most and away from the leaves entirely.
Different soil types also affect how quickly water moves through. Sandy soil drains fast and may need slightly more frequent watering.
Clay soil holds moisture longer but can become compacted, so check before you water rather than following a fixed schedule.
During heat waves, your plants may need an extra session mid-week. Watch the leaves closely, because drooping in the morning is a clear sign of thirst.
2. Mulch Around The Base To Retain Moisture

Picture this: you water your hydrangeas perfectly, then the sun draws all that moisture away within hours. That cycle of wet and dry stresses plants more than most gardeners realize.
Roots that constantly swing between soaked and parched struggle to absorb nutrients efficiently, and the whole plant pays the price.
Mulch breaks that cycle by acting like a blanket over the soil. It slows evaporation and keeps root temperatures steady through hot afternoons.
Without it, the soil surface can heat up dramatically on a sunny day, creating conditions that stress roots even when the rest of the garden looks fine.
Spread a two to three inch layer of organic mulch around the base of each plant. Wood chips, shredded bark, or pine needles all work beautifully for this job.
Each of these options is widely available, affordable, and blends naturally into most garden settings without looking out of place.
Keep the mulch a few inches away from the main stem to prevent rot. A small gap at the center protects the crown while still insulating the roots.
That gap is a small detail that makes a significant difference over time. Organic mulch also breaks down slowly over time, adding nutrients back into the soil.
That means you get moisture retention and a gentle fertility boost in one simple step. Few garden tasks offer that kind of double return for such minimal effort.
Refresh your mulch layer each spring before the growing season kicks in. Consistent coverage keeps the ground cool, moist, and ready to support strong, healthy growth all summer long.
3. Feed With A Slow-Release Balanced Fertilizer

Hungry plants produce weak stems, small blooms, and dull foliage. Feeding your hydrangeas the right nutrients at the right time makes a dramatic difference you can actually see.
Nutrition is not just about growth. It is about giving your plant the building blocks it needs to perform at its best.
A balanced fertilizer with equal parts nitrogen, phosphorus, and potassium covers all the bases. Look for something labeled 10-10-10 or a similar ratio at your local garden center.
Nitrogen supports leafy growth, phosphorus encourages blooms, and potassium keeps the whole plant resilient through heat and stress.
If you are growing blue-flowering bigleaf varieties, choose a lower-phosphorus formula to avoid blocking aluminum uptake.
Too much phosphorus prevents these varieties from absorbing the aluminum they need to produce those rich, vivid blue tones.
Slow-release granules are the smarter choice over liquid feeds for most home gardeners. They deliver steady nutrition over weeks instead of one big rush that fades quickly.
Apply fertilizer in early spring just as new growth appears, then again in midsummer. Two applications per season are usually enough to keep plants well-nourished without overdoing it.
Avoid feeding in late summer or fall, because that pushes new growth that will not harden before cooler weather arrives. Tender new growth at the wrong time can weaken the plant overall.
Always water the soil before and after applying granules to help nutrients absorb evenly. Proper feeding turns pale, struggling hydrangeas into vigorous bloomers that become a true standout in your garden.
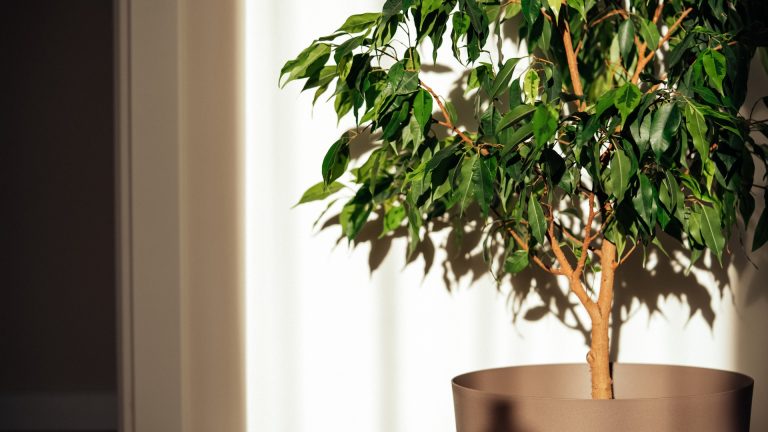
4. Find A Spot With Morning Sun And Afternoon Shade

Location is everything for a hydrangea, and getting it wrong explains a lot of mysterious wilting and poor blooming.
These plants crave light, but too much of the harsh afternoon kind scorches them fast. What looks like a watering problem or a soil issue is often simply a placement problem in disguise.
Morning sun gives hydrangeas the energy they need to produce those gorgeous blooms. Afternoon shade protects leaves and flowers from the intense heat that peaks between noon and four o’clock.
That window of intense heat is when hydrangeas are most vulnerable, and even a few hours of exposure during that period can set a plant back noticeably.
If your current plant is in full sun all day, consider relocating it in early fall. Transplanting during cooler weather gives roots time to settle before the next growing season begins.
Water the plant thoroughly both before and after moving it to reduce transplant stress as much as possible.
East-facing garden beds are often the sweet spot for these plants, as they catch gentle morning sun while staying sheltered from the harsh afternoon heat.
A spot near a fence, wall, or taller shrub can also provide that natural afternoon buffer without requiring you to move the plant at all.
Hydrangeas planted in too much shade, though, tend to produce fewer flowers and leggier stems. Balance is the goal, and morning brightness paired with afternoon shelter hits that balance perfectly.
The right spot is sometimes the only change needed to strengthen weak hydrangeas for good.
5. Remove Spent Blooms Regularly

Old blooms hanging on a hydrangea are not just an eyesore. They are actually pulling energy away from the parts of the plant that need it most.
Every spent flower that stays on the plant is a small but constant drain on resources that could be fueling new growth instead.
Removing spent flowers redirects the plant’s focus toward root strength and new bud development. It is one of those small tasks that pays off in a surprisingly big way.
Most gardeners who start removing regularly notice a visible improvement in bloom production within a single season.
Grab a clean pair of pruning shears and snip faded blooms just above the first set of healthy leaves. Make the cut at a slight angle to help water run off the stem. Always use clean tools to avoid transferring any disease from one plant to another.
Do this every week or two throughout the blooming season for the best results. Regular passes through the garden take only a few minutes once you get into the habit.
For bigleaf and oakleaf varieties, be careful not to cut too far down the stem. Those types set next year’s buds on old wood, so aggressive cutting can reduce future blooms.
Panicle and smooth hydrangeas are more forgiving and can handle harder cuts without losing next season’s flowers.
Keeping up with spent blooms keeps your plant looking fresh and working efficiently all the way to the end of summer.
6. Trim Any Weak Or Crossing Stems

A tangled, crowded hydrangea is a stressed hydrangea. When stems cross and rub together, they create wounds that invite disease and pull the plant’s energy in too many directions.
Pruning out weak and crossing stems opens up the center of the plant to better airflow. Good circulation reduces humidity around leaves, which keeps fungal problems from taking hold.
Start by removing any stems that are clearly brown, hollow, or snapping easily. Bare wood contributes nothing and can become a pathway for pathogens to enter the plant.
Next, look for stems that cross through the center and rub against others. Removing the weaker of the two crossing stems is usually the right call.
Always use clean, sharp tools so cuts are smooth rather than ragged. Rough cuts take longer to heal and leave the plant exposed to stress for a greater stretch of time.
Pruning timing depends on your variety. Panicle and smooth hydrangeas bloom on new wood, so late winter or very early spring is the right window for major cuts.
Bigleaf and oakleaf hydrangeas bloom on old wood, meaning their buds are already set by late summer. Prune those right after they finish flowering, never in late winter, or you risk cutting away next season’s blooms entirely.
Light cleanup cuts to remove weak or crossing stems can happen on any variety at any time of year.
7. Test Your Soil pH And Aim For 6.0-6.5

Soil pH sounds like a chemistry class topic, but it is actually one of the most practical things you can check in your garden. pH controls how well roots absorb nutrients, even when those nutrients are present in the soil.
Hydrangeas perform best when soil pH sits between 6.0 and 6.5, though aiming closer to 6.0 to 6.2 puts you right in the sweet spot. Outside that range, plants struggle to take up iron, manganese, and other minerals they need to thrive.
Inexpensive pH test kits are available at any garden center or hardware store. You can also send a soil sample to your local cooperative extension for a more detailed analysis.
If your soil is too alkaline, adding garden sulfur gradually lowers the pH over several weeks. If it leans too acidic, ground limestone raises it back toward the target range.
Make adjustments slowly and retest every few weeks rather than dumping large amounts of amendment at once. Rapid swings in pH can shock roots and cause more harm than the original imbalance.
One interesting bonus: pH also affects bloom color in bigleaf hydrangeas, with lower pH producing bluer flowers. Hitting that 6.0 to 6.5 sweet spot keeps weak hydrangeas well-fed at the root level and looking their very best.
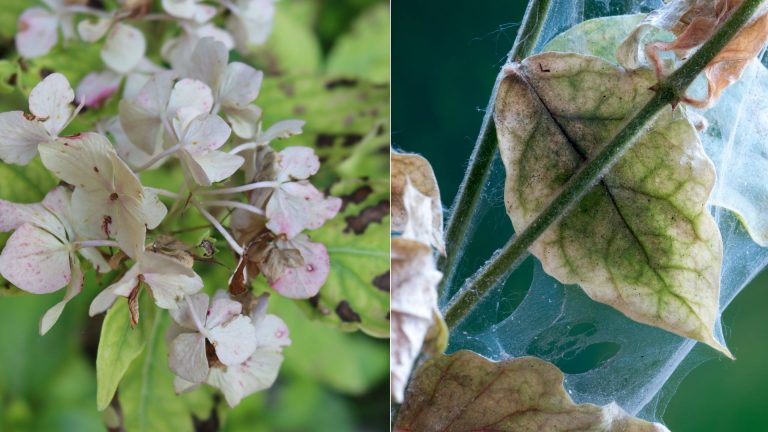
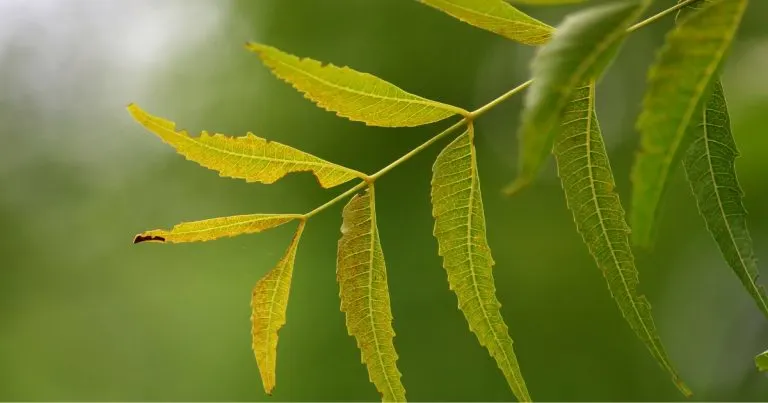
8. Check Leaves For Pests Or Signs Of Fungal Disease

Sometimes a weak hydrangea is not struggling because of watering or soil. Sometimes something is eating it or infecting it, and the symptoms look deceptively like a nutrient problem.
Flip leaves over and look at the undersides where pests love to hide. Spider mites, aphids, and scale insects are the most common culprits on hydrangeas.
Aphids cluster near new growth and leave behind a sticky residue that attracts mold. A strong spray of water knocks most of them off, and that alone can solve a mild infestation quickly.
Fungal diseases like powdery mildew and leaf spot show up as white coating or brown circular patches on leaves. Both spread in humid, still conditions where airflow around the plant is poor.
Remove affected leaves immediately and avoid overhead watering to slow the spread. A diluted neem oil spray applied in the evening handles many fungal and pest issues without harsh chemicals.
Catching problems early is what separates a plant that bounces back from one that keeps declining.
Make leaf inspection a regular part of your garden routine, and your weak hydrangeas will have a much better shot at a full, healthy recovery.