7 Pumpkins And Gourds Still Worth Harvesting In Pennsylvania
Pennsylvania ranks among the top pumpkin-growing states in the country. Every fall, farms across the state turn into seas of orange, and plenty of backyard gardeners are just as proud of their own homegrown haul.
If you still have pumpkins or gourds sitting in the patch, it’s not too late. Many of them are still worth harvesting, even as vines wither and nights turn cold.
Some may look finished on the outside but need just a few more days to harden up. Others are ready and simply waiting to be picked. The key is knowing what to look for.
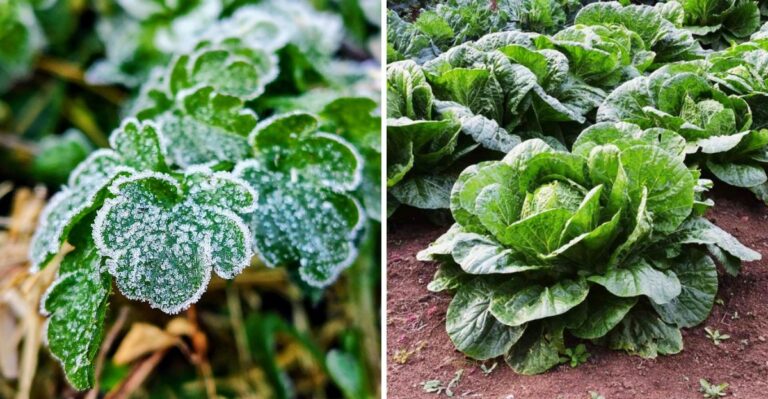
A firm rind, a dry stem, and deep color all offer clues. Timing matters, too, since a hard frost can quickly soften the skin and shorten how long they’ll last.
Harvest them the right way, and they can decorate your porch or fill your kitchen for weeks, or even months.
1. Classic Carving Pumpkins
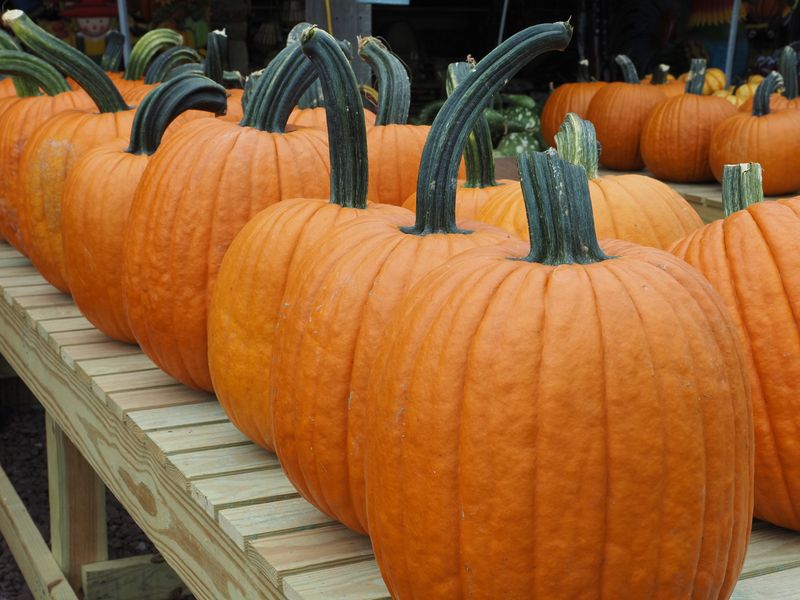
Few things say October like a giant orange pumpkin sitting on the front steps. Carving varieties such as ‘Howden’ were bred for just that job. They have thin walls, sturdy handles, and a nice round shape.
So how do you know one is ready? Look for deep, even orange color all the way around. Then press your fingernail into the skin. If the rind resists and does not dent, the pumpkin is mature.
A green patch on top or a soft rind means it needs more time. In Pennsylvania, though, time can run short. Hard frosts often arrive in October, especially in the northern counties and higher hills.
Frost damages the skin and makes pumpkins break down quickly. A light chill is usually fine, but a night in the upper 20s can hurt them. Keep an eye on the weather report and pick before the cold snap hits.
Use sharp pruners or a knife to cut the stem. Leave about 3 to 4 inches attached. A long stem acts like a cap that keeps germs out of the fruit.
Never carry a pumpkin by its stem. If the stem snaps off, the pumpkin will spoil much faster. Lift it from the bottom with both hands instead.
Wipe off dirt and let it sit in a sunny, dry spot for a few days. Some gardeners wipe the skin with a weak bleach and water mix to stop mold. An uncut pumpkin can last two or three months in a cool, dry garage.
Wait to carve until a week before Halloween. Once opened, a jack-o’-lantern only stays fresh for several days.
2. Sweet Little Pie Pumpkins
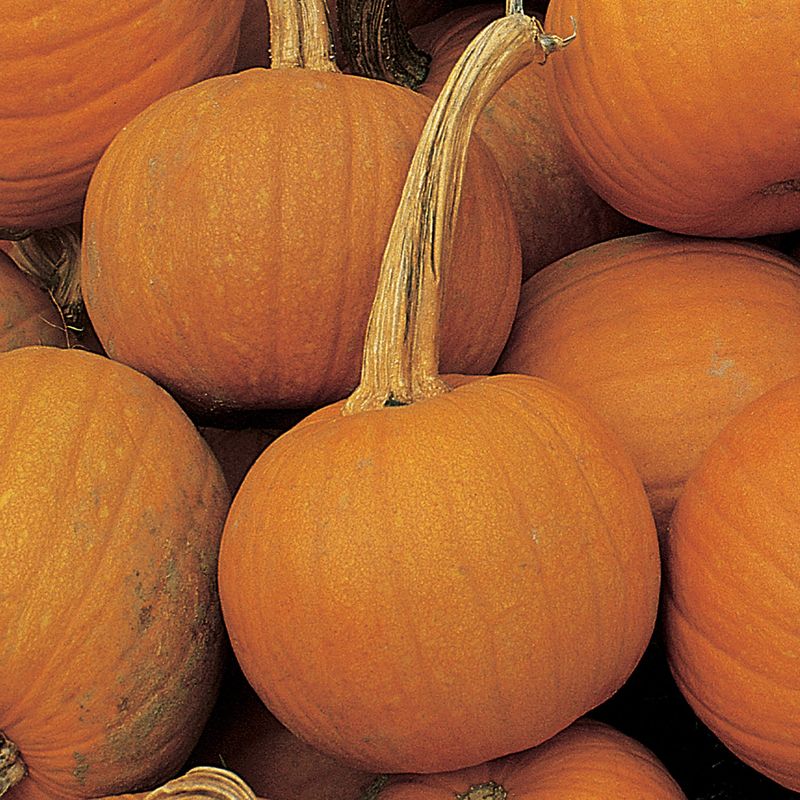
Grandma’s pumpkin pie probably did not start with a giant jack-o’-lantern. Most bakers reach for small pie pumpkins instead. Popular kinds include ‘Small Sugar’ and ‘New England Pie.’
These little fruits usually weigh between 4 and 8 pounds. Their flesh is thick, smooth, and sweet. Carving types tend to be stringy and watery, so they make a bland pie.
Harvest signs are similar to big pumpkins. The skin should be solid orange and hard. The stem often turns woody and starts to crack a little.
Your Pennsylvania Garden Changes Every Week. Your Plan Should Too.
Gardening in Pennsylvania changes quickly throughout the season. Every Friday you’ll receive a simple weekly plan showing exactly what to plant, prune, fertilize, harvest, and protect so you never miss the right timing.
Here is a secret many new gardeners miss. Pie pumpkins taste even better after curing. Curing simply means letting them rest in a warm, dry place for a week or two.
Aim for a spot around 80 degrees with good air flow. A sunny porch, a warm shed, or a room near the furnace works well. During this time, the skin toughens and some starches turn into sugar.
After curing, move them somewhere cooler, around 50 to 55 degrees. A basement shelf is ideal. Keep them in a single layer so they do not touch.
Stored this way, pie pumpkins can last two to three months. Check them each week for soft spots. Use any bruised ones first.
When baking day comes, cut one in half and scoop out the seeds. Roast the halves face down until a fork slides in easily. Then scoop out the flesh and mash it.
Fresh puree freezes nicely too. Save the seeds and toast them with a pinch of salt for a crunchy snack.
3. The Cheese Wheel Look-Alike
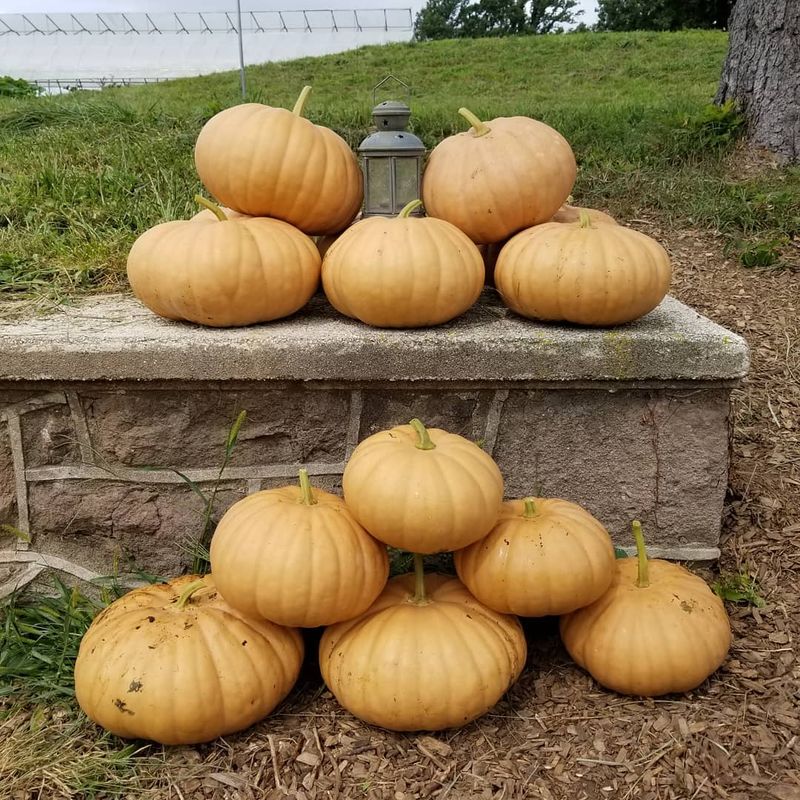
Walk past a ‘Long Island Cheese’ pumpkin and you might think someone left a giant wheel of cheddar in the garden. This heirloom is flat, ribbed, and a soft tan color. It does not look flashy, but bakers love it.
The variety dates back to the 1800s in the New York area. Farm families grew it because it fed them all winter. Today, many Pennsylvania gardeners save its seeds year after year.
The flesh inside is deep orange and creamy. It has very few strings. Many cooks say it makes the best pie they have ever tasted.
Knowing when to pick takes a careful eye. The skin shifts from greenish to an even buff tan. The rind gets hard, and the stem turns dry and corky.
Cut it from the vine with a few inches of stem left on. Handle it gently, since the flat shape bruises easily if dropped. Let it cure in a warm room for about ten days.
Here is where this pumpkin truly shines. It stores better than almost any other kind. In a cool, dry spot, it can keep for six months or more.
Some families still have one on the kitchen counter in March. Its flavor may even improve over the first few weeks. Just check it now and then for any wet or moldy spots.
Looking for a crop that does double duty? Set a few on the porch for fall decor. When winter arrives, bring them inside and turn them into soup, bread, or pie.
4. Butternut Squash
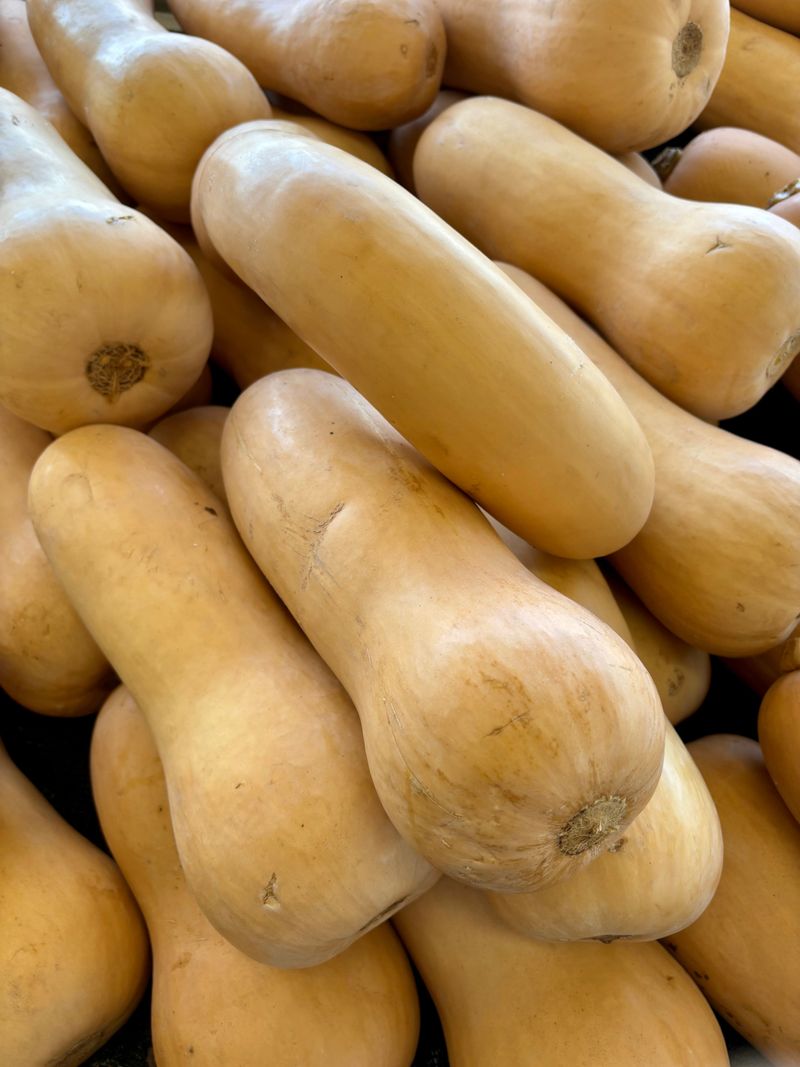
Butternut squash is the quiet hero of the winter pantry. It may not star in Halloween photos, but it fills plates long after the decorations come down. Its sweet, nutty flavor wins over even picky eaters.
Timing matters a lot with this crop. Ripe butternut has skin that is a deep, solid tan. Any green streaks or lines mean it still needs time on the vine.
Check the stem as well. It should look dry and brown, not fresh and green. The skin should feel firm when you press it.
Many Pennsylvania gardeners pick butternut in late September or early October. If frost is coming sooner, gather them all. Slightly underripe squash can still ripen a bit indoors.
Leave an inch or two of stem when you cut. Then cure the squash for about two weeks in a warm spot. Curing helps heal small scratches and makes the flesh sweeter.
A fun fact: butternut squash was developed in Massachusetts in the 1940s. Farmer Charles Leggett said it was smooth as butter and sweet as a nut. The name stuck.
For storage, choose a cool, dry place around 50 degrees. Avoid the fridge, since cold and damp air causes spoilage. Butternut often lasts three to six months this way.
Its thick neck is solid flesh with no seeds. That makes it easy to peel and cube. Try roasting cubes with olive oil and a little cinnamon.
It also blends into smooth soups. A bowl on a chilly January night feels like a warm hug.
5. Acorn Squash
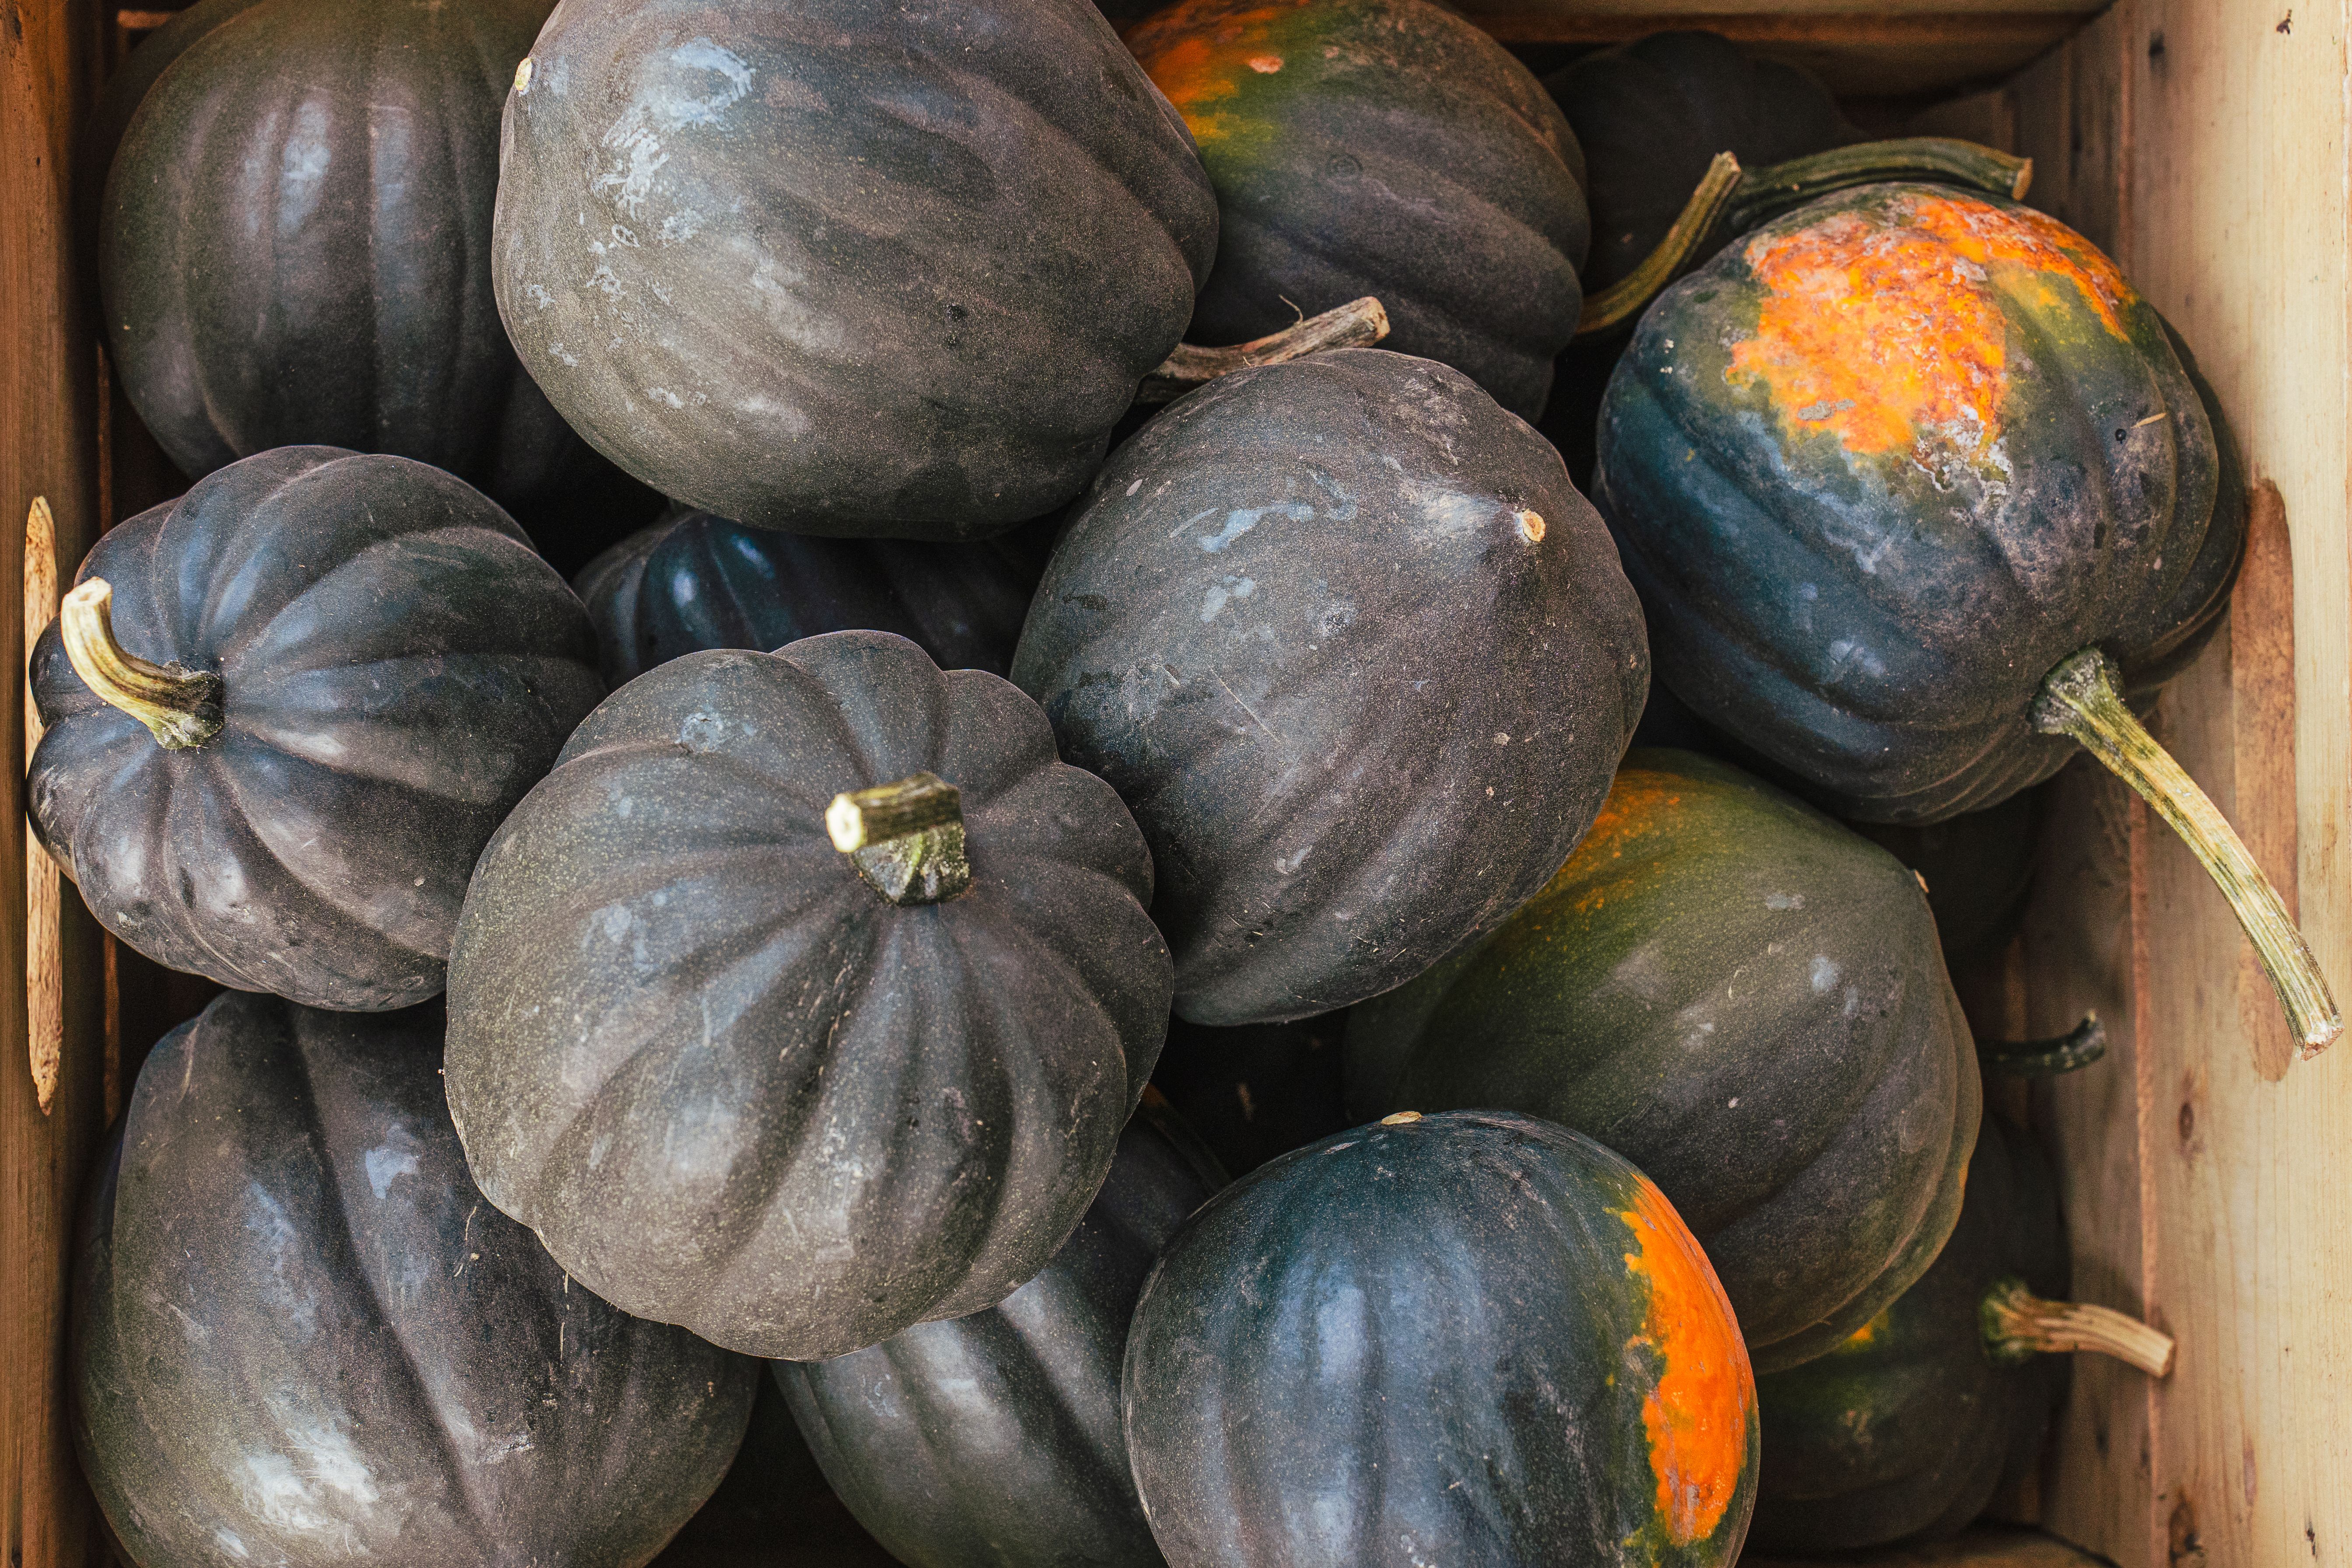
Got a few acorn squash hiding under big leaves? Lucky you. These ribbed little fruits are one of the easiest winter squashes to grow and cook.
Their shape gives them their name. They look just like a giant acorn. Most are about the size of a softball.
To check ripeness, look at the color first. Ripe acorn squash turns a dark, almost black green. The skin gets hard and loses its shine.
Flip one over and peek at the bottom. You will often see an orange or yellow patch where it rested on the soil. That spot is a good clue the squash is ready.
Try the fingernail test too. If your nail cannot dent the skin, go ahead and pick. Cut the stem, leaving about an inch attached.
Here is where acorn squash breaks the rules. Unlike butternut or pumpkins, it does not need curing. In fact, curing can make the flesh stringy and dry.
Plan to eat it fairly soon. Acorn squash keeps its best flavor for about one to two months. After that, it tends to lose sweetness and get a little stringy.
Store it in a cool spot with dry air. A pantry or basement shelf works nicely. Keep it away from apples, which give off gas that speeds ripening.
Cooking it is simple. Slice it in half, scoop the seeds, and add a pat of butter and brown sugar. Bake until tender and you have a cozy side dish ready in under an hour.
6. Ornamental Gourds
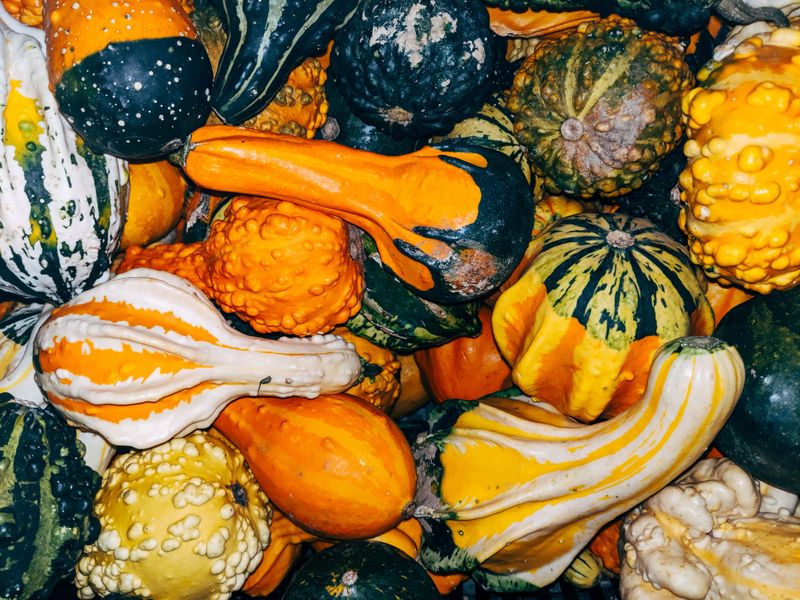
Bumpy, striped, twisted, and wildly colorful, ornamental gourds are the clowns of the garden. Each vine seems to produce a surprise. One fruit might be smooth and yellow, while the next looks like a green and white candy cane.
Kids love picking them. They are small enough to hold in one hand. Many families grow a short row just for fall table displays.
Wondering when to harvest? Watch the stems. When they turn brown and dry, the gourds are ready to come off the vine.
The skin should also feel hard. If it still feels soft, give it more time. Immature gourds tend to shrivel or rot instead of drying.
Cut them with a short piece of stem attached. Try not to scratch or bruise the skin. Any small wound can let mold sneak in.
Next, give them a gentle bath. Wipe each gourd with a cloth dipped in soapy water or a mild vinegar mix. Then dry them well with a towel.
Set them in a single layer in a spot with plenty of air flow. A garage shelf or screened porch works great. Turn them every few days so all sides dry evenly.
Small gourds may be ready to show off in about a week. Others take longer to harden fully. A little mold on the surface is normal and wipes right off.
Arrange them in baskets, wooden bowls, or along a mantel. Pair them with mums and corn stalks for a true Pennsylvania harvest look.
7. Birdhouse Gourds
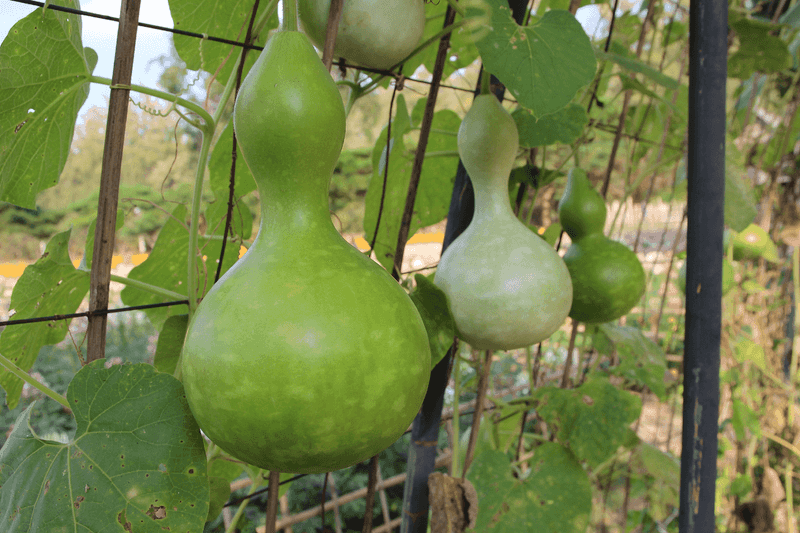
Long before store-bought feeders, people hung hollow gourds to welcome purple martins. Native Americans used them this way for hundreds of years. Birdhouse gourds keep that clever tradition alive today.
They need patience, though. These gourds require a long, warm season, often 120 days or more. In Pennsylvania, they are usually one of the very last crops to finish.
Resist the urge to pick them early. Leave the gourds on the vine until the vine itself turns brown and withers. A light frost will not hurt mature gourds much.
Once the vine is spent, cut each gourd with a few inches of stem. Handle them gently. Their skin is still full of water at this stage.
Now comes the long wait. Place them in a warm, airy spot like a barn, shed, or covered porch. Hang them or set them on a rack so air moves all around.
Drying can take three to six months. The gourds will grow black or gray mold on the outside. Do not panic, since that crusty layer is part of the process.
You will know they are done when they feel very light. Shake one and listen for seeds rattling inside. That sound means it is ready for crafting.
Scrub the skin with steel wool and warm water to reveal a smooth tan shell. Drill an entry hole about two inches wide, plus a few small holes in the bottom for drainage. Paint or seal it, hang it up, and wait for your feathered tenants to move in.