8 September Canna Lily Tasks That Will Keep Your Cannas Healthy Through Winter And Blooming Next Year
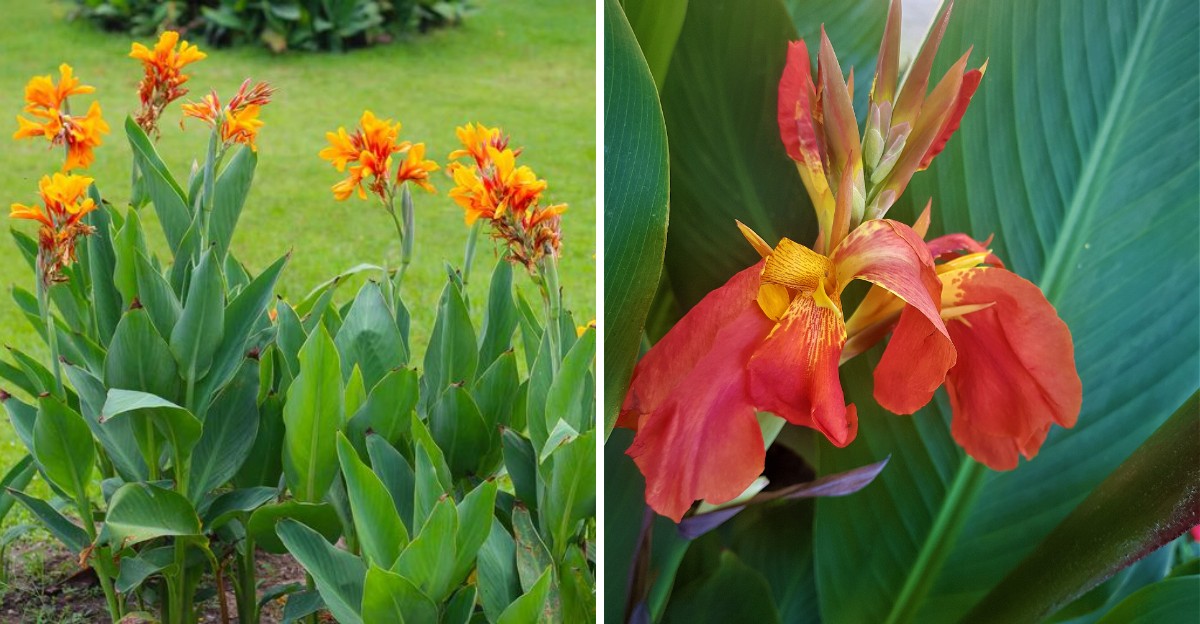
Those towering cannas you bragged about have a problem hiding in the forecast. Frost can turn those broad leaves into limp, blackened rags while you sleep.
Below the soil, though, you own a fortune in fat, knobby rhizomes. Hunters reportedly loaded canna seeds like buckshot, earning the plant its nickname, Indian shot.
Yet those rhizomes turn to mush if you leave them in cold, soggy ground. Cannas also multiply underground, so a clump you save now can split into several plants.
Storage demands little from you beyond cool air and fluffy, dry packing material. Timing matters more than effort, and you control the timing right now.
Dig too early, and you rob the rhizomes of their final sugar boost. Wait too long, and a hard freeze gets there before you do.
Here is how you nail that tricky timing window.
1. Stop Feeding Your Cannas By Early September

Picture a kid chugging soda right before bedtime, then wondering why sleep feels impossible. Feeding cannas in September works the same way, keeping them wired when they should be winding down.
Nitrogen, the main ingredient in most flower foods, tells a plant to push out fresh leaves. That soft new growth has no time to toughen up before cold nights arrive.
Right now, your cannas need to shift their energy down into the soil. Their underground rhizomes are busy packing away sugar and starch like squirrels stuffing acorns into a tree.
Those stored snacks are exactly what fuels next spring’s first green shoots. A well-stocked rhizome wakes up faster and blooms more boldly than a skinny, underfed one.
Did you know cannas are not true bulbs at all? Those chunky underground parts are rhizomes, which are actually swollen stems that grow sideways.
So when is the right moment to put the fertilizer bag away for good? Give the last feeding in mid to late August, especially in chilly northern areas.
Gardeners in warmer southern zones can stretch that cutoff by a couple of weeks. Still, stopping by early September keeps things simple and safe for almost every garden.
Container cannas deserve the same treatment, even if slow-release pellets are still sitting in the pot. Scrape off any visible pellets from the soil surface so they stop feeding the plant.
Keep watering when the soil feels dry, but leave the plant food on the shelf. Think of it as switching your cannas from dinner mode to pajama mode.
2. Snip Off Faded Flowers And Seed Pods
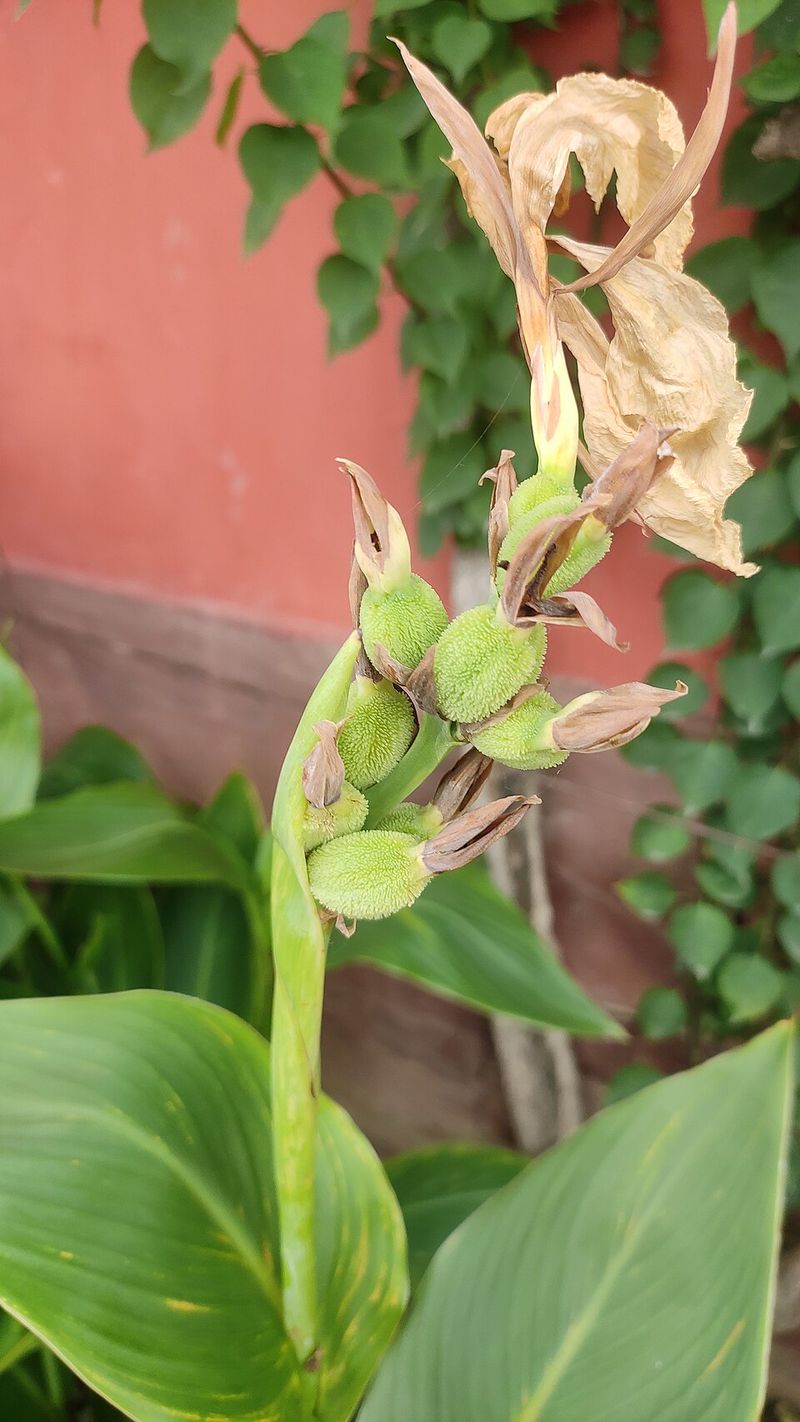
Remember that Indian shot nickname from earlier? Their round black seeds look just like tiny pellets and are hard enough to rattle in a can.
Those seeds are fascinating, but making them costs your plant a lot of energy. Every pod that ripens steals fuel the rhizome could be saving for spring.
Think of seed pods as tiny, spiky freeloaders crashing on your plant’s couch all fall. They eat every snack in the house and conveniently skip doing the dishes.
Snipping them off sends that energy back underground where it belongs. Grab clean pruners and cut the flower stalk just above the next set of leaves.
Look closely before you cut, because new buds sometimes hide right beside the faded ones. If you spot a fresh bud, trim only the spent flower cluster.
Once a whole stalk has finished blooming, you can cut it back lower. Leave the big leaves alone, since they are still busy making food from sunlight.
Disinfecting your blades between plants with a 10% bleach solution or a horticultural disinfectant is a smart habit. It helps stop viruses and bacteria from hitching a ride to the next clump.
Want to try growing cannas from seed just for fun? Let one or two pods ripen, then nick the hard coat with a nail file before planting.
Just know that seedlings may look nothing like the parent plant. That mystery is half the fun for curious gardeners who love a good surprise.
3. Cut Back On Water As The Nights Cool
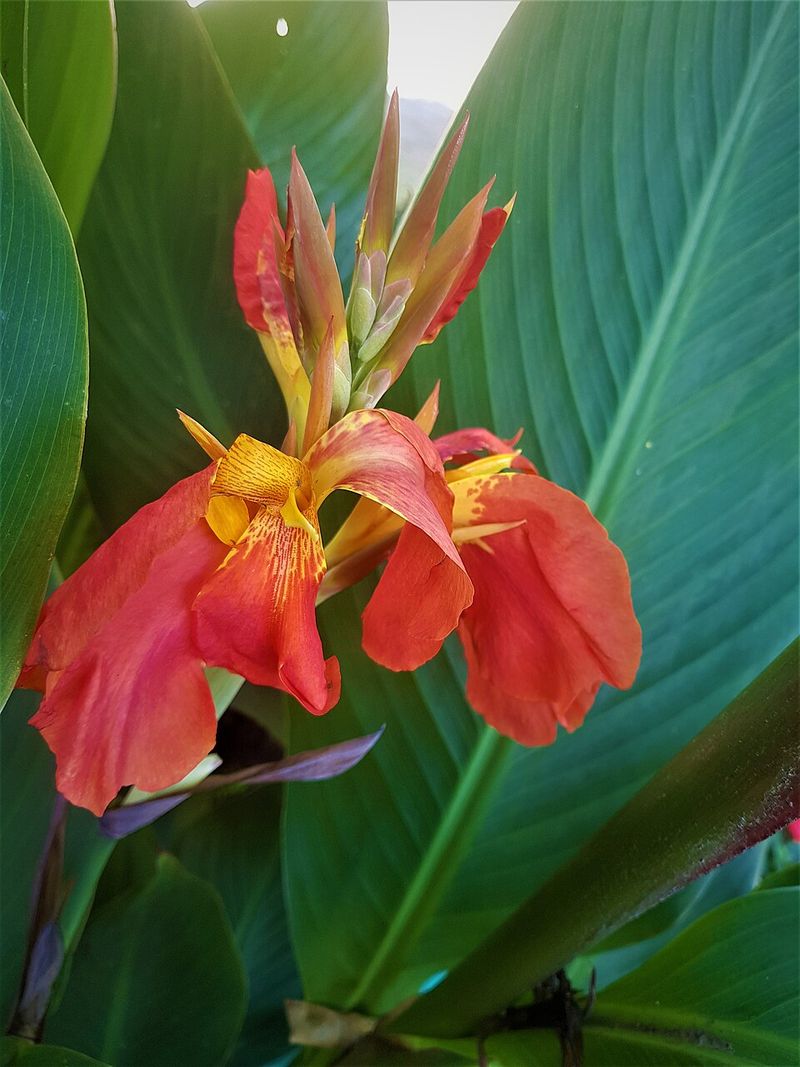
Here is a handy habit to adopt: water generously in July, then ease off as September cools. Cannas follow that seasonal rhythm better than most flowers in the backyard.
Cooler nights mean the soil stays damp much longer after each drink. Wet, chilly dirt is an open invitation for rot to creep into those precious rhizomes.
Rot often starts quietly underground, turning firm, healthy tissue soft, smelly, and mushy. By the time you dig them up, the damage may already be done.
The fix is refreshingly simple and costs nothing but a little attention. Water deeply only when the top two inches of soil feel dry to your finger.
For many gardens, that means dropping from several waterings a week down to one. If rain is doing the job, feel free to put the hose away.
Morning is the smartest time to water once fall arrives in your yard. That way, leaves and soil get a chance to dry out before evening temperatures dip.
Potted cannas need extra care here because containers can hold water like a bathtub. Tip out any saucers after rain so roots are not sitting in a puddle.
Just don’t stop watering abruptly during a hot, dry September spell. A bone-dry rhizome can shrivel, just as a soggy one can rot.
Balance is the real goal as the season slowly winds down. Aim for soil that feels like a wrung-out sponge, not a swamp or a sandbox.
4. Scout The Leaves For Pests And Disease
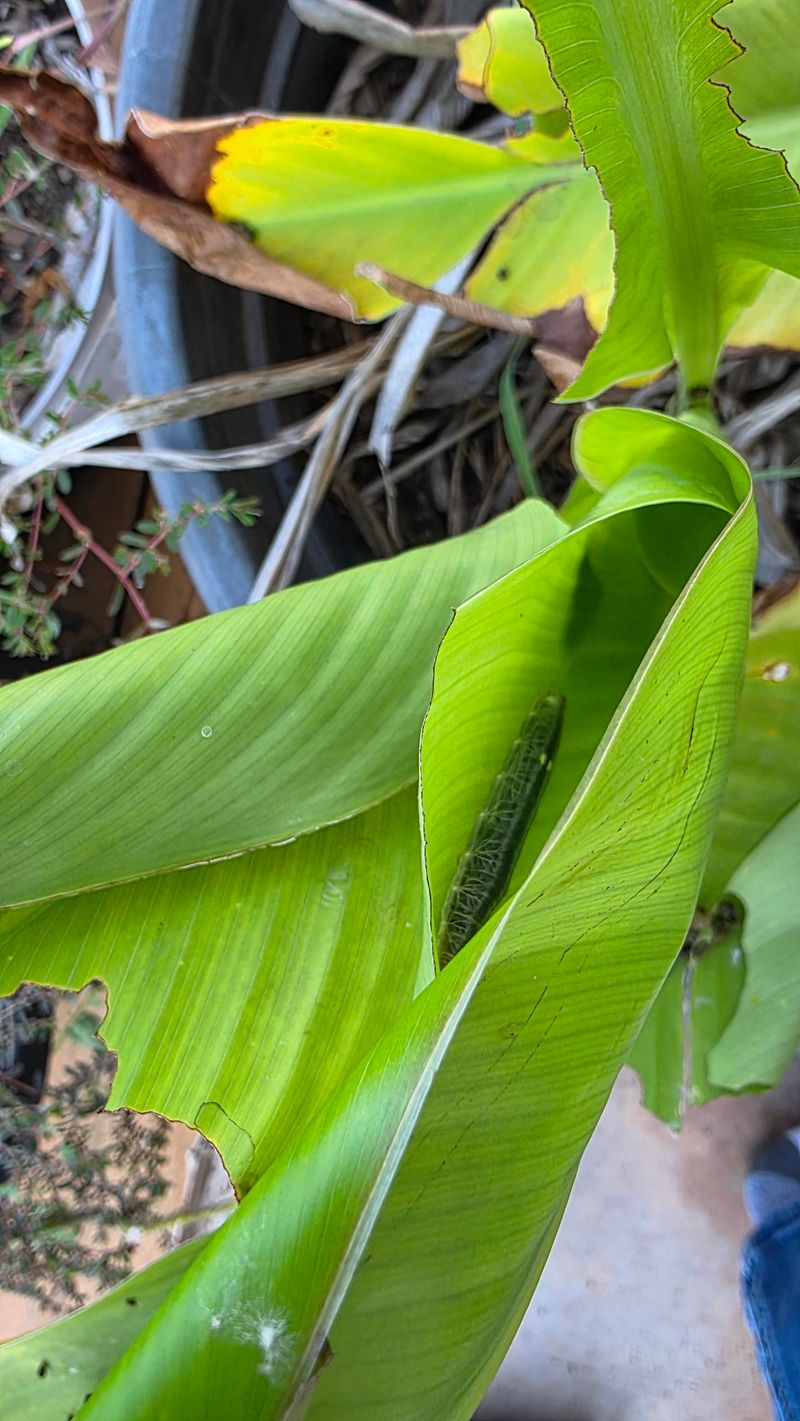
Grab a magnifying glass and channel your inner detective for a slow garden walk. September is a good time to check your cannas for common fall pests.
Canna leaf rollers are a common pest in many southern gardens. The caterpillars glue young leaves shut with silk and munch away inside their cozy tubes.
Unroll any stuck-together leaves and remove any caterpillars you find. Cutting off badly chewed leaves now also removes places where pupae might spend the winter.
Slugs and spider mites can also leave clues, along with late Japanese beetles in some regions. Look for lacy holes, slimy trails, or fine webbing tucked under the leaves.
Next, check for streaks, yellow mottling, or strange swirling patterns on the foliage. Those marks can point to canna yellow mottle virus or bean yellow mosaic virus.
Sadly, viruses cannot be cured, and they travel quietly inside the rhizomes all winter. Storing an infected clump just means planting the very same problem again next spring.
If a plant shows these symptoms, remove it and dispose of it in household waste. Keep it far away from your compost pile, where the virus could linger.
Rust is another fall visitor, showing up as orange powdery spots. Remove spotted leaves and rake up fallen debris so spores have fewer hiding places.
Taking notes on which plants had trouble is a smart move too. Next summer, you will know exactly which suspects to question first during your rounds.
5. Tag Each Variety While Colors Still Show
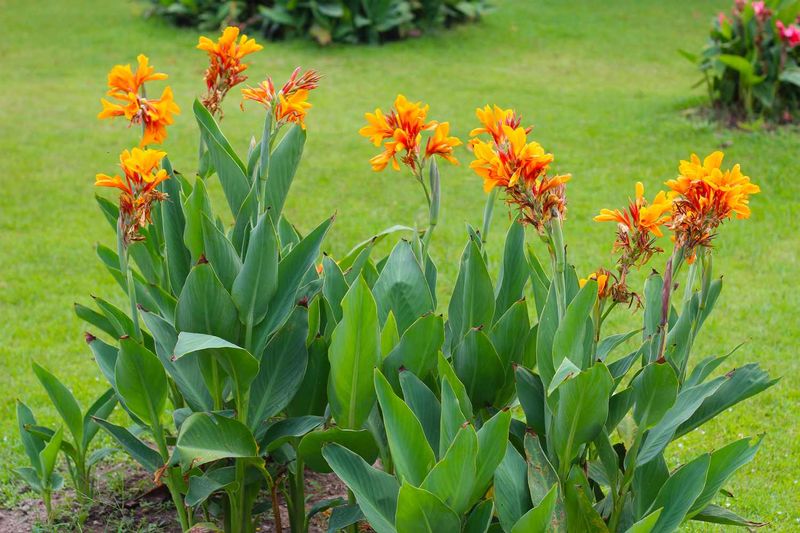
Come next April, a pile of knobby brown rhizomes will all look like the same muddy potato. Right now, while flowers still glow, is your best chance to tell them apart.
Memory fades quickly by springtime. That fiery orange one you swore you would remember will blend right in with the rest.
Start by writing down each plant’s flower color, leaf color, and rough height. Canna varieties range from knee-high dwarfs to leafy giants towering over most grown-ups.
Leaf color matters a lot, since some types have striped, bronze, or deep purple foliage. Tropicanna, for example, shows off bold stripes of pink, red, and gold.
Next, tie a plastic or metal plant tag around the base of each stem. Wooden craft sticks tend to rot or fade, so skip them for this job.
Use a pencil or paint pen, since both hold up surprisingly well in damp storage. Some gardeners even write names right on the rhizome skin after digging.
Snapping a quick phone photo of each plant beside its tag adds a handy backup. You can scroll through them in spring while planning your new garden layout.
Labels also help you share with friends and neighbors. Handing someone a rhizome with a real name feels a lot more special than a mystery lump.
Plus, you will finally know which one earned all those compliments this summer. Bragging rights are much easier to claim when the star has a proper name attached.
6. Let The Foliage Fade Before You Dig
Why would anyone wake a sleepy toddler in the middle of a perfectly good nap? Digging cannas too early in September is a lot like that, and nobody wins.
Those broad green leaves are still working hard as the plant’s personal solar panels. Every sunny afternoon lets them send more energy down to the rhizomes below.
As days shorten, leaves will start to yellow and droop on their own. Resist the urge to tidy them up, even if they look a little shabby.
Most gardeners wait until the first light frost blackens the foliage. That frost acts like an alarm clock telling the plant it is officially time to rest.
In many northern areas, that happens in late September or October, though dates vary by location.
Once frost has done its job, wait about a week before you grab the shovel. That short pause helps the rhizome skins toughen up for months of storage.
Just don’t wait for a hard freeze that turns the ground solid as a brick. Air temperatures in the low twenties Fahrenheit can damage rhizomes sitting close to the surface.
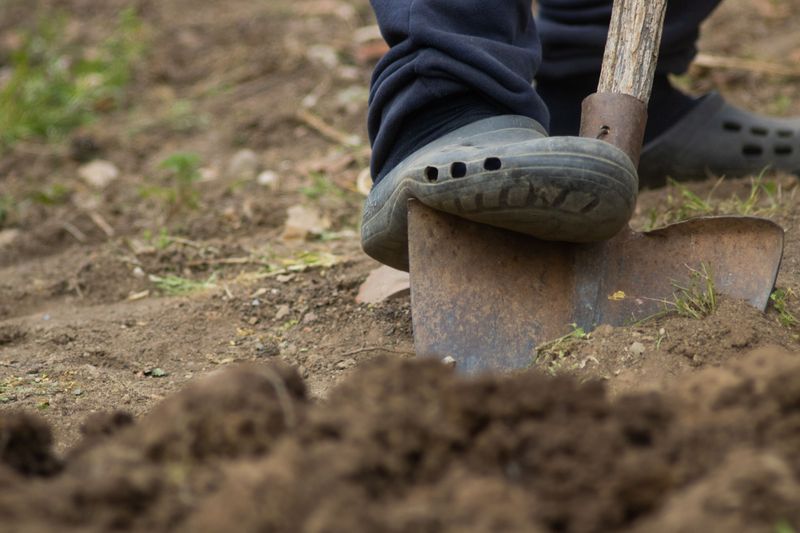
When the time comes, cut stems down to about six inches. Then dig wide around the clump so your shovel does not slice into the goods.
Patience in September really does mean fatter, happier rhizomes by winter. Your future self will thank you with taller stems and brighter blooms next July.
7. Gather Storage Supplies Before Frost Arrives
Scrambling for boxes on a frosty October morning is nobody’s idea of fun. Gathering your storage gear in September turns digging day into a calm, easy chore.
First up, round up some sturdy containers from the garage or basement. Cardboard boxes, plastic crates with air holes, or old paper grocery bags all work nicely.
Skip sealed plastic bins and bags, since trapped moisture leads straight to mold. Rhizomes need to breathe a little, just like you under a heavy blanket.
Next, choose a fluffy packing material to cushion the rhizomes and hold steady moisture. Peat moss, coconut coir, vermiculite, and dry wood shavings are all popular choices.
Coir is a nice eco-friendly option because it comes from coconut husks. Pet store bedding made from aspen or pine shavings works great too, and it is cheap.
You will also want a few simple tools waiting on hand by the back door. A sharp spade, clean pruners, old newspapers, and a soft brush will cover almost everything.
Newspapers are perfect for letting freshly dug clumps dry out for a few days. That curing step helps heal small nicks and toughens the outer skin.
Finally, scout out a storage spot that stays between 40 and 50 degrees Fahrenheit. An unheated basement, cool closet, or insulated garage usually does the trick.
Toss a cheap thermometer in that spot now to test it for a few weeks. Better to find a chilly surprise in September than a frozen one in January.
8. Mulch Deeply If Your Rhizomes Stay In The Ground

Lucky gardeners in warmer spots get to skip the whole digging and storing adventure. Cannas usually survive winter outdoors in USDA zones 8 through 11 with little fuss.
Zone 7 folks can often join the club too, with a little extra help. That help comes in the form of a thick, cozy blanket of mulch.
Picture mulch as a puffy winter coat zipped snugly over the soil. It keeps temperatures steady and stops the ground from freezing and thawing over and over.
That constant up-and-down cycle can crack or heave rhizomes right out of place. A steady, cool underground home is exactly what they want until spring rolls around.
September is the time to plan, but wait to spread mulch until after frost blackens the leaves. Mulching too early can trap warmth and invite late, tender growth.
Start stockpiling shredded leaves, straw, or pine needles now, while supplies are easy to find. You will want a fluffy layer about four to six inches deep.
Cut the frosted stems down to a few inches before piling mulch on top. Removing old foliage also leaves fewer hiding spots for leaf roller pupae.
Good drainage matters every bit as much as warmth during the soggy months. Waterlogged winter soil is often a bigger threat than cold for in-ground cannas.
Come spring, simply pull the mulch back once all frost danger passes. Your sleepy rhizomes will wake up, stretch, and start the flower show all over again.