Simple Tricks To Stop Weeds Between Pavers In A California Yard
A freshly swept patio feels like a small victory. Clean lines, tidy edges, and pavers set just so make an outdoor space look finished and welcoming.
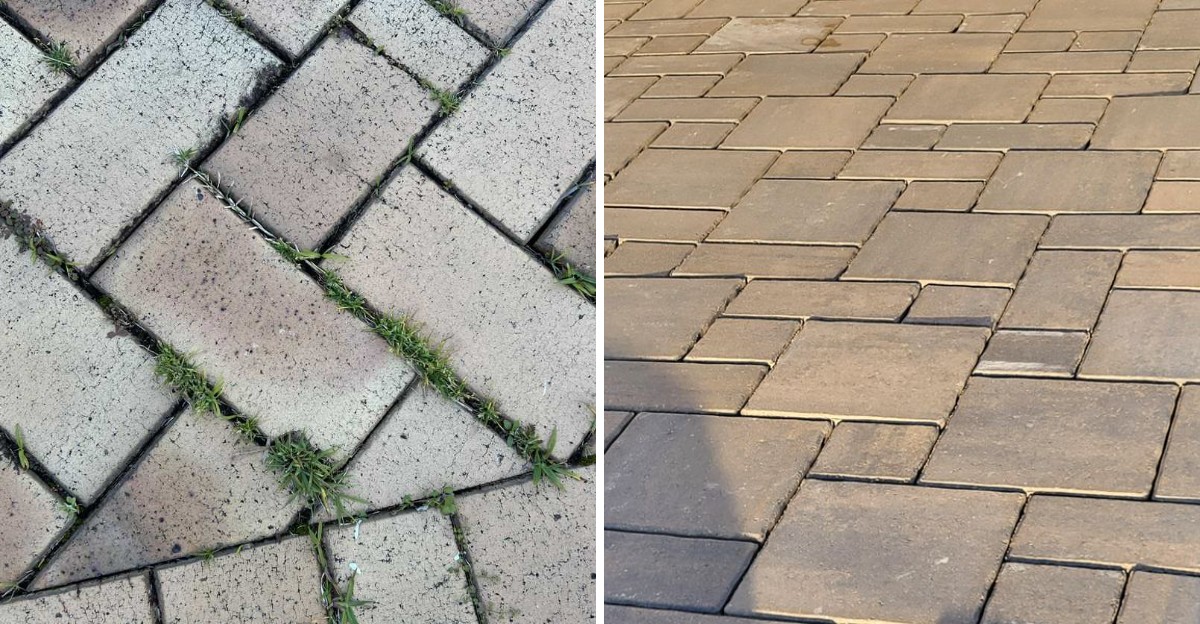
Then, a few weeks later, faint green threads appear in the joints.
Seeds drift in on the wind, settle into gaps, and wait for the next sprinkler cycle or winter shower.
California’s mild climate gives them a long growing season, so the effort to keep joints clean can feel endless.
The good news is that a handful of practical steps, most of them inexpensive, can shift the balance considerably.
Preparation, patience, and a few steady habits matter more than any single product. With fall’s dry stretch still here, the timing for a fresh start looks especially good.
1. Fill Joints With Polymeric Sand
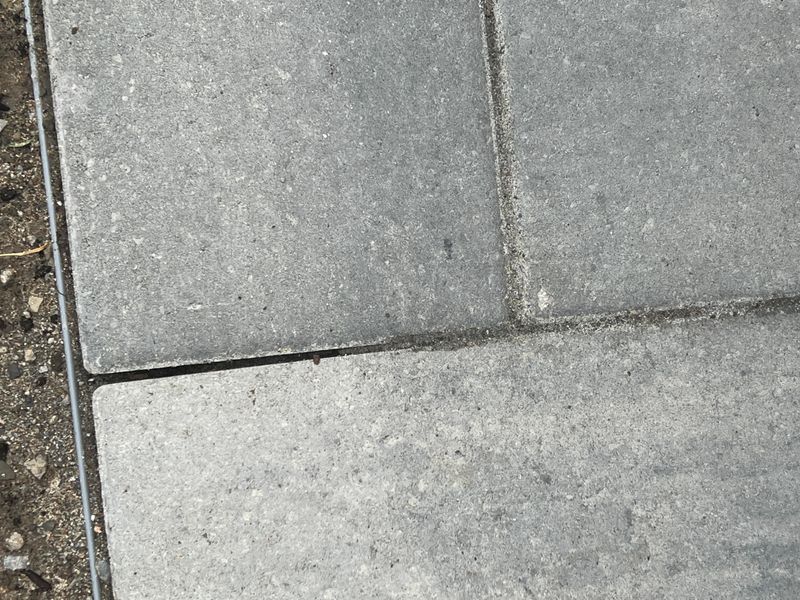
Regular sand works almost like a welcome mat for weeds. It stays loose, holds moisture, and gives wind-blown seeds a soft bed to settle into.
Polymeric sand changes the deal.
A bag looks like ordinary fine sand, yet it contains a binder, often a polymer additive. Once wet, the binder activates and the sand firms up as it dries.
The joint becomes a firm, slightly flexible filler rather than a loose trench.
Firm joints help in two ways. Seeds landing on top struggle to work down into the gap, and hardened sand blocks light from seeds already buried below.
Many weeds need light to sprout, so less light means fewer surprises.
The sand also keeps pavers from shifting. Loose pavers rock and wiggle, opening wider gaps over time, while locked joints stay snug and resist washing out in winter storms.
Realistic expectations help. Polymeric sand reduces weeds considerably but rarely delivers a permanently weed-free patio.
Joint width matters, so the label’s listed range deserves checking. Some brands work best in narrow joints, while others handle wider gaps or flagstone.
Manufacturer instructions deserve a full read before the bag opens. Each product has its own rules for weather, watering, and curing time.
Following those rules closely is what makes the method work. Fall’s dry, mild days in much of California offer an ideal window for the project.
2. Clear Old Weeds And Debris First
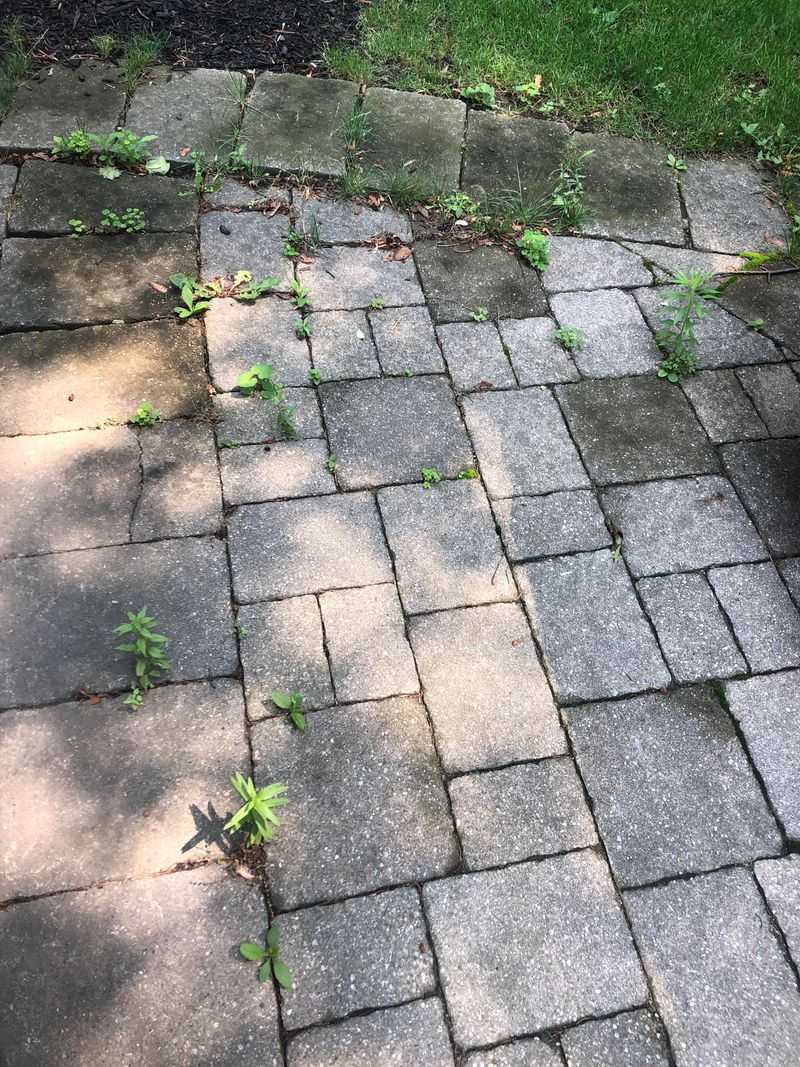
Fresh sand poured right over a clump of crabgrass rarely ends well. The weed keeps growing, and the new sand fails to bond properly around it.
Prep work is the unglamorous part, yet it decides whether the job lasts.
Every visible weed comes out first. Pulling low and slowly brings roots out too, and a narrow crevice weeder or old flathead screwdriver pries out stubborn ones.
Old joint material comes out next. Most manufacturers want joints cleared to a set depth, often an inch or more, so the label’s exact number matters.
A pressure washer clears old sand quickly, though an angled nozzle keeps it from digging into the base layer below the pavers.
Old sand, dirt, moss, and leaf bits all weaken the bond. Polymeric sand needs clean, solid edges to grip, much like glue on a clean table versus a dusty one.
Your California Garden Changes Every Week. Your Plan Should Too.
Gardening in California changes quickly throughout the season. Every Friday you’ll receive a simple weekly plan showing exactly what to plant, prune, fertilize, harvest, and protect so you never miss the right timing.
After washing, the patio must dry completely before new sand goes down. Damp joints can activate the binder too early, leaving a crusty mess.
In a hot inland valley, drying might take a day, while foggy coastal areas may need longer, so patience pays.
A leaf blower clears leftover crumbs once everything is dry. Electric or battery models fit California rules, since new small gas engines face sales restrictions.
Clean, dry joints mark the starting line for a strong finish that lasts for years.
3. Brush Sand Deep Into Narrow Joints
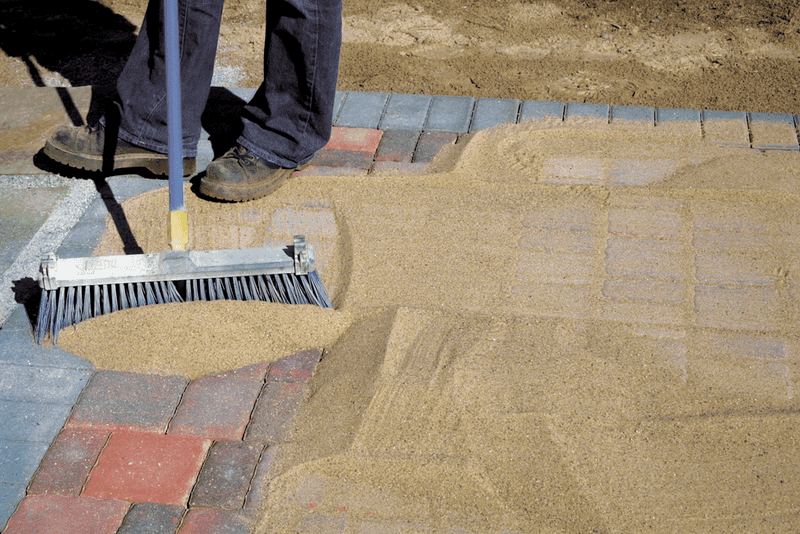
This step feels a bit like frosting a cake. Polymeric sand poured in small piles across dry pavers spreads easily with a stiff push broom.
Diagonal sweeping across the joints helps sand drop in rather than skating past.
Narrow gaps can look full while only half packed, and air pockets leave weak spots that crumble later.
A plate compactor run over the pavers settles the sand, while a rubber mallet works on small areas. Many manufacturer guides call for this vibration step.
A protective pad keeps paver faces from scuffing.
After compacting, the sand level usually drops. More sand, another sweep, and another pass continue until joints stay full.
Most labels want sand sitting just below the paver’s top edge, often about an eighth of an inch down or just under the chamfer.
The most important cleanup step follows. Every grain of excess sand needs to leave the paver surfaces, first with a soft broom and then a leaf blower on low.
A flat blower angle clears the tops without pulling sand out of the joints.
Leftover sand can harden on the surface once wet, leaving a hazy film that’s tough to remove, especially on dark pavers.
A dust mask makes sense throughout, since fine sand dust contains silica that is harmful to breathe. Children and pets do best kept away until cleanup ends.
4. Mist Lightly To Activate The Binder
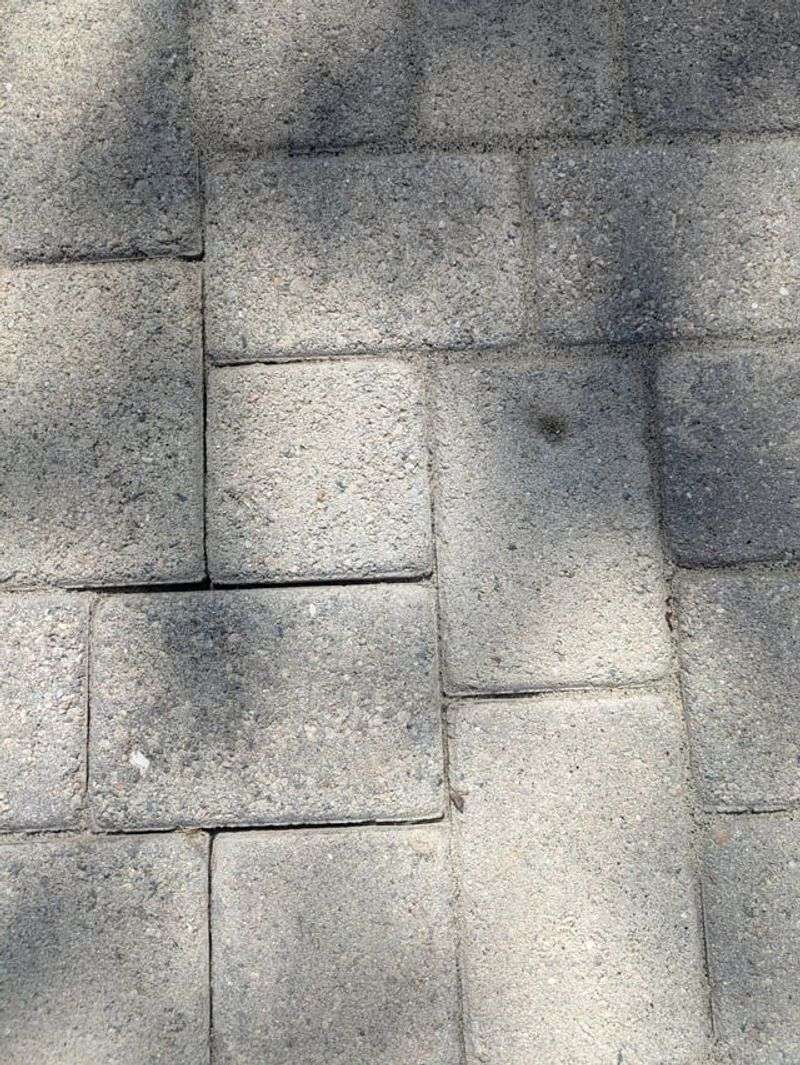
Too much water too fast ranks as the classic beginner blunder.
A strong spray can wash sand from joints or float binder onto paver faces, where it dries into a cloudy stain.
A gentle touch wins here.
A hose nozzle set to shower or mist works best, while the jet setting is best avoided entirely.
Many manufacturers recommend working in small sections and spraying from about waist height, so water falls softly like light rain.
The label’s watering pattern deserves exact attention. Some products call for one soaking pass, while others want a light mist, a short pause, then a second round.
Each pass aims to wet sand deeply without flooding it, and a small tool can check how far water traveled.
Timing matters too. Hot afternoons in places like Riverside or Fresno can dry the surface before the binder fully activates, so cooler morning or evening hours work better.
Little puddles or loosened sand signal a need to ease up and spread water more evenly across the section.
Haze rinsed off paver tops during this stage, as the label directs, avoids a stubborn film later.
The goal is waking the binder gently rather than soaking it. A calm, steady mist lets sand lock together just as the maker intended.
Using as little water as the label allows also respects local watering rules during dry months.
5. Keep Joints Dry While The Sand Cures
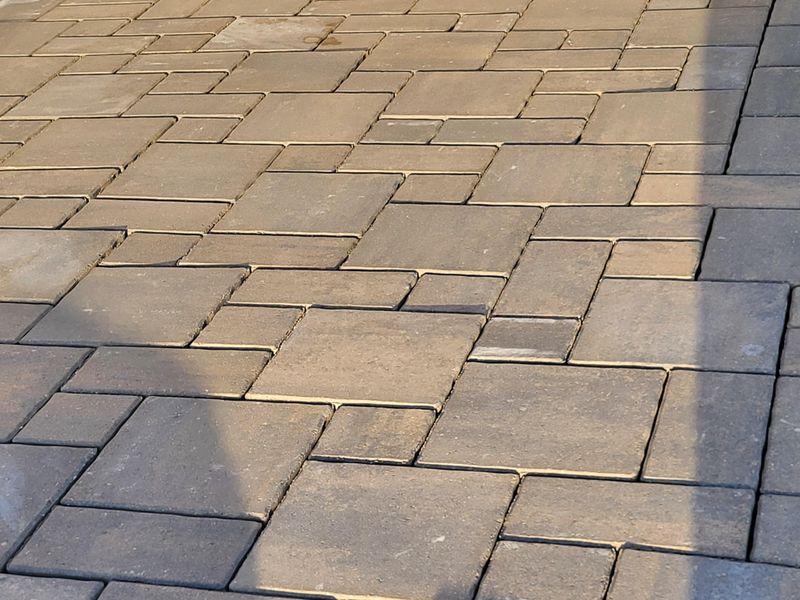
Rain clouds rolling in an hour after finishing can undo a whole weekend of work.
Freshly activated sand stays soft, and a downpour can wash it out or turn it to mush.
Patience after watering matters as much as the watering itself.
Most polymeric sand needs a dry window to set up, often around 24 hours before rain, though some products need longer.
A forecast check before starting helps. In California, late spring through early fall usually offers reliable dry stretches, while winter storms can arrive with little warning.
Late October and early November can still work in many areas, as long as the forecast stays clear.
Sprinklers pose a sneaky threat. Spray heads hitting the patio deserve shutting off for the full curing time on the bag, since one early cycle can soften joints.
Feet and furniture belong off the surface too. Labels often ask for a day or so before walking and longer before driving on pavers.
Rolling a heavy grill across fresh joints quickly creates dents and cracks, so moving furniture back can wait a few days.
Cool, damp coastal weather can slow curing, so extra time helps there. Some manufacturers suggest covering the area before a surprise shower, without letting the cover press on the sand.
An undisturbed cure helps joints hold firm far longer, often for several years before touch-ups become necessary.
6. Sweep Seed And Dirt Away Often
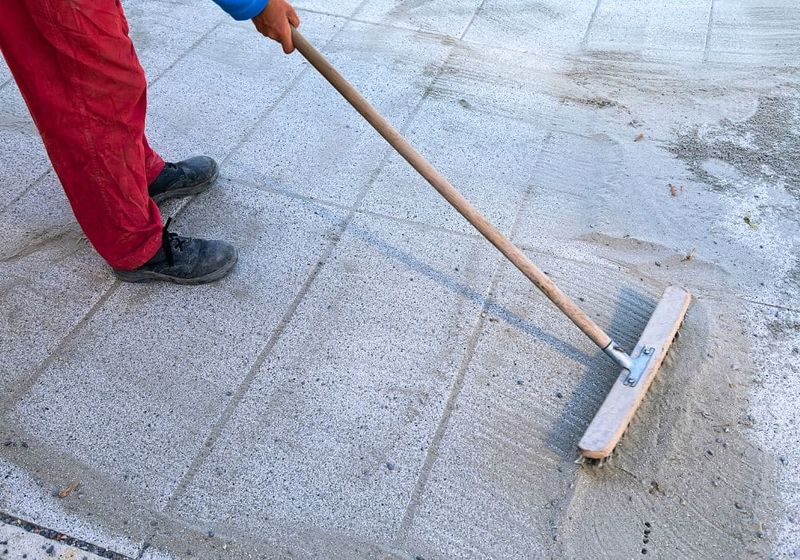
Weeds act like clever squatters. Even with hard joints, dust, leaf litter, and blown soil pile up on top of the sand, forming a tiny garden bed.
Seeds land, grab hold, and sprout right on the surface.
A quick weekly sweep breaks that cycle. A stiff broom or leaf blower clears dirt before it builds into a seed-friendly crust.
Edges, corners, and spots near planting beds deserve extra attention, since soil tends to spill over there.
California yards collect plenty of debris in certain seasons. Santa Ana winds carry dust and seeds, while fall brings leaf drop from sycamores and oaks.
Five minutes of clearing after a windy day beats a big cleanup later, especially during October wind events.
Nearby plants matter too. Grasses and weeds going to seed beside the patio rain seeds onto pavers, so trimming or pulling them before seed heads ripen cuts supply at the source.
Sprinkler overspray deserves attention as well. Water landing on pavers keeps surface grit moist, which helps seeds sprout.
Adjusting a few spray heads saves water and gives weeds less to drink.
Swept leaves also belong away from the house, since Zone 0 rules in designated fire areas call for clearing combustible debris within five feet.
Polymeric sand handles the joints, while regular sweeping handles the surface. Together, they keep that sneaky green line from returning season after season.
7. Spot-Treat New Sprouts Quickly
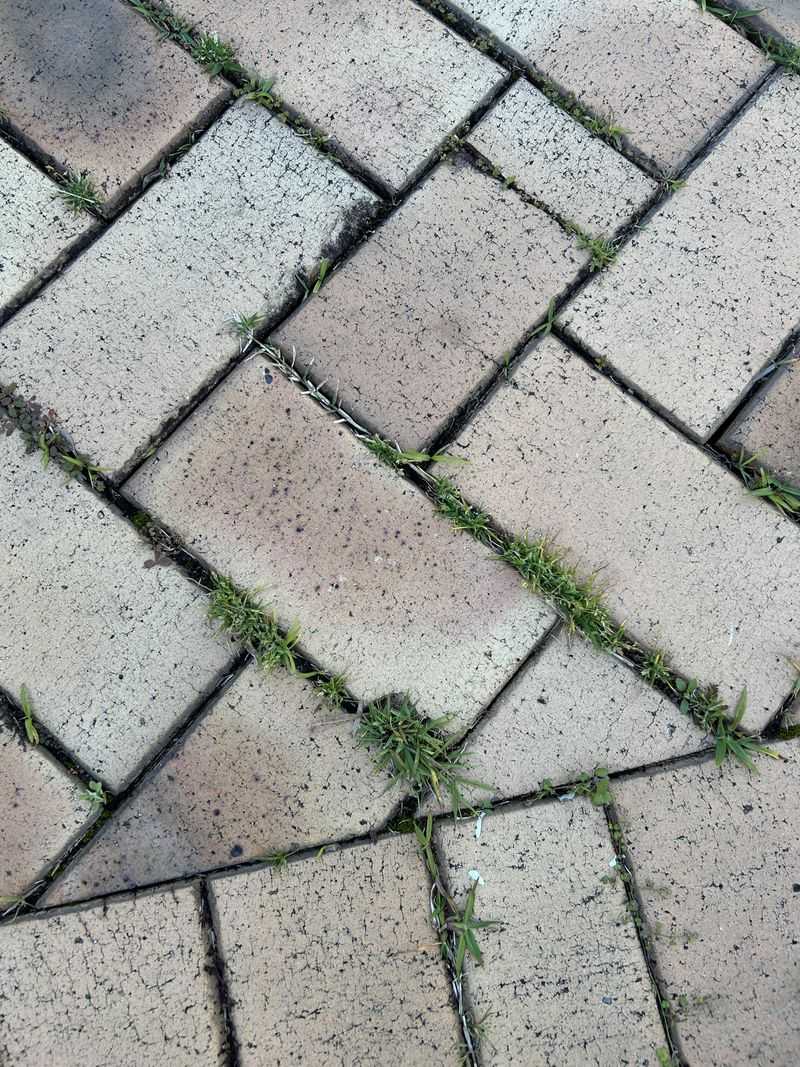
A tiny two-leaf sprout takes seconds to pull. A month later, that same weed may have deep roots and a fresh batch of seeds.
Speed makes the best tool in this effort.
A walk across the patio every week or two allows a close look at the joints. Seedlings pluck easily by hand or with a narrow weeder while small.
Pulling after a light watering helps roots slide out and causes less damage to hardened sand.
For larger patches, UC IPM suggests nonchemical options first. Boiling water poured carefully onto weeds in cracks works for small spots, with children and pets kept well away.
Flame weeders carry real fire risk in California, so they’re best avoided near dry plants or mulch and wherever fire restrictions apply.
Herbicides, when chosen, call for exact label directions. Products belong away from storm drains, gutters, and areas where runoff flows to the street.
In California, that water often travels untreated to creeks and the ocean, so spraying before rain or sprinklers is best avoided.
Joint condition deserves a check during these rounds. Cracked or crumbling sections let weeds back in, and fresh polymeric sand applied the same way patches them.
Quick repairs keep small problems from spreading. Staying ahead of sprouts means pulling a few weeds now rather than a whole crop later.
Fall rains often trigger a big seedling flush, so the first weeks after a storm deserve extra attention.
8. Compact The Base For Tight Joints
A paver that wobbles underfoot sends a warning. A weak base lets pavers sink and shift, and shifting pavers stretch joints wider over time.
Wide, uneven gaps spell trouble. Polymeric sand works best within the joint widths listed on the bag, and gaps that grow too large can crack or wash out.
Once joints open up, seeds and dirt slip right in.
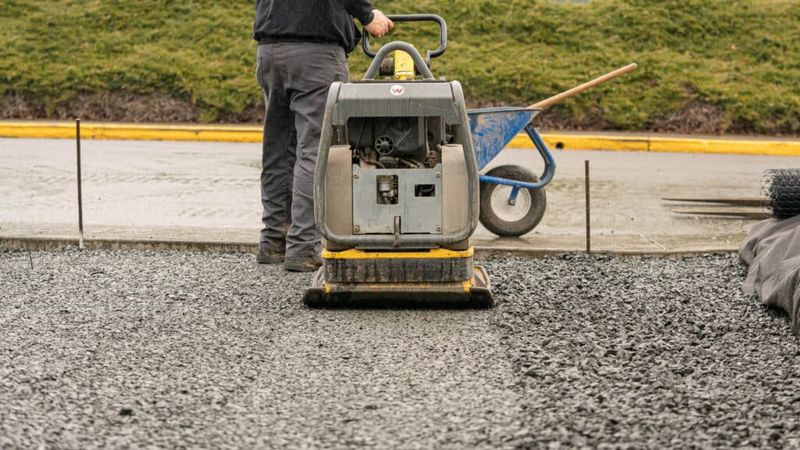
A strong patio starts underground. Most installers use compacted crushed gravel topped with a thin bed of sand, each layer packed with a plate compactor.
Thin lifts, compacted one at a time, keep the ground from settling later. Skipping this step is like building a house on a waterbed.
Good edge restraints matter just as much. Plastic, metal, or concrete edging holds outer pavers in place so the whole field can’t creep outward.
Without it, gaps slowly widen from the edges inward.
Existing patios with sunken spots can recover. Low pavers can be lifted, base material added and compacted, and pavers reset before joints get refilled.
California clay soils swell when wet and shrink when dry, so solid drainage and a firm base help keep things level through the seasons.
Tight joints, clean surfaces, and properly cured sand work as a team, and a solid foundation keeps every other step effective for years.
Larger repairs or driveway pavers may call for a licensed contractor, whose license can be verified through the Contractors State License Board.