The 7 Stages Of Growing Asparagus: All Your Questions Answered
Asparagus is a vegetable that’s growing more and more popular, and many growers around the world have started adding it to their gardens.
Deepening your knowledge about the stages of growing asparagus will result in increased yield, and the more veggies you grow, the better!
Before we get into a discussion about these stages, let’s examine the basics of asparagus:
[table id=183 /]
This article brings you all the essentials about growing asparagus, including information about its growth stages and a care guide. You will also see the common problems you may encounter when cultivating asparagus spears so you can get ahead of them and protect your crops.
Let’s begin!
The 7 Stages Of Growing Asparagus
Asparagus isn’t the easiest vegetable to grow and requires your undivided attention, especially in the early days.
Therefore, understanding all the different stages of its life cycle can save you a lot of trouble (and dead plants).
1. Planting And Soil Preparation
Asparagus can be grown on its own, but it also loves companions, tomato plants and eggplants in particular. Knowing more about the eggplant growth stages can really help you increase your overall harvest.
In this section, you will learn everything there is to know about planting asparagus, from timing to preparing the soil.
You should first choose the variety of asparagus you want to plant based on your needs and goals. Asparagus is either male or female, and both have their perks. Male plants offer you larger harvests as they don’t have to spend energy on seed production.
Female plants, on the other hand, produce seeds that you can use the next year to plant more asparagus. We usually combine male and female plants so we always have enough for consumption and also get some additional seeds.
You can also choose between green and purple asparagus. They have a similar flavor, but can add some color to your dishes.
Jersey Giant is a cool-hardy variety ideal for northern regions. However, if you want a disease-resistant variety you can go with Jersey Knight as it’s highly resistant to fusarium wilt, crown rot, and asparagus rust.
Time Of Planting
Asparagus is best planted in early spring or fall, and you can choose between planting seeds or crowns. If you live in a colder climate, you should wait until early spring to plant your asparagus, when the soil temperature is at least 50°F (10°C).
However, if you live in a region with warmer weather, such as the south of Florida, you can plant your asparagus in fall or even early winter.
Preparing The Planting Area
Asparagus prefers mildly acidic to neutral mediums with a soil pH between 6.5-7.0. It can grow in a variety of soils as long as they are nutrient-rich and have good drainage.
You can grow asparaguses in raised beds or containers, but you have to ensure they’re big enough and have drainage holes so excess water doesn’t kill your plant.
If you decide on a raised bed, place it in a sunny spot and somewhere it won’t bother you, as it’s going to stay there for a long time. Destroy all the weeds to get your asparagus off to a good start.
Add compost and organic material to the planting soil and mix it well to enrich the medium with nutrients and improve drainage. You can also add some perlite if you’re unsure about the drainage.
Planting
The good news is that you can plant either asparagus seeds or crowns in your asparagus bed. However, planting crowns is a better option, especially for beginners, as the plant already has a developed root system and is one year old, which will drastically reduce the waiting time.
Planting Asparagus Crowns
One-year-old crowns ordered from a store might be a bit dry, but you can quickly solve this issue by soaking them in water for a few hours.
After they have come back to life, dig some trenches six inches (15 cm) deep and eight inches (20 cm) wide, place the roots inside, and cover them with soil. Plant the asparagus approximately 1.5 feet (45 cm) apart, space the rows 3-6 feet (90-180 cm) apart, and then water them until you notice that the soil has stopped absorbing water so fast.
Mulch the soil with grass clippings or wood chips, and ensure that it is 6-8 inches (15-20 cm) deep to preserve moisture and reduce weed growth and pest attacks.
You can also cover the asparagus gradually; cover the newly planted crowns with a few inches of soil and repeat the process every 2-3 weeks.
Both methods of covering asparagus crowns work well, so it’s up to you to decide which one is best for your veggies.
Planting Asparagus Seeds
When planting asparagus seeds, you should soak them in water two days prior to planting. If you live in a colder region, you can start the seeds indoors and then transplant them outside after the threat of frost has gone.
However, if you want to avoid transplant shock you should wait until the soil temperature is at least 50°F (10°C) and then plant the seeds directly in the asparagus bed. Dig a hole an inch (2.5 cm) deep and space the holes 5 inches (12.5 cm) apart, cover the seeds with soil, and water them deeply.
2. Seed Germination
Once you have planted asparagus seeds, seed germination is the next stage of its growth. The seeds take a long time to germinate, and the process can last anywhere between two to eight weeks.
You won’t notice superficial growth any time soon, but once the seed opens the asparagus roots begin to form under the surface.
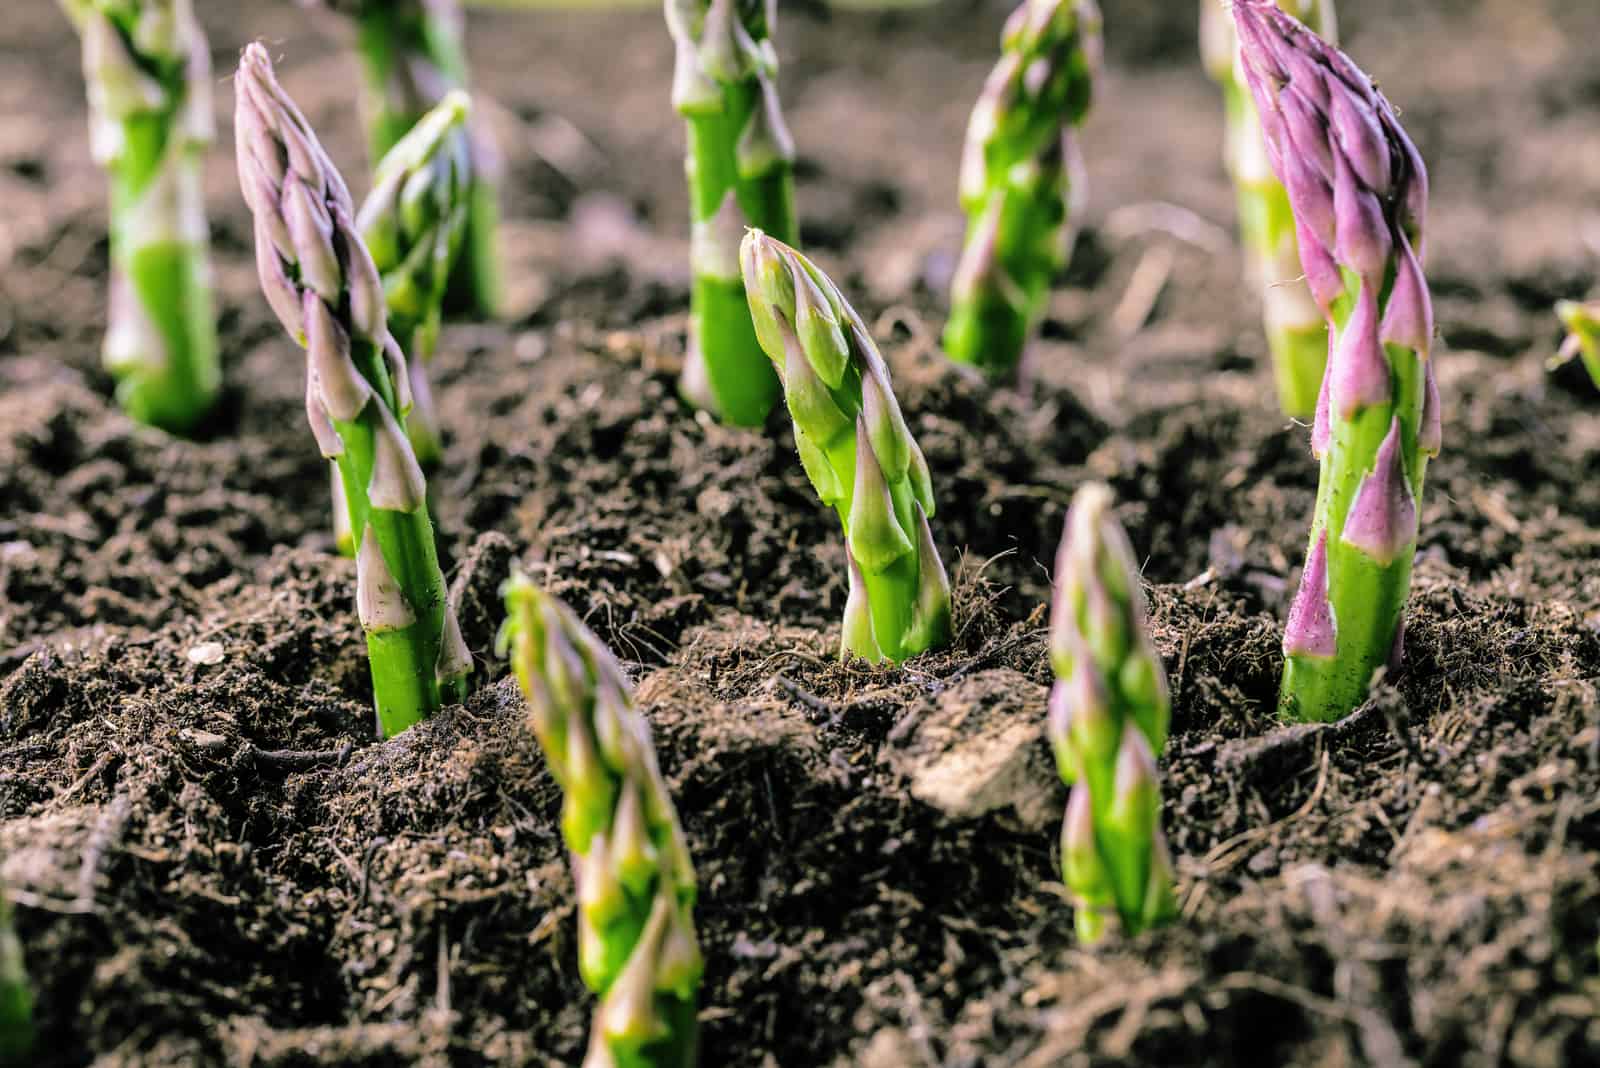
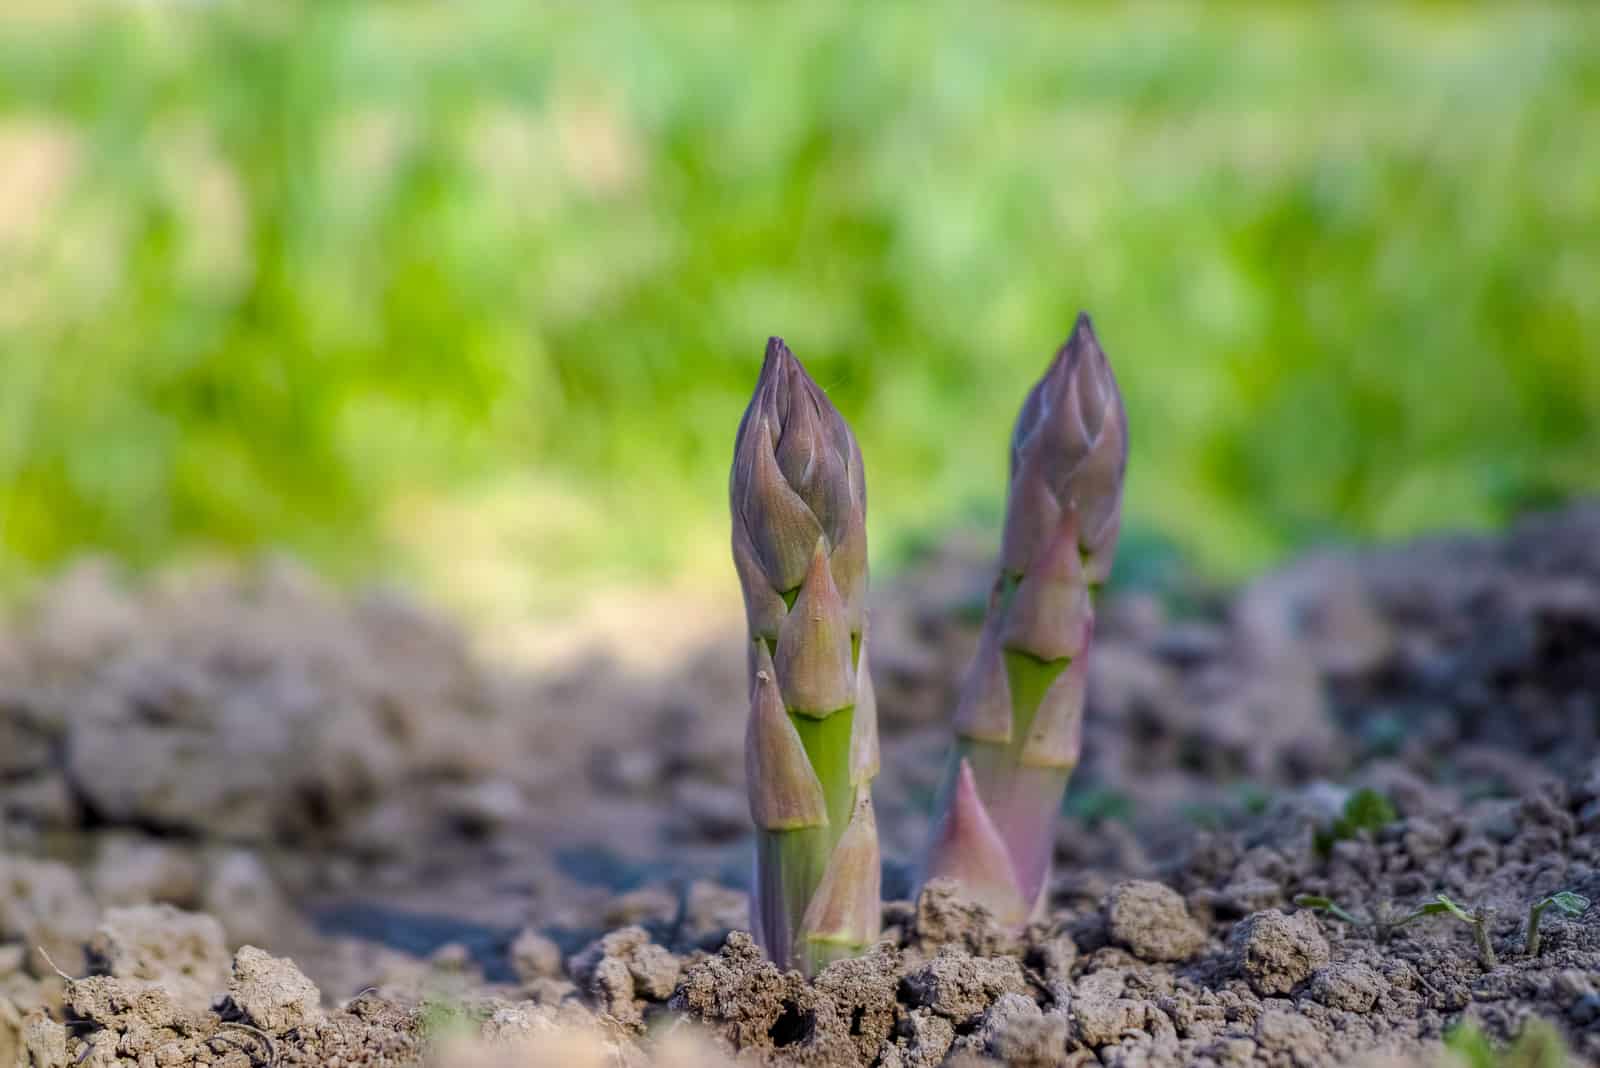
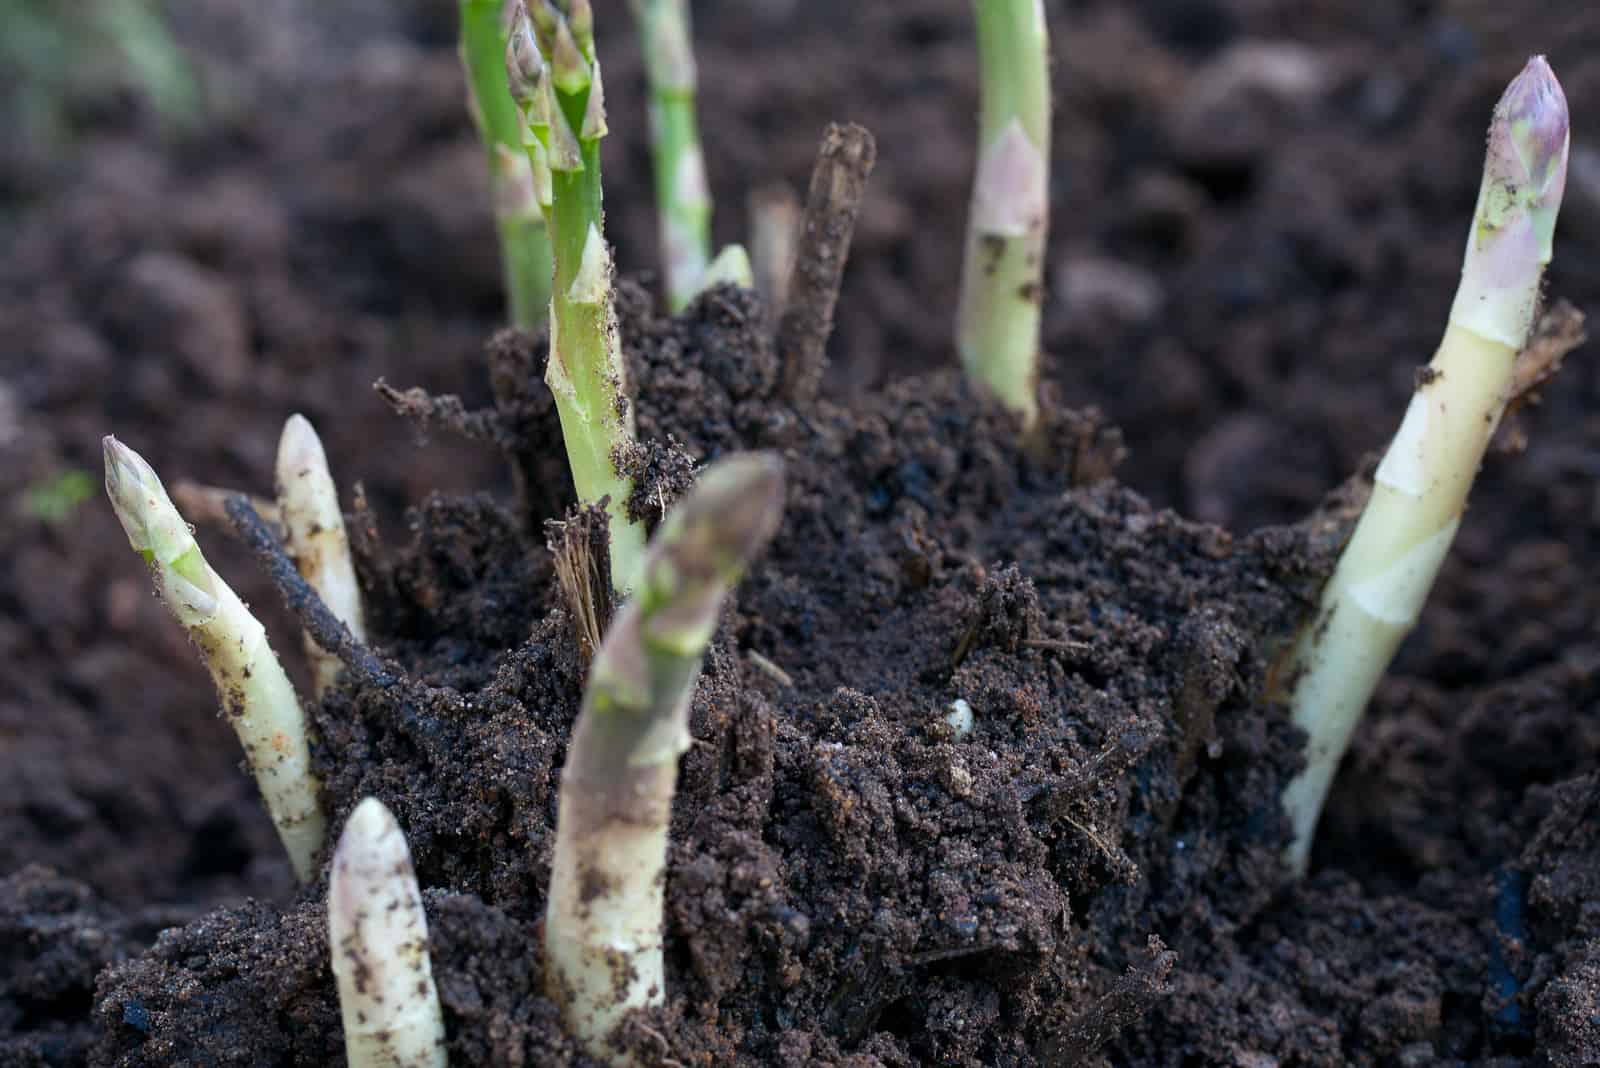
3. Early Growth
After the crown forms, it sends up the shoots that protrude from the soil and the asparagus starts to grow.
Asparagus is a perennial vegetable and cannot be harvested as soon as it sprouts. Instead, you’ll have to wait a couple of years for the first harvest.
However, once the shoots appear, asparagus growth quickens as the foliage begins to photosynthesize and the plant starts producing its own food and energy.
4. Ferning Out
I know it’s tempting to pick the vegetables as soon as you start seeing their final shape begin to form, but that is a mistake you’ll only make once with asparagus.
Asparagus cannot be harvested during the first year of their growth, so once you see the sprouts you should let them fern out.
What is ferning out? It’s basically the flowering stage of asparagus; when the tips open up and the fern-like leaves start growing. However, this isn’t a bad thing as it actually promotes the even faster growth of your asparagus.
The fern-like foliage photosynthesizes and produces even more food for this perennial plant. The energy that is produced during this stage is stored in the asparagus roots and will be used the following year.
Ferning is not something to dread, and should be actively promoted during the first (and even second) year of asparagus growth. You should cut the young shoots slightly and leave them to fern out and grow.
5. Entering Dormancy
The asparagus ferns continue photosynthesizing as long as they’re green, so don’t be so quick to remove them. Leave them until they turn brown, which happens late in the fall or early winter depending on the regional climate.
Asparagus enters dormancy during this time so the leaves cannot photosynthesize, but they can help asparagus beetles overwinter, which is not something you want. They can damage the next year’s crop, so you should remove any dead foliage before they can hurt your new asparagus.
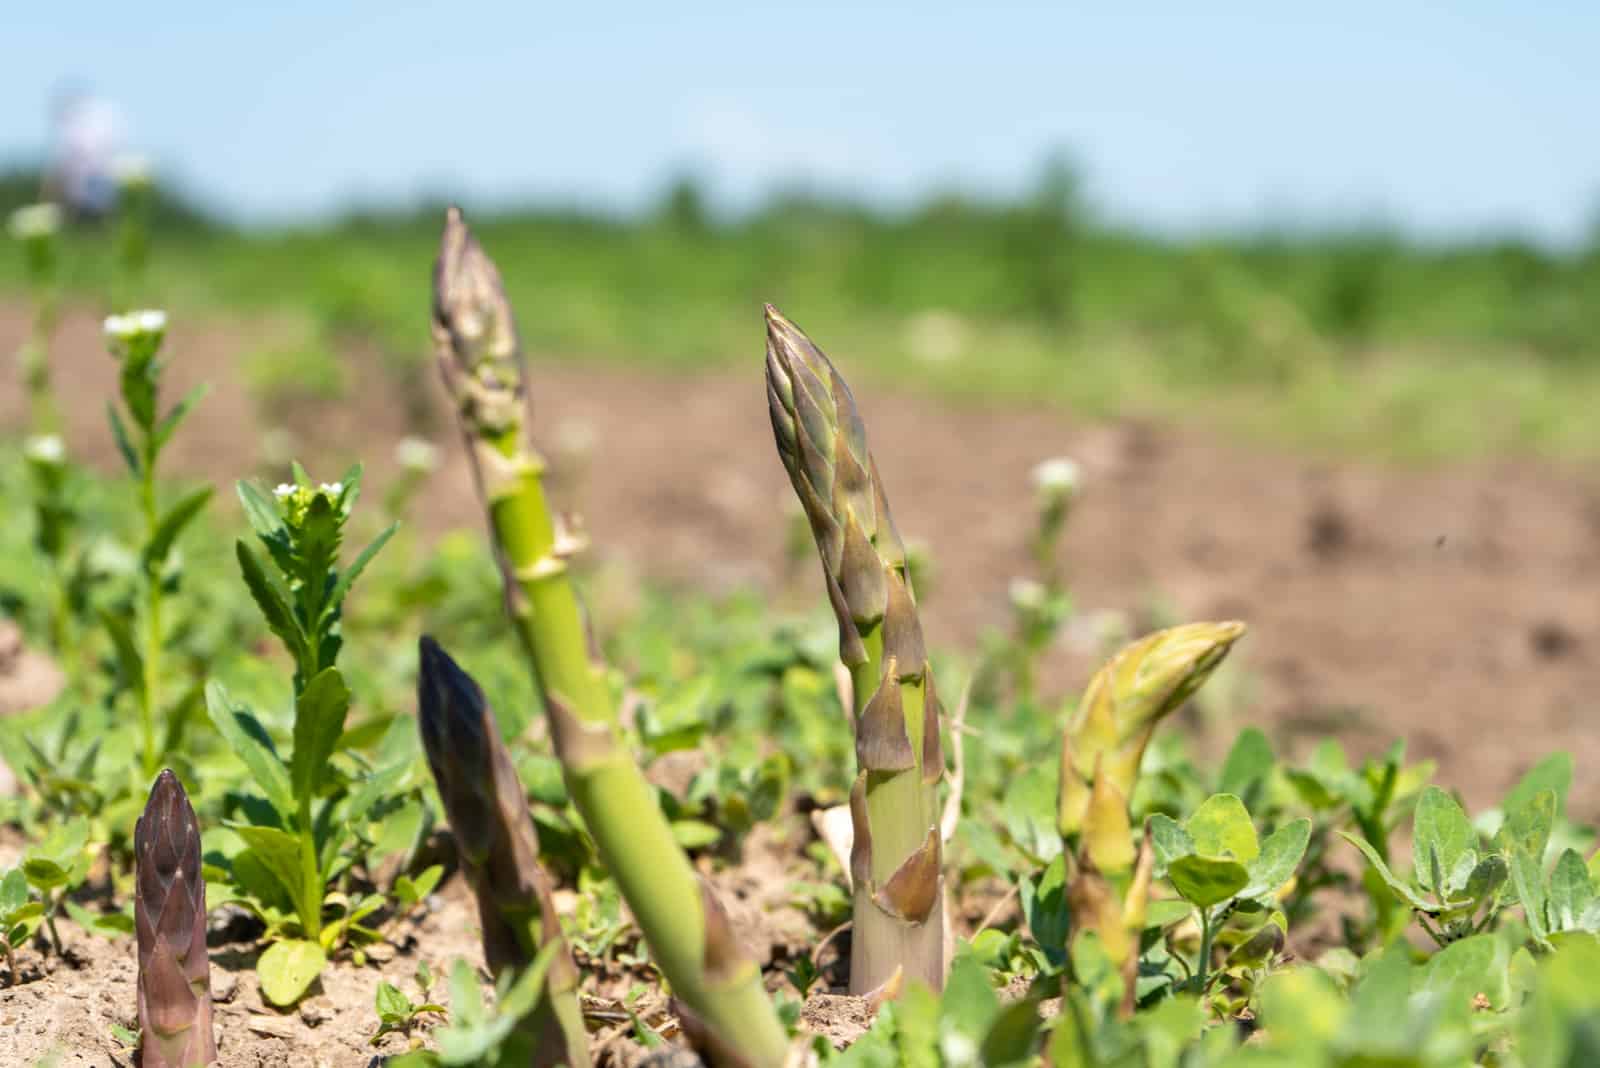
6. Plant Growth
The plant wakes up the following spring, and the asparagus spears become tougher. You can side-dress the plant in early spring in the second year by adding some compost.
Additional nutrients help your plant become strong and ensure a higher yield the next (or the same) year.
Also, allowing your plant to grow and fern out for the first two years creates a stronger root system and is quite beneficial in the long run.
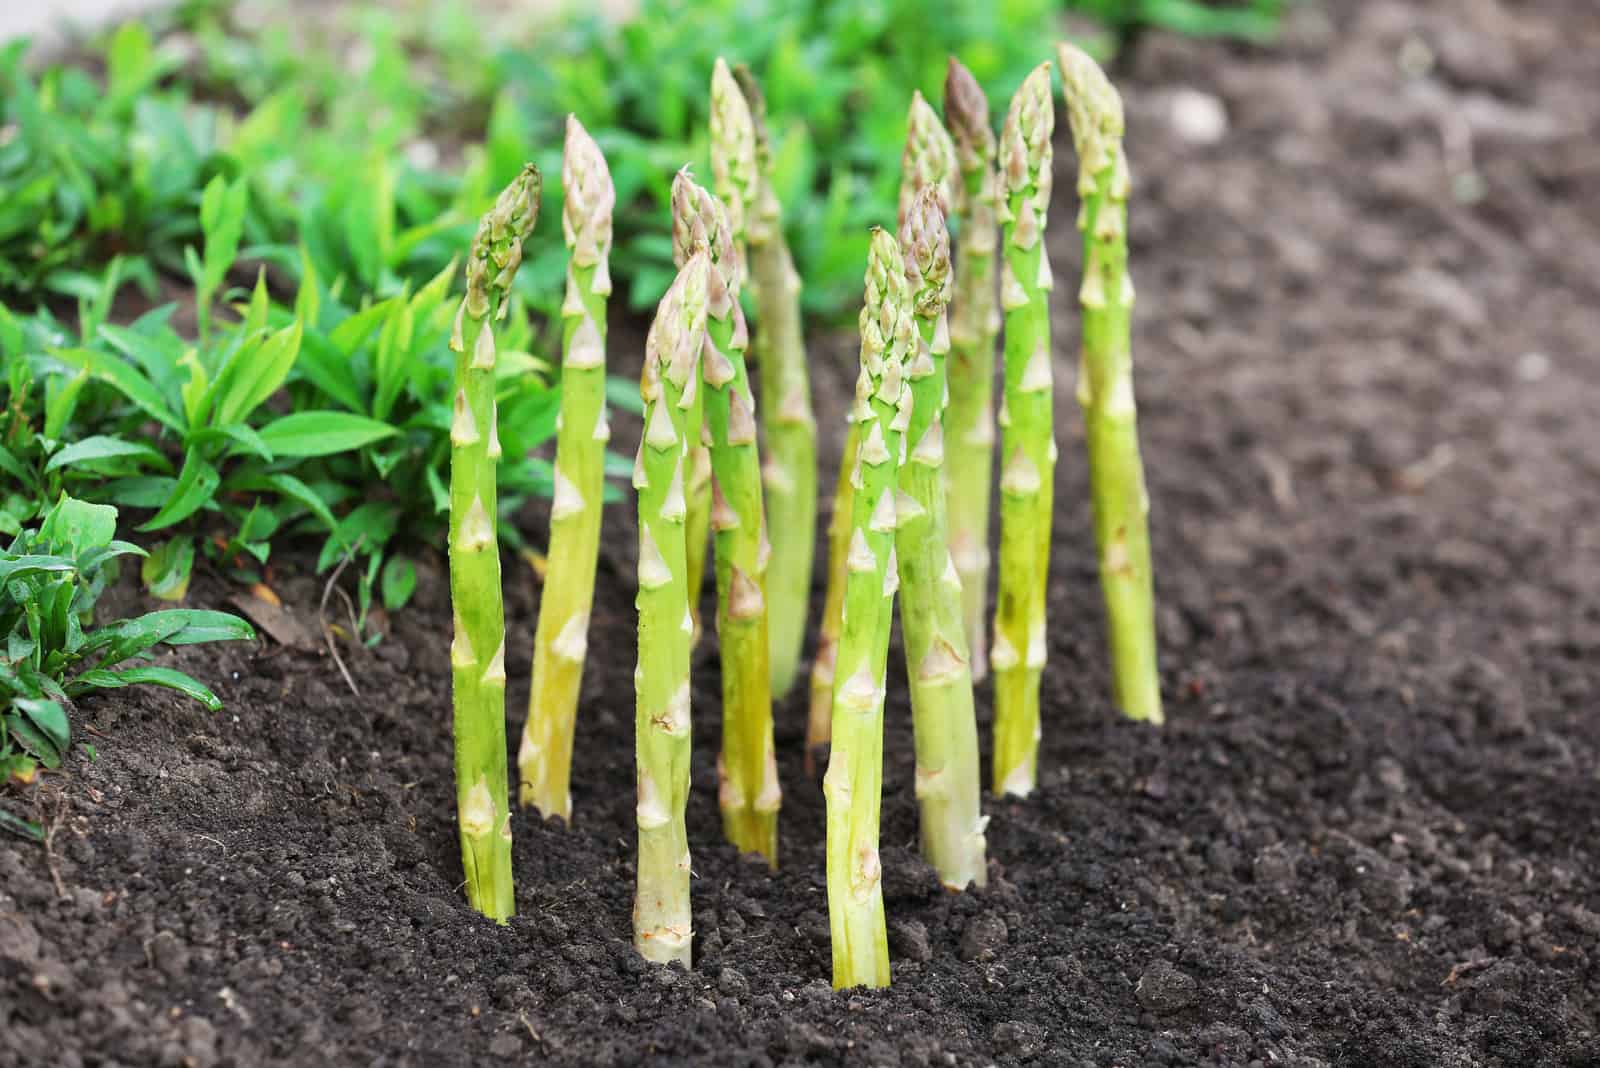
7. Harvesting
The next stage of growing asparagus is harvesting. Generally speaking, asparagus can be harvested the third year after planting, even though some growers (ourselves included) harvest a few spears in the second year.
Harvesting asparaguses in the second year is quite risky and should be done with extreme caution because you want them to continue producing the following year.
This means you can harvest a limited number of spears (no more than a half), but should leave the rest to fern out and make enough energy for next year’s growth.
When the third year arrives, it’s party time! You can harvest all the spears that are about 10 inches (25 cm) long as the plants are established and don’t need that much energy to survive dormancy. The harvesting time lasts about six weeks, and you can start reaping the fruits of your labor as early as mid-April.
You should stop collecting the asparagus spears near the end of May and let the remainder of the spears fern out to produce enough food and energy for surviving dormancy.
Finally, when the fourth year comes knocking at the door, you can start harvesting spears for two months and start the season in mid-April.
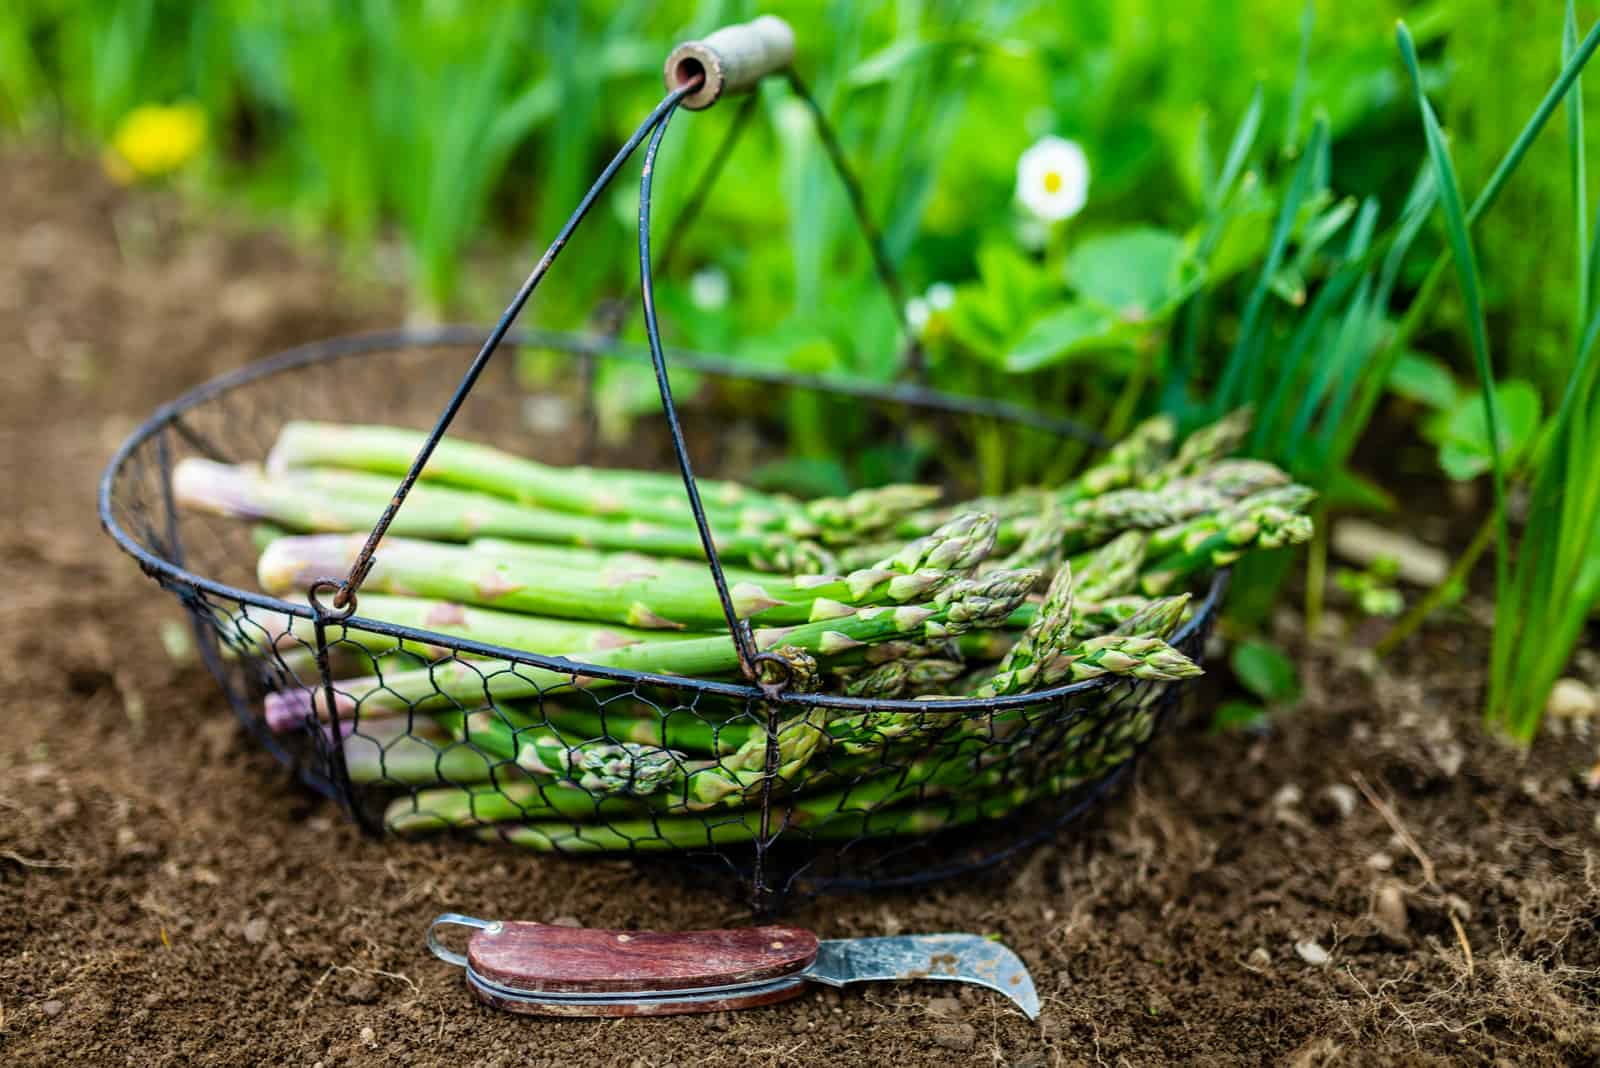
How To Harvest Asparagus
When harvesting asparagus, use a sharp knife and cut the spears approximately one inch (2.5 cm) above ground level.
Once you’re done with the harvest, use an organic fertilizer to feed your asparagus plants, and you’re done. The plant continues its life cycle and ferns out, then enters dormancy, and starts growing again the following year.
Here are some tips for harvesting asparagus:
How Long Does It Take For Asparagus To Grow?
Asparagus is a slow-growing vegetable, and it takes 2-3 years before it’s ready to be harvested.
You can harvest the asparagus in the second year, but you can harm it if you take too much, so it’s best to put it off until the next year.
The third year is when you can harvest all the asparagus you want without worrying about damaging the plant.
Asparagus Care Guide
Asparagus is not excluded from the list of vegetables you can grow in a greenhouse, so you can grow it in any region if you meet its requirements.
In this section, we’ll discuss how you can ensure proper care for asparagus in your home garden. This veg needs plenty of sun and water in order to grow tall and tasty spears, but there is more to vegetable care than just meeting lighting and watering requirements.
You also need to be aware of the type of soil and fertilizer you’re using. It seems like a lot at first, but once you get familiar with this veg, taking care of it will be a piece of cake!
Light Requirements
Asparagus needs full sun to thrive, which means that it needs to be exposed to at least eight hours of sunlight each day for the best results.
It is a perennial plant, so you should be very picky about where you put it. You need to avoid any shrubs and trees as they can create shade, which the asparagus is not fond of.
However, this plant likes cooler temperatures and benefits from the shade during scorching summer days. Simply place it where it can get plenty of sunlight in the morning and some protection from the sun in the afternoon.
Water And Humidity
Asparagus is a thirsty plant, especially when young. Young plants need 1-2 inches of water (2.5-5 cm) per week during the first two years of their life.
However, once the third growing season starts you can reduce watering to about an inch of water (2.5 cm) per week.
We already mentioned that asparagus can be grown in a greenhouse, and here’s even more good news: you can install a drip irrigation system in the greenhouse to measure the exact amount of water your plants are getting.
Another thing that can help you maintain a suitable soil moisture level is mulching the soil around your asparagus. This plant responds well to many different types of mulch, including wood chips.
Understanding the advantages and disadvantages of wood chips vs mulch may help you make the right choice and create favorable conditions for your plants.
Humidity
Asparagus can grow just fine in moderately humid environments so you don’t have to worry about additional ways of increasing air moisture.
It also doesn’t mind higher humidity levels, which makes it one of the most versatile veggies out there. If you feel like your plants could use more moisture, you can simply give them some water and mulch them.
Temperature
This plant prefers mild temperatures, and thrives when the day temperature is between 70 and 85°F (21-29°C). However, it prefers slightly cooler nights, with temperatures between 60 and 70°F (15-21°C).
Asparagus won’t germinate if the soil temperature is lower than 50°F (10°C), and if the frost catches it outside it may lead to discoloration.
Finally, temperatures lower than 55°F (13 °C) and higher than 85°F (29 °C) will most likely cause stunted growth, so you should protect them from those weather conditions.
Soil And Fertilizer
Asparagus prefers soil with a pH level between 6.5-7.0, and cannot tolerate highly acidic mediums. It will thrive in many different soil types as long as they’re well-draining.
However, it prefers loamy soils that are rich in nutrients and organic material so you should put some compost into the soil, which will also improve the drainage at the same time.
Fertilizer
Asparagus needs fertilizer every once in a while, and a well-balanced formula like triple 10 is ideal. Use 1.2 pounds (544 g) of fertilizer for 100 sq ft (9.3 sq m) and avoid over-fertilization and fertilizer burn.
This plant can be fertilized before and after harvest, and in order to reduce the possible negative effects of fertilizer, we usually use organic varieties.
If you notice that the leaves have started changing color before their due time, you can add some nitrogen-based fertilizer, such as 34-0-0. However, this time you should only use 0.3 pounds (136 g) of fertilizer on 100 sq ft (9.3 sq m), as too much nitrogen can also hurt the plant.
If you’re afraid of over-fertilization, you can always dissolve the fertilizer in water and irrigate the plant carefully so that it doesn’t touch the leaves.
Pro tip: Always water the plant thoroughly after fertilization to help nutrients reach the roots faster and avoid fertilizer burn on the plant’s leaves.
Common Problems
Unfortunately, asparagus is not resistant to pests and diseases, but we have some secret tips and tricks that we’re going to share with you.
This section will discuss the most common issues your asparagus might encounter and help you prevent or treat them if it comes to that.
Pests
The most common pests you will find nibbling on your asparagus are spotted and common asparagus beetles and aphids.
Asparagus beetles feed on your plants and can cause browning and scarring of the tissue. You should start looking for them as soon as the spears emerge. If the infestation isn’t too big, you can pick off the beetles one by one.
However, if you see large groups of asparagus beetles on your vegetables, you should use insecticides to get rid of them.
You should act quickly because these bugs will eat the leaves your plant needs for photosynthesis and make it an easy mark for a fungal disease caused by fusarium fungi.
Young seedlings and spears that haven’t been harvested before are susceptible to aphids. These insects can decrease the yield or even kill the seedlings if left untreated. Thankfully, they’re easy to get rid of. Pick them off if there aren’t too many of them on your asparagus, remove the dead foliage, or treat them with pesticides if the infestation has spread.
Diseases
The main diseases that afflict asparagus are fusarium, asparagus rust, and blight. Fusarium root and crown rot are fungal diseases that attack seedlings and mature plants alike. It affects the roots of the plant and spreads rapidly in high temperatures.
Fusarium Root And Crown Rot
When your plants start wilting, check the roots, and if the veins have turned brown you should remove all the infected plants from the crop and treat your asparagus with a fungicide.
You can plant varieties that are more tolerant of this disease, such as Jersey Giant and Apollo.
Asparagus Rust
If you notice orange spots on your asparagus spears and leaves, you should immediately remove any infected plants from your crop to prevent the disease from spreading and killing your plants.
It typically appears in early spring, and the spots will turn black by summer.
You can avoid this problem by planting resistant varieties and making sure that the drainage of the soil is impeccable.
Blight
If you notice that your spears have deformed and curled and you see wet spots on them near ground level, you can safely conclude that your plants are suffering from blight.
It is caused by a fungus that attacks the asparagus roots and kills your plants. You can avoid blight by using fungus-free material and improving the soil’s drainage.
You Asked Us
There’s much more to learn about asparagus than you might think at first, and we definitely didn’t mention everything in this article; it’s virtually impossible!
However, we will answer some of your most common questions about this vegetable to give a better idea of what you’re dealing with.
Let’s begin!
What is the best time of day to harvest asparagus?
The best time of day to harvest asparagus is in the morning, before the heat can stress the plant. However, it’s also essential to make your harvesting a routine so you don’t additionally stress your plant.
If you can’t harvest asparagus in the morning, you can always do it in the evening to keep their wounds protected from the midday heat.
What is an asparagus crown?
The asparagus crown is its one-year-old root system through which it gets all the nutrients it needs for growth. You can get them in a store and plant them in a garden bed so you don’t have to wait too long to eat them.
What are the benefits of asparagus?
Asparagus is a very healthy vegetable as it contains vitamins A, C, and K, folates, and fiber, which promote weight loss, help maintain a healthy pregnancy, and improve digestion.
Asparagus also lowers blood pressure and is filled with antioxidants that have anti-inflammatory and anti-viral properties.
Wrapping Up
This article brought you a detailed description of the nine stages of growing asparagus, so you now know how to plant them, when to harvest them, and to let them fern out.
We also included a care guide to help you start your very own asparagus garden and treat your friends and family to an amazing asparagus meal.
Finally, we included some of the most common pests and diseases you may encounter when growing this healthy veg so you know how to prevent them.
Until next time!
Like this post? Share or pin it for later!