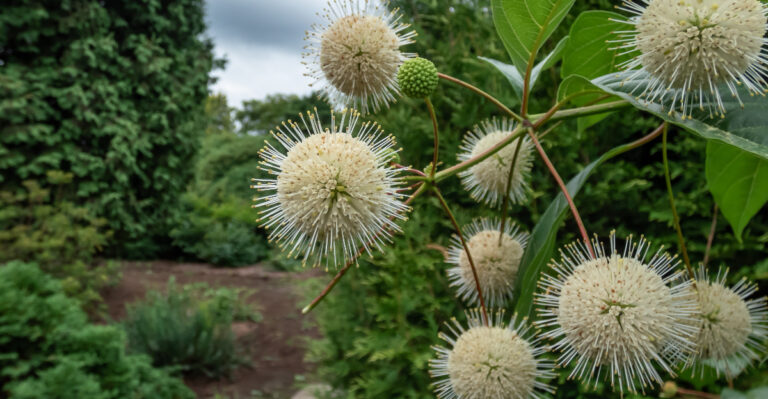
10 Steps To Collect Coneflower Seeds In North Carolina
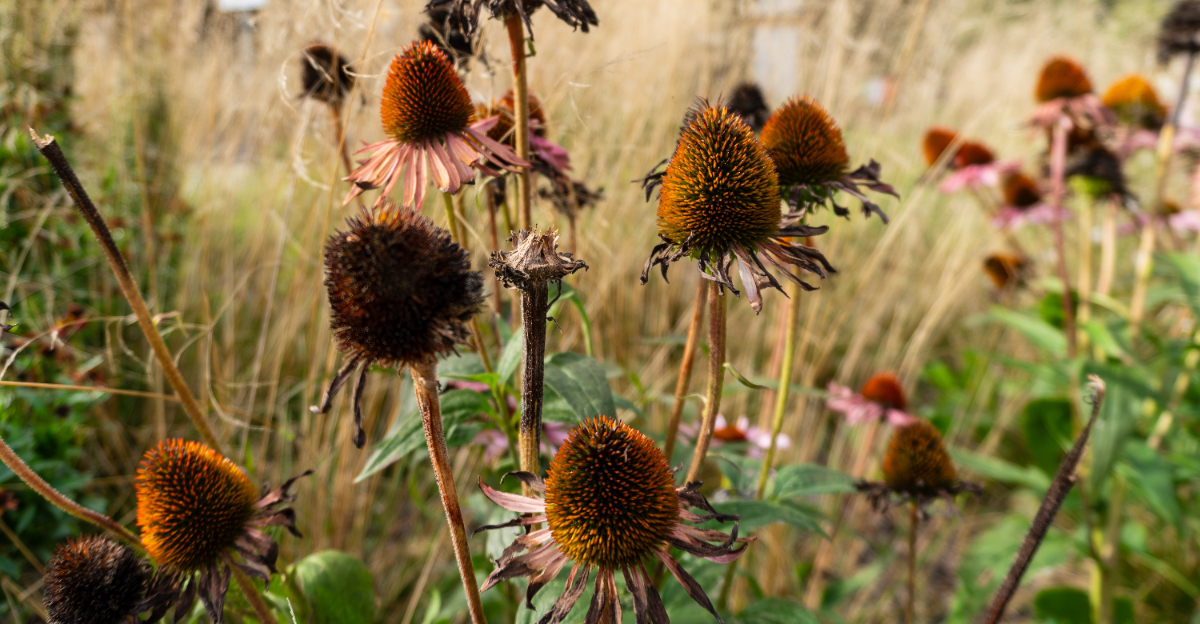
Coneflowers finish their bloom cycle each year holding onto something most North Carolina gardeners simply toss aside without a second thought.
Those dried, spent flower heads actually contain next year’s plants, packed with seeds ready for the taking if you know exactly how to collect them properly.
Most people assume seed saving requires special equipment or advanced gardening knowledge they simply don’t have.
But this specific process turns out to be far more approachable than most gardeners expect, once broken down into the right sequence of steps.
Understanding exactly how to collect and store these seeds could give you an entire new patch of coneflowers next year without spending a single dollar. Many gardeners are surprised by how simple this process actually is once they finally try it themselves.
This step by step approach could turn those dried flower heads into your garden’s next generation of blooms.
1. Let A Few Flowers Go To Seed
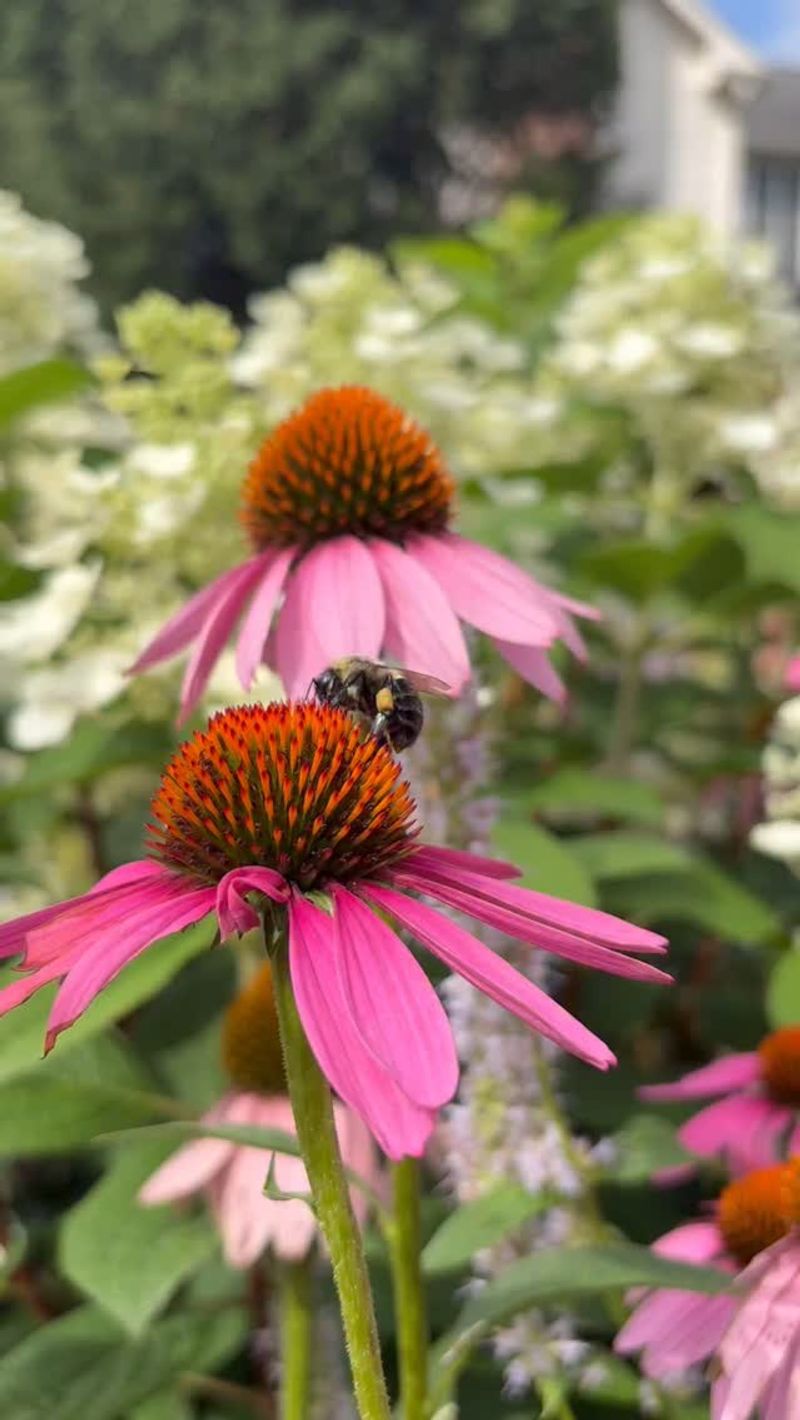
Most gardeners love snipping off faded blooms to keep plants looking neat, but if you want seeds, you need to hold back. Pick a handful of your prettiest coneflowers and simply leave them alone.
When you stop deadheading, the flower can finish its natural job. The petals fade and drop, and the center cone slowly plumps up with ripening seeds. That center is where all the magic happens.
Try to choose blooms that opened early in the season. Earlier flowers have more time to fully mature before cooler fall weather arrives in North Carolina. That extra time means firmer, healthier seeds.
Leaving flowers to mature also feeds the garden ecosystem. Bees and butterflies still visit, and the plant puts its energy into making the next generation instead of new petals.
Mark your chosen plants with a soft ribbon or a small stake so you remember not to trim them. It is easy to grab the shears out of habit and accidentally cut the very cones you were saving.
You do not need to save every bloom. Just three or four strong flower heads can give you dozens of seeds, which is plenty for starting new plants next spring.
Think of this first step as the foundation for everything else. By letting nature take its course on a few select flowers, you set yourself up for a rewarding harvest.
Patience here pays off with free plants and a garden that keeps growing year after year.
2. Choose Healthy Plants For Seed
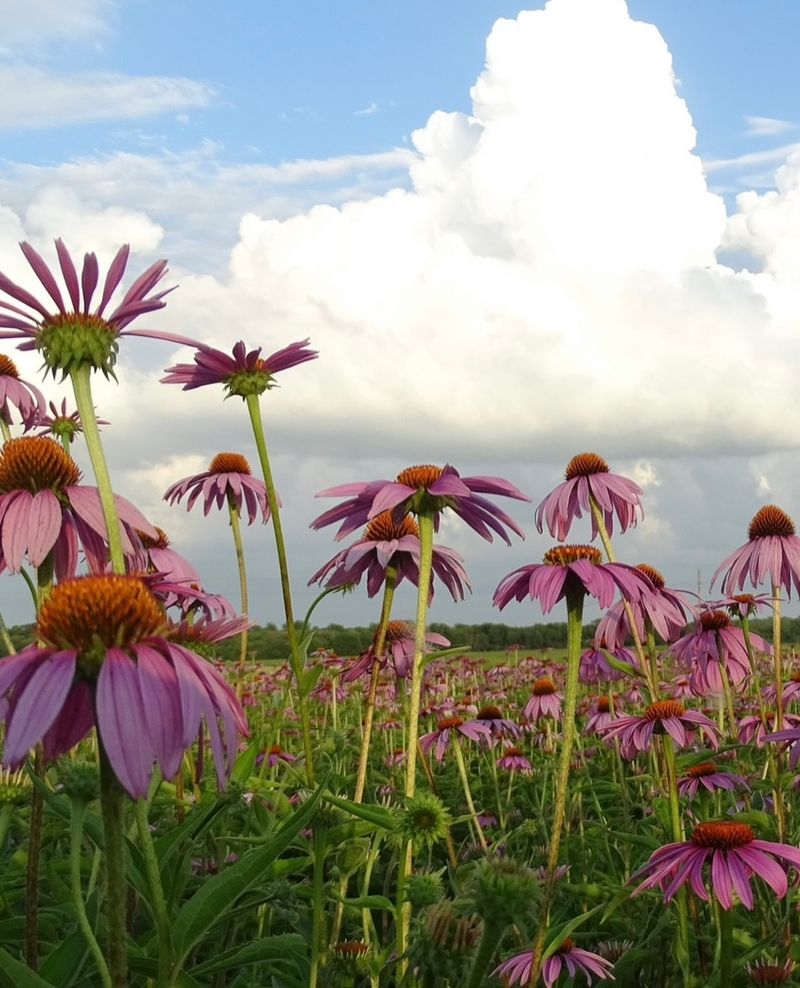
The strongest seeds come from the strongest plants, so look around your garden and pick your best performers. Vigorous coneflowers with sturdy stems and rich green leaves are exactly what you want.
Skip any plants showing signs of trouble. Yellowing leaves, weird twisted growth, or oddly shaped flowers can be warning signs of a plant problem, and you do not want to pass those issues along.
One condition to watch for is aster yellows. Plants with this problem often grow strange green tufts right out of the flower cone, and the blooms look distorted. Never save seeds from a plant that looks like this.
Your North Carolina Garden Changes Every Week. Your Plan Should Too.
Gardening in North Carolina changes quickly throughout the season. Every Friday you’ll receive a simple weekly plan showing exactly what to plant, prune, fertilize, harvest, and protect so you never miss the right timing.
Healthy parent plants tend to produce healthy offspring. When you collect from a strong coneflower, you improve the chances that your new seedlings will grow up tough and full of blooms.
Take a close look at the whole plant, not just the flower. Check the leaves for spots, the stems for damage, and the overall shape for anything unusual. A quick inspection saves you disappointment later.
It also helps to gather seeds from more than one healthy plant if you have them. Mixing seeds from several vigorous coneflowers can give your future garden a little more variety and resilience.
Remember that your goal is a thriving flower patch for years to come. Starting with clean, robust plants makes that goal much easier to reach.
A few minutes spent choosing wisely now sets up a beautiful, trouble-free display in the seasons ahead.
3. Wait Until The Cone Turns Brown And Dry
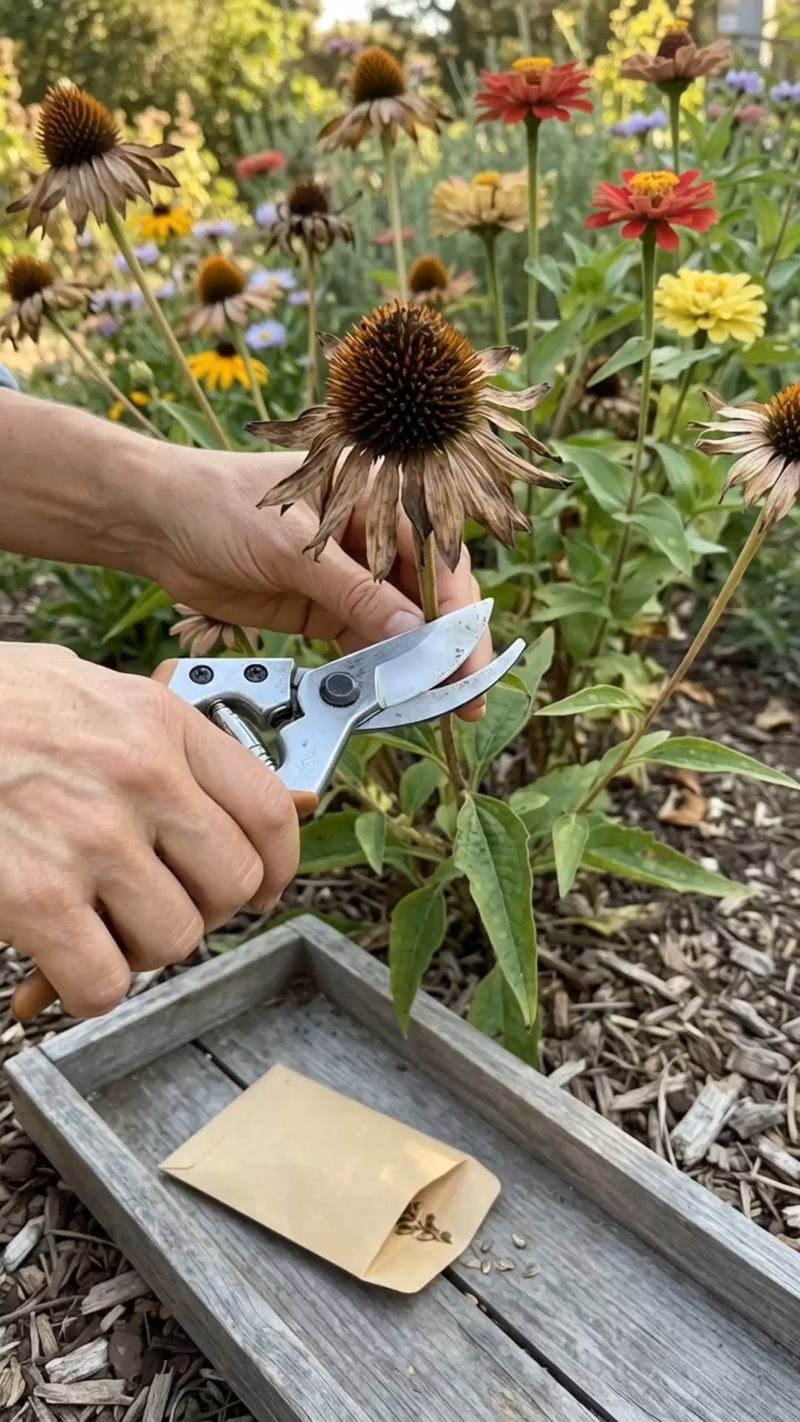
Timing is everything when it comes to seeds, and coneflowers give you clear signals. The bright, colorful bloom slowly changes into a dark, spiky brown cone as the season moves along.
That color shift matters. A green or partly green cone means the seeds inside are still developing and are not ready to leave the plant. Rushing the harvest gives you seeds that may never sprout.
Watch the stem too. When both the flower head and the stem below it turn dry and brown, the plant is telling you the seeds are close to full maturity.
In North Carolina, this usually happens in late summer through fall. Cooler nights and shorter days signal the plant to finish its cycle, so keep an eye on your marked flowers as autumn arrives.
The cone will also feel different. Instead of soft and fresh, it becomes stiff, prickly, and crisp to the touch. Those sharp little points are actually the seed tips poking out.
Give the plant time and do not panic if it takes a few weeks longer than you expected. Weather changes each year, so let the plant set its own pace rather than following a strict calendar.
Checking your coneflowers every few days makes the whole thing simple. You will start to notice the gradual browning and know exactly when the moment is right.
Waiting for that dry, brown look is one of the biggest keys to success. Ripe cones mean seeds that are far more likely to grow into brand new coneflowers.
4. Check That The Seeds Are Ready
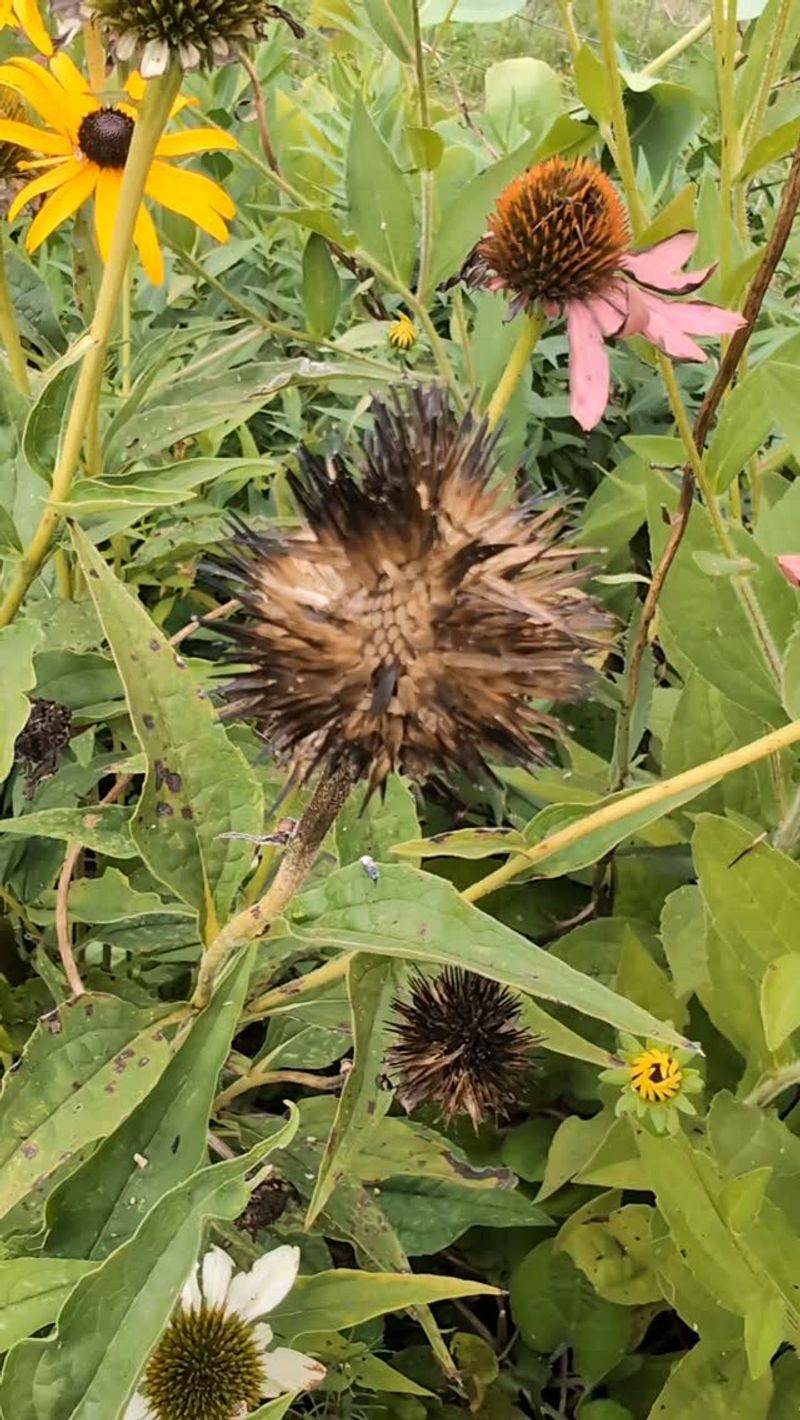
Before you snip anything, do a quick seed check to make sure they are truly ready. This little test saves you from harvesting too early and ending up with empty duds.
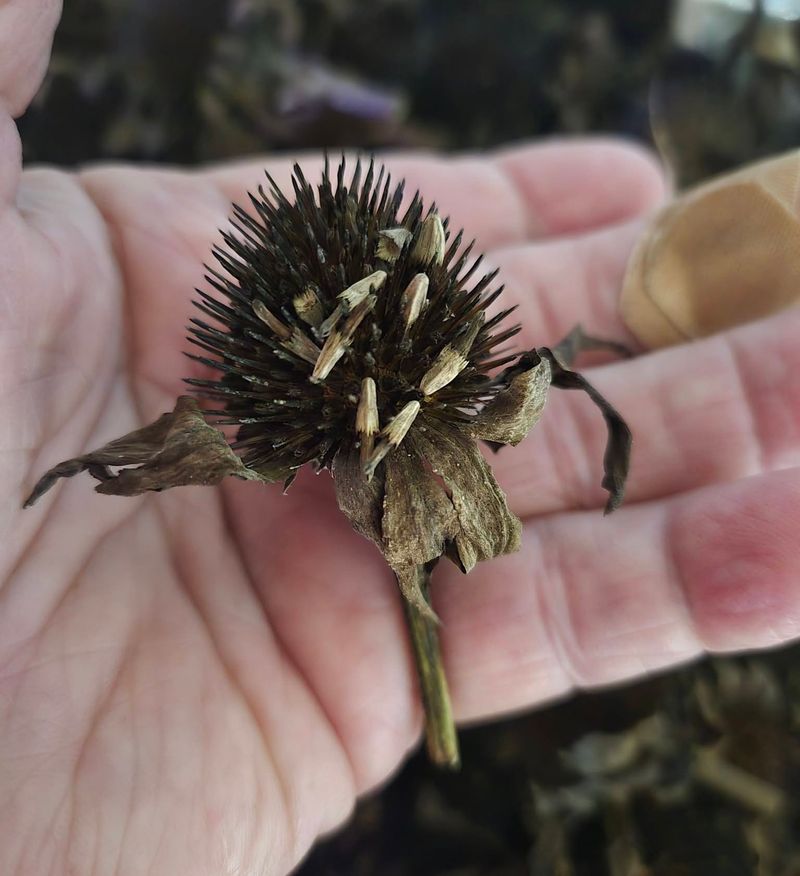
Gently pull a few seeds from the tip of a dried cone. Mature coneflower seeds feel firm between your fingers and show a dark tan or brown color, sometimes with a pale stripe.
Soft, pale, or flat seeds are not ready yet. Those need more time on the plant, so give them another week or two before checking again.
A fully dried cone makes this easy. When the seed head is crisp, the seeds should separate more freely instead of clinging tightly to the center.
Try rubbing the tip of the cone lightly. If seeds come loose with just a bit of pressure, that is a great sign that harvest time has arrived.
Wear a glove for this step if you like. Coneflower cones have sharp, spiky points that can poke tender fingers, and a light glove keeps things comfortable.
Look at the size and shape too. Plump, well-formed seeds are the ones most likely to sprout, while shriveled bits usually will not grow.
Taking a moment to inspect a small sample tells you a lot about the whole batch. If those test seeds look firm and dark, the rest are probably ready as well.
Confirming ripeness this way builds your confidence. You will know your seeds have real growing power, which makes the next planting season much more exciting and rewarding.
5. Pick A Dry North Carolina Day
Weather plays a bigger role in seed saving than most people realize. Choosing the right day makes the whole job cleaner and helps your seeds store better.
Aim for a dry, sunny day with low humidity. North Carolina can get pretty muggy, so pick a stretch of clear weather rather than collecting right after a rain shower.
Morning dew is another thing to watch. Wait until the sun has burned off the moisture on the plants, usually by mid to late morning, before you start clipping cones.
Damp seeds are trouble. Extra moisture can lead to mold once seeds are stored, and moldy seeds will not sprout when spring rolls around.
Dry conditions also make handling easier. Crisp cones crumble nicely and release their seeds, while soggy ones stay stubborn and mushy.
Check the forecast a day or two ahead. If rain is coming, plan your harvest for the dry window before or well after the storm passes.
Humidity can sneak up on you even without rain. On sticky summer afternoons, seeds pick up moisture from the air, so a crisp, breezy day is your best friend.
If your cones are ready but the weather turns wet, do not worry. You can wait a bit, since fully dried cones will hold on the plant for a while without harm.
Picking the perfect dry day is a small choice that leads to big results. Clean, moisture-free seeds mean a higher chance of strong seedlings and a garden bursting with color next year.
6. Snip The Whole Seed Head
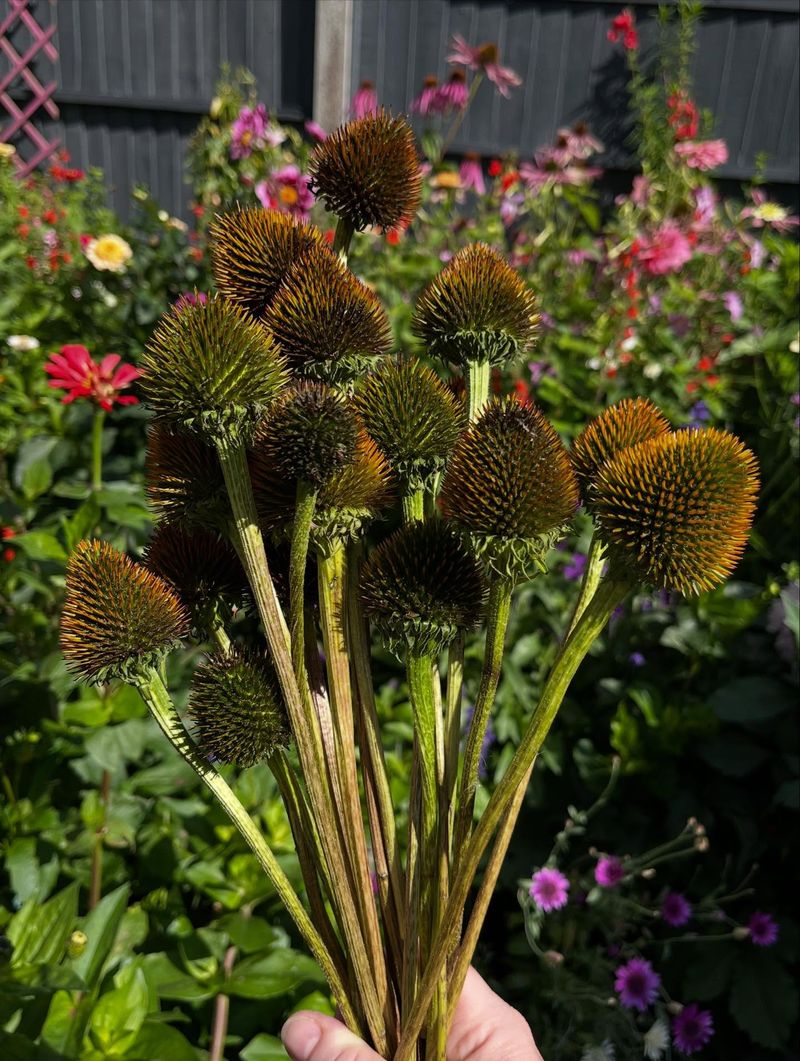
Now for the satisfying part where you actually gather your harvest. Grab a pair of clean, sharp pruners and a simple paper bag, and you are set to go.
Cut the entire seed head with a few inches of stem attached. That little handle of stem makes the cone easier to hold and keeps your fingers away from the prickly tip.
Clean tools matter here. Wiping your pruners with rubbing alcohol before you start helps stop the spread of any plant problems between flowers.
Drop each cone straight into your paper bag as you cut. Paper is better than plastic because it lets any leftover moisture escape instead of trapping it inside.
Work with one plant at a time if you are saving different types. Keeping cones separated by variety helps you stay organized when it is time to label everything.
Snip carefully and avoid crushing the cone. A gentle, steady cut keeps the seeds tucked safely inside until you are ready to remove them.
Fill your bag but do not pack it too tightly. Cones need a little air space so they can continue drying without getting squished together.
Fold the top of the bag loosely once you finish. This keeps everything contained while still letting air move through, which protects your precious seeds.
Cutting the whole head instead of picking loose seeds is faster and far less messy. You collect everything in one clean motion, and the cone acts like a handy little storage container until the next drying step.
7. Let Damp Seed Heads Dry Completely
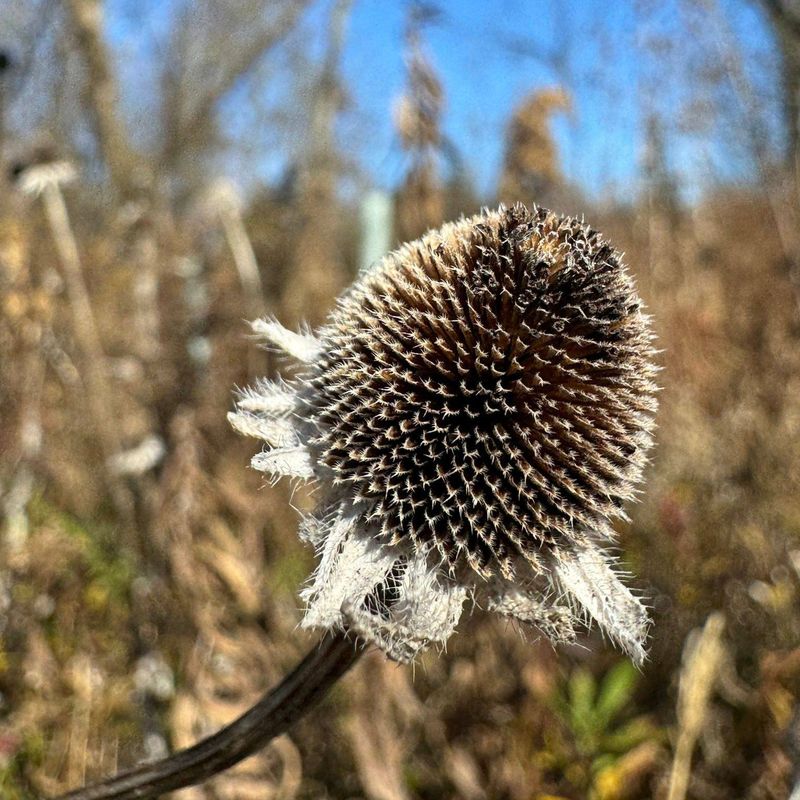
Even cones that look ready can hold a little hidden moisture inside. A good drying period makes sure your seeds are truly ready for safe storage.
Spread the seed heads out in a single layer somewhere dry and airy. A screen, a tray, or a sheet of newspaper on a table all work great for this.
Pick a spot with good airflow but out of direct sun. A garage, covered porch, or spare room with a little breeze keeps things moving without cooking the seeds.
Give them time to finish. A week or two of drying usually does the trick, though thicker cones may need a bit longer to feel completely crisp.
Turn the cones every few days. A quick flip helps every side dry evenly and stops moisture from settling at the bottom of the pile.
Avoid stacking them deep. When cones sit in a thick pile, air cannot reach the middle, and trapped dampness can cause mold to form.
You will know they are done when the whole head feels dry, light, and brittle. Any softness means they need a few more days out in the open air.
Skipping this step is a common mistake. Storing seeds that still hold moisture almost always leads to mold, and moldy seeds simply will not grow.
Letting the cones finish drying properly protects all the effort you have put in so far. It is a patient, low-effort step that keeps your seeds healthy and ready to sprout when planting season finally arrives.
8. Rub The Seeds Out Of The Cone
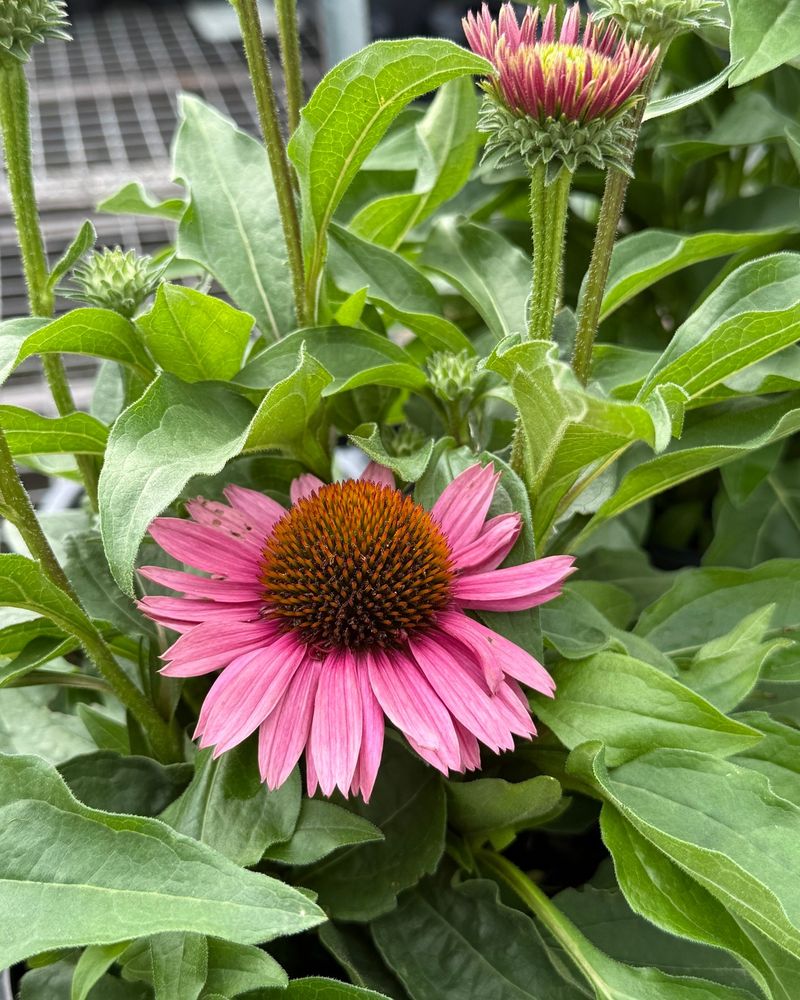
Here comes the fun, hands-on moment when all those seeds finally come free. With your cones fully dried, you are ready to break them open and collect the goods.
Hold a cone over a bowl or bucket and gently rub or twist it between your fingers. The dried head crumbles apart and the seeds tumble right out.
Wear gloves if the spiky tips bother you. Coneflower cones are famously prickly, and a light pair of gloves makes the job much more comfortable.
You will notice the seeds come out mixed with bits of chaff and broken cone. That papery material is normal and easy to deal with.
To clean things up, gently blow across the bowl or pour the mix between two containers outdoors. The lighter chaff drifts away while the heavier seeds stay behind.
You do not need perfectly clean seeds. A little chaff mixed in will not hurt anything, and the seeds will still sprout just fine when planted.
Take your time and work over a wide surface. Seeds are small and love to scatter, so a big bowl catches strays that might otherwise roll off the table.
If a cone feels tough to break apart, it may need more drying. Pop it back on the drying tray for a few extra days before trying again.
Freeing the seeds from the cone is oddly relaxing, almost like a little garden treat. Once you have a pile of clean, dark seeds, you are nearly ready to tuck them away for safekeeping.
9. Label Seeds Before Storing Them
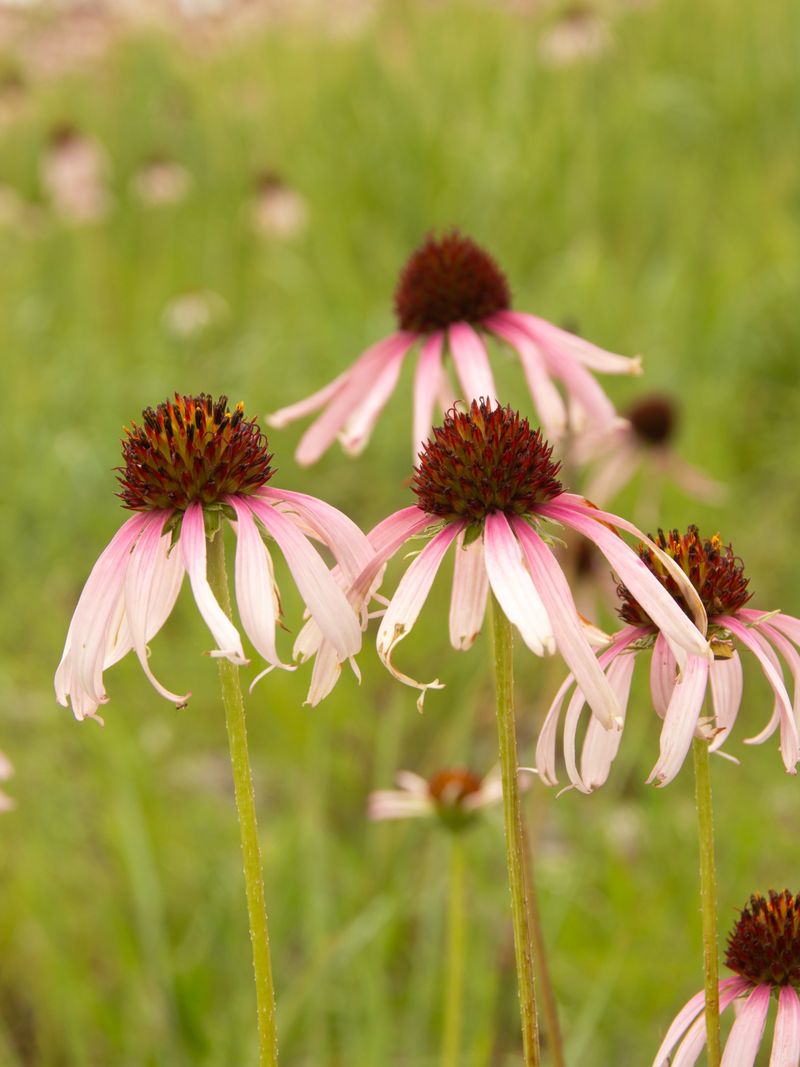
Trust me, future you will be grateful for a good label. Seeds all look pretty similar once they are packed away, so a clear note saves a lot of guessing later.
Write down the plant name and the year you collected the seeds. Add a fun detail if you like, such as the flower color or where the plant grew in your garden.
Use a paper envelope or a small paper bag for storage. Paper breathes better than plastic and helps keep any leftover moisture from building up.
Keep your labeled seeds in a cool, dry, dark spot. A drawer, a closet, or a sealed jar in a pantry all make excellent hiding places.
Here is something important about hybrid coneflowers. Fancy named varieties often come from crossing different parents, so their seeds may grow into plants that look nothing like the original bloom.
That surprise can actually be exciting. You might get brand new flower colors or shapes, which turns seed saving into a little adventure each spring.
If you want plants that match the parent exactly, collect from older, classic purple coneflowers instead of flashy hybrids. These tend to stay true to type.
Dating your seeds also helps you use the freshest ones first. Coneflower seeds keep well for a couple of years, but newer seeds usually sprout best.
A simple label turns a jumble of look-alike seeds into an organized collection. With clear notes and smart storage, your harvest stays ready and reliable until you are set to plant.
10. Save Some Seed Heads For The Birds
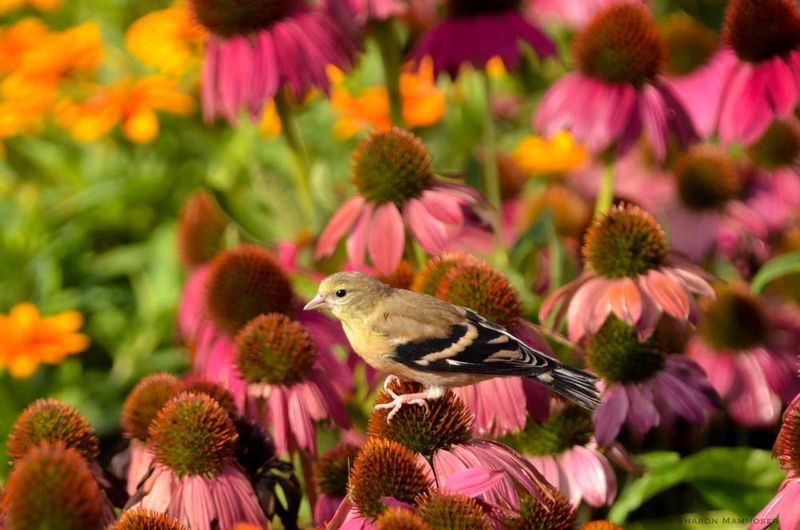
You really do not have to grab every single seed for yourself. Leaving some cones standing gives your garden a lovely second purpose through the colder months.
Birds absolutely love coneflower seeds. Goldfinches and other visitors perch right on the dried heads and snack away, adding movement and cheer to a quiet winter yard.
NC State Extension actually suggests leaving some seed heads in place. Those standing stems become a natural feeding station when other food sources get scarce.
The look is charming too. Frosty coneflower cones poking up above the garden bed give winter scenery a rustic, wild beauty that is hard to beat.
Standing stems help the plants spread as well. Some seeds drop naturally to the ground, and a few may sprout into new coneflowers right where they fall.
You get to enjoy nature up close. Watching birds flit from cone to cone turns your garden into a lively little wildlife show, all from the comfort of your window.
There is no need to feel torn about it. Save enough seeds for your own planting plans, then leave the rest as a generous gift to your feathered friends.
When spring returns, you can tidy up the old stems and welcome fresh growth. By then the birds will have enjoyed a full season of free meals.
Sharing your coneflowers this way rounds out the whole process beautifully. You get seeds for next year, the birds get food, and your North Carolina garden stays lively and full of life all season long.