8 Summer Gardening Moves Every Oklahoma Grower Should Try
Oklahoma gardeners know a secret most people learn the hard way: summer arrives fast and intensely here. One week you’ve got tomatoes swelling on the vine.
The next, cracked soil and wilted leaves tell you temperatures have risen sharply. Wind whips moisture out of your beds before the water even soaks in.
A single skipped watering day can undo weeks of careful growing. This season demands quick adaptation, plain and simple.
Gardeners across Oklahoma who adjust their timing, their tools, and their expectations come out the other side with beds that are still producing when everyone else has given up.
The trick isn’t fighting the heat, it’s outsmarting it. Pull off these moves, and your garden won’t just limp through Oklahoma summer, it will thrive in spite of it.
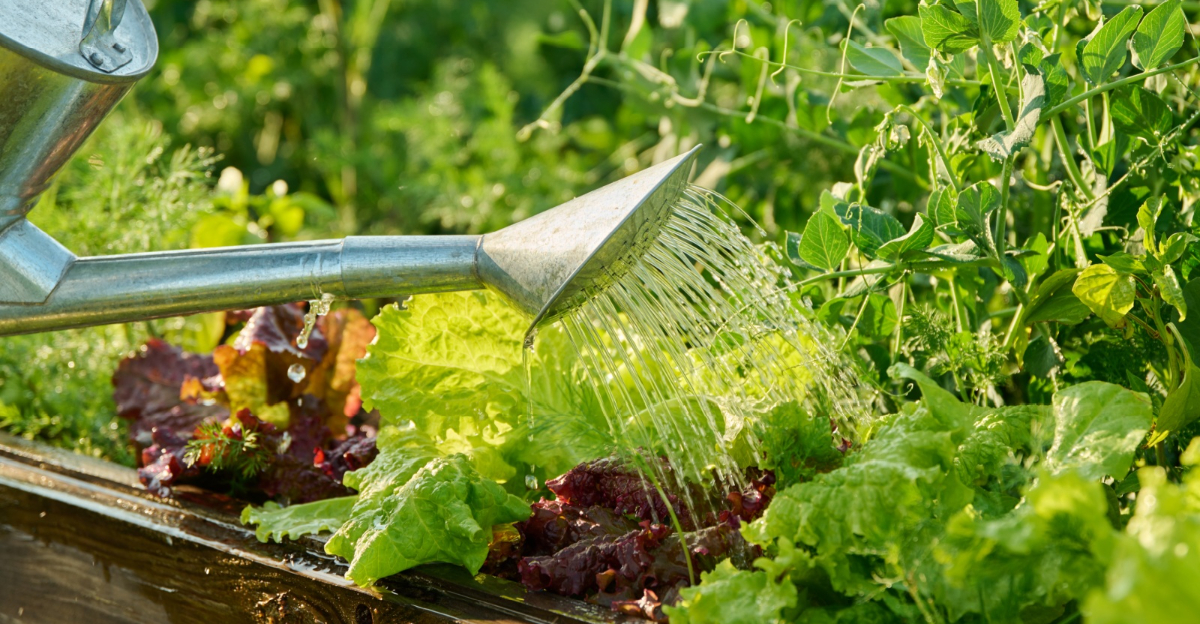
1. Deep-Water Beds Once Or Twice Weekly

Shallow watering is one of the sneakiest ways to stress your plants. When you only wet the top inch of soil, roots stay near the surface and struggle during heat spikes.
Deep watering means soaking the soil to a depth of six to eight inches. Roots follow moisture downward, anchoring plants and helping them handle intense summer heat.
Aim to water once or twice a week, depending on rainfall. Sandy soils drain fast and may need two sessions, while clay-heavy beds hold moisture longer.
Water early in the morning to cut evaporation loss. Evening watering can leave foliage damp overnight, which invites fungal problems you do not want.
A soaker hose or drip system delivers water right to the root zone. These tools reduce runoff and keep leaves dry, which is a big win in humid summer conditions.
Check soil moisture before watering by pushing a finger two inches deep. If it feels dry at that depth, it is time to water again.
Consistent deep watering also reduces weed pressure by not wetting wide surface areas. Weeds need surface moisture to germinate, so keeping the top dry slows them down.
Summer gardening in the heartland rewards growers who learn to water wisely. A disciplined watering routine is the single biggest factor in keeping your garden alive and productive through the toughest months of the year.
2. Mulch Thick To Trap Moisture

A thick layer of mulch makes a major difference once summer temperatures climb into the 90s. It is like a blanket for your soil, keeping roots cool and moisture locked in.
Apply mulch at least three to four inches deep around all your beds. Thin layers dry out too fast and barely slow evaporation at all.
Straw, shredded wood chips, and dried leaves all work well as mulch materials. Each one breaks down slowly and adds organic matter back into the soil over time.
Keep mulch a few inches away from plant stems to prevent rot. Piling it right against the base traps excess moisture and can cause crown rot in warm weather.
Mulch also suppresses weeds, which compete with your vegetables for water and nutrients. Fewer weeds mean less time pulling and more time enjoying your garden.
Soil temperature under mulch can be noticeably cooler than bare ground, often by ten degrees or more depending on mulch type and depth.
That difference is huge for root health during an intense July or August heat wave. Refreshing your mulch mid-season keeps it effective as it compresses and breaks down.
Add a fresh inch or two in late July to maintain that protective barrier through the rest of summer.
Gardeners who mulch consistently spend less time watering and fighting heat stress. That saved effort pays off big when fall arrives and your plants are still going strong.
3. Transplant Fall Tomatoes And Peppers Now

Most growers think tomato season ends when summer peaks, but smart gardeners know better.
Planting a second round of tomatoes and peppers in midsummer sets you up for a bumper fall harvest.
The key is timing your transplants so plants mature before the first frost. Count backward from your expected frost date to figure out when to get them in the ground.
Start with healthy transplants rather than seeds at this stage. Seeds take too long to mature, but a six-week-old transplant can hit production right when fall weather kicks in.
Shade cloth is your best friend during the first two weeks after transplanting. Afternoon sun in July can wilt new plants fast, so a little protection goes a long way.
Water transplants daily for the first week to help them establish strong roots. Once they settle in, you can back off and follow your regular deep-watering schedule.
Choose heat-tolerant varieties like Celebrity tomatoes or Anaheim peppers for late-season planting. These types handle temperature swings better than more delicate heirloom options.
Peppers actually love the warm soil of late summer and often outperform spring-planted ones. Give them a good start now and they will reward you with a heavy crop right through October.
A fall tomato harvest feels like a bonus round for summer gardening enthusiasts. Plan ahead now and you will be slicing fresh tomatoes long after your neighbors have pulled their plants.
4. Start Fall Broccoli And Cabbage Indoors

Broccoli and cabbage are cool-season champions, but getting them ready for fall takes some planning. Starting seeds indoors now gives you a head start before outdoor temps drop enough to plant.
Sow seeds six to eight weeks before your target transplant date, timing it around your area’s first expected frost date, since Oklahoma’s planting window shifts by region and hardiness zone.
Use a quality seed-starting mix and small cell trays to keep things tidy. These crops germinate quickly, often popping up within five to seven days under warm indoor conditions.
Provide strong light to prevent leggy, weak seedlings. A grow light set just a few inches above the trays makes a noticeable difference in stem thickness and leaf color.
Keep soil consistently moist but not waterlogged during germination. Overwatering at this stage leads to damping off, a fungal condition that wipes out seedlings fast.
Harden off seedlings before transplanting by setting them outside in morning shade for a few days. This gradual exposure toughens them up and reduces transplant shock significantly.
Cabbage varieties like Stonehead and broccoli types like Belstar perform well in fall gardens across the southern plains. Choosing the right cultivar makes a big difference in how well your crop handles early cold snaps.
Starting these crops now is one of the smartest moves in summer gardening. By the time fall arrives, your seedlings will be strong, ready, and eager to grow.
5. Thin Fruit To 6 Inches Apart

Thinning fruit sounds counterintuitive, but it is one of the best things you can do for your harvest. Leaving too many fruits on a branch means each one gets less energy, water, and nutrients.
The result of overcrowding is small, flavorless fruit that drops early or splits in the heat. A little sacrifice now leads to bigger, juicier produce by harvest time.
Space tree fruit like peaches, apples, and plums about six inches apart along each branch. For tomatoes, focus on removing excess suckers and fruit clusters rather than following a fixed spacing rule.
Use clean scissors or your fingers to remove the smallest or most damaged fruit first. Always leave the largest, most well-positioned fruit to continue developing on the plant.
Thinning also improves air circulation around developing fruit, which reduces disease pressure. Fungal issues love crowded, humid conditions, so opening up space is a smart defensive move.
For tomatoes, removing suckers and extra fruit clusters keeps energy focused on fewer, better fruits. A plant trying to ripen twenty tomatoes at once does a worse job than one focused on ten.
Stone fruit trees like peaches benefit the most from aggressive thinning. Branches left overloaded with fruit can actually snap under the weight during summer storms.
Thinning is a simple act that pays huge dividends at harvest time. Take thirty minutes to walk your garden now and your future self will thank you when the fruit rolls in.
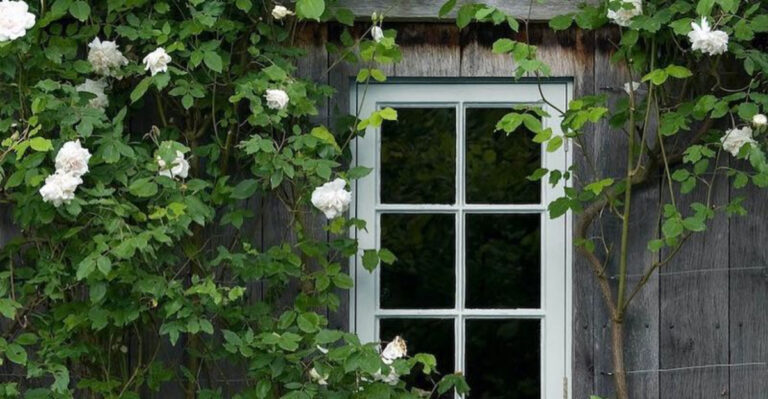
6. Feed Roses, Water Before And After

Roses are hungry plants, and summer feeding is what keeps them blooming through the heat. Skip fertilizing and you will notice fewer blooms, yellowing leaves, and weak new growth fast.
Always water your roses thoroughly before applying any fertilizer. Feeding dry roots can burn them and cause more harm than good, especially when soil temps are high.
Use a balanced rose fertilizer or a granular slow-release formula for steady nutrition. Apply it around the drip line of the plant, not right against the base of the canes.
After spreading fertilizer, water again to help it move down into the root zone. This second watering activates the nutrients and prevents them from sitting on the soil surface.
Repeat feeding every four to six weeks through late summer. Roses that get consistent nutrition push out fresh blooms in waves, giving you color well into fall.
Remove spent blooms at the same time you fertilize to encourage new flower production. Removing old blossoms signals the plant to keep producing rather than setting seed.
Watch for signs of nutrient deficiency like pale green or yellow leaves between the veins. These often indicate an iron or magnesium shortage that a targeted supplement can quickly fix.
Well-fed roses are showstoppers, and the effort is minimal compared to the reward. A little attention now keeps your rose beds looking lush and vibrant through every hot summer week ahead.
7. Scout New Growth For Aphids

Aphids are tiny, but they can weaken a healthy plant quickly if left unchecked. These soft-bodied insects cluster on tender new growth and suck out plant sap with impressive speed.
Check the undersides of leaves and the tips of new stems at least once a week. Early detection is the difference between a quick fix and a full-blown infestation.
Look for curled or distorted leaves, sticky residue on stems, or tiny pear-shaped bugs in clusters. Any of these signs means aphids have moved in and feeding has already begun.
A strong blast of water from a garden hose knocks most aphids off plants immediately. This simple trick works surprisingly well and does not harm beneficial insects nearby.
Neem oil spray is a reliable organic option for heavier infestations. Mix it with water and a drop of dish soap, then apply it in the evening to avoid burning foliage.
Ladybugs and lacewings are natural predators that eat aphids aggressively. Planting flowers like dill, fennel, or marigolds nearby attracts these helpful insects to your garden beds.
Avoid over-fertilizing with high-nitrogen products, as lush soft growth attracts aphids like a magnet. Balanced feeding keeps plants strong without producing the tender, weak tissue these pests prefer.
Staying on top of aphid scouting is a cornerstone of smart summer gardening. Catch them early, respond quickly, and your plants will stay strong all the way to fall harvest.
8. Skip Mowing When Lawns Are Wet

Mowing wet grass seems harmless, but it can cause more damage than expected. Wet blades clump together and tear unevenly instead of cutting cleanly, leaving ragged edges that stress the lawn.
Torn grass tips turn brown and become entry points for fungal disease. A clean cut heals fast, but a ragged tear stays vulnerable for days in humid summer conditions.
Wet clippings also clump under your mower deck and stick to the lawn surface. Those thick mats block sunlight and airflow, creating perfect conditions for mold and rot to develop.
Your mower experiences added strain when pushed through soggy turf. The engine works harder, blades dull faster, and wheels can sink in, leaving ruts that are tough to fix.
Compaction is another serious concern when mowing wet soil. Every pass of the mower presses soil particles tighter together, reducing oxygen flow to grass roots over time.
Wait until the lawn surface feels firm underfoot before mowing after rain. A simple test is to walk across the grass and check whether your shoes sink or stay on top.
If you must mow before the lawn fully dries, raise your mowing height by one notch. Taller grass handles stress better and recovers more quickly from imperfect cutting conditions.
Patience with your lawn pays off in a healthier, greener yard all summer long. Holding off for one more day after rain is a small sacrifice with a big payoff for summer gardening success.