Taking Hardwood Cuttings in November: The Free Propagation Method Experienced New York Gardeners Swear By
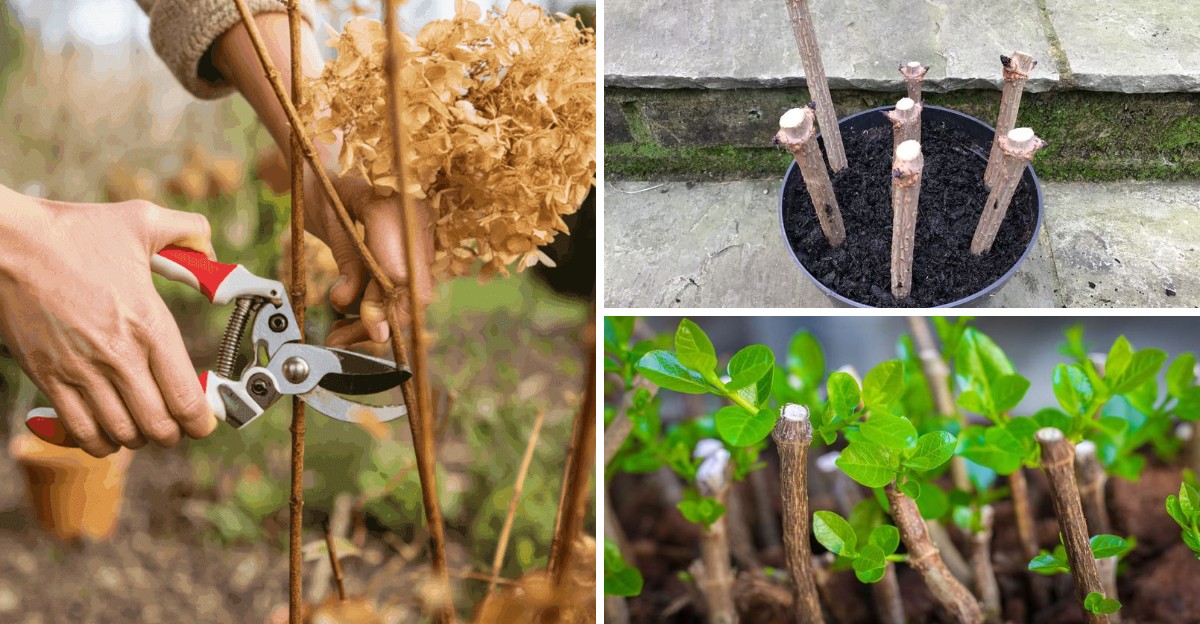
A bare stick pushed into cold November dirt can become a full shrub by the following fall. No seeds, no nursery bill, and no fancy gear required.
Funny thing is, I ignored this trick for years. I tossed perfectly good pruned twigs onto the brush pile every autumn. Looking back, I basically threw away dozens of free plants.
Those leafless stems are packed with stored food and water. They sit quietly through the winter, and the soil does most of the work. Even a New York cold snap rarely bothers them.
The new plant ends up as an exact copy of the parent. That means your favorite red-stemmed shrub or best-tasting currant bush can multiply.
So which twigs in your yard are secretly waiting for a second life?
Those Bare November Twigs Are Hiding a Big Secret
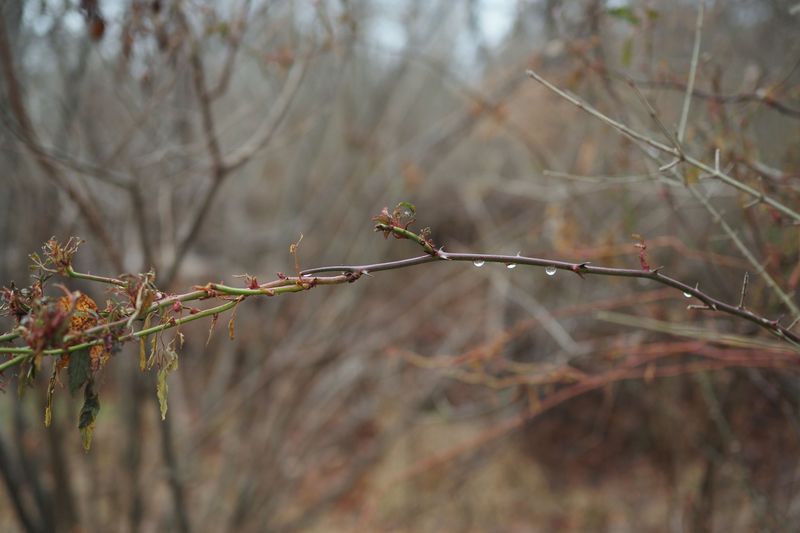
Most folks look at a bare shrub in November and see nothing but sticks. I see a stack of future plants.
Once the leaves drop, the plant goes dormant, and its stems hold onto a stash of stored sugars and water.
That stash is the secret. A hardwood cutting is a section of this year’s mature, woody growth, taken after leaf fall and before buds swell in spring.
With no leaves to feed, the cutting loses very little moisture, so it can sit in soil for months without wilting.
Softwood cuttings in summer need misting, shade, and plenty of babysitting. Hardwood cuttings ask for almost none of that.
They are tough, patient, and surprisingly forgiving if you forget about them for a few weeks.
Another perk makes this method special. Every cutting grows into a clone of the parent plant.
If your neighbor’s elderberry makes the best syrup on the block, a cutting gives you that exact same plant, not a gamble from seed.
Timing also works in your favor. Late fall is when many of us prune anyway, so the trimmings you would normally haul to the curb become raw material.
In my yard, one afternoon of pruning usually yields enough cuttings to share with half the street.
Wait for Leaf Drop and a Hard Freeze Before You Grab the Pruners
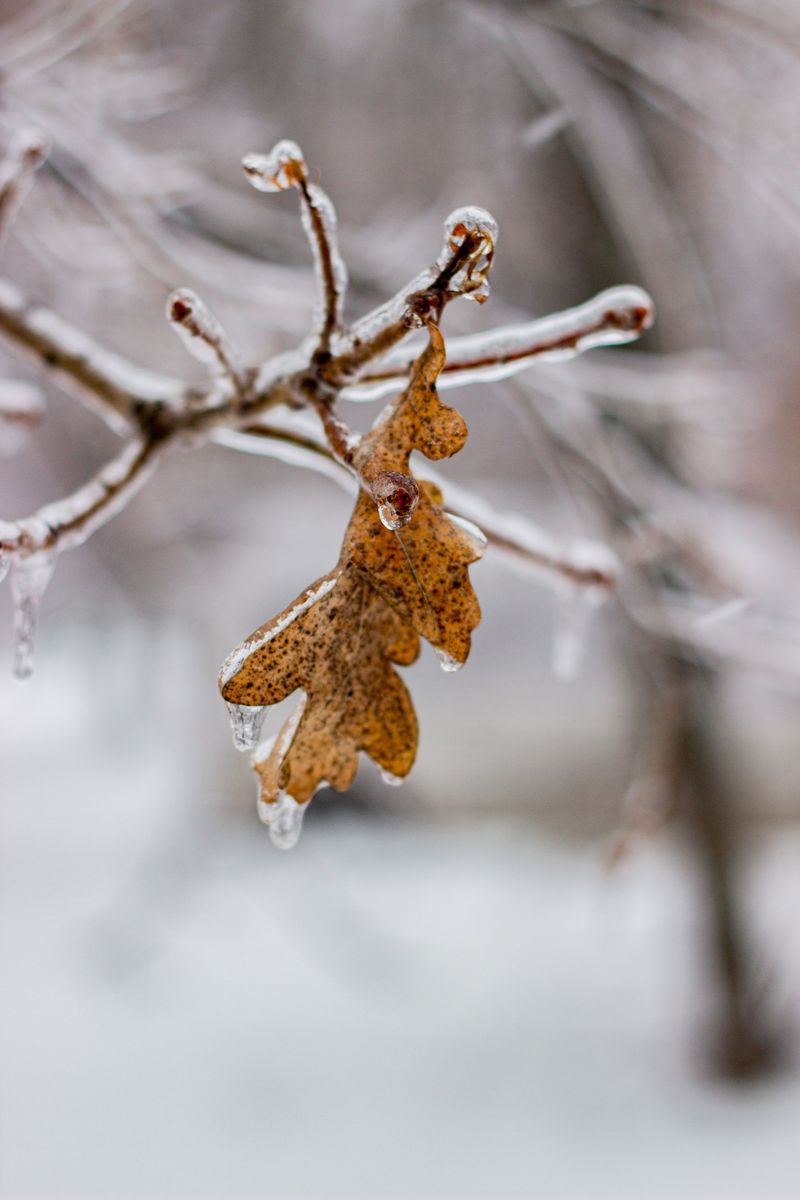
Patience pays off before you even make the first cut. The sweet spot arrives after the leaves have fallen and the plant has settled into true dormancy.
Many growers like to wait until after a hard freeze, when temperatures dip below about 28°F for a few hours.
Across New York, that window shifts quite a bit. Gardeners in the Adirondacks or Tug Hill region might see it in late October.
Folks on Long Island or in New York City often get their chance in mid to late November.
Morning is the best time of day to collect stems. Plants are fully hydrated after a cool night, so the cuttings start out plump instead of thirsty.
Try to cut on a day when the wood is not frozen solid, since brittle stems can crack.
Before the ground locks up with deep frost, aim to have outdoor cuttings planted. A spade that bounces off frozen soil is a clear sign you waited a bit too long.
If that happens, you still have options, which come up later.
Take it from someone who rushed it once. Cuttings taken while leaves were still clinging on flopped badly for me.
A couple more weeks of waiting turned the next batch into a success story.
A Pencil-Thick Stem Makes the Perfect Cutting
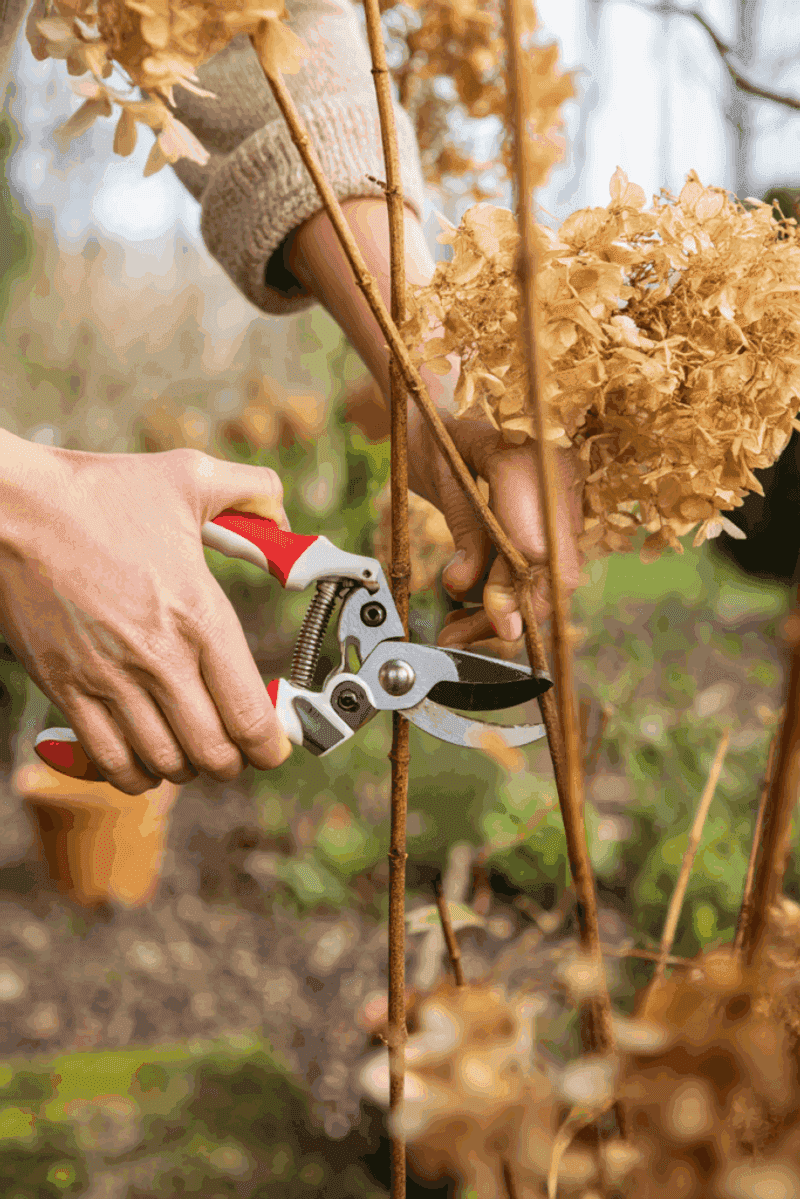
Here comes the hands-on part, and it is easier than slicing bread. Look for healthy shoots from this year’s growth that are roughly as thick as a pencil.
Skip the skinny, weak, or spotted stems, plus any covered in fat flower buds.
Grab clean, sharp pruners, since ragged cuts and dirty blades invite disease. Snip a long stem, then divide it into pieces about 6 to 12 inches long.
Each piece should carry at least three to five nodes, the little bumps where leaves once grew.
A simple trick keeps you from planting upside down. Make the bottom cut straight across, just below a node, because that spot is loaded with rooting cells.
Make the top cut at a slant just above a node, so rain runs off and you can tell top from bottom at a glance.
Some gardeners scrape a thin sliver of bark off the bottom inch to encourage roots. Rooting hormone made for hardwood cuttings can speed things along, though many easy shrubs root fine without it.
A homemade willow water soak is a fun natural option too.
Not ready to plant yet? Wrap the cuttings in damp paper towels inside a plastic bag and keep them cool.
Red-Twig Dogwood, Currants, and Other Shrubs That Root Like Champs
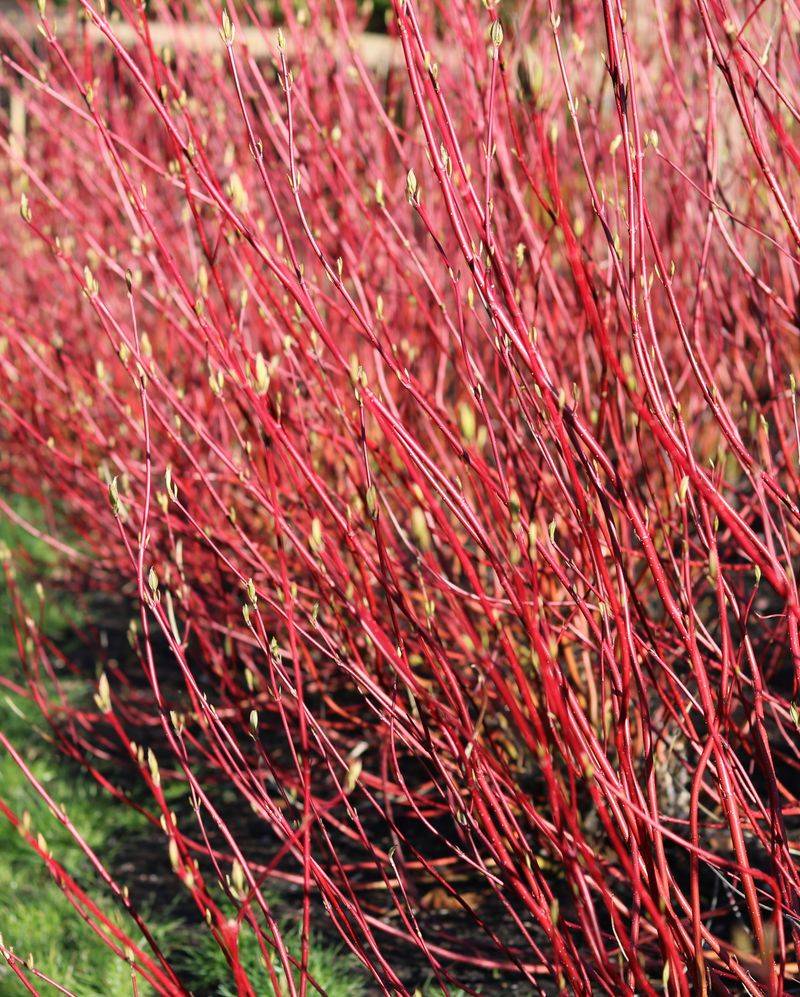
Some plants practically beg to be propagated this way. Willows top the list, rooting so eagerly that a stick shoved into damp ground often sprouts.
Red-twig dogwood comes close behind, and those glowing red stems look gorgeous against winter snow.
Fruit lovers have plenty to celebrate. Blackcurrants, redcurrants, gooseberries, grapes, and elderberries all respond well.
Figs and blueberries can work too, though blueberries tend to be fussier and slower.
Flowering shrubs give you even more choices. Forsythia, weigela, spirea, mock orange, many viburnums, and plenty of shrub roses take root nicely.
Panicle and smooth hydrangeas are worth a try as well.
A quick word of caution keeps your garden responsible. Avoid propagating invasive plants such as Japanese honeysuckle, privet, burning bush, or standard butterfly bush.
New York regulates certain invasive species, so stick with natives or sterile, non-invasive cultivars.
Native shrubs deserve a special shout-out. Red osier dogwood, elderberry, and many viburnums support local birds and pollinators while rooting easily.
If you ask me, filling a hedge with free native shrubs is about as satisfying as gardening gets.
Also check plant patents before sharing widely. Many newer named varieties are protected, so propagating them for sale is not allowed.
A Simple Garden Trench Does Most of the Rooting Work
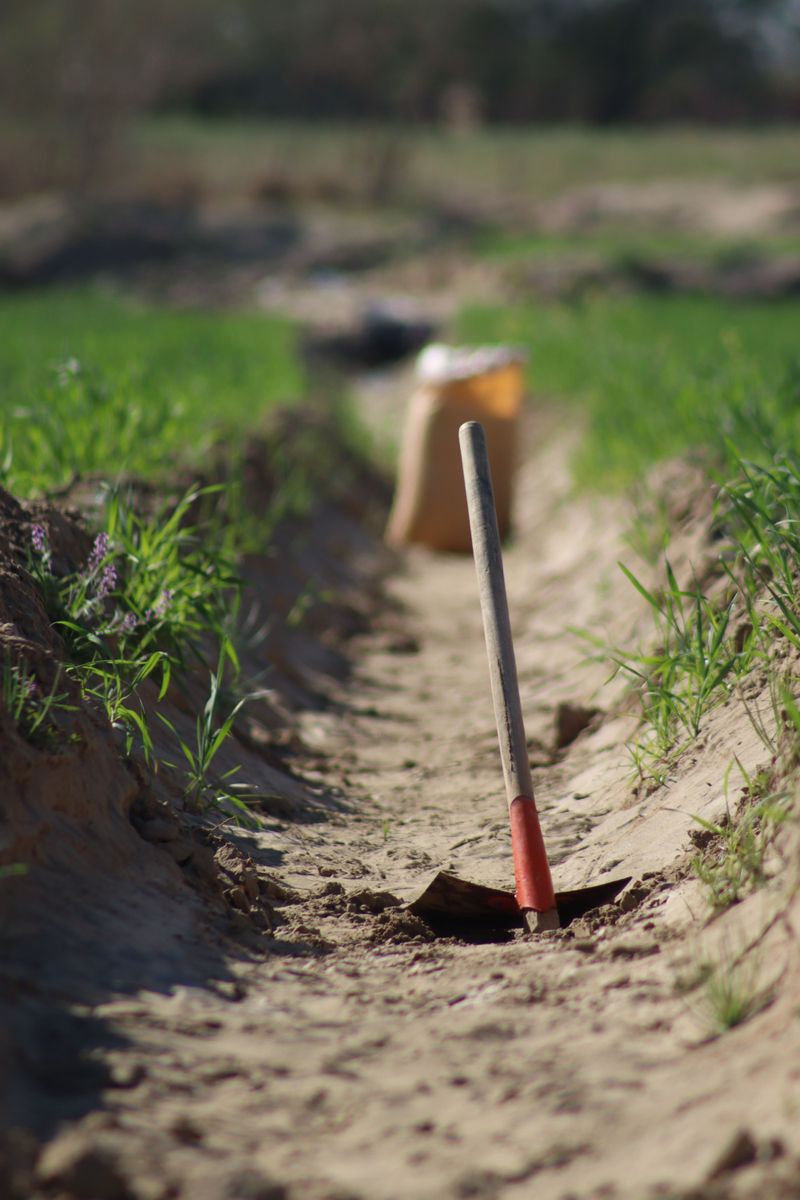
Old-timers often skip pots altogether and plant straight into the ground. It is low-tech, cheap, and surprisingly reliable.
All you need is a spade and a sheltered spot with decent drainage.
Push your spade into the soil and rock it back and forth to make a narrow slit trench. If your yard has heavy clay, which is common in parts of upstate New York, sprinkle some sand or grit into the bottom.
That little layer helps keep the base of each cutting from sitting in soggy muck.
Slide the cuttings in about two-thirds deep, straight end down. Space them roughly 4 to 6 inches apart, with one or two buds peeking above the surface.
Firm the soil snugly around each stem with your boot so there are no air gaps.
Give the row a good soaking right after planting. After that, nature usually handles watering through late fall and winter.
Snow cover even acts like a cozy blanket.
Pick a spot you will not disturb in spring. A quiet corner of a vegetable bed or along a fence works well.
Mark the row with a label, because a line of bare sticks is easy to forget by April.
Deep Pots and a Cold Frame Give Small Yards a Fighting Chance
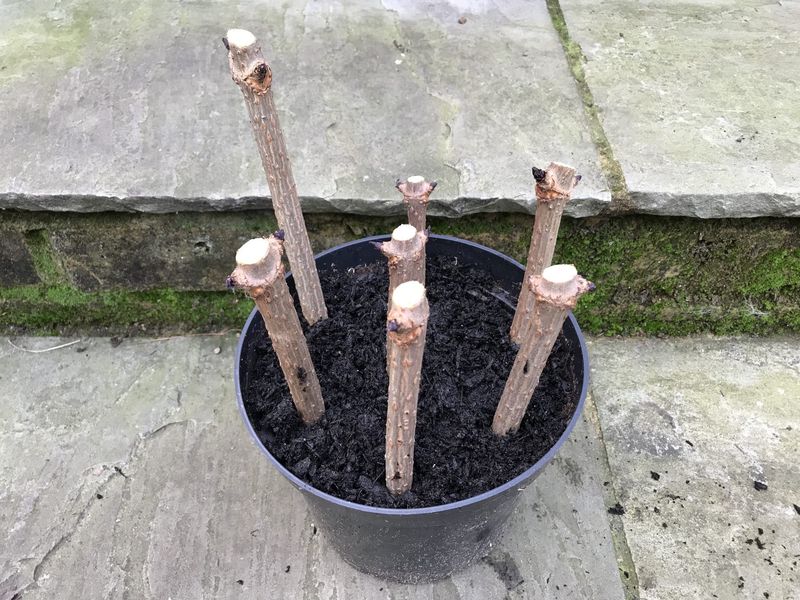
No open ground to spare? Containers work beautifully, especially for apartment patios and tiny city lots.
Choose deep pots with drainage holes, since roots like room to stretch downward.
Fill them with a gritty, free-draining mix. Equal parts multipurpose compost and coarse sand or grit is a classic recipe.
The goal is soil that stays moist without turning swampy, because soggy mix leads to rot faster than cold ever will.
Tuck several cuttings around the edge of each pot. Roots seem to form a little faster near the sides, and you can fit five or six in one container.
Leave a couple of buds above the surface.
Pots dry out and freeze harder than garden soil, so placement matters. A cold frame or unheated greenhouse is ideal.
An unheated garage with some light or a spot against a north-facing wall can also work.
Let’s just say I learned this one the hard way. My first potted batch sat in a windy spot and the mix dried out in a January thaw.
Now I check pots every couple of weeks and give them a drink whenever the top inch feels dry.
Those First Spring Leaves Can Fool You About the Roots
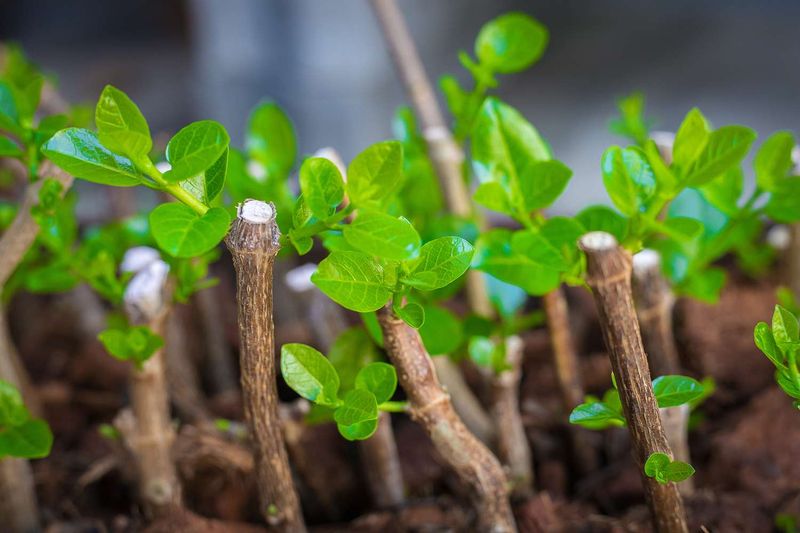
Spring arrives, buds swell, and tiny green leaves pop out. It feels like victory.
Hold the celebration for a bit, though, because leaves can show up before many roots have formed.
Cuttings often push out early shoots using stored energy alone. If the soil dries out during a warm spell, those eager leaves can wilt and the cutting may fail.
Keep the soil evenly moist through spring and especially during summer dry stretches.
A gentle tug offers a useful clue. If the cutting resists, roots are holding on.
If it slides right out, tuck it back in carefully and give it more time.
For potted cuttings, peek at the drainage holes. White roots poking out the bottom mean things are going well.
Pull weeds around in-ground cuttings, since they steal water and light from your young plants.
Not every stick will make it, and that is normal. Even experienced growers expect some losses, which is why taking extra cuttings makes sense.
Easy plants like willow and currant might succeed nearly every time, while trickier shrubs may root only a portion of the batch.
Patience is the main ingredient here. Most cuttings need several months to a full year to build a sturdy root system.
Moving Your Rooted Shrubs Next Fall Completes the Free Plant Cycle
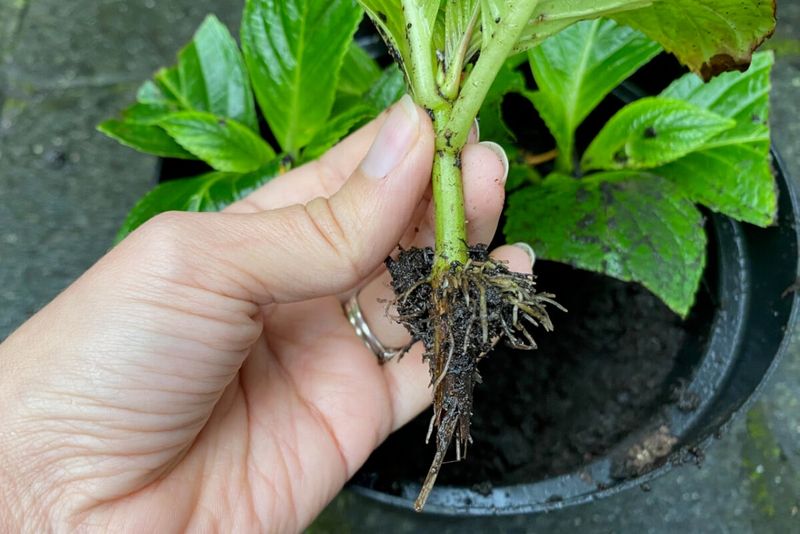
A full year after you snipped those twigs, you get the payoff. By the following fall, most cuttings have built enough roots to move into their permanent homes.
Autumn transplanting gives them cool weather and steady moisture to settle in before winter.
Dig each young plant carefully, keeping as much soil around the roots as you can. Potted cuttings are even easier to move.
Gradually expose any plants raised in a cold frame to outdoor conditions for a week or two first.
Plant them at the same depth they grew before, then water deeply. A layer of shredded leaves or wood chip mulch helps hold moisture and protects young roots from freeze-thaw heaving.
Keep mulch a few inches away from the stems.
Here is where the real fun starts. You might have enough plants for a new hedge, a privacy screen, or a row of berry bushes.
Extra ones make wonderful gifts for neighbors, garden clubs, and plant swaps.
My garden taught me that this method becomes a habit. Each November, I prune, sort the best stems, and plant a fresh row.
In a few seasons, a single favorite shrub can quietly fill your yard at no cost at all.