8 Things New York Hydrangeas Need Before The Ground Freezes To Bloom Bigger Next Year
Next summer’s flowers on my favorite blue shrub are already hiding inside its brown stems right now. Those tiny buds quietly formed back in late summer, long before most of us started thinking about winter.
Across New York, the first fall frost can land anywhere from mid-September in the mountains to November. That wide window means your shrubs could face a hard freeze weeks earlier than ones downstate in Brooklyn.
I learned the hard way that one lazy October can quietly erase a whole summer of big blooms. My upstate New York shrub came back leafy the next June, without a single flower to show off.
Truth is, a few simple chores before the soil turns rock hard can make all the difference next season. So which of those chores matters most, and which popular habit is secretly working against you?
1. Deep Drinks For Hydrangea Roots Before The Freeze
Thirsty roots freeze harder than well-watered ones, which surprised me the first time I read about it. Moist soil actually holds heat better than dry soil, so a good soaking helps buffer cold snaps.
Hydrangeas got their name from the Greek words for water vessel, and honestly, the name fits perfectly. Their big leaves lose moisture fast, and stems keep losing a little water even through the winter months.
Dry autumn winds can pull moisture from branches while frozen ground blocks the roots from refilling them. That combination leads to brown, brittle stem tips, and on old-wood types, those tips hold next year’s flowers.
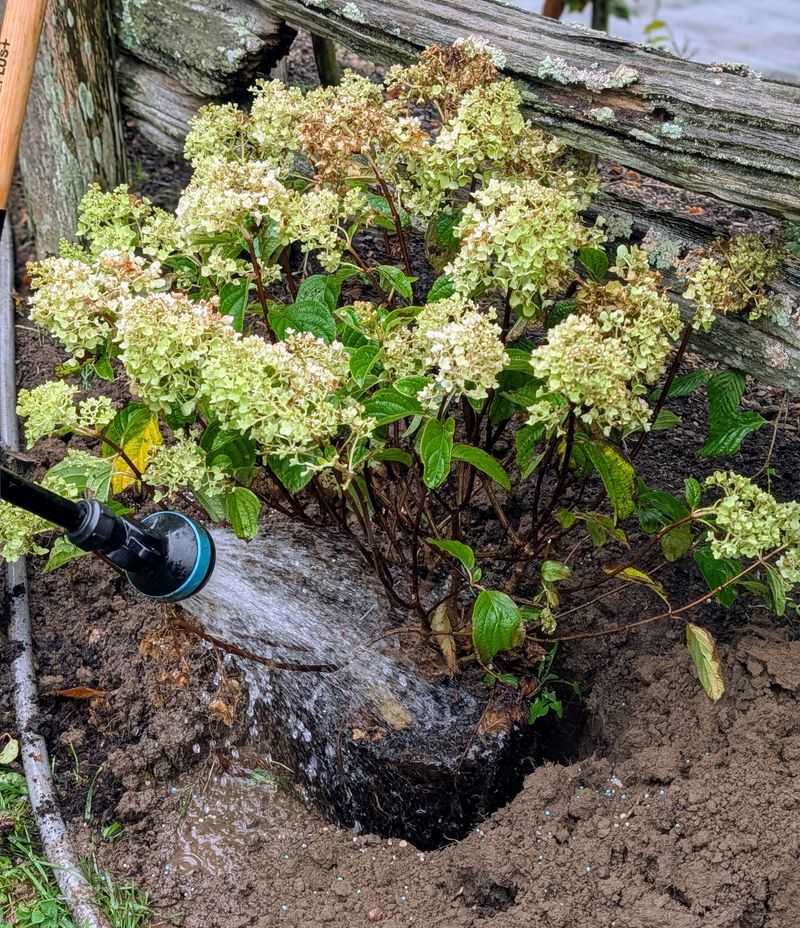
My rule is simple: I keep watering deeply whenever rain skips a week, right up until the soil hardens. Aim for roughly an inch of water each week, delivered slowly so it soaks down instead of running off.
A soaker hose or a slow trickle from a garden hose works better than a quick sprinkle. Push your finger a few inches into the soil, and water again if it feels dry down there.
Morning is the best time to water in fall, since chilly nights can freeze puddles around the stems. Skip watering when temperatures are already dropping below freezing, because the soil simply cannot absorb it then.
Container hydrangeas need extra attention, since pots dry out faster than garden beds do in breezy weather. I check mine every few days in late fall, and they reward me with healthier buds come June.
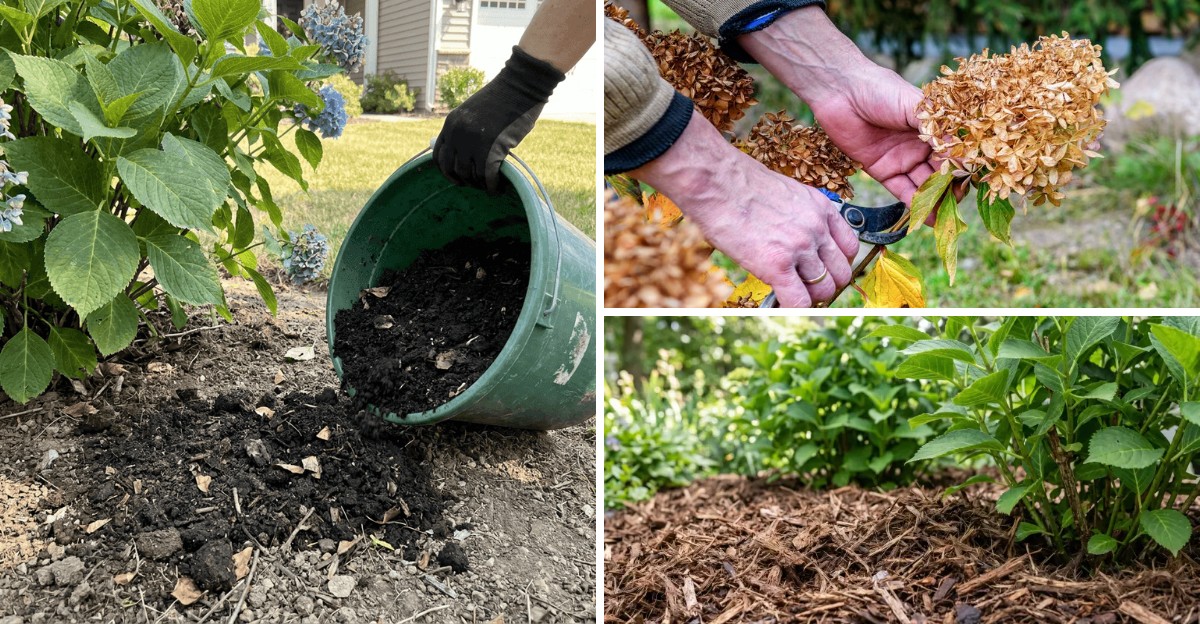
2. A Thick Mulch Blanket Around Hydrangea Roots
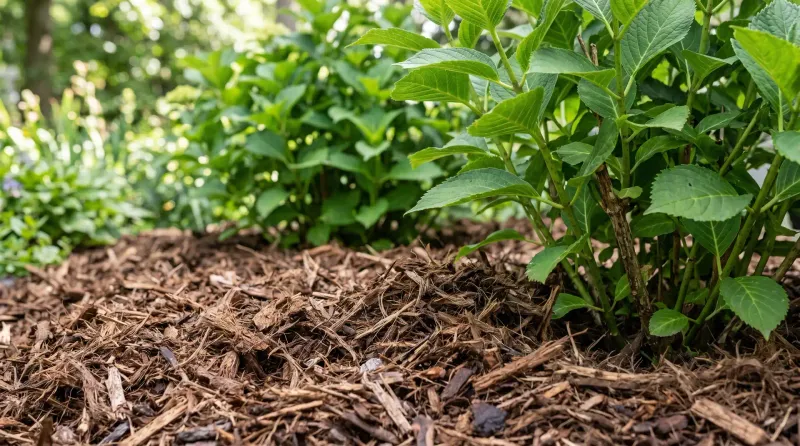
Soil that freezes and thaws over and over can actually heave shallow roots right up out of the ground. A fluffy mulch layer keeps the temperature steadier, so your shrub sleeps soundly instead of tossing and turning.
Extension experts, including those at Cornell, recommend organic mulch for woody shrubs, and hydrangeas benefit from it too. Their roots spread wide but stay fairly shallow, which leaves them exposed when bare soil turns icy.
Shredded leaves are my favorite choice, mostly because my maple drops a free supply every single October. Pine needles or shredded bark also work well, so grab whatever is cheap and easy to find.
Spread the layer somewhere between two and four inches deep for most gardens, going thicker in colder spots. Gardeners up in the chilly Adirondack region often pile it even higher, especially around tender bigleaf varieties.
Keep the mulch a few inches away from the main stems, like a donut rather than a volcano. Mulch piled against bark traps moisture, which invites rot and gives hungry voles a cozy hiding spot.
Timing matters too, so spread it after a few hard frosts but before the ground locks up solid. Mulching too early can keep soil warm and slow the plant from settling into its winter rest.
Come spring, you can pull some mulch back to help the soil warm up as buds start swelling. Leave the rest in place, since it slowly breaks down and feeds the soil all season long.
3. Put The Fertilizer Bag Away Until Spring
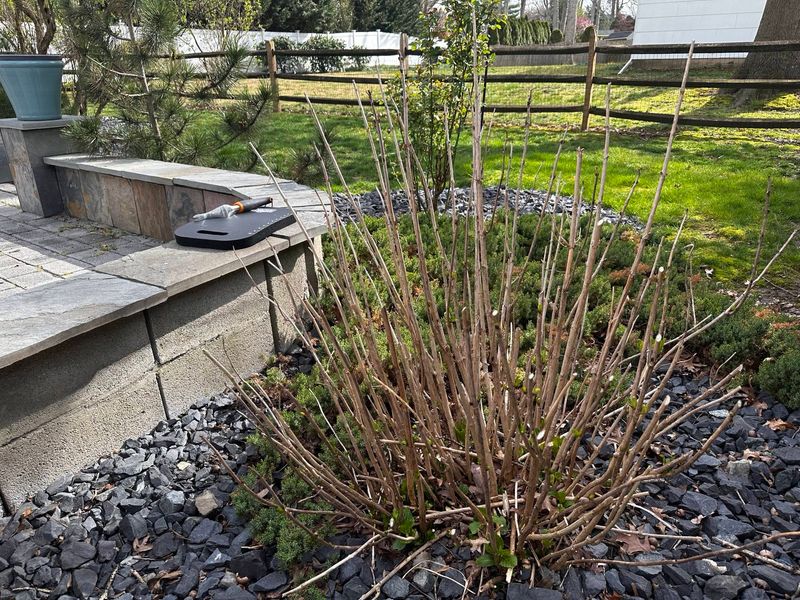
Feeding a hydrangea in October is like handing a toddler a candy bar right before bedtime. The plant gets a burst of energy at exactly the wrong moment, and the results are rarely pretty.
Nitrogen pushes soft, leafy growth, and that tender growth has no time to toughen up before frost arrives. When the cold hits, those fresh shoots turn mushy and brown, wasting energy the plant needed elsewhere.
Most experts suggest stopping all fertilizer by early or mid-August, and some gardeners quit even sooner in July. That pause gives the shrub several weeks to slow down and harden its stems naturally before winter.
I’m the first to admit I used to sprinkle plant food around everything during my fall cleanup routine. My bigleaf hydrangea responded with floppy new shoots that froze in November, and the next summer was disappointing.
Watch out for lawn fertilizer drifting into your flower beds, since many fall lawn blends are heavy on nitrogen. A quick sweep of the spreader edge keeps those granules where they belong, on the grass instead.
Hydrangeas actually prefer a lighter touch overall, and too much nitrogen can mean lots of leaves with fewer flowers. A soil test from your local Cornell Cooperative Extension office can show what your beds truly need.
Save any feeding plans for spring, when new leaves start unfolding and the plant can use the nutrients well. Until then, let your shrub rest quietly, because a hungry-looking plant in fall is perfectly normal.
4. Hold The Pruners On Bigleaf And Oakleaf Hydrangeas
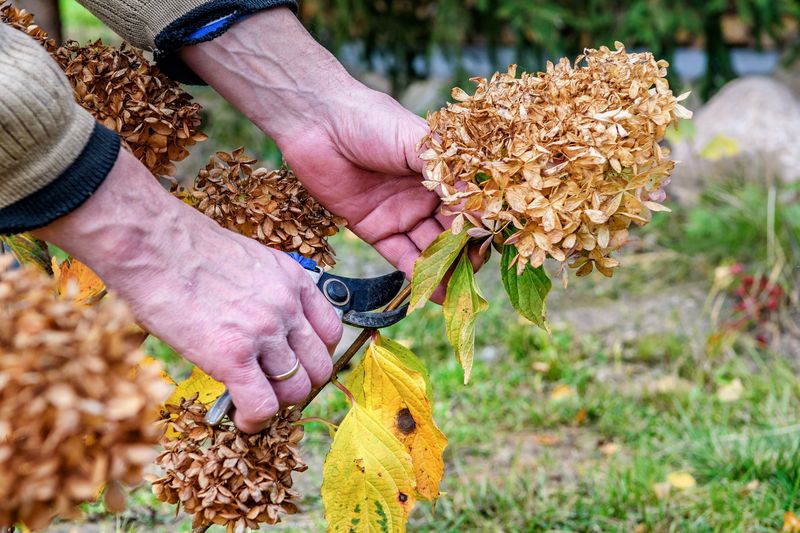
Those plump little buds at the tips of your bigleaf hydrangea stems are next summer’s flowers, already packed and waiting. Snip them off in fall, and you might enjoy a lovely green shrub with almost no blooms at all.
Bigleaf and oakleaf hydrangeas bloom on old wood, meaning last year’s stems carry the coming season’s flower buds. Mountain hydrangea, known as Hydrangea serrata, follows the same pattern, so those shrubs deserve the same gentle treatment.
Smooth hydrangea and panicle hydrangea play by different rules, since they bloom on stems that grow each spring. Popular picks like Annabelle and Limelight fall into this group, so pruning them later costs you no flowers.
Not going to lie, I once gave my mophead a tidy fall haircut and felt very proud of myself. The following July, my neighbors had blue clouds of blossoms while mine offered nothing but plain leaves.
For old-wood types, limit fall work to removing broken branches or stems that are clearly brown and brittle. Wait until spring leaves appear before trimming anything else, since that shows you exactly which stems survived.
New-wood types can be cut back after they go dormant in late fall, or in early spring instead. Many gardeners prefer spring pruning anyway, because the dried flower heads look charming poking through the snow.
If you are unsure which type you own, check the original plant tag or ask a local nursery. Knowing the answer before you grab the pruners is probably the single biggest step toward bigger blooms.
5. Burlap Wraps For Tender Bigleaf Hydrangeas
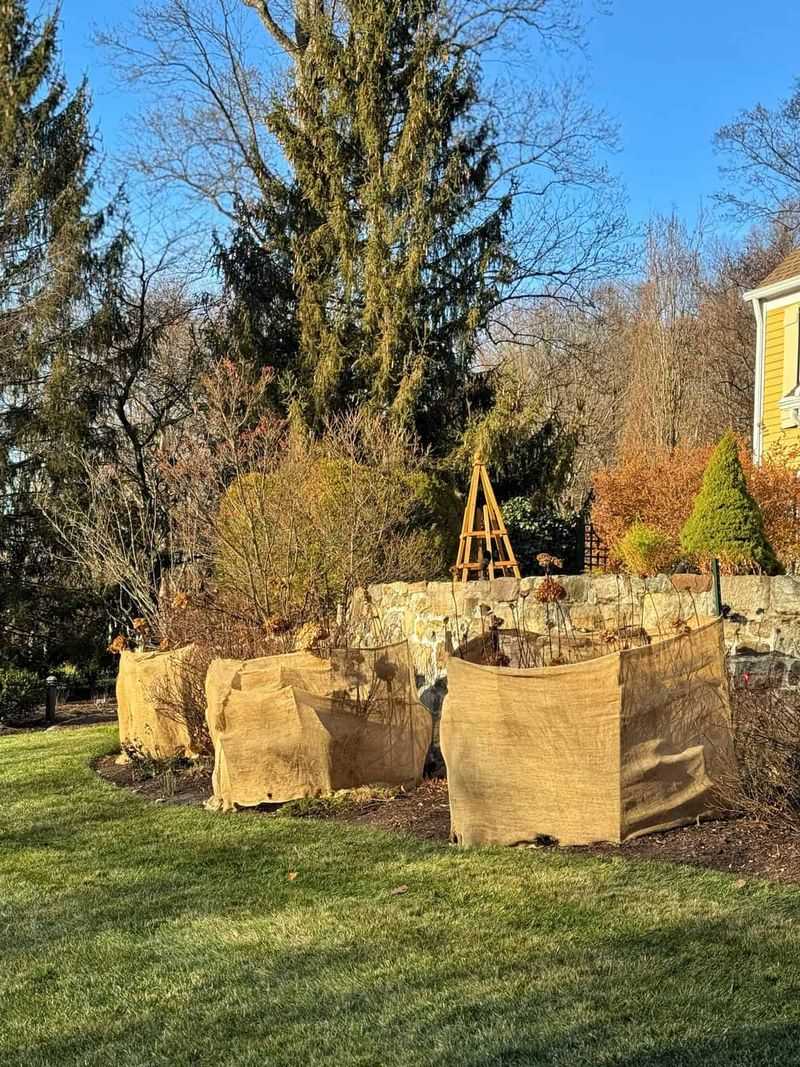
Bigleaf hydrangea flower buds are surprisingly fragile, and many varieties lose them when temperatures sink near zero. The roots often survive just fine, but the buds sitting high on the stems take the full blast.
That is why so many upstate gardeners end up with healthy shrubs that refuse to flower year after year. The plant itself is hardy enough, yet the winter keeps nipping off its most precious parts.
Building a simple cage is my favorite fix, and it takes surprisingly little time to set up. Push four stakes around the shrub, then wrap burlap or chicken wire around the stakes to form a loose enclosure.
Fill the space inside with dry shredded leaves, which trap air and act like a puffy winter coat. Oak leaves work especially well because they resist matting down into a soggy, heavy mess.
Avoid plastic wraps, since they trap moisture and heat on sunny days, which can actually harm the stems. Breathable materials like burlap or frost cloth let air move while still blocking those harsh, drying winter winds.
Panicle and smooth hydrangeas rarely need this fuss, since they are much hardier and bloom on new growth. Save your effort for bigleaf and mountain types, especially in colder zones or exposed, windy spots.
Wait until after several hard frosts to wrap, so the plant has time to settle fully into dormancy. Then remove everything gradually in spring once the worst cold passes, usually around the time forsythia blooms.
6. Raking Up Spotted Hydrangea Leaves
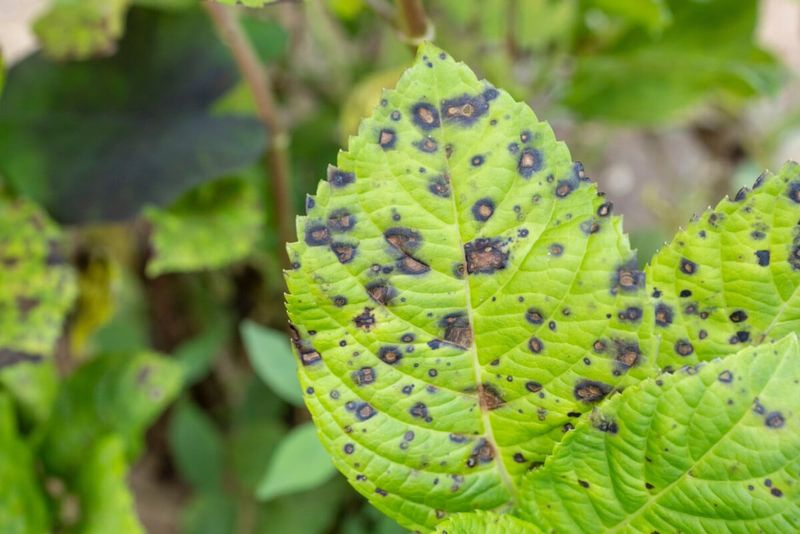
Those brown speckles you spotted on hydrangea leaves last summer did not simply vanish when the leaves dropped. Many leaf spot fungi spend the winter right on that fallen foliage, waiting patiently for warm spring rain.
When spring showers splash, spores bounce from the old leaves onto fresh new growth, and the cycle starts again. Raking up that infected debris now breaks the chain and gives next year’s leaves a cleaner start.
Cercospora leaf spot is one of the most common culprits on bigleaf hydrangeas in humid Northeast summers. Powdery mildew also shows up often, especially on plants crowded together with poor air movement between them.
Guilty as charged, I used to leave everything lying in place and call it natural mulch for the winter. My hydrangeas looked spotty by every August until I finally started cleaning up the diseased leaves each fall.
Bag the infected leaves or send them out with yard waste instead of tossing them into your home compost. Most backyard piles do not get hot enough to reliably break down those stubborn fungal spores.
Healthy leaves without spots are a different story, and they can make wonderful mulch once you shred them. If you have any doubts about their health, bag them instead of using them as mulch.
Clean your pruners with a household disinfectant before and after trimming, especially after cutting any spotted or sickly stems. That simple habit keeps you from carrying fungal problems from one shrub to the next around your yard.
7. Crumbly Compost Spread Under Hydrangea Shrubs
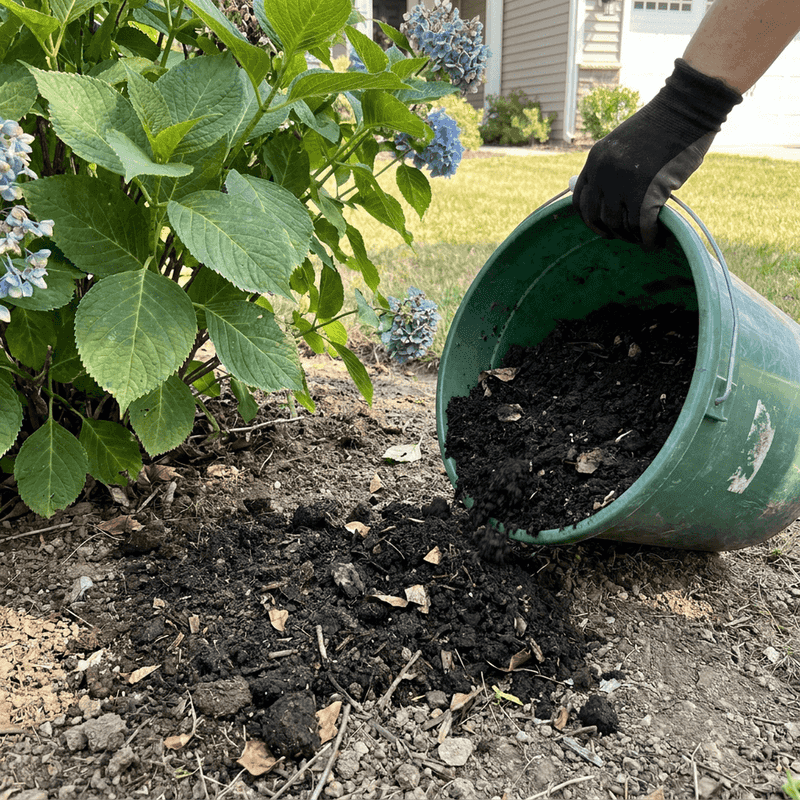
Compost works like a slow-release snack for your soil, feeding earthworms and helpful microbes all winter long. By spring, those tiny workers have turned it into nutrients your hydrangea roots can actually use.
Unlike synthetic fertilizer, finished compost releases its nutrients gradually, so it does not push risky new growth in fall. That gentle pace makes it a much safer choice for late-season soil care around your shrubs.
Spread about an inch of well-aged compost over the root zone, extending out toward the edges of the branches. Keep it away from the stems, just like mulch, so the bark stays dry and healthy.
In colder parts of New York, some gardeners wait until the soil starts freezing before adding their compost layer. That timing means the shrub is fully dormant and will not respond with any unwanted fresh growth.
I’m a sucker for homemade compost, and my hydrangeas seem to agree, judging by their sturdy spring stems. If you buy bagged compost, look for products that smell earthy and look dark and crumbly, not slimy.
Compost also improves soil structure, helping heavy clay drain better and helping sandy soil hold onto moisture longer. Hydrangeas love that balance, since they want steady moisture without sitting in soggy ground for days on end.
Fun fact for blue flower fans, compost can gradually nudge soil pH toward neutral over several years. That shift may soften colors slightly, so test your soil if you want to keep those blooms deeply blue.
8. Dried Hydrangea Flower Heads Left On The Stems
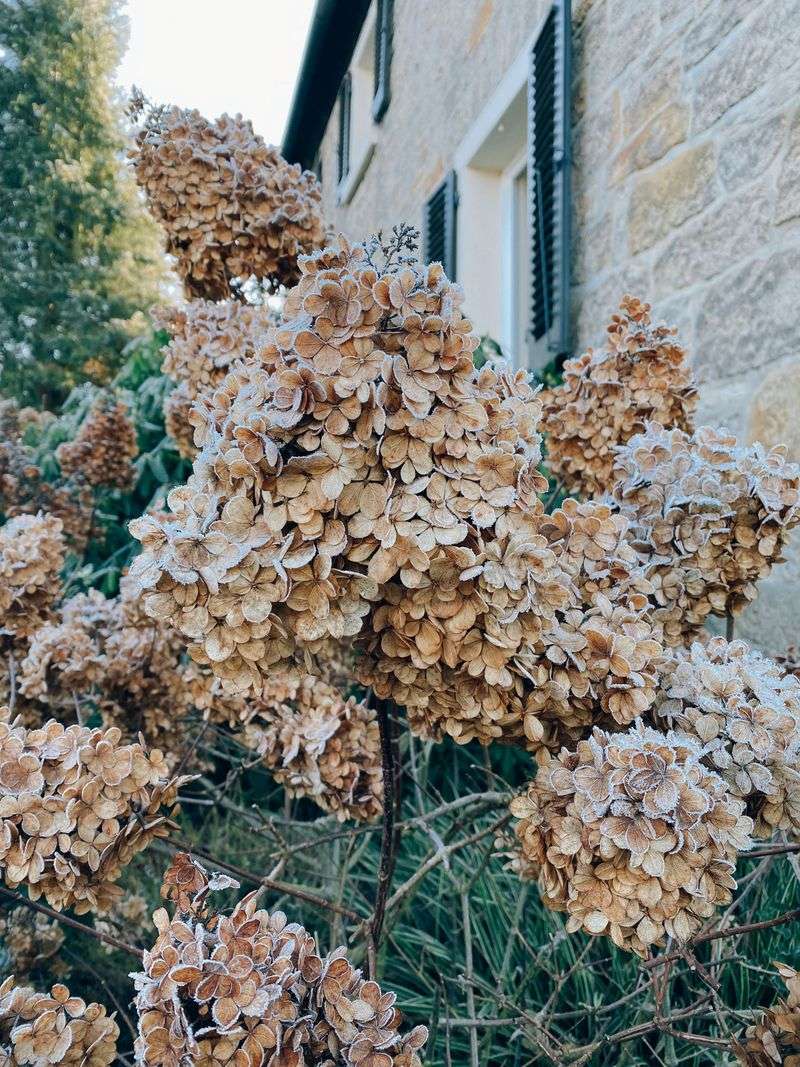
Papery hydrangea flower heads turning tan and rose in the autumn chill might be the prettiest part of the season. Leaving them on through winter is also one of the easiest jobs on this list, since it requires nothing.
On old-wood types, the dried flowers sit just above the buds that will open next summer. Many gardeners believe those heads offer a bit of shelter from wind and snow, though the protection is probably modest.
Honestly, the research on this is thin, so I treat it as a small bonus rather than a guarantee. The bigger benefit is that leaving them prevents you from accidentally snipping off buds during a fall cleanup frenzy.
Here’s what gets me, those frosty flower heads look stunning dusted with snow against a gray January sky. They catch the light beautifully and give your yard something interesting to look at during the bleakest months.
Panicle hydrangeas hold their dried blooms especially well, and their cone shapes stand tall above deep snow. Oakleaf hydrangeas pair those faded flowers with peeling cinnamon bark, which looks lovely once the leaves finally drop.
Heavy wet snow can occasionally bend stems loaded with large flower heads, especially on smooth hydrangea varieties. If branches start sagging badly, gently brush the snow off with a broom instead of shaking the shrub.
When spring arrives, snip off the old heads just above the first set of plump, healthy buds. Your shrub will look fresh and tidy again, ready to put all that saved energy into bigger blooms.