The English Ivy Removal Mistake That Makes It Spread Faster Through Oregon Yards
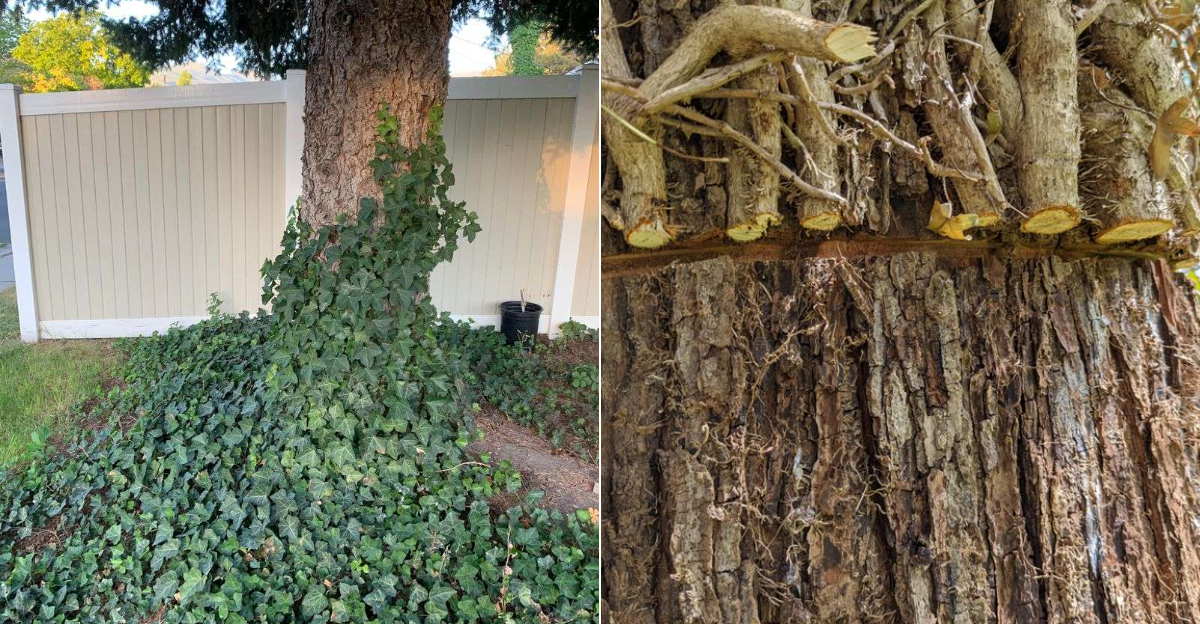
English ivy is not just climbing through Oregon yards. It is networking.
One rushed removal job can turn a contained mess into a bigger, faster-spreading problem. That is the part that makes this vine so maddening.
You feel productive, the yard looks better for a minute, and then the ivy comes back like it took the cleanup personally. The mistake often seems harmless while you are doing it.
It may even feel like the obvious move. But ivy loves shortcuts, loose ends, and any chance to restart where you least expect it.
Before you pull, cut, or haul anything away, it helps to know why this plant keeps winning. A smarter approach can save your fence, trees, beds, and patience next season.
1. Yanking Ivy Too Fast
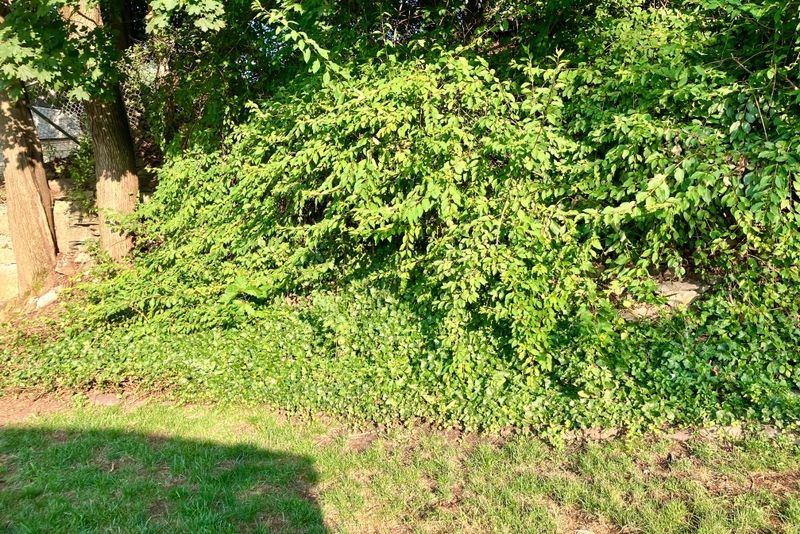
Speed feels like progress, but when it comes to ivy, going fast is one of the worst things you can do. Many people grab a handful of vines and yank hard, hoping to pull out as much as possible in one shot.
What actually happens is the stems snap, roots stay in the ground, and tiny pieces of vine scatter across the soil.
Each one of those scattered pieces is a potential new plant. Ivy stems can root from almost any node, which is the small bump along the vine where leaves grow.
When you yank fast, you are basically breaking the plant into dozens of little starters and spreading them around your yard.
Slow and steady is the right approach here. Get close to the base of each stem and pull gently, working your way along the vine.
Use a hand trowel or weeding fork to loosen the soil first. This helps the roots slide out instead of snapping off underground.
Wearing gloves is a must since ivy sap can irritate skin. Take breaks often so you stay focused and do not rush.
Rushing is what leads to broken stems and scattered pieces. Think of it less like weeding and more like untangling a knot.
The more patient you are, the cleaner your removal will be, and the less likely you are to accidentally help the ivy spread to new spots in your yard.
2. Rooted Nodes Keep Growing After Pulling
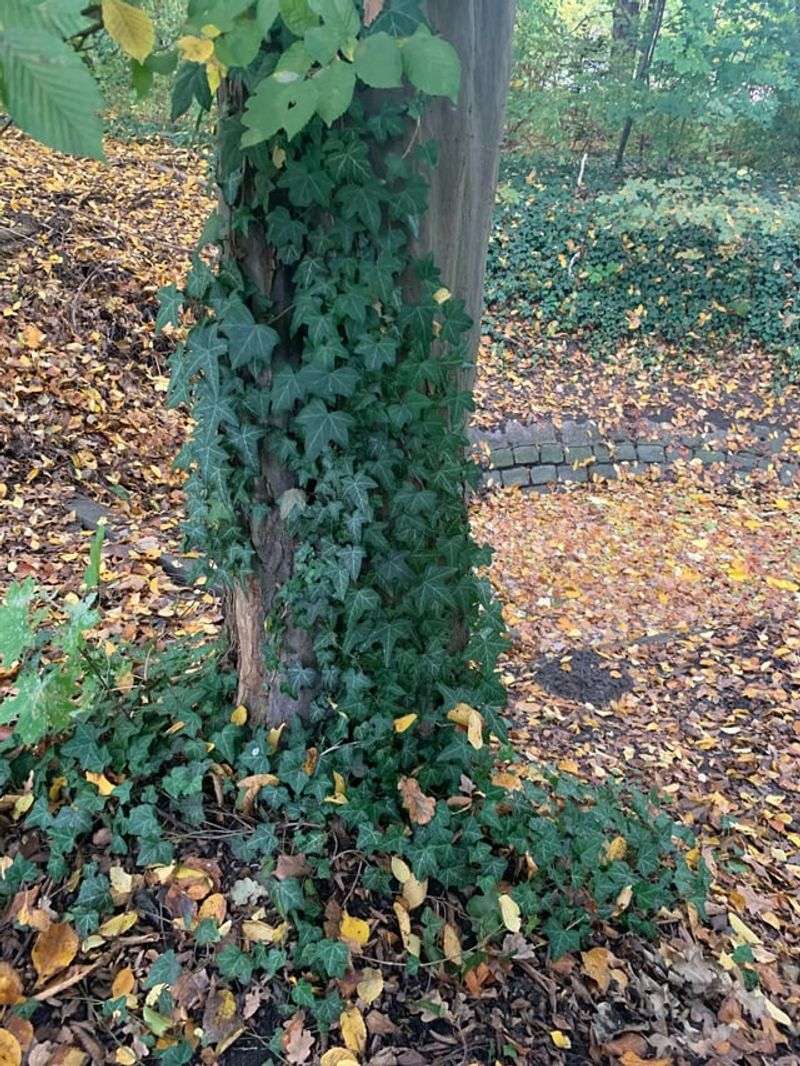
Most people assume that once a vine is pulled up, the job is done. But ivy does not work that way.
Along every stem, there are small bumps called nodes. These nodes are where leaves attach, and they are also where new roots can form.
Even if you pull the main vine out cleanly, any node left touching soil can start rooting within days.
This is one of the sneakiest ways ivy comes back. You think you removed a section, but a small piece with a node got left behind under a leaf or tucked against a rock.
A few weeks later, a fresh green shoot appears in the same spot, and the cycle starts again.
After pulling vines, do a slow walk of the area and look for any leftover pieces. Even short sections just an inch or two long can survive if they have a node.
Your Oregon Garden Changes Every Week. Your Plan Should Too.
Gardening in Oregon changes quickly throughout the season. Every Friday you’ll receive a simple weekly plan showing exactly what to plant, prune, fertilize, harvest, and protect so you never miss the right timing.
Pick them all up and bag them right away. Do not leave pulled pieces sitting on the soil surface.
Running your fingers lightly through the top layer of soil can help you find buried nodes you might have missed. Some Oregon gardeners use a rake to comb the area after pulling.
It only takes a few extra minutes, but it makes a big difference. Rooted nodes are the main reason ivy seems to come back out of nowhere, so treating every leftover piece as a threat is the right mindset to have.
3. Snapped Vines Can Stay Alive In Soil
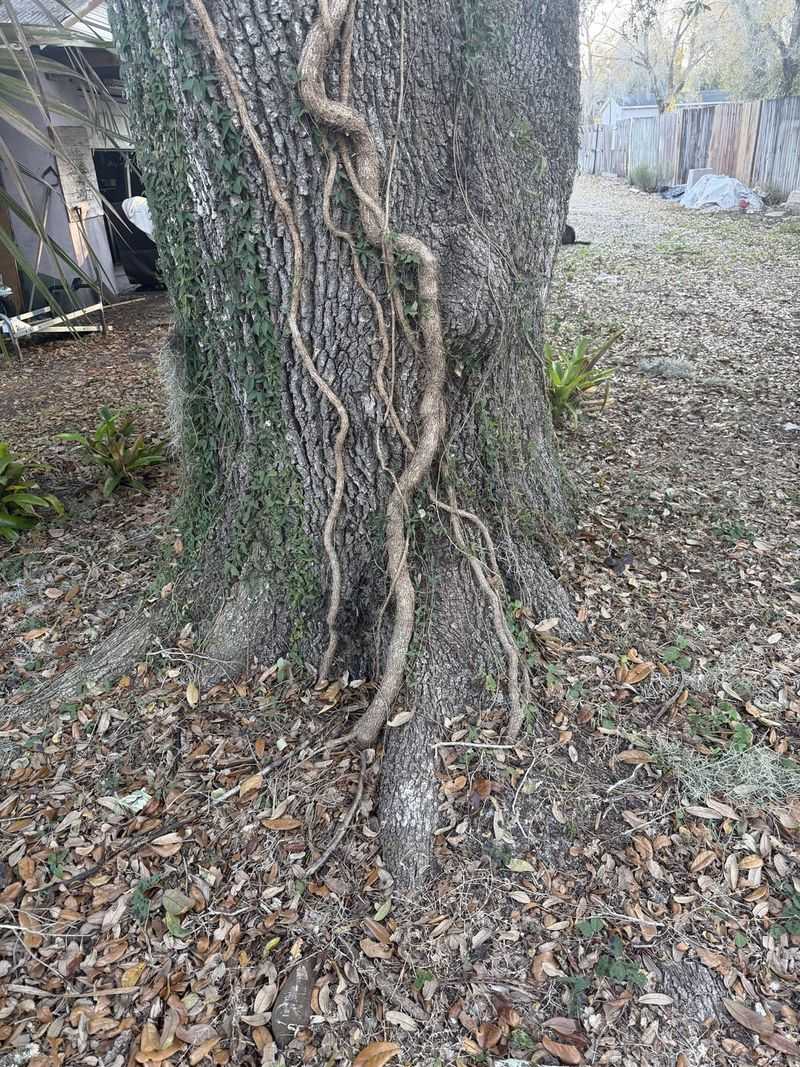
Here is something that surprises a lot of people: a snapped ivy vine does not just shrivel up and go away. As long as it stays in contact with moist soil, it can survive and even start rooting.
Oregon’s rainy climate makes this especially easy for ivy to pull off.
When vines snap during removal, pieces often land right on top of the soil or get pushed into it slightly as you walk around. The moisture in the ground keeps them hydrated.
Within a week or two, those broken pieces can put out new roots and anchor themselves in place. Now you have new ivy plants growing exactly where you thought you cleared.
The fix is simple but easy to forget. Every time a vine snaps, stop and pick up the piece immediately.
Do not let it fall to the ground and get stepped on or buried. Collect all broken sections in a bag as you work, not after you are done.
Some people pile snapped vines in a corner of the yard, thinking they will deal with them later. That pile can become a rooting zone fast, especially after rain.
Treat every broken piece like it is still alive, because it probably is. Seal your bags tightly and put them in yard waste bins right away.
Never leave snapped ivy pieces lying around overnight, especially if rain is in the forecast for the next few days.
4. Ground Ivy Spreads Differently Than Climbing Ivy
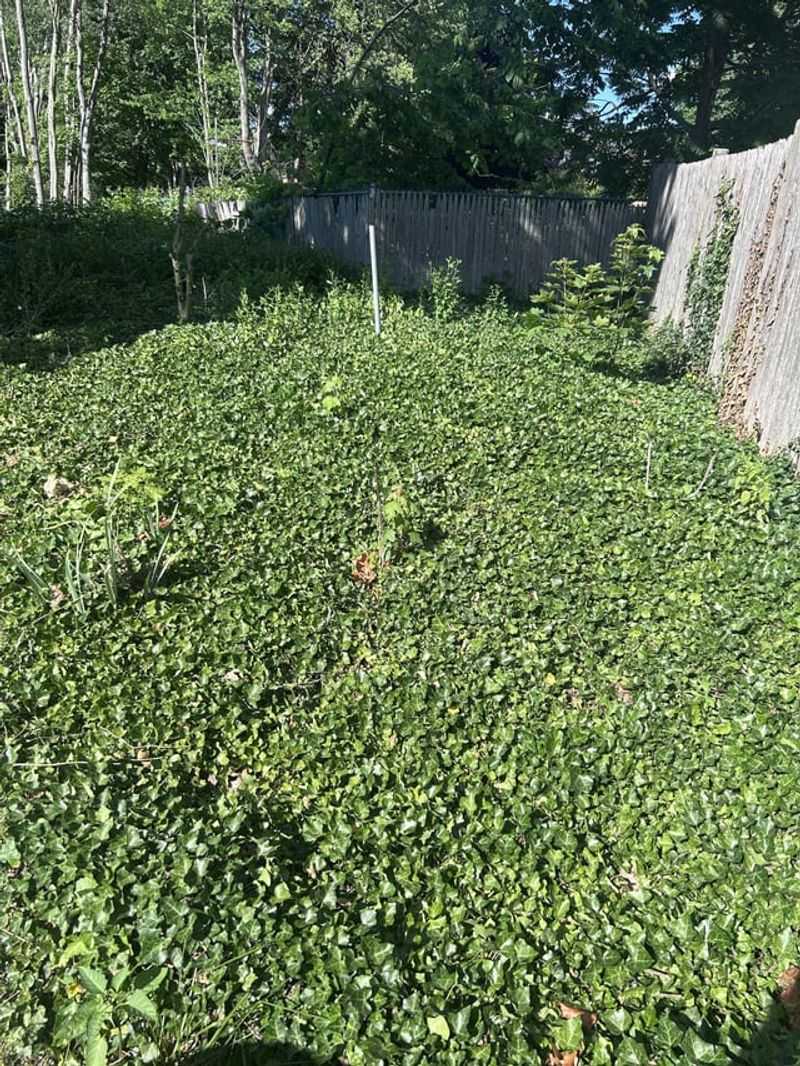
Not all ivy behaves the same way, and mixing up the two growth types leads to removal mistakes. Climbing ivy grabs onto walls, fences, and trees using tiny root-like structures called holdfasts.
Ground ivy, on the other hand, spreads horizontally across the soil, sending out runners that root at every node they touch.
If you treat ground ivy the same way you treat climbing ivy, you will miss a lot of rooted spots. Ground mats can cover huge areas and have dozens of rooting points spread across them.
Pulling from one end without addressing the rooted nodes in the middle just breaks the mat apart and leaves active roots all over the place.
For ground ivy, the best approach is to start from the outer edges and work inward. Loosen the soil with a fork before pulling.
Try to lift whole sections of the mat at once rather than tearing pieces off. Roll the mat up as you go, keeping the rooted side facing up so loose soil falls back to the ground.
Climbing ivy needs a different strategy. Cut the vines first before pulling so you are not dragging rooted sections across the ground.
Understanding which type you are dealing with helps you plan your attack correctly. Many Oregon yards have both types growing at the same time, so check carefully before you start pulling.
A mixed approach will always get better results than treating everything the same way.
5. Cut Climbing Vines Before Pulling Ground Mats
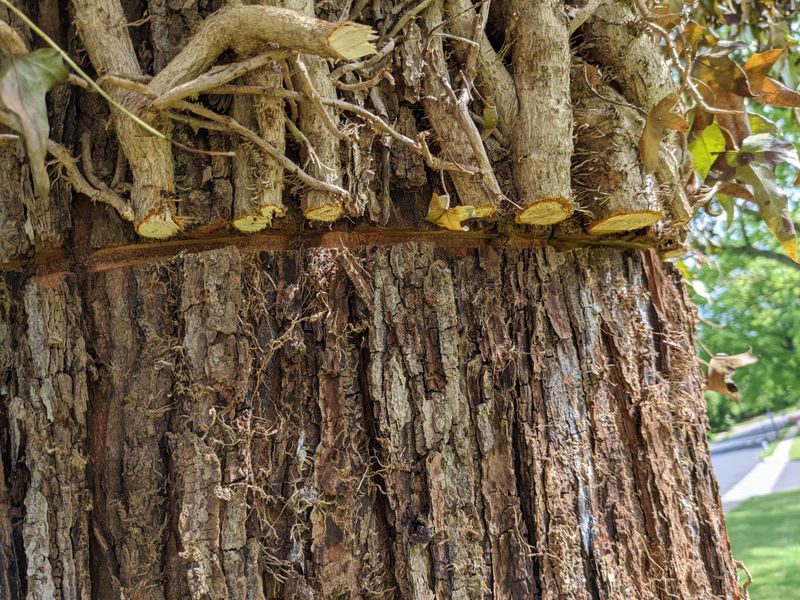
One of the biggest sequencing mistakes people make is pulling ground ivy mats while the climbing vines above are still connected. Those climbing vines are attached to the same root system.
Pulling the ground mat without cutting the climbers first can drag rooted stem sections across the soil and spread nodes to new spots.
Always cut the climbing vines first. Use sharp pruning shears and cut each vine at the base, right where it meets the ground.
Then cut again a few feet higher to remove a section of the vine. This breaks the connection between the climber and the ground mat, making both easier to remove separately.
After cutting, let the climbing sections on walls or trees dry out for a few weeks before pulling them off. Pulling fresh climbing ivy off a surface tears the holdfasts and can leave behind root fragments that are hard to remove.
Dry vines release more cleanly from surfaces.
Once the climbers are cut and the connection is broken, you can tackle the ground mats without worrying about dragging rooted material around. Work in sections and bag everything as you go.
Cutting before pulling also gives you more control over where the ivy pieces land. Less scatter means fewer chances for accidental rooting.
It takes a little extra time upfront, but this two-step process makes the whole removal job faster and more effective in the long run.
6. Follow Each Runner Back To The Root
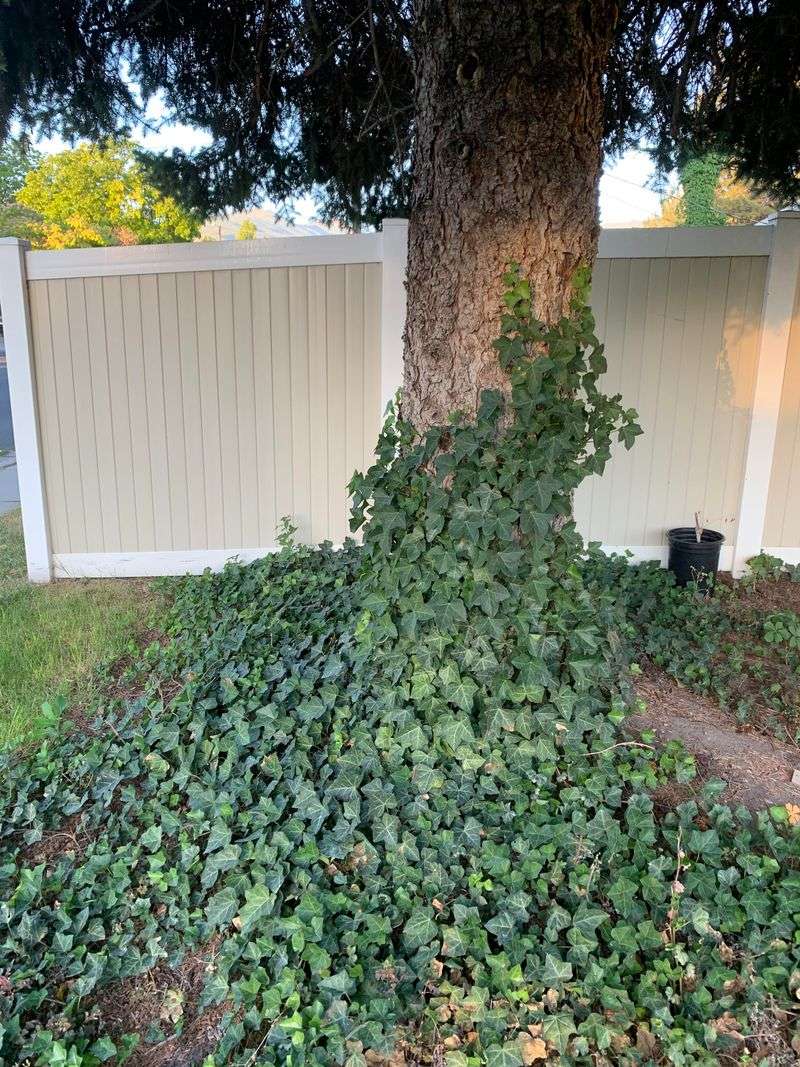
Pulling ivy by grabbing the leafy top is a trap. The leaves are just the end of the story.
The real problem is the runner, which is the long stem that travels along the soil and connects back to a main root. If you snap the runner anywhere in the middle, the root stays alive and keeps sending up new growth.
Every runner needs to be traced back to its source. Follow the stem with your hand, feeling along the soil until you reach the thickest part, which is usually where the main root ball sits.
That root ball is what needs to come out. Without removing it, the plant just regrows from the same spot every time.
This takes patience, especially in dense ivy patches where runners overlap and tangle. A hand trowel helps a lot here.
Use it to gently lift and follow runners without snapping them. When you find the root ball, loosen the soil around it and lift the whole thing out carefully.
In some areas, one root ball can have multiple runners spreading in different directions. Pulling one runner and missing the others leaves the plant mostly intact.
Think of the root ball as the control center. Once it is out, all the runners connected to it stop getting nutrients.
Taking the time to find and remove each root ball is the difference between real removal and just trimming back the surface of a much bigger problem hiding underground.
7. Bag Live Pieces Instead Of Composting Them
Composting ivy sounds like a responsible choice. After all, composting organic material is usually a great habit for any garden.
But ivy is one of the few plants that should never go into a home compost pile, and doing so can set you back months of hard work.
Home compost piles rarely get hot enough to fully break down ivy stems and nodes. That means pieces of ivy can survive inside the pile, keep rooting, and then get spread back into your garden when you use the finished compost.
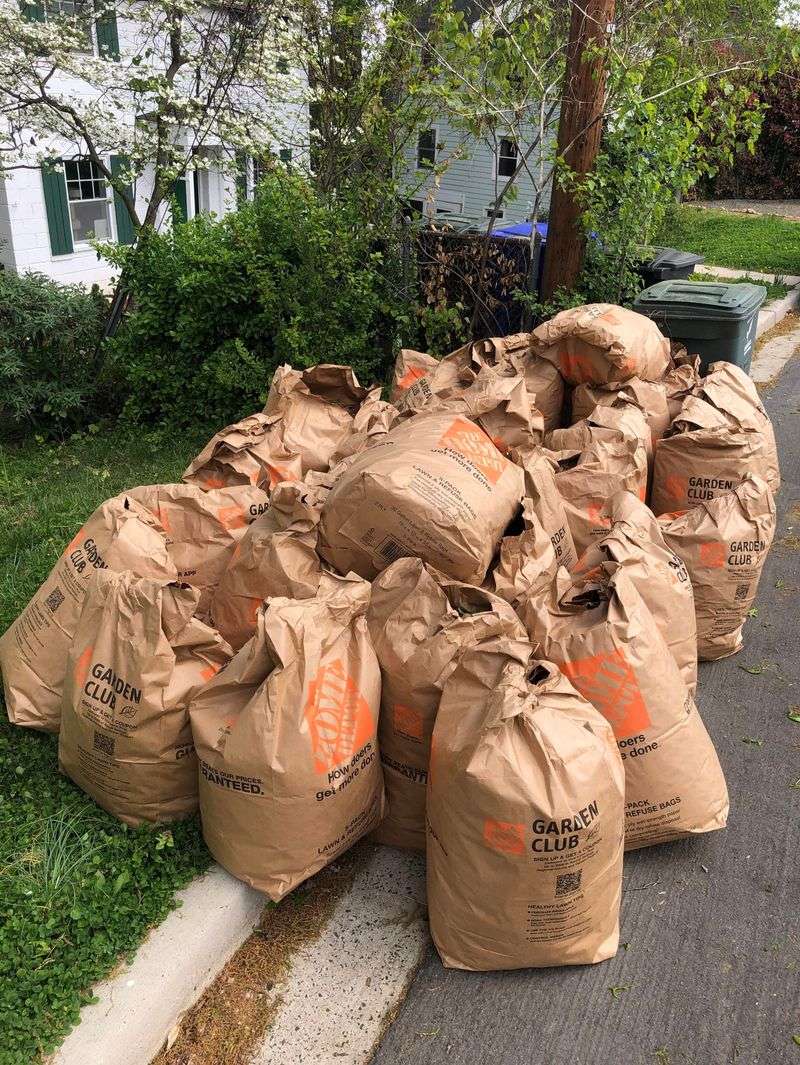
You would essentially be planting ivy yourself without knowing it. Yard waste bins are the right destination for pulled ivy in Oregon.
Municipal composting facilities use high heat that breaks down plant material more completely, including ivy.
Check with your local waste service to confirm they accept ivy, since some areas have specific rules about invasive plant disposal.
If yard waste pickup is not an option, seal ivy pieces in heavy-duty plastic bags and place them in regular trash bins. Never leave bags of ivy open or sitting outside, since even bagged ivy can root if moisture gets in.
Some pieces can stay viable for a surprisingly long time. Treating pulled ivy as yard waste rather than garden gold is a mindset shift that protects all the hard work you already put in.
One composting mistake can undo weeks of careful removal, so always bag and bin instead.
8. Check The Same Area Again In A Few Weeks
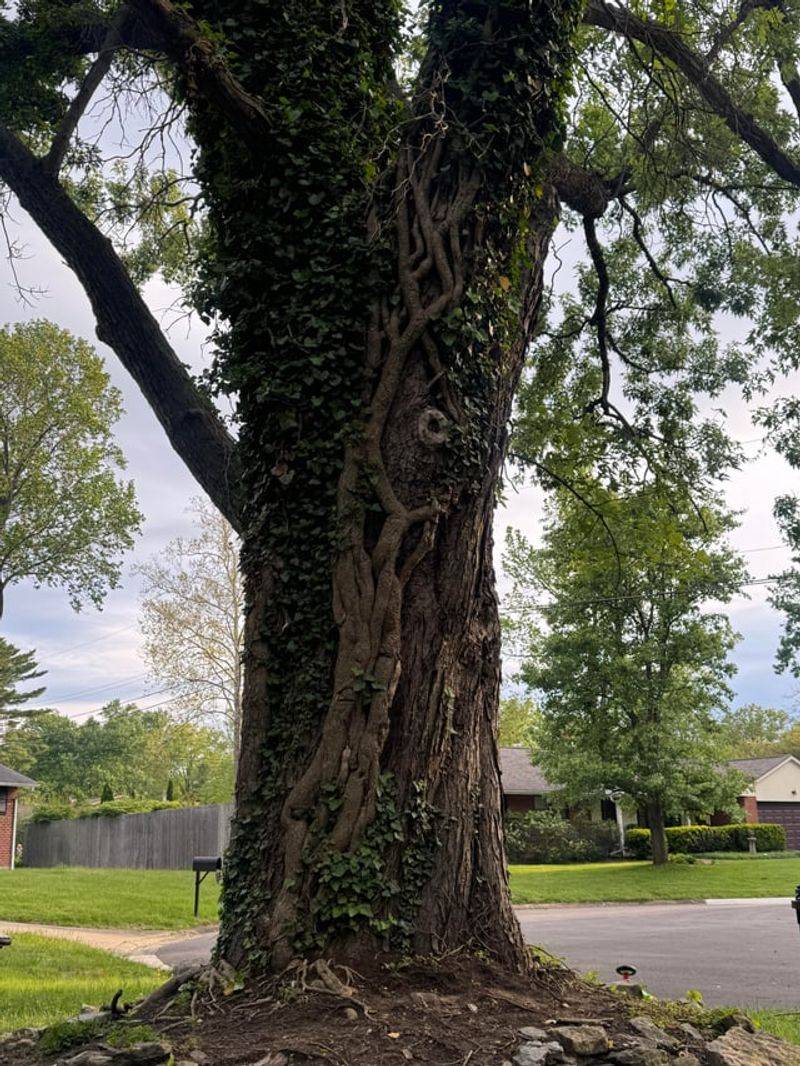
Finishing a big ivy removal job feels great. The ground looks clear, the bags are out at the curb, and you can finally see your soil again.
But the work is not really done yet. Ivy almost always comes back in spots you thought were fully cleared, and catching it early is the key to keeping it from spreading again.
Plan a follow-up check about two to three weeks after your initial removal. Walk the cleared area slowly and look for any new green shoots coming up from the soil.
These are usually tiny and easy to pull when they are young. The longer you wait, the bigger they get and the harder they are to remove cleanly.
New sprouts at this stage are coming from nodes or root fragments you missed the first time. Do not feel discouraged.
Even professional Oregon removal crews expect to do follow-up visits. It is a normal part of managing ivy, especially in climates like ours where plants grow quickly most of the year.
Mark your calendar so you do not forget to check back. Bring a bag with you on follow-up visits so you can collect any new growth right away.
Some people check monthly for the first six months after a major removal. Staying consistent with follow-ups is what turns a one-time effort into a real, lasting result.
Without follow-up checks, even a perfect removal job can start looking overgrown again before the season ends.