The Irrigation Check Arizona Homeowners Should Make Before Fall
Your irrigation system may seem perfectly fine until one small issue starts wasting water or leaving plants thirsty. Before fall arrives, give the system a closer look instead of assuming everything still works properly.
Summer heat and monsoon weather can be rough on exposed irrigation parts. Tiny changes can easily go unnoticed while your regular watering schedule continues as usual.
For Arizona homeowners, this seasonal check is especially useful after months of demanding conditions. It can reveal something you might never notice from inside the house.
Walk through your yard while the irrigation system is actually running. Watch what happens rather than relying only on the controller settings.
What you notice could change how efficiently your landscape enters the cooler months.
Fall brings different watering needs, so checking the system now gives you time to adjust.
1. Start By Checking How Much Water Actually Reaches The Roots
Water pressure at the emitter and water at the root zone are two very different things. Grab a soil probe or a long screwdriver and push it into the ground near your plants after a watering cycle.
If it slides in easily, moisture is reaching the roots. If the soil feels bone-dry a few inches down, something is off.
Root depth matters here. Shallow-rooted plants need moisture in the top few inches, while established desert shrubs may need water 12 to 18 inches deep.
Checking just the surface can give you a false sense of security.
A simple catch-cup test can also help. Place small containers near emitters during a cycle and measure how much water collects.
Compare cups from different zones to spot uneven coverage. Uneven output often points to pressure issues or partial blockages hiding in the lines.
Soil type plays a role too. Caliche layers common in many yards here can block drainage and trap water above the root zone.
Breaking through caliche or using a slow drip rate gives water more time to move downward properly. Checking root-level moisture takes only a few minutes but gives you real information about whether your system is actually doing its job.
2. Summer Heat Can Leave Irrigation Parts Worn Or Damaged
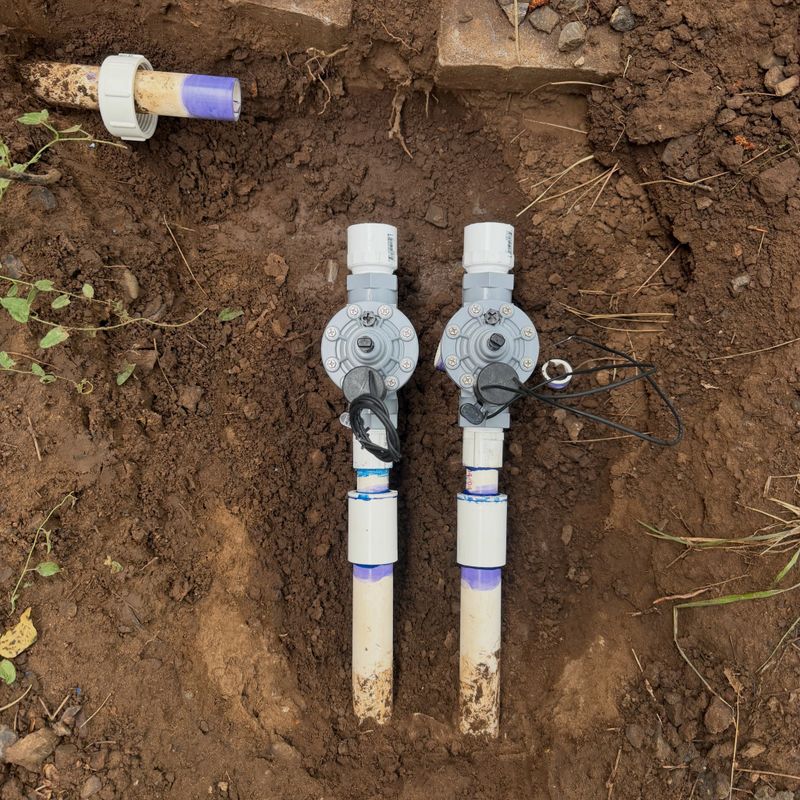
Months of triple-digit temperatures can quietly wear out irrigation components faster than most people expect. UV exposure alone can make plastic tubing brittle and prone to cracking.
Rubber seals and gaskets shrink or harden under prolonged heat, which leads to slow leaks that are easy to miss.
Start by walking your entire system and inspecting the main supply lines. Look for any sections of tubing that feel stiff, look faded, or have visible cracks.
Pay close attention to connection points and elbows since those spots tend to show wear first.
Check your pressure regulator if your system uses one. High pressure can blow out emitters or cause tubing to pop off fittings.
Low pressure means plants may not get enough water during each cycle. A simple pressure gauge can tell you quickly if the regulator is still working within the right range.
Backflow preventers and filter screens deserve attention too. Screens clog with mineral deposits and debris over time, reducing flow through the whole system.
Your Arizona Garden Changes Every Week. Your Plan Should Too.
Gardening in Arizona changes quickly throughout the season. Every Friday you’ll receive a simple weekly plan showing exactly what to plant, prune, fertilize, harvest, and protect so you never miss the right timing.
Rinse or replace the filter screen before fall watering demands increase. Catching worn parts now, before cooler weather brings new plant stress, keeps your system reliable when your yard needs it most.
Replacing a few small components costs far less than losing established plants to undetected water loss.
3. Clogged Emitters Can Quietly Leave Some Plants Too Dry
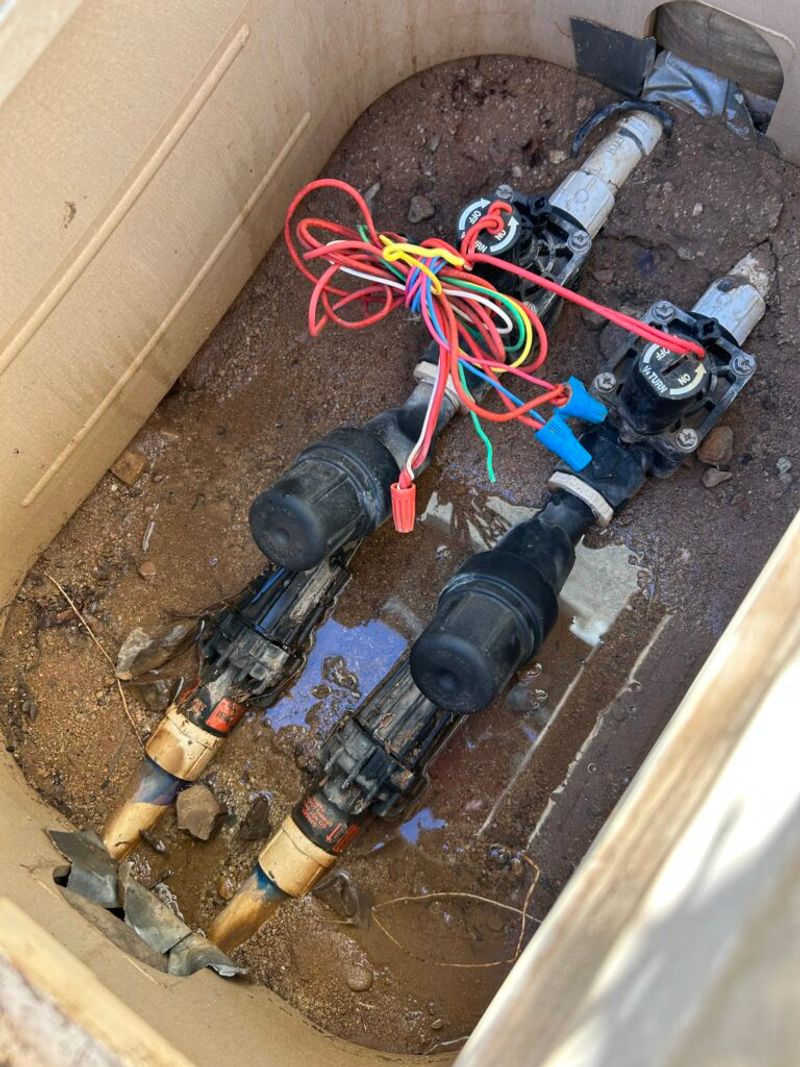
Clogged emitters are sneaky. From a few feet away, everything looks normal, but some plants may be getting far less water than they need.
Mineral buildup from hard water is one of the most common culprits, and it happens gradually without any obvious warning signs.
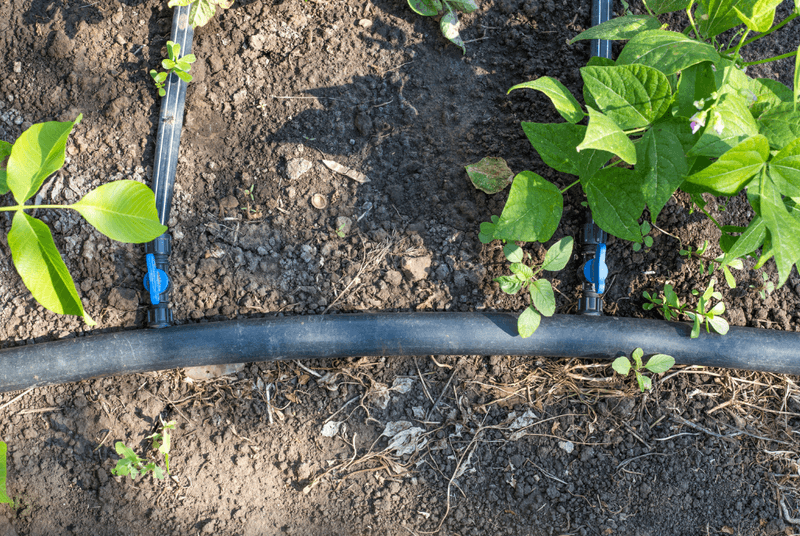
Walk each irrigation line and check every emitter one by one. A working emitter should release a slow, steady drip during the cycle.
If water is not coming out at all, or if it is spraying sideways instead of dripping straight down, the emitter is likely blocked or damaged.
Removing and soaking clogged emitters in a mild vinegar solution can sometimes clear mineral deposits. If soaking does not restore normal flow, replacing the emitter is the better move.
Emitters are inexpensive and available at most hardware stores, so swapping them out makes sense rather than risking plant stress.
Flow rates matter too. Emitters come in different output ratings, measured in gallons per hour.
Over time, some homeowners replace emitters with the wrong flow rate, which leads to uneven watering across a zone. Double-check that replacement emitters match the original specifications for each plant type.
Catching clogged emitters before fall means your plants head into the cooler season with a solid foundation of consistent moisture rather than hidden gaps in their water supply.
4. Leaks May Send Water Everywhere Except Where It Is Needed
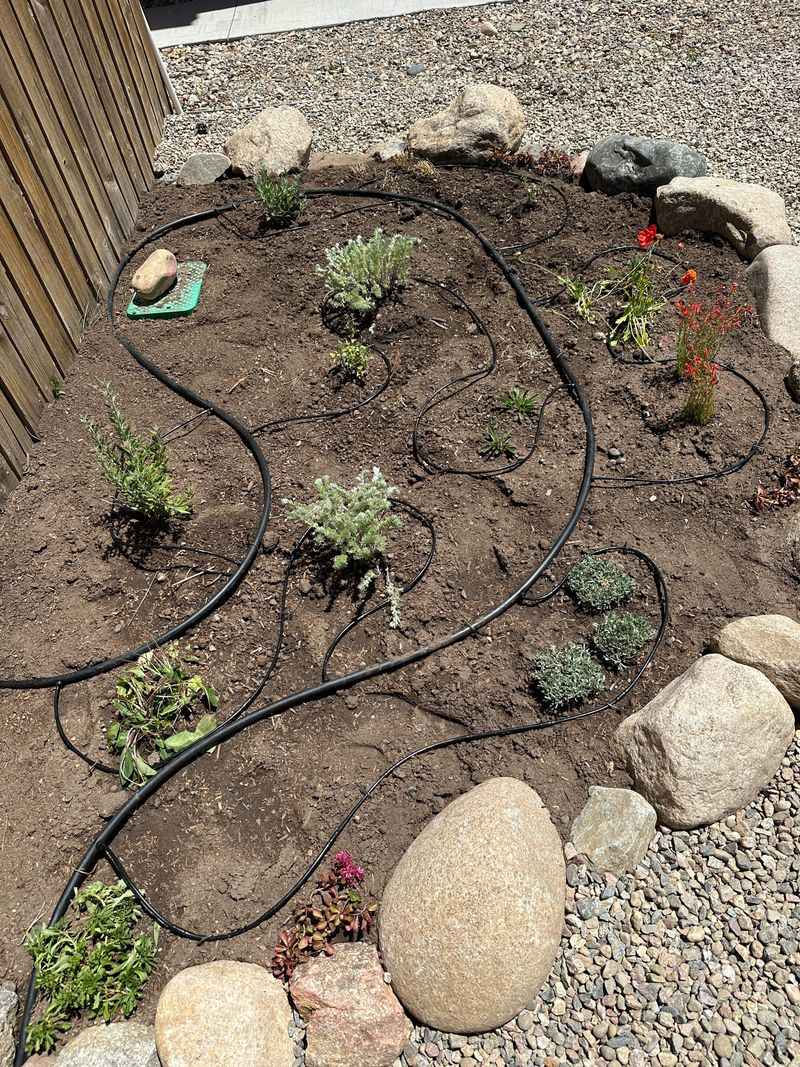
Wet spots in unexpected places are a red flag worth investigating right away. A puddle forming near a connection point or a soggy patch in the middle of your gravel bed often signals a leak that has been running unnoticed for a while.
Leaks waste water and can create conditions that stress plants through overwatering in the wrong spots.
Run your system manually and walk the entire layout while it is running. Look for water bubbling up from the soil, pooling near fittings, or spraying from tubing.
Nighttime leaks are easy to miss since most systems run before sunrise. Setting your timer to run during daylight for one inspection cycle makes spotting problems much easier.
Tubing punctures from digging, yard tools, or burrowing animals are common causes of leaks. Repair couplings can fix most punctures quickly without replacing a full line section.
Loose barbed fittings can often be pushed back into place and secured with a hose clamp for a more stable connection.
Leaks near the main valve or pressure regulator may need a closer look at threading and sealant tape. Worn threads can allow slow seeping that gets worse over time.
Fixing leaks before fall saves water during a season when conservation still matters.
A system that runs without leaks also maintains consistent pressure, which helps every emitter in the zone perform closer to its rated output.
5. Plant Growth Can Shift Emitters Away From The Root Zone
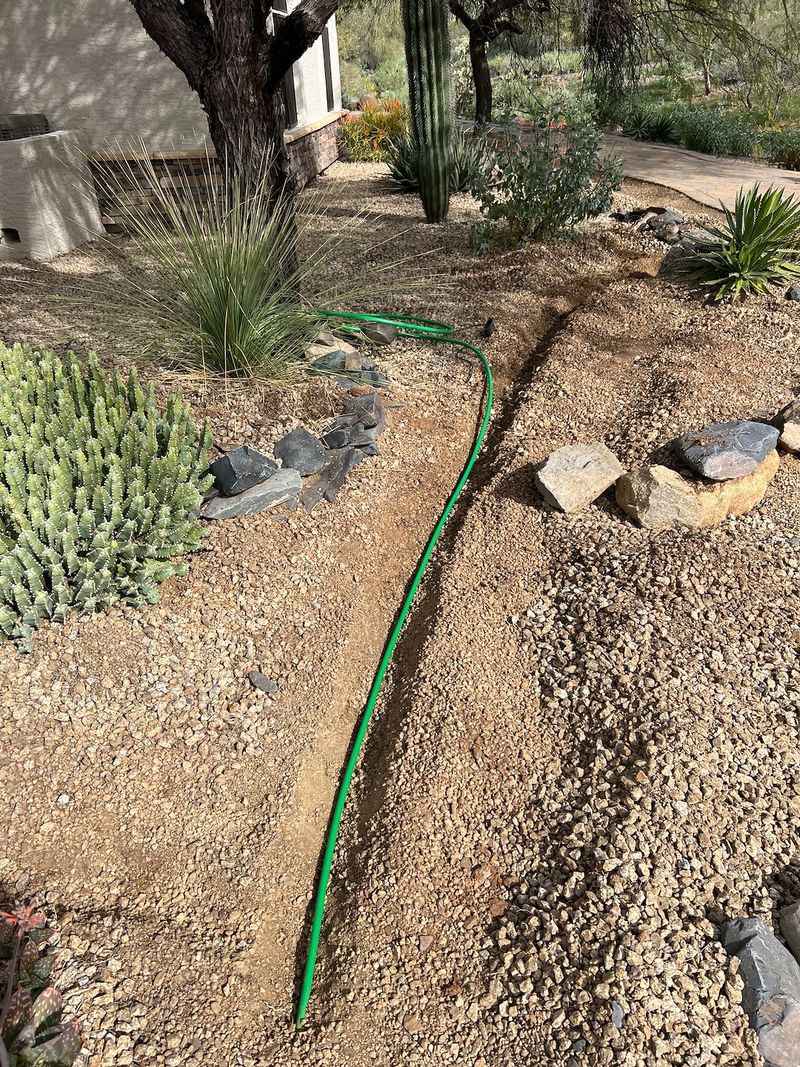
Plants grow, and irrigation systems often do not keep up. An emitter placed perfectly at planting time can end up far from the root zone just a season or two later.
Roots extend outward as plants mature, and the area that needs water shifts with them.
Walk your yard and compare where each emitter sits relative to the base and canopy spread of each plant. Shrubs and trees in particular can spread significantly over a single growing season.
An emitter still positioned at the original planting spot may now be watering bare soil while the root zone goes dry just a foot or two away.
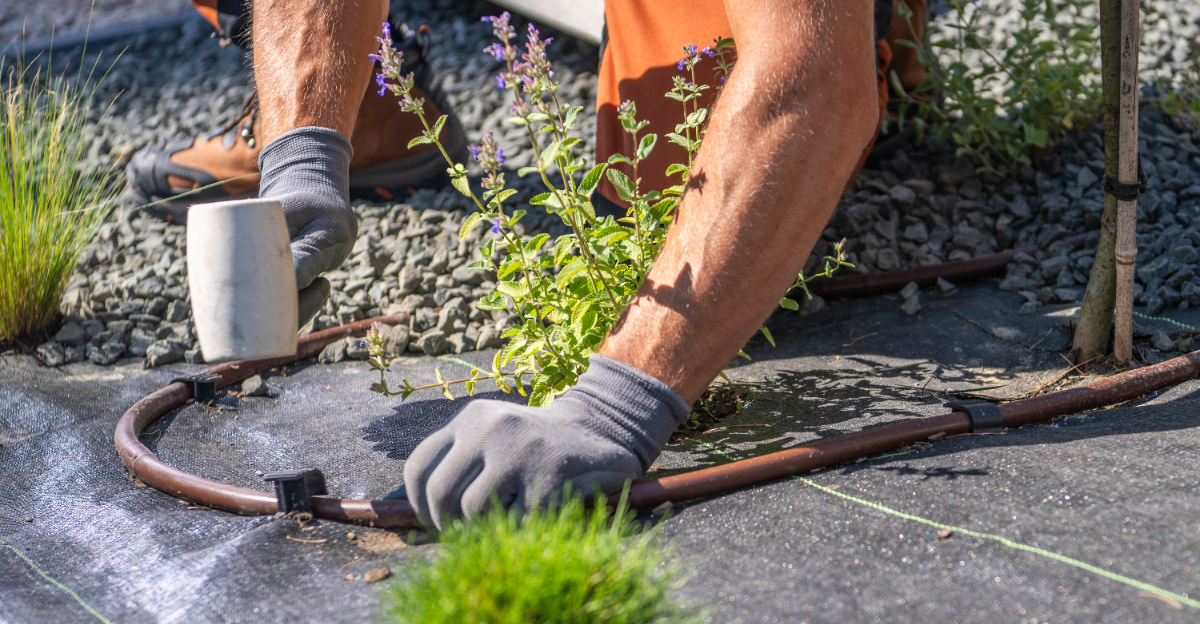
Moving an emitter is straightforward. Most drip systems use flexible tubing that can be repositioned and held in place with a stake.
For larger shrubs or trees, adding a second emitter on the opposite side of the plant helps ensure even moisture distribution around the full root zone.
Seasonal plantings and new additions also need attention. If you added plants mid-summer, check that emitters are still positioned correctly after any soil settling or surface changes.
Ground cover plants can shift tubing over time just by growing around it.
Spending a few minutes repositioning emitters now sets up every plant in your landscape for a smoother transition into fall without gaps in water coverage that could set back their recovery from summer stress.
6. Fall Weather Calls For A Fresh Look At Watering Schedules
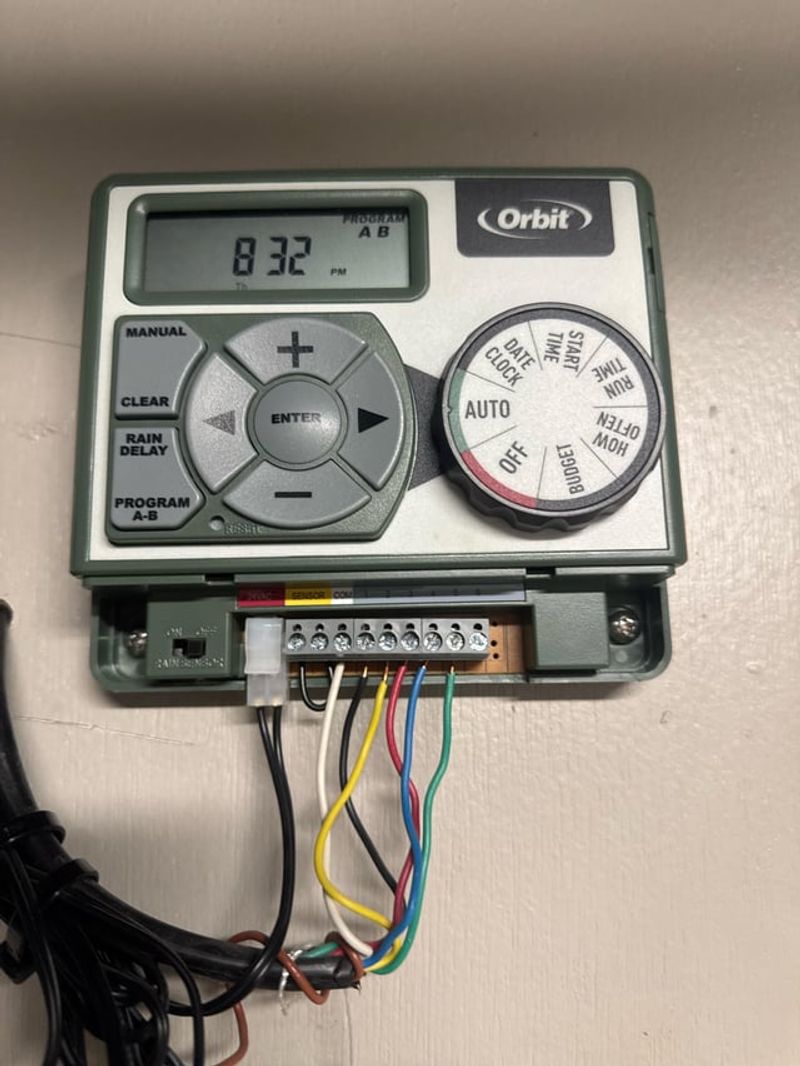
Watering schedules that worked in July are not the right fit for October. As temperatures drop and days get shorter, plants need less water than they did during peak summer heat.
Keeping a summer schedule running into fall can lead to overwatering, which creates root stress and attracts fungal issues in some plant types.
A good starting point is reducing run times by roughly 20 to 30 percent as daytime highs drop below 90 degrees. This is a general guideline, not a fixed rule, since soil type, plant variety, and sun exposure all affect how quickly moisture is used.
Watch your plants for signs of stress and adjust from there.
Watering frequency matters as much as duration. Shifting from daily cycles to every two or three days gives soil time to dry slightly between waterings, which encourages deeper root growth.
Deeper roots tend to handle temperature swings better as fall progresses.
Smart controllers with weather-based adjustments can help automate some of these changes. Evapotranspiration-based scheduling uses local weather data to estimate how much water plants need each day.
Not every homeowner needs a smart controller, but manually reviewing and updating your schedule at least once a month during seasonal transitions keeps your system working efficiently.
Matching your watering schedule to actual weather conditions is one of the most practical ways to protect both your plants and your water bill heading into fall.
7. One Final Test Can Confirm The Whole System Runs Properly
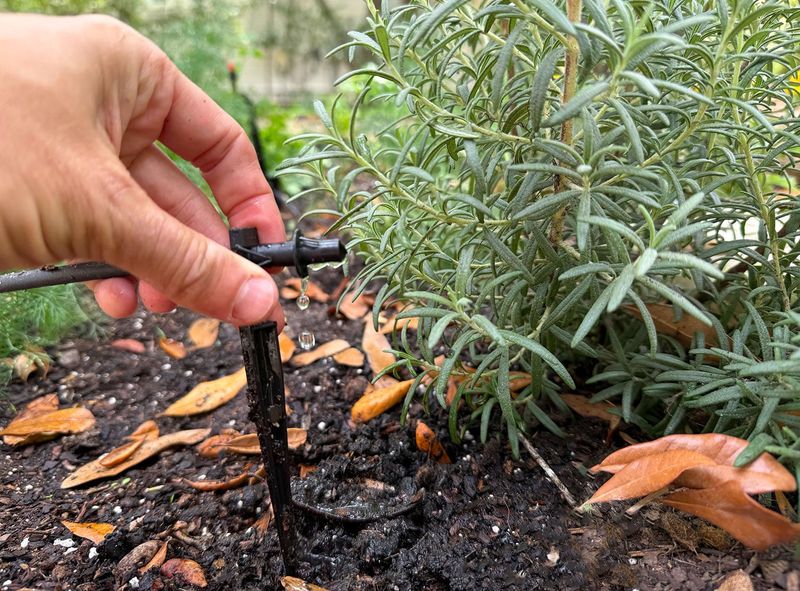
After completing every check on the list, running a full manual test of the entire system is the best way to confirm everything is working together.
This final run lets you catch anything that was missed during individual inspections, especially issues that only show up when multiple zones are running in sequence.
Start at zone one and work through each zone one at a time. Watch the full cycle for each zone rather than glancing at it for a few seconds.
Pressure drops, sputtering emitters, or unexpected wet spots that appear during the test often point to problems that were not obvious during static checks.
Bring a notepad or use your phone to mark any spots that need follow-up. It is easy to forget a specific emitter location or a suspicious section of tubing once you have moved on to the next zone.
Notes make repairs faster and more organized.
Check the controller one more time after the test run. Confirm that all zones are programmed with updated fall schedules and that the run days and times are set correctly.
Make sure the controller clock is accurate, especially if there was a power outage at any point during the summer. A full system test takes maybe 30 to 45 minutes for most residential setups in Arizona.
That small investment of time can prevent a lot of avoidable plant stress and water waste over the coming months.