The July Strawberry Task Virginia Gardeners Use for Bigger Berries Next Year
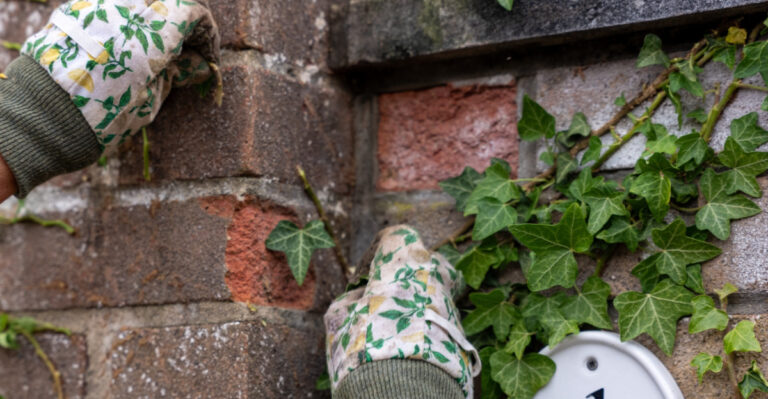
Your strawberry patch looks finished right now. The harvest is over, the leaves are ragged, and it would be easy to walk away until spring. That instinct is exactly what separates a mediocre patch from one that overflows with fruit next June.
Strawberries don’t rest quietly after fruiting. They’re gearing up, forming next year’s flower buds while the July heat sits heavy over Virginia. This is the narrow window where a little effort pays off tenfold.
Cut back the tired foliage, thin the runners, and feed the soil, and you’re setting up a harvest that fills baskets instead of bowls. Ignore it, and your bed turns into a crowded mess of small, sour berries fighting for space.
Renovation isn’t glamorous work, but it’s the single task that decides whether next summer’s strawberries are forgettable or unforgettable.
1. The Task That Leads To Bigger Strawberries Next Year

Strawberry plants are sneaky little overachievers. They fruit hard in spring, then quietly exhaust themselves by midsummer.
The July strawberry task is called bed renovation, and it is one of the most effective things you can do for next year’s harvest. Renovation resets your plants so they grow stronger roots and produce more fruit.
Without this step, plants get crowded and weak. Crowded beds mean smaller berries, more disease, and less sunlight reaching each plant.
Virginia gardeners have relied on this method for years. The warm summers here actually make renovation timing easier because plants finish fruiting right around early July.
Renovation involves mowing or cutting back old foliage, thinning out runners, and feeding the soil. Each step builds on the last one.
Think of it like giving your plants a hard reset. They shed the old growth, focus energy on roots, and come back stronger in fall and spring.
Many gardeners are surprised by how simple the process is. You do not need fancy equipment or expensive supplies to pull this off.
A good pair of shears, a garden hoe, and some balanced fertilizer will get you most of the way there. The rest is timing and consistency.
Start this task within two weeks of your last harvest. Waiting too long into August gives plants less time to recover before cold weather arrives.
Bigger strawberries next year often start with the choices you make this July. Take the task seriously, and your future self will thank you.
2. Signs Your Strawberry Plants Are Ready For This Task

Your plants send signals, and learning to read them saves you from acting too early or too late. Spotting the right signs makes the whole process go more smoothly.
The clearest sign is that fruiting has completely stopped. When you walk the bed and see no more blossoms or green berries forming, that is your green light.
Look at the leaves next. Older foliage often turns pale yellow or shows brown edges after the heavy fruiting season ends.
Those tired-looking leaves are a sign the plant has spent its energy. Cutting them away frees the plant to grow fresh, healthy foliage instead.
Your Virginia Garden Changes Every Week. Your Plan Should Too.
Gardening in Virginia changes quickly throughout the season. Every Friday you’ll receive a simple weekly plan showing exactly what to plant, prune, fertilize, harvest, and protect so you never miss the right timing.
Runner production is another strong signal. When your strawberry plants start sending out long stems with small plantlets at the tips, renovation season has arrived.
Runners left unchecked can drain the mother plant, pulling nutrients away from root development and reducing next year’s berry size.
Check the center of your plant crowns too. If the crowns look woody, dark, or cracked, those older plants may need to be replaced entirely.
Healthy crowns are firm and light green or tan. A crown that feels mushy or looks blackened has likely been affected by disease or rot.
July in Virginia typically brings all these signs together at once. Fruiting wraps up, runners multiply fast, and leaves start to look ragged.
When you see three or more of these signals at the same time, your bed is ready for renovation.
3. Renovating Strawberry Beds Step By Step

Renovation sounds intimidating, but breaking it into steps makes everything manageable. Follow this sequence and your plants will be on track within days.
Start by mowing or cutting the entire bed down to about one inch above the crowns. Use a lawnmower on its highest setting or hand shears for smaller beds.
Do not cut into the crowns themselves. Cutting too low is a common error. Slicing into the crown stops the plant from recovering and can permanently weaken its future growth.
After cutting, rake up all the clippings and remove them from the bed. Old foliage can harbor fungal spores and pests, so do not leave it sitting there.
Next, use a garden hoe or tiller to narrow your rows. Aim for rows about twelve inches wide with clear paths between them for airflow.
Narrowing the rows keeps plants from competing with each other. Better airflow also reduces the chance of gray mold and leaf spot diseases.
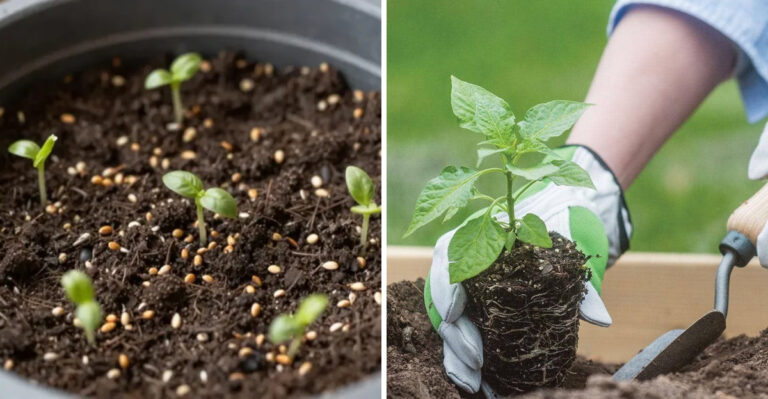
Pull out any plants that look diseased, woody, or unproductive. Replacing weak plants with healthy new runners improves the whole bed’s output.
After thinning, loosen the soil lightly between plants. A hand cultivator works perfectly for this without disturbing the roots too much.
Water the bed deeply right after renovation. Plants have just been through a stressful trim and need moisture to start pushing out new growth.
Renovation done right takes about two to three hours for a standard home bed. The payoff in bigger, sweeter fruit makes every minute worthwhile.
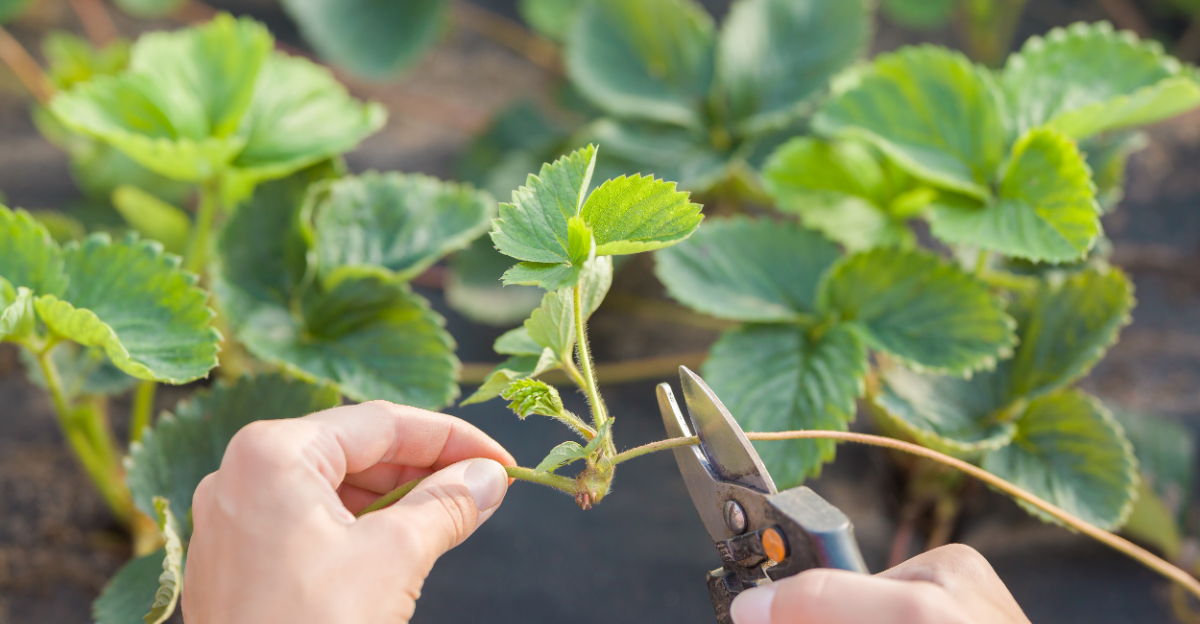
4. Thinning And Spacing Strawberry Runners For Better Growth

Runners are both your best resource and your biggest headache. Left alone, they choke the bed and shrink your harvest.
Each runner is a new plant waiting to happen. The trick is choosing which ones to keep and which ones to remove.
Keep runners that are rooting close to the mother plant and look strong. A healthy runner has a firm, compact plantlet and a short stem.
Runners that are long, thin, or still floating above the soil are less likely to establish well. Remove those first to save the bed’s energy.
Spacing is everything when it comes to strawberry production. Plants need at least six to eight inches between them to access enough nutrients and sunlight.
Crowded plants compete for the same resources. That competition leads to smaller fruit, weaker crowns, and more disease pressure over time.
To root a keeper runner, press the plantlet gently into the soil and secure it with a small stone or a bent wire pin. New roots form within one to two weeks.
Once a runner has rooted and shows new leaf growth, cut the connecting stem from the mother plant. This encourages the new plant to feed itself independently.
Aim for about four to five plants per square foot in a matted row system. That density gives each plant room to breathe and thrive.
Proper spacing now means noticeably larger strawberries next June. A little patience with thinning pays off in a big, beautiful harvest.
5. Feeding And Watering Strawberries After Renovation

Freshly renovated strawberry plants are hungry. Feeding them the right nutrients right after renovation gives them the fuel to grow strong roots and healthy new foliage.
Choose a balanced fertilizer with equal parts nitrogen, phosphorus, and potassium. A 10-10-10 granular blend works well for most Virginia soil types.
Apply about one pound of fertilizer per one hundred square feet of bed. Spread it evenly and keep it off the crowns to avoid burning the plant tissue.
Water the fertilizer in immediately after applying. Dry granules sitting on the soil surface can burn leaves if rain does not come within a day or two.
Watering after renovation should be deep and consistent. Aim for about one inch of water per week, either from rain or from your garden hose.
Sandy soils dry out faster and may need watering twice a week during hot July spells. Clay-heavy soils hold moisture longer but can become waterlogged if overwatered.
Check the soil by pushing a finger two inches below the surface. If it feels dry at that depth, it is time to water again.
Avoid overhead watering late in the day. Wet foliage sitting overnight creates the perfect conditions for fungal problems to develop.
Drip irrigation or soaker hoses are ideal for strawberry beds. They deliver moisture directly to the roots and keep the leaves dry and healthy.
6. Common Mistakes To Avoid When Renovating Strawberry Beds

Even experienced gardeners make renovation mistakes. Knowing the most common ones helps you sidestep problems before they start.
Cutting too low is a common error. Slicing into the crown stops the plant from recovering and can permanently weaken its future growth.
Always leave at least one inch of foliage above the crown. That small buffer protects the growing point and allows new leaves to emerge quickly.
Rake and bag all debris immediately after cutting. A clean bed is a healthier bed going into the fall growing season.
Fertilizing too much can be just as harmful as under-fertilizing. Stick to the recommended application rate on the fertilizer label. More is not better when it comes to feeding strawberry plants after a trim.
Waiting too long to renovate is a mistake many first-timers make. Starting renovation in late August in Virginia leaves plants too little time to recover before frost.
Aim to complete the full renovation process by the end of July. That window gives plants several weeks of growth before cold weather arrives.
Neglecting to thin runners is another common pitfall. Letting every runner root creates an overcrowded bed that underperforms over time.
Be selective, be timely, and be consistent, and your strawberry patch will reward you beyond what you expect.