The Most Common Hummingbird Feeder Mistakes Homeowners Are Probably Making In Minnesota
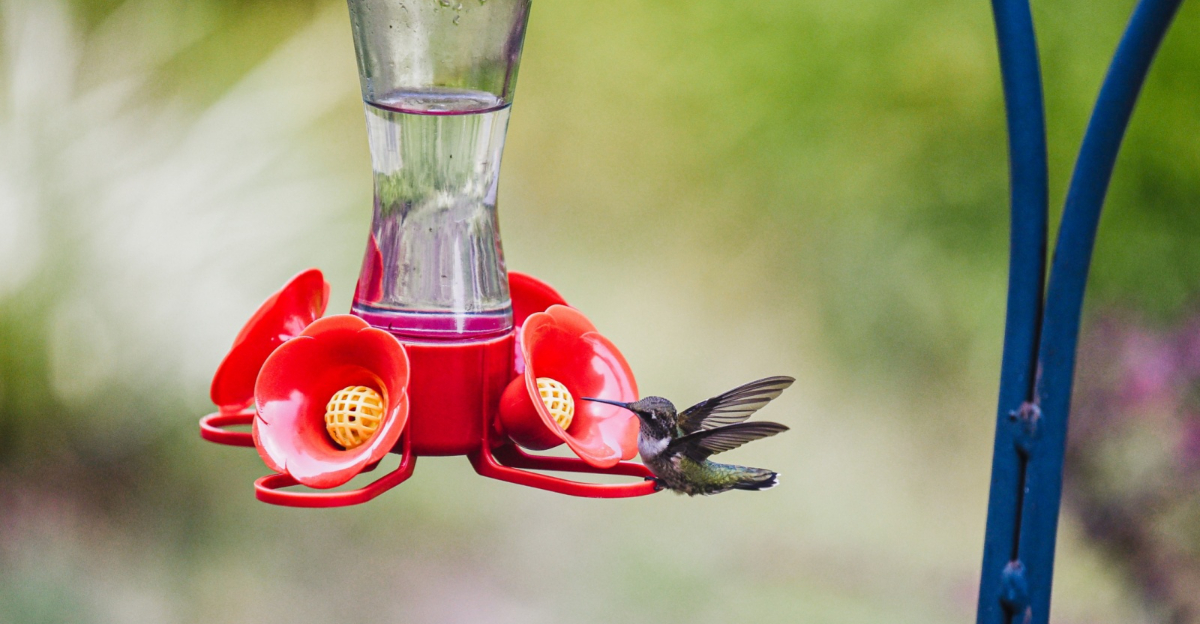
Your hummingbird feeder could be quietly hiding a serious problem you haven’t noticed. Minnesota summers draw ruby-throated hummingbirds toward yards that seem welcoming enough.
Something quieter often undermines even your best summer intentions here. Many hosts assume their careful setup works, yet the birds disagree. Small oversights hide in plain sight, staying unnoticed until it’s too late.
Feeders that look perfectly fine can still fail these tiny travelers. Weather across Minnesota adds unexpected pressure most hosts never expect. Placement, timing, even subtle color choices carry surprising hidden weight.
Hungry visitors notice tiny details you might completely overlook. Careless setups quietly undo an entire summer’s worth of effort. Ruby-throated hummingbirds forgive nothing, no matter how well intended.
Confidence in your feeder rarely matches what’s actually happening outside. Correcting hidden mistakes can change everything almost instantly this season. What you don’t know about your feeder might already cost you birds.
1. Mixing Sugar And Water At The Wrong Ratio
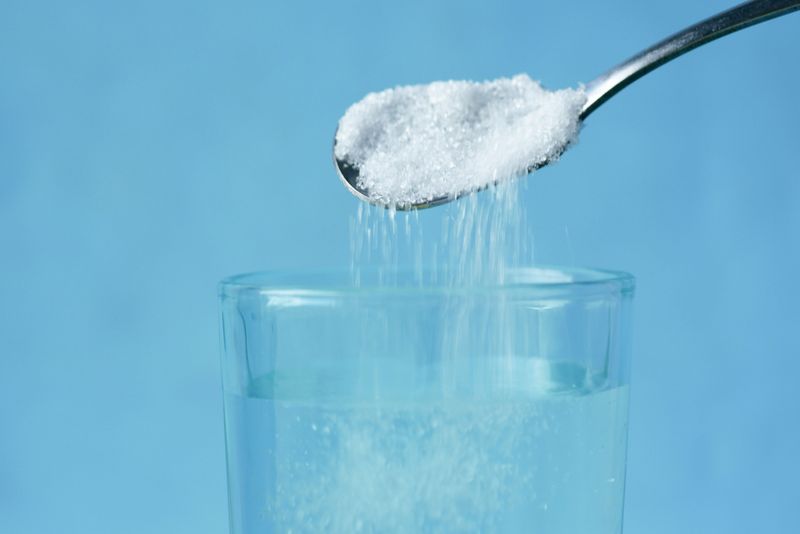
Pull out your measuring cups, because this one really matters. The correct ratio for hummingbird nectar is one part white sugar to four parts water. Many homeowners guess at this mixture, and that guessing leads to big problems.
Too much sugar makes the nectar thick and hard to digest. Too little sugar means the birds get almost no energy from the visit. Neither extreme is good for a bird with an unusually fast metabolism.
Some people use honey, brown sugar, or artificial sweeteners instead of plain white sugar. All three are harmful to hummingbirds. Honey ferments quickly and can cause a serious fungal infection on their tongues.
Brown sugar contains molasses, which can be difficult for hummingbirds to digest properly. Artificial sweeteners contain no calories, which means no fuel for birds that need to eat constantly. Stick with plain white granulated sugar every single time.
The four-to-one ratio mimics the natural sugar content found in flower nectar. That is exactly what their bodies are built to process. Boiling the water first helps dissolve the sugar faster and removes some impurities.
Let the mixture cool completely before filling your feeder. Warm nectar sitting in a hot feeder ferments much faster.
Getting this ratio right is the single most important step in hummingbird feeder care, and it takes less than five minutes to do correctly.
2. Adding Red Dye To The Nectar
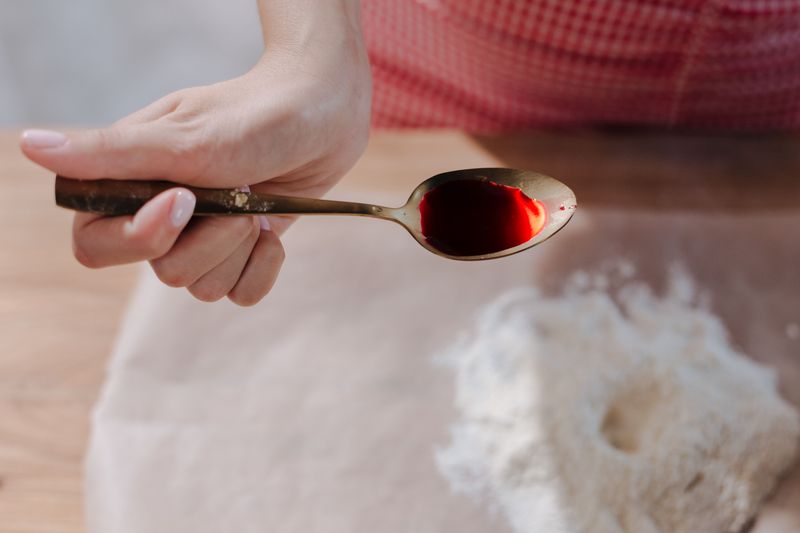
Red dye in hummingbird nectar is one of the most persistent myths in backyard birding. The idea sounds logical: hummingbirds love red flowers, so red nectar must attract them better. Science says otherwise.
Some wildlife experts caution that artificial red dye, specifically Red Dye No. 40, may pose potential long-term health risks to hummingbirds.
No wildlife organization recommends adding dye to homemade nectar. Many experts advise against the risk.
Hummingbirds are attracted to the color red on the feeder itself, not in the liquid. Most commercial feeders already come with red ports, bases, or decorative flowers built right in.
That red plastic does all the attraction work for you. If your feeder lacks red accents, tie a red ribbon near the feeding ports. You can also place red flowers nearby to draw the birds in naturally.
Your Minnesota Garden Changes Every Week. Your Plan Should Too.
Gardening in Minnesota changes quickly throughout the season. Every Friday you’ll receive a simple weekly plan showing exactly what to plant, prune, fertilize, harvest, and protect so you never miss the right timing.
Neither option requires putting anything questionable into the nectar. Clear nectar is perfectly effective and far safer for the birds.
Any product sold at a store that contains red coloring should be avoided. Making your own plain sugar-water solution is always the better choice.
Hummingbirds in Minnesota have enough challenges during migration without added chemical exposure.
Protecting them starts with something as simple as skipping the food coloring. Clear nectar, red feeder, happy birds, that is the whole formula right there.
3. Topping Off Old Nectar Instead Of Replacing It
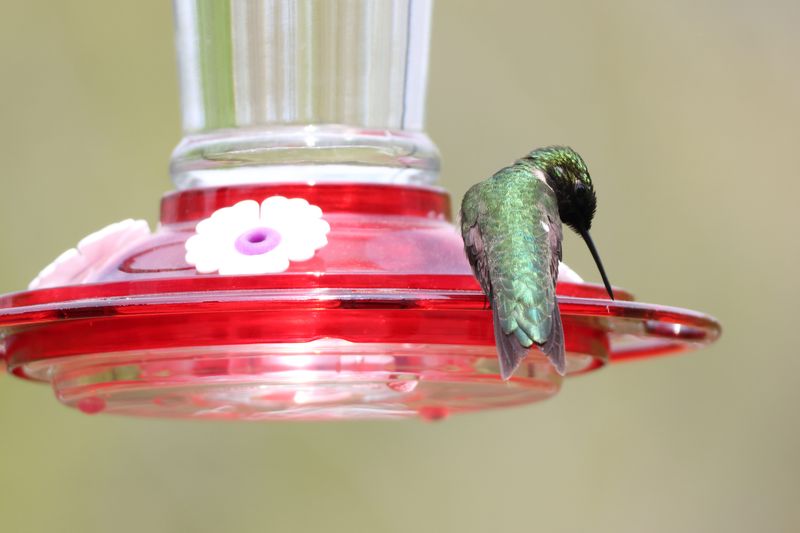
Topping off old nectar feels efficient, but it is actually one of the sneakier hummingbird feeder mistakes out there. You are essentially mixing fresh sugar-water into a batch that has already started to ferment.
That does not make the old nectar safe again. Fermented nectar contains alcohol and bacteria that can make hummingbirds sick. Their livers are not built to handle fermentation byproducts the way larger animals might.
Even a small amount of bad nectar mixed with fresh liquid is still bad nectar. Think of it like adding clean water to a glass of spoiled juice.
The whole thing is still spoiled. Diluting a problem does not remove it, and birds have no way to tell the difference.
In Minnesota summers, nectar can go bad in as little as two days during a heat wave. A full replacement schedule keeps things safe and fresh.
Empty the feeder completely, rinse it out, and then add a new batch every two to three days.
During cooler stretches in spring or fall, you can push that window to four days. But when temperatures climb above 80 degrees, shorten your replacement cycle.
The heat speeds up fermentation significantly, especially in plastic feeders left in sunny spots.
Building a simple refill schedule into your weekly routine makes this easy. Set a phone reminder if needed. Hummingbirds will notice the difference, and they will keep coming back for more.
4. Skipping Regular Deep Cleaning With Bleach Solution
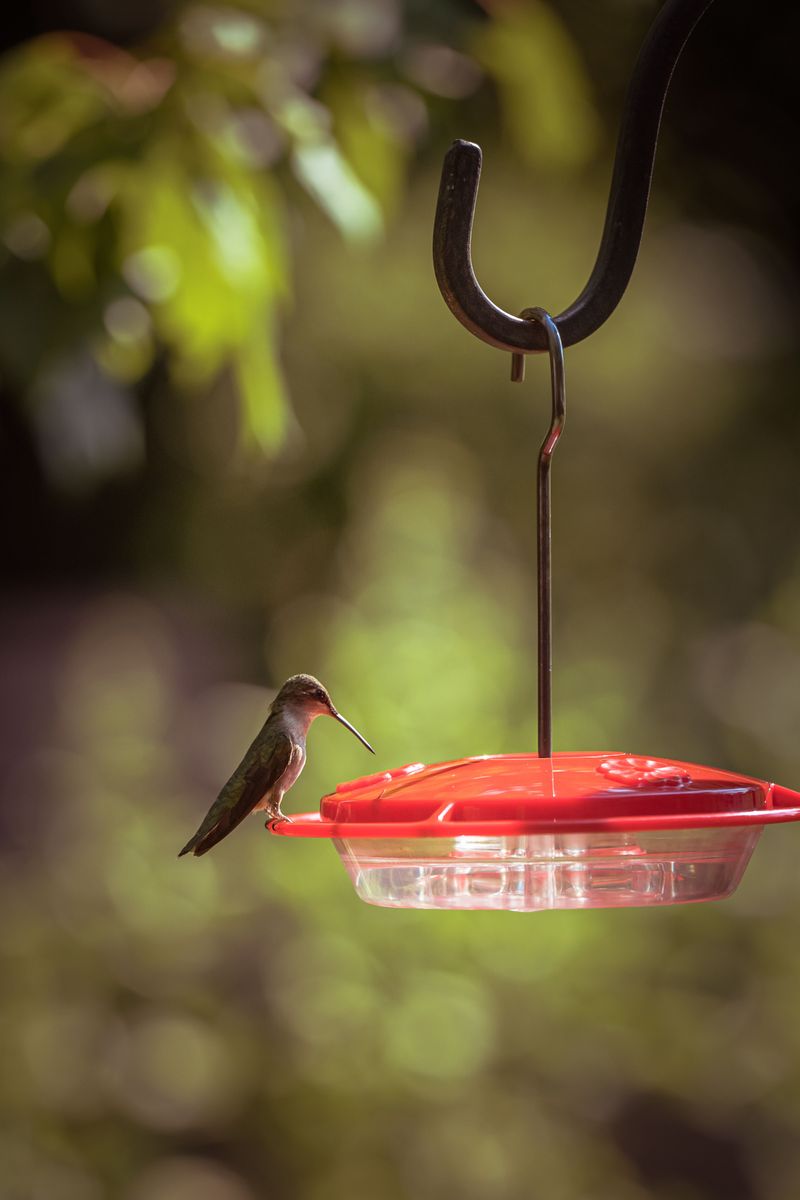
A quick rinse under the tap is not the same as a deep clean. Many homeowners rinse their feeders and assume that is enough, but mold, bacteria, and yeast can cling stubbornly to the inside surfaces.
A proper deep clean requires a diluted bleach solution. Mix one part bleach with nine parts water to create a safe sanitizing soak. Let the feeder sit in this solution for about ten minutes.
Then scrub every surface, port, and crevice with a small bottle brush before rinsing thoroughly.
Rinse the feeder at least three times with clean water after the bleach soak. You want absolutely no bleach residue left behind before refilling. Any lingering chemical can harm the birds just as much as mold would.
Bottle brushes designed for hummingbird feeders are inexpensive and worth every penny. They reach the narrow necks and curved inner walls that a regular sponge cannot touch. Skipping this tool means leaving behind hidden grime.
How often should you deep clean? Once a week is a solid standard for Minnesota summers. During peak heat, bump that up to every five days to stay ahead of mold growth.
Black mold inside a feeder is a sign that it needs immediate attention. If you see dark spots that do not scrub away easily, it may be time to replace the feeder entirely.
Clean equipment is the foundation of responsible hummingbird feeder care, and consistent maintenance supports their health.
5. Hanging Feeders In Direct Sunlight
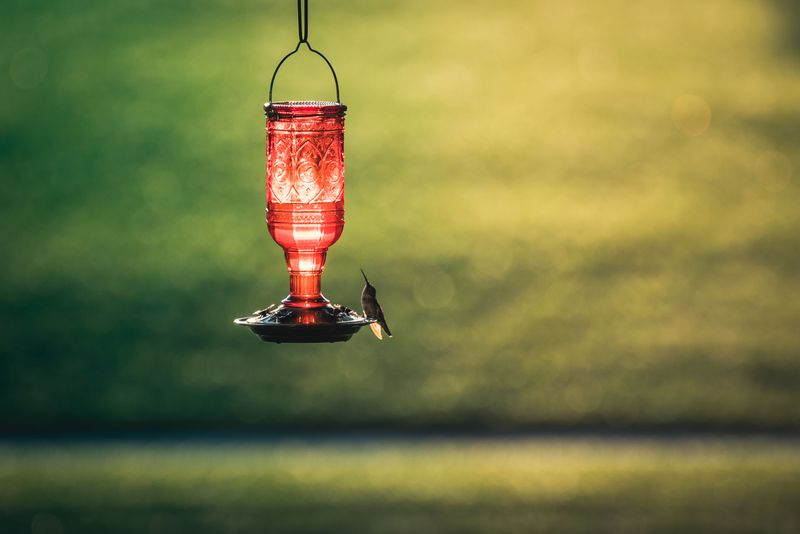
Sunlight feels welcoming, but your feeder does not agree. Hanging a hummingbird feeder in full direct sun is one of the fastest ways to ruin perfectly good nectar. Heat accelerates fermentation and encourages mold growth at a much faster rate.
A feeder left in afternoon sun can reach temperatures that spoil nectar within a single day. That means you could be offering birds a contaminated drink just hours after a fresh fill.
Placement matters more than good intentions alone. Shade is your best friend when choosing a feeder location. Look for a spot that gets morning sun but sits in shade during the hottest part of the afternoon.
East-facing locations often work well for this balance. Partial shade also keeps the feeder cooler overall, which slows fermentation naturally. You will not need to change the nectar as often, which saves both time and sugar.
Placement is free, and it does a lot of the preservation work for you. Another bonus of shaded placement: hummingbirds actually feel safer feeding in areas with nearby cover.
Trees, shrubs, and tall plants nearby give them a quick escape route if a predator appears. Shade and shelter often go hand in hand in a well-designed yard.
If your yard has limited shade, consider adding a simple patio umbrella or hanging the feeder under a porch overhang.
Small adjustments in placement make a measurable difference. Your nectar will stay fresher longer, and the birds will visit more confidently.
6. Leaving Nectar Out Too Long During Hot Spells
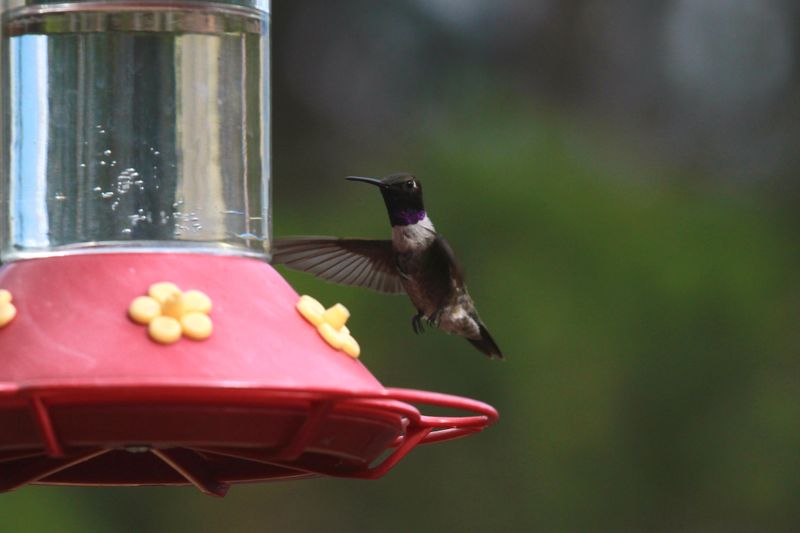
Minnesota summers can surprise you with stretches of intense heat that push temperatures well past 90 degrees.
During those hot spells, the rules for nectar freshness change dramatically. What was fine on a 65-degree day becomes a health hazard on a 95-degree afternoon.
Nectar left out for more than 24 hours in extreme heat is already fermenting. The liquid may look clear, but invisible bacteria are already multiplying inside.
Hummingbirds that drink fermented nectar can develop a fungal condition that seriously affects their health.
The fix is straightforward: shorten your refill schedule when the forecast heats up. During heat waves, plan to change nectar every single day.
Yes, that means more work, but it also means healthier birds visiting your yard all season long.
Smaller feeders help here because they hold less nectar, so less goes to waste when you dump and refill daily.
Filling a large feeder to the brim during a heat wave just creates more spoiled liquid to throw away. Matching feeder size to weather conditions is a smart seasonal strategy.
Another helpful trick is to make nectar in small batches and store extra in the refrigerator. Refrigerated nectar can stay fresh for about one to two weeks, depending on storage conditions.
Having a cold batch ready makes daily swaps faster and less of a chore. Pay attention to the forecast the same way you check it for gardening or outdoor plans.
Hummingbird feeder care and weather awareness go together, especially during a Minnesota summer heat streak.
7. Choosing One Oversized Feeder Over Several Smaller Ones
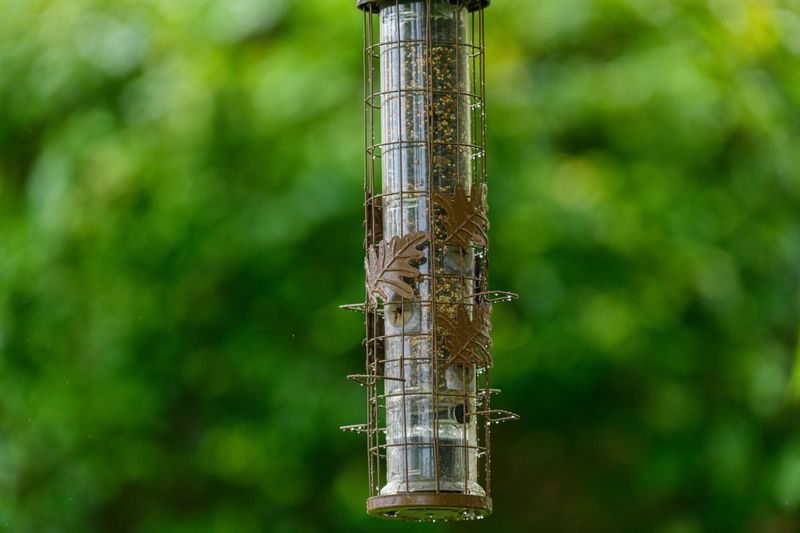
Bigger is not always better, especially when it comes to hummingbird feeders. One giant feeder might seem like the easiest solution, but it actually creates more problems than it solves.
The biggest issue is that large feeders hold more nectar than a small group of birds can consume before it spoils.
Hummingbirds are also fiercely territorial. One dominant male will often claim a large feeder and chase away every other bird that tries to approach.
You end up feeding one bird instead of several, and that one bird is spending more energy defending than eating.
Spreading out two or three smaller feeders across your yard disrupts that territorial behavior.
When a bully bird cannot guard multiple feeders at once, other hummingbirds finally get a turn. More feeders mean more birds, which is exactly what most people want.
Smaller feeders also mean smaller nectar batches, which is a hidden advantage during warm weather.
Less nectar per feeder means you waste less when you dump and refill on schedule. Freshness is easier to maintain when you are not managing a large volume every time.
Place smaller feeders out of sight from each other when possible. If one feeder is visible from another, the territorial bird will still try to guard both. Distance and visual barriers like shrubs or fences help break that sightline.
Think of your yard as a hummingbird neighborhood, not a single restaurant. Multiple feeding stations create a welcoming space for every visiting bird, not just the pushiest one.
8. Ignoring Mold Or Cloudiness Signs Before Refilling
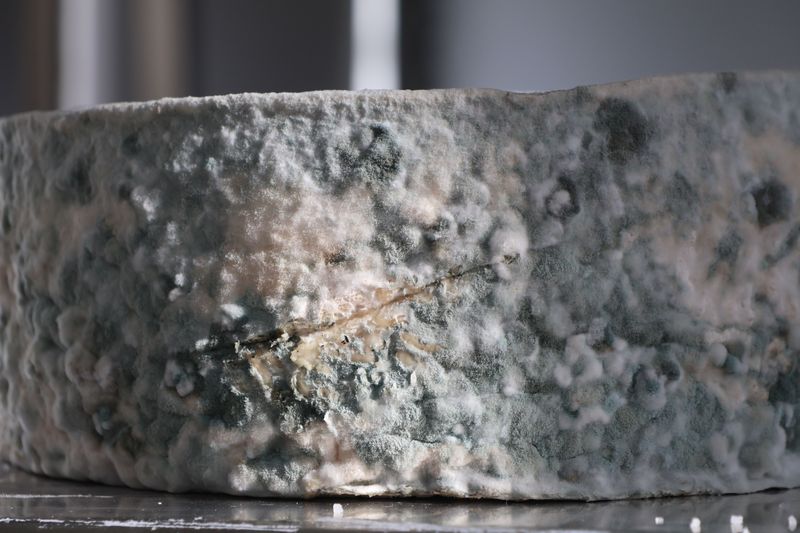
Cloudy nectar is never a coincidence. If the liquid inside your feeder has gone from crystal clear to hazy or yellowish, that is a sign of bacterial growth or early fermentation.
Refilling over cloudy nectar without cleaning first is one of the most common hummingbird feeder mistakes people make without realizing it.
Black or dark green spots inside the feeder are mold colonies. Mold can form on the inner walls, around the feeding ports, and inside the narrow neck of the reservoir. These spots do not just look bad, they actively contaminate any fresh nectar you add.
Always inspect your feeder before every single refill. Hold it up to natural light and look through the walls carefully. A quick visual check takes ten seconds and can prevent serious harm to the birds.
If you spot cloudiness, dump the nectar immediately and deep clean the feeder before adding anything new. Do not try to rinse out cloudiness with just water. Bacteria that cause that haziness need a proper bleach soak to be fully removed.
Mold that keeps returning even after cleaning may mean your feeder has scratches or cracks where spores hide. Plastic feeders in particular develop micro-scratches over time from scrubbing.
When that happens, replacing the feeder is the most responsible choice. Keeping a close eye on your feeder is one of the simplest forms of hummingbird feeder care you can offer.
A two-second inspection before each refill protects these remarkable little birds all season long in your Minnesota backyard.