The One Fall Task That Protects Georgia Hydrangeas Through A Wet Winter
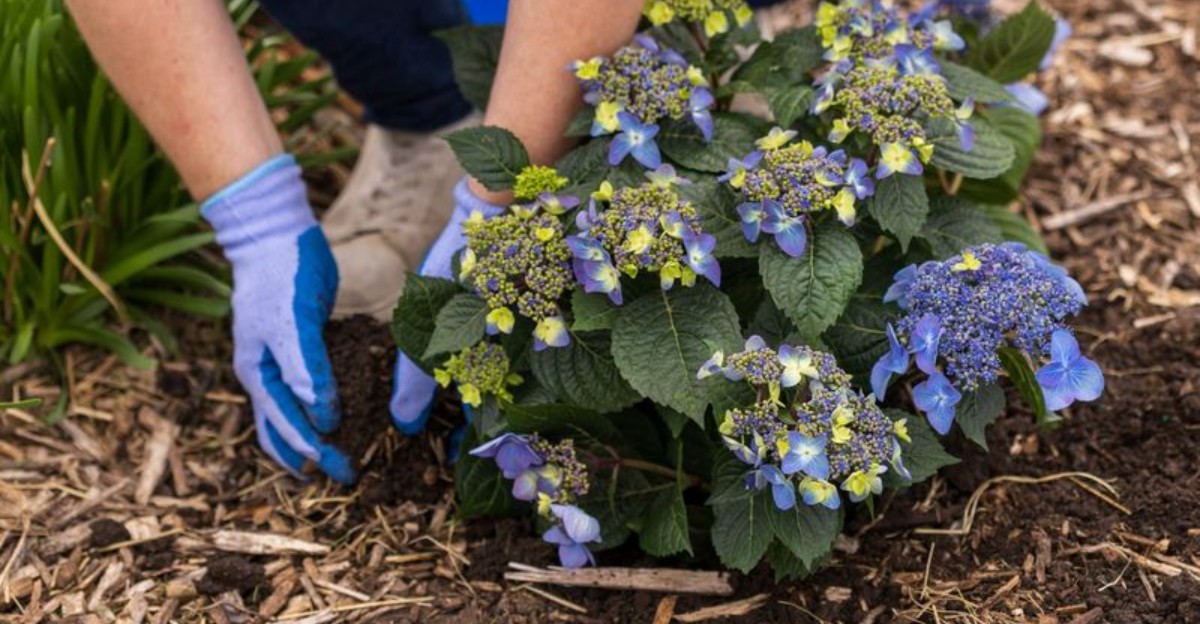
Phytophthora root rot ranks among the most damaging plant diseases in Georgia landscapes, and soggy winter soil gives it a head start. I was surprised to learn that a shrub can wilt while standing in wet ground.
That odd picture explains a lot. Roots sitting in cold, waterlogged clay can’t breathe, so they stop pulling up water.
The plant looks thirsty even though the soil is soaked.
For the longest time, I blamed cold weather whenever my shrubs started looking miserable.
Then I started paying attention to what happened under the surface during long, gray weeks of rain. You need to look down, not just up, when winter arrives.
One helpful step is cheap, quick, and a little messy. It takes one afternoon, a rake, and something many of us already pile up every November.
Could your yard already be hiding the answer?
1. Those Wilting Hydrangea Leaves May Be Standing In Too Much Water
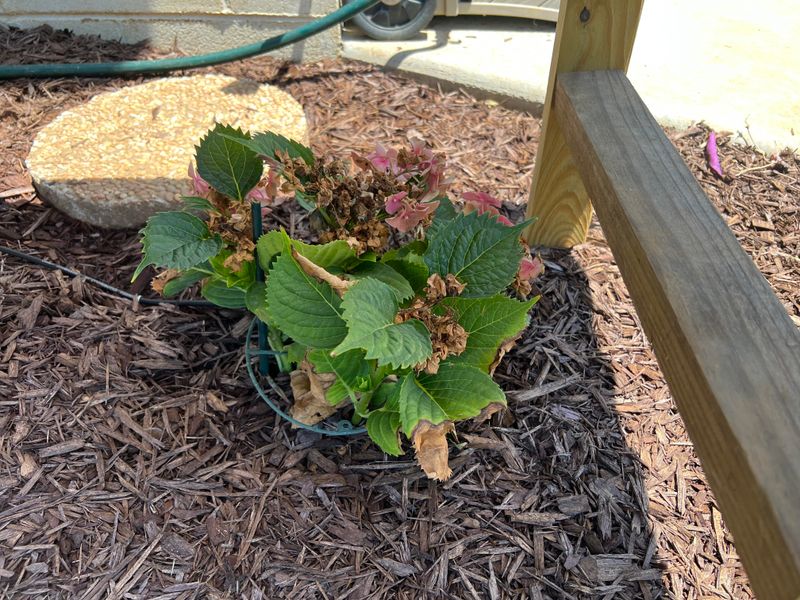
A wilted hydrangea in a puddle sounds like a riddle. Many gardeners see droopy leaves and grab the hose, which can make things worse.
Hydrangeas love steady moisture in summer. Their roots also need air, though, and saturated soil pushes that air out.
When roots sit in cold, soggy ground for weeks, they weaken and start to rot.
Root rot fungi and water molds, such as Phytophthora, thrive in these conditions. UGA Extension lists root rot among the most serious problems in Georgia landscapes.
Heavy red clay, common across the Piedmont, holds water like a bowl, so the trouble shows up fast there.
There are a few warning signs to watch for. Leaves may wilt even when the soil is wet, turn yellow or pale, and stems may start to decline from the tips.
By the following spring, the shrub may also show signs of stunted growth.
This happens because damaged roots struggle to absorb water and nutrients. As a result, the shrub can look thirsty even when the soil has plenty of moisture, making the problem easy to mistake for underwatering.
I like to do a simple finger test before I water anything in late fall. Push a finger two inches into the soil near the drip line.
If it feels cool and damp, skip the watering can and walk away.
2. A Thick Layer Of Mulch Around Your Hydrangeas Is The Real Hero
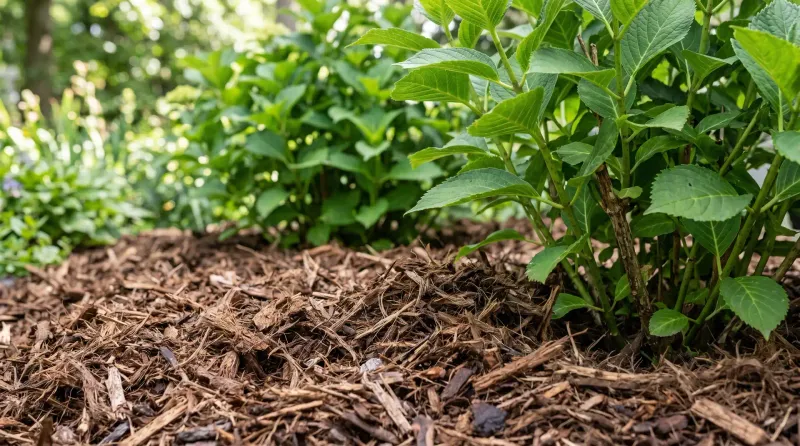
Mulch can help protect hydrangea roots, but proper drainage is just as important during wet winters. A good organic layer spread in fall acts like a soft roof over the root zone.
So how does a blanket help during a wet season? First, it stops pounding rain from sealing the soil surface.
Bare clay crusts over after hard storms, and crusted soil sheds water unevenly and traps it in low spots.
Second, mulch evens out soil temperature. Georgia winters bounce between mild afternoons and freezing nights.
Those swings can stress shallow roots, and mulch slows the changes down.
Third, organic mulch slowly breaks down into the soil. Over time, improved soil structure can help water move through the soil more effectively, although mulch alone cannot fix serious drainage problems.
Your Georgia Garden Changes Every Week. Your Plan Should Too.
Gardening in Georgia changes quickly throughout the season. Every Friday you’ll receive a simple weekly plan showing exactly what to plant, prune, fertilize, harvest, and protect so you never miss the right timing.
Mulch also keeps soil from splashing onto lower leaves. Rain splash spreads fungal spores, so a covered bed stays cleaner.
I believe this is the easiest garden job with the biggest payoff. You don’t need special tools or pricey products.
A wheelbarrow, a rake, and a free afternoon will do.
3. Pine Straw Might Be The Best Hydrangea Mulch In The South
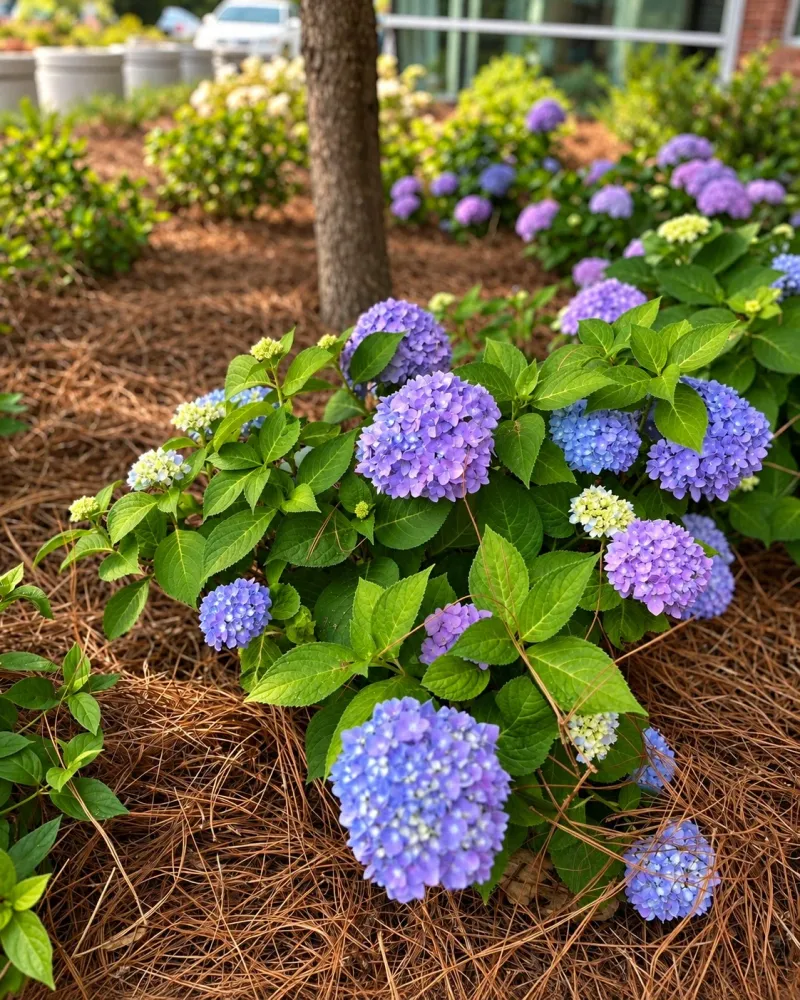
Drive through any Georgia neighborhood in fall and you’ll spot bales of pine straw stacked by driveways. There’s a smart reason this local favorite shows up everywhere.
Pine needles knit together as they settle. That interlocking mat stays put during heavy rain and gusty wind.
It also lets water and air pass through easily, which soggy roots appreciate.
A common worry is that pine straw makes soil too acidic. Research from extension services shows the effect is small.
It won’t magically turn your pink blooms blue, so relax about that.
Other solid choices include:
Shredded hardwood or pine bark, which lasts longer and looks tidy. Shredded fall leaves, which are free and break down into rich organic matter.
Aged compost spread thin under another mulch.
Shredding leaves matters more than you’d think. Whole leaves, especially big oak or magnolia leaves, can mat into a soggy layer that blocks air.
Run them over with a mower first.
Skip fresh wood chips right against young plants. They can borrow nitrogen from the surface soil while they decompose.
Rubber mulch and plastic sheeting are poor picks too, since they trap moisture and add nothing to the soil.
4. Keep That Mulch Pulled Back From The Hydrangea Stems
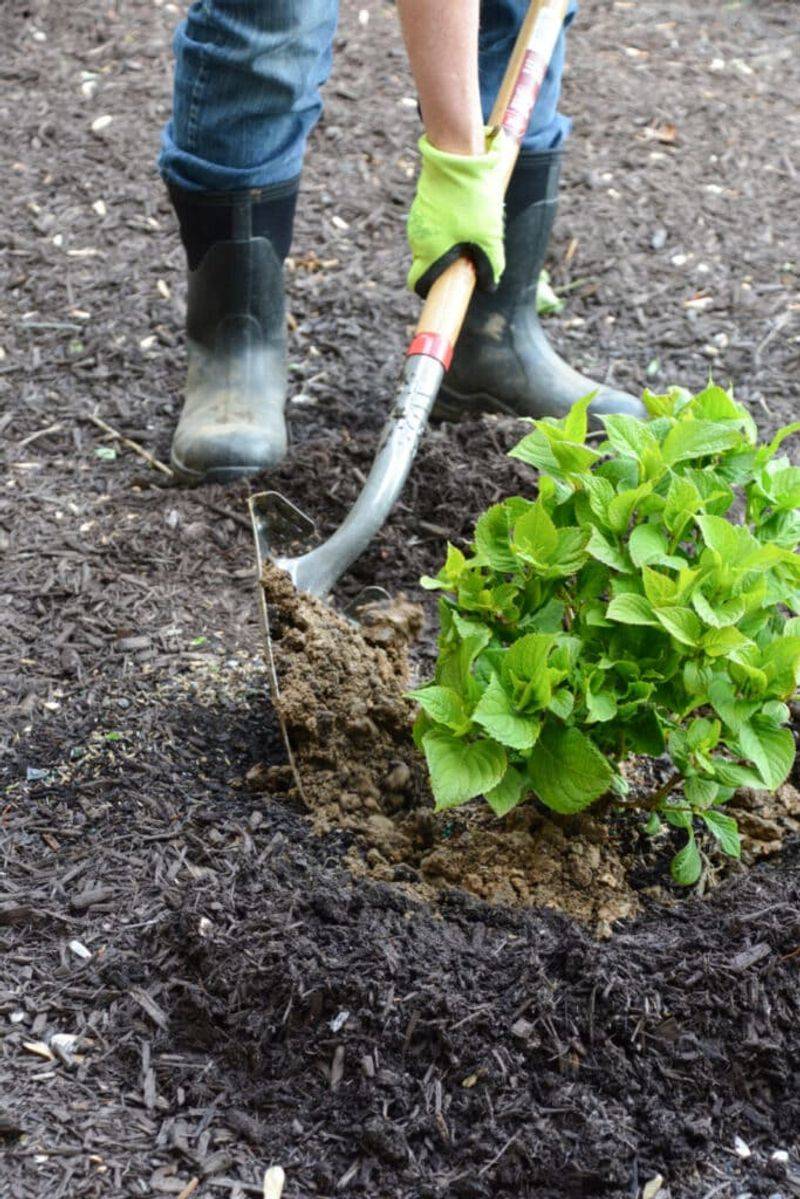
Mulch volcanoes are a real thing, and they cause real trouble. You’ve probably seen them, those tall cones piled against trunks and stems.
Hydrangea stems need to stay dry at the base. When mulch presses against them, it holds moisture right where bark meets soil.
That damp spot invites stem rot and fungal problems, and it gives voles a cozy hiding place.
Here’s the simple recipe:
Spread mulch 2 to 3 inches deep across the root zone. Extend it out to the drip line, where the outer branches end, or a little past.
Leave a gap of about 2 to 3 inches around the main stems.
Picture a donut, not a pile. The center stays open while the ring covers the roots.
Depth matters too. Too thin, and weeds and rain splash break through.
Too thick, more than about 4 inches, and the layer can stay soggy and keep air from reaching the soil, which defeats the whole purpose.
If old mulch is still there from last year, check its depth before adding more. Fluff matted layers with a rake so they breathe again.
Sometimes a light top-up is all you need.
5. Late Fall Is The Sweet Spot For Mulching Hydrangeas
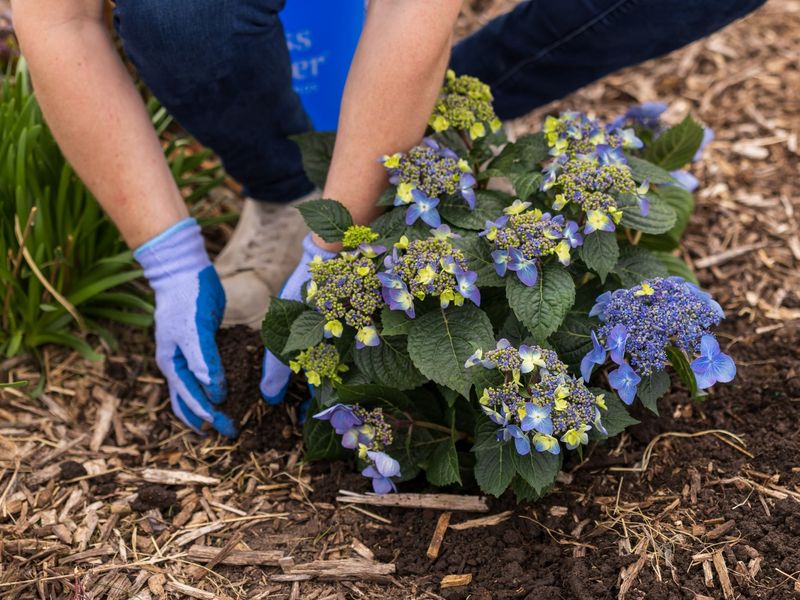
Timing can feel tricky in a state that stretches from mountain coves to coastal marsh. Georgia covers roughly USDA zones 7a in the north to 9a near the coast, so the calendar shifts as you travel south.
A good general target is after the leaves begin dropping and growth has slowed. For many gardens, that means mid-November through December.
North Georgia gardeners often mulch a bit earlier, while folks in Savannah or Valdosta can wait longer.
Why not mulch in September? Warm soil and early mulch can keep plants growing when they should be slowing down.
Tender late growth handles cold snaps poorly.
A handy signal is the first light frost or the moment your hydrangea leaves start falling. That tells you the shrub is heading into rest.
Your local county extension office can also share average frost dates for your area.
Mulching before the heaviest winter rains arrive gives the soil protection when it counts most. In much of the state, December through March brings frequent soaking rains.
You want that cover in place first.
One fun bit of history: southern pine forests have supplied pine straw for gardens for generations, and harvesting it is a real industry in parts of south Georgia. So your fall mulch might come from just down the road.
6. Heavy Red Clay Around Your Hydrangeas Needs Extra Help
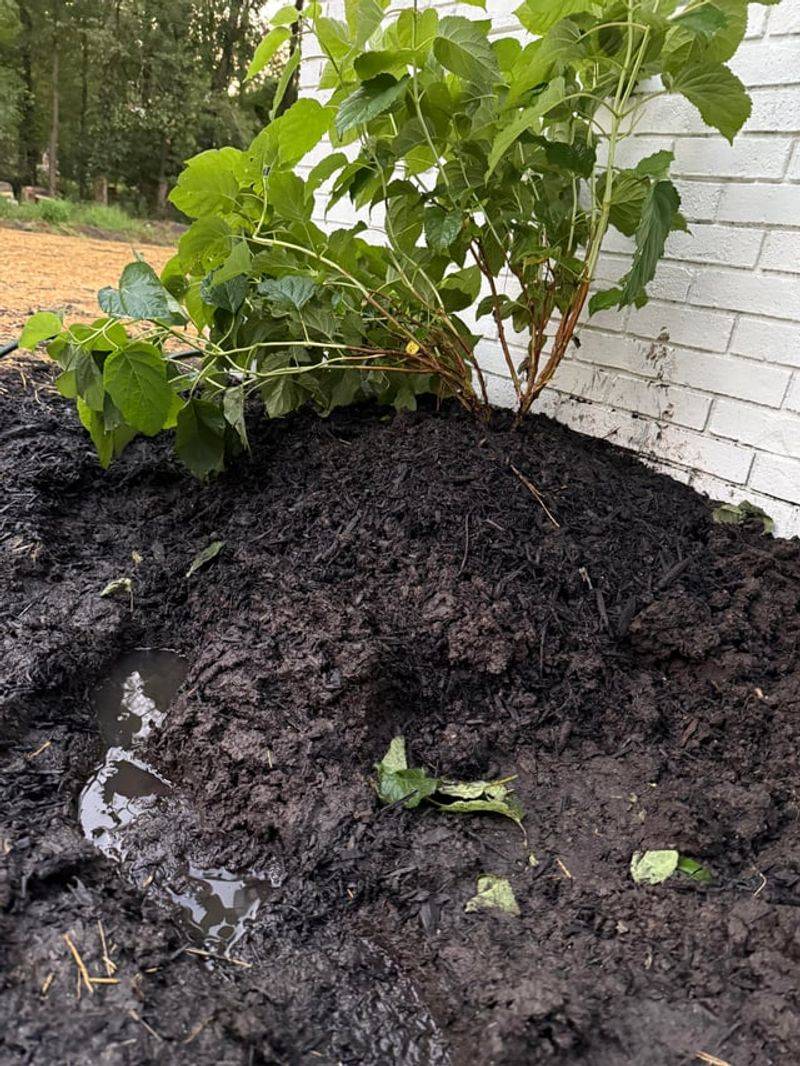
Georgia red clay could hold a grudge forever. It packs tight, drains slowly, and turns slick as soap after a week of rain.
Mulch helps, but clay sometimes needs a little backup. The goal is adding organic matter so tiny clay particles clump into bigger crumbs.
Those crumbs leave room for water to move and roots to breathe.
Good soil helpers include compost and fine pine bark, often sold as soil conditioner. UGA Extension often suggests organic amendments like these for improving clay beds.
Spread an inch of compost on the surface under your mulch each fall.
For established shrubs, skip deep digging. Hydrangea roots spread wide and shallow, and a shovel can tear them.
Let worms and soil life pull the compost down over time.
Planting something new? That’s the moment to fix drainage properly.
Work amendments into a wide area, not just a small hole. A small amended hole in clay can act like a bathtub and fill up with water.
If a spot stays soggy for days after rain, consider moving the plant. Dormant season, roughly late fall to late winter, is the best time to transplant hydrangeas.
A slightly raised bed or gentle slope can make a huge difference.
7. Put Down The Pruners On Bigleaf And Oakleaf Hydrangeas
Fall cleanup fever hits a lot of us. Everything looks scraggly, and those brown flower heads beg to be chopped.
Hold on before you snip.
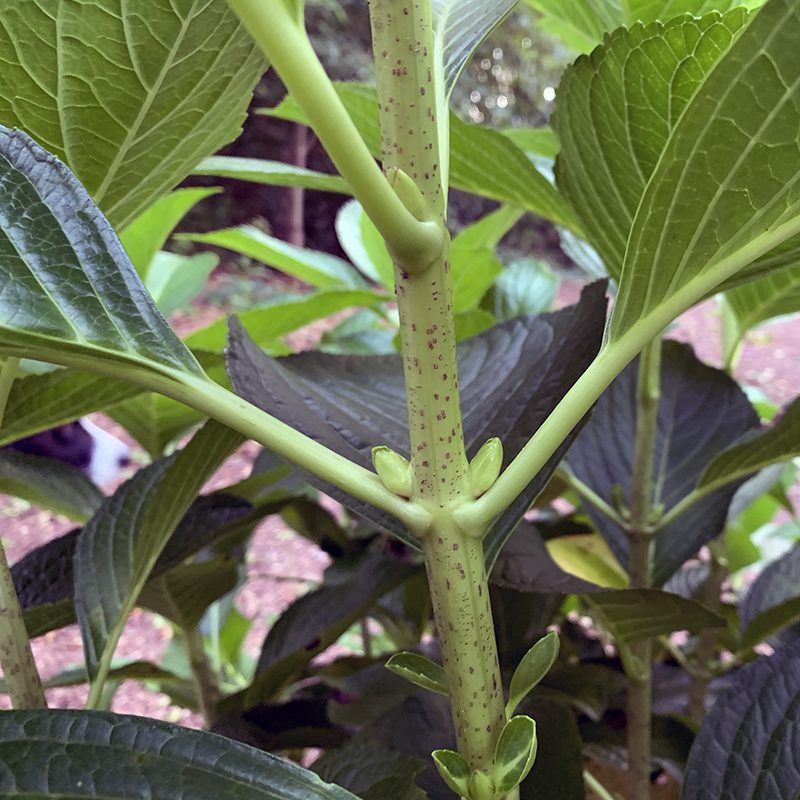
Bigleaf hydrangeas, including mopheads and lacecaps, mostly bloom on old wood. So does oakleaf hydrangea, a native shrub that grows wild in Georgia.
These plants set next summer’s flower buds on stems in late summer and fall.
Cut them back now, and you cut off next year’s show. That’s one of the most common reasons people get leafy shrubs with zero flowers.
The best time to prune these types is right after they finish blooming in summer.
Some reblooming bigleaf types, like the Endless Summer series, also flower on new growth. Even so, fall pruning still costs you early blooms.
Panicle hydrangeas, such as Limelight, and smooth hydrangeas, such as Annabelle, bloom on new wood. These can be pruned in late winter or very early spring without losing flowers.
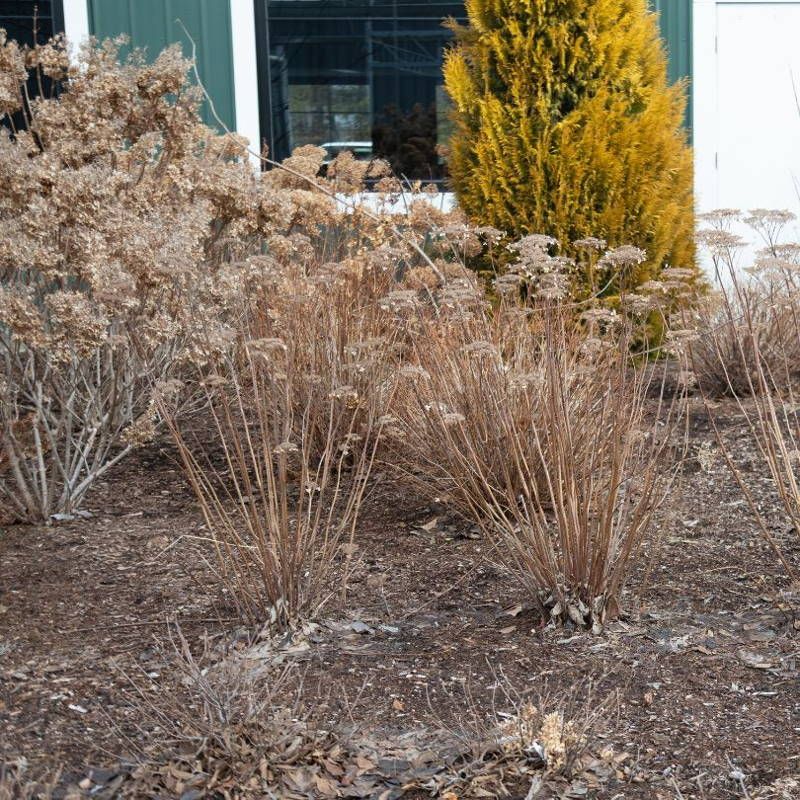
Leave the dried blooms on old-wood types through winter. They add texture, catch frost beautifully, and may offer a little shelter to the buds below.
Any season works for removing broken, diseased, or clearly lifeless stems, though. Clean cuts and better airflow help reduce fungal problems in damp weather.
Be sure to disinfect your pruning tools between plants if disease is present.
8. Check Your Mulched Hydrangeas After Big Winter Storms
A quick walk after a big storm tells you more than any gardening book. Grab a jacket and peek at your beds once the rain stops.
Look for washed-out spots where mulch slid away from roots. Rake it back into place, keeping that small gap near the stems.
Pine straw rarely moves much, but bark can float off in heavy downpours.
Notice where puddles linger. Water that stands for a day or more marks a drainage problem worth fixing in spring.
A shallow swale or a downspout extension can steer runoff away from your shrubs.
Watering is rarely needed in a wet winter. During a dry spell of a few weeks, though, give established plants a deep drink on a mild day.
Container hydrangeas need extra attention, since pots can dry out or stay soaked depending on drainage holes.
Skip fertilizer until spring growth begins. Feeding dormant plants mostly washes nutrients away and can push tender growth at the wrong time.
Come spring, check the mulch depth again. Some will have broken down, which is exactly what you want.
Top it off to keep moisture steady through Georgia’s hot summer.