How Just 5 Minutes Every 3 Years Can Give You The Greenest Lawn Ever

Want the secret to a lush, green lawn without spending hours on upkeep? It’s simpler than you think!
In just five minutes, every three years, you can give your lawn the boost it needs to stay thick, healthy, and gorgeous.
No need for constant mowing or watering, just a little trick that’ll keep your lawn thick and strong. Sounds too good to be true, right? Well, it’s not. It’s all about dethatching – and trust me, it works wonders.
Curious to know more about it? If so, just keep reading!
What’s Thatch And Why Should You Care?
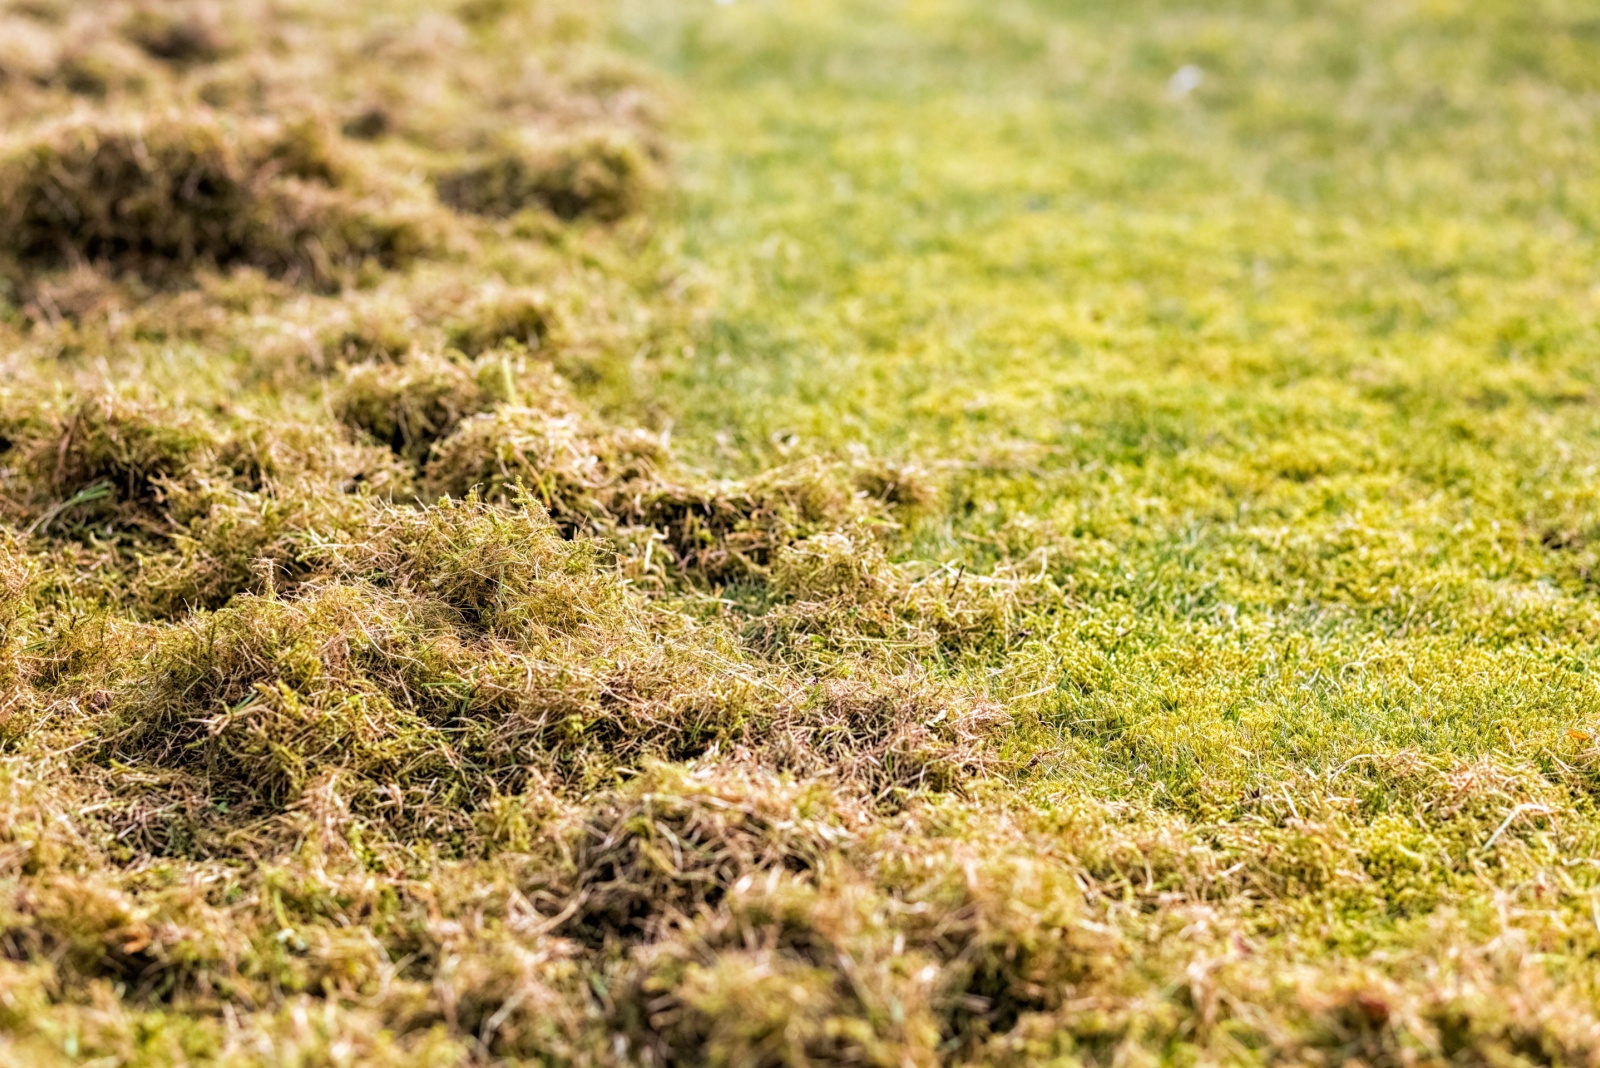
Thatch is that pesky mat of dead grass, roots, and organic debris that sits above your soil. A little bit is OK – it helps keep moisture in, but too much? It can starve your grass of water, sunlight, and air.
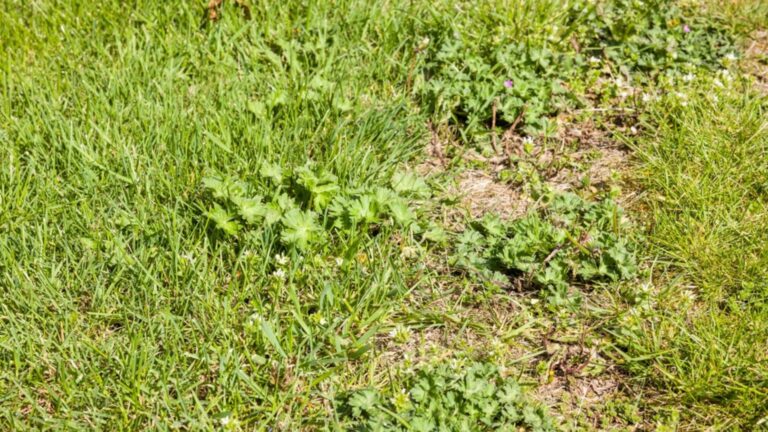
So, if you’ve noticed brown patches or just a general “meh” vibe from your lawn, it’s probably time to dethatch. One of the best pros of dethatching is that it will leave your lawn looking absolutely stunning.
Don’t worry, you’re not alone – I learned the hard way that too much thatch can turn your lawn into a sad little haystack.
When’s The Right Time To Dethatch?
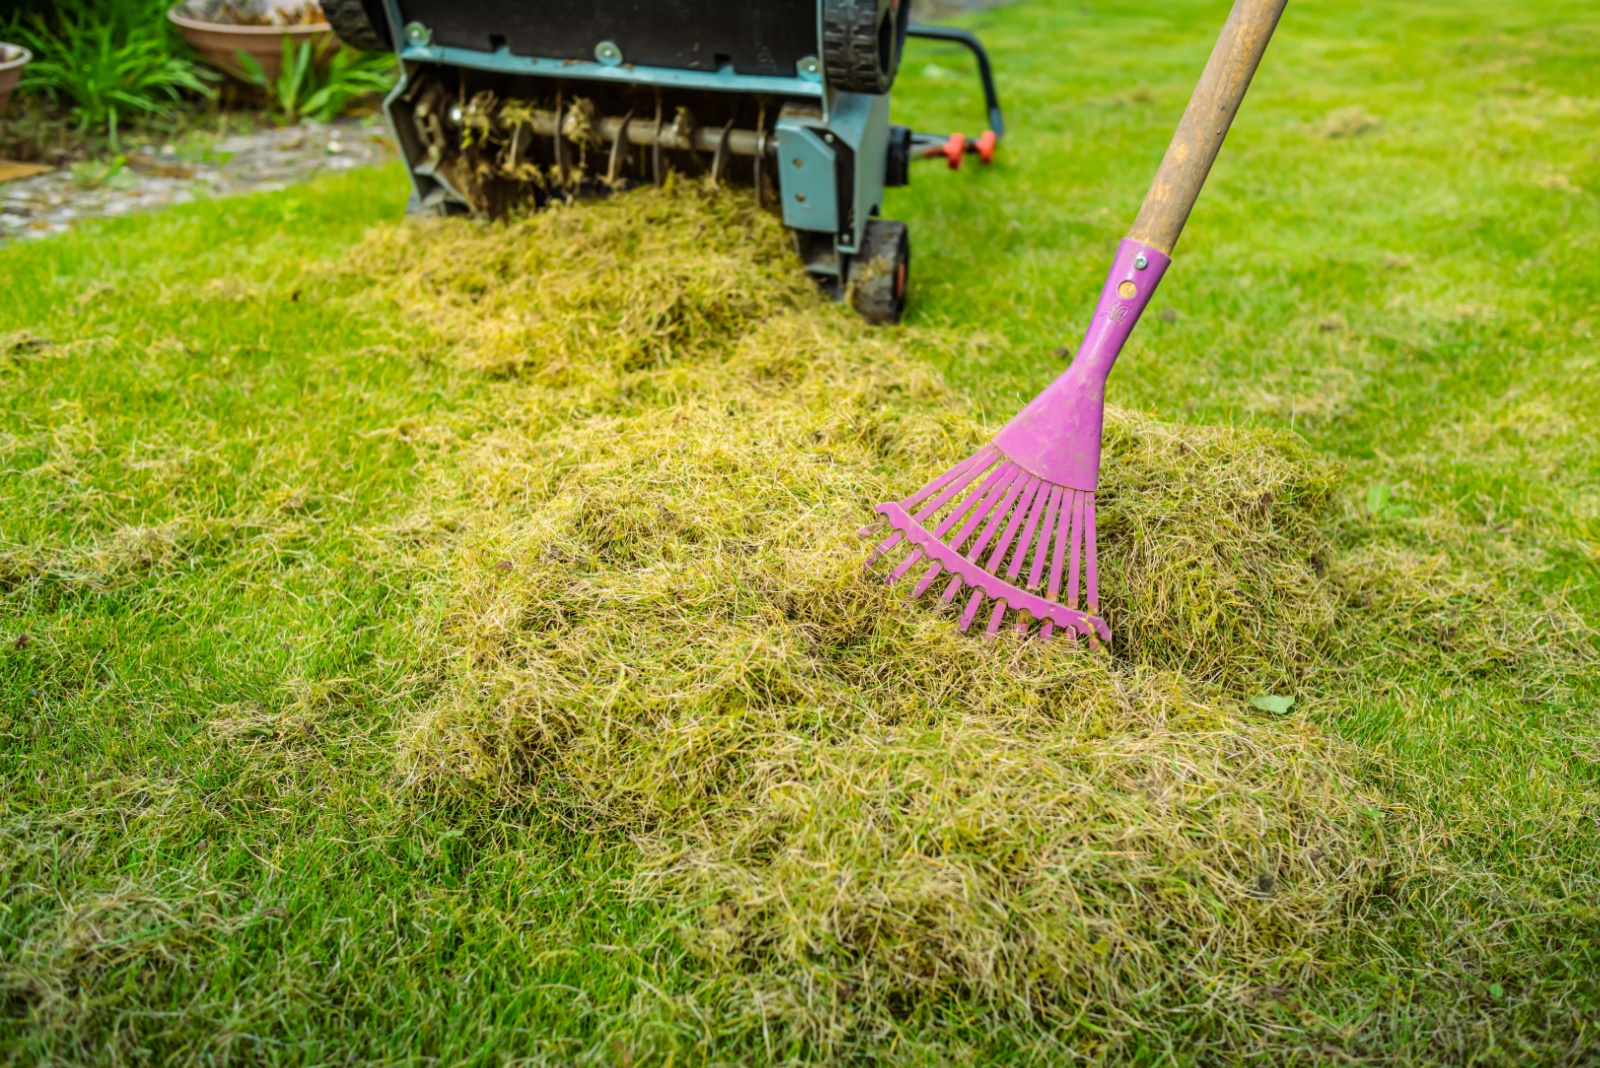
The good news is that you don’t need to dethatch all the time, just every couple of years. And timing matters!
I found that spring is the perfect time to dethatch, whether you have warm-season or cool-season grass. It’s like a spring cleaning for your lawn (but with a rake instead of a mop!).
So grab a rake (or rent a vertical mower if you’re feeling fancy) and check for thatch over half an inch thick. If it’s there, it’s time to get to work!
How To Dethatch Like A Gardening Professional
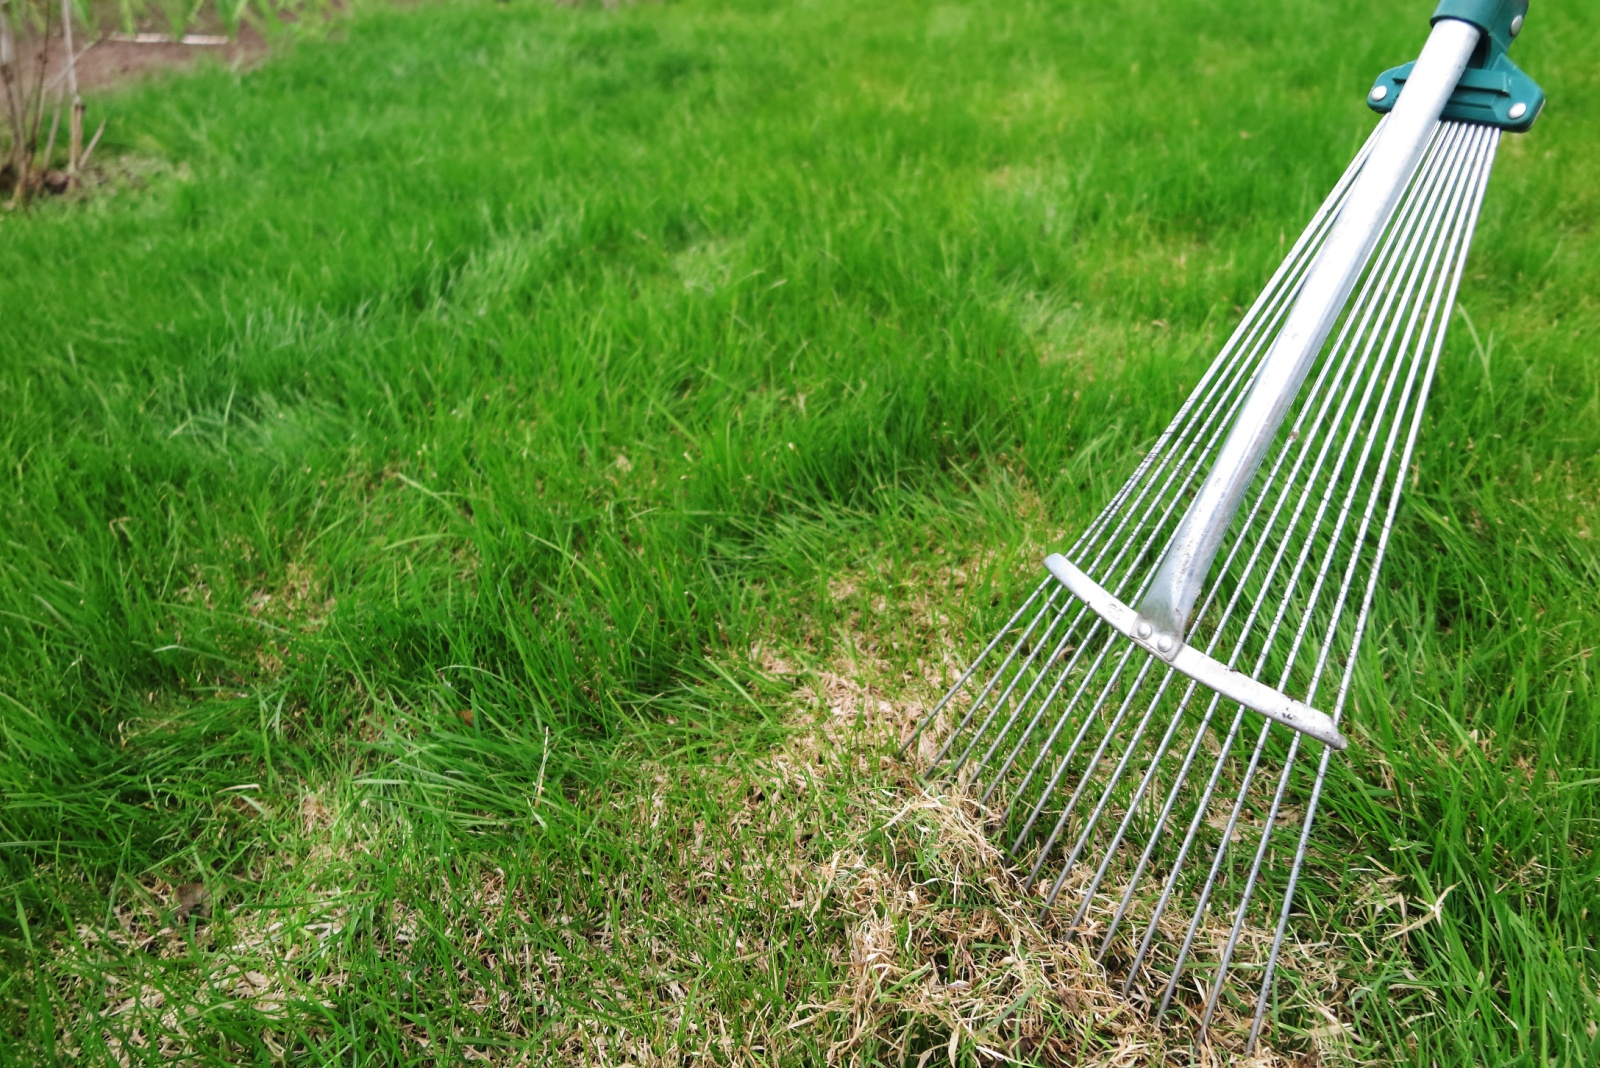
Dethatching isn’t as scary as it sounds – it’s like raking, but with a purpose!
Here’s how you can tackle it:
1. Prep your lawn – mow it first. You don’t want your dethatching tool to get caught on tall grass.
2. Water lightly – just a little water to protect those delicate grass roots.
3. Rake in a crisscross pattern – trust me, this makes sure you get every spot, and you’ll feel like a lawn ninja.
4. Clean up the mess – after you’ve loosened all that thatch, rake up the debris (and feel incredibly accomplished).
After Dethatching: The Recovery Phase
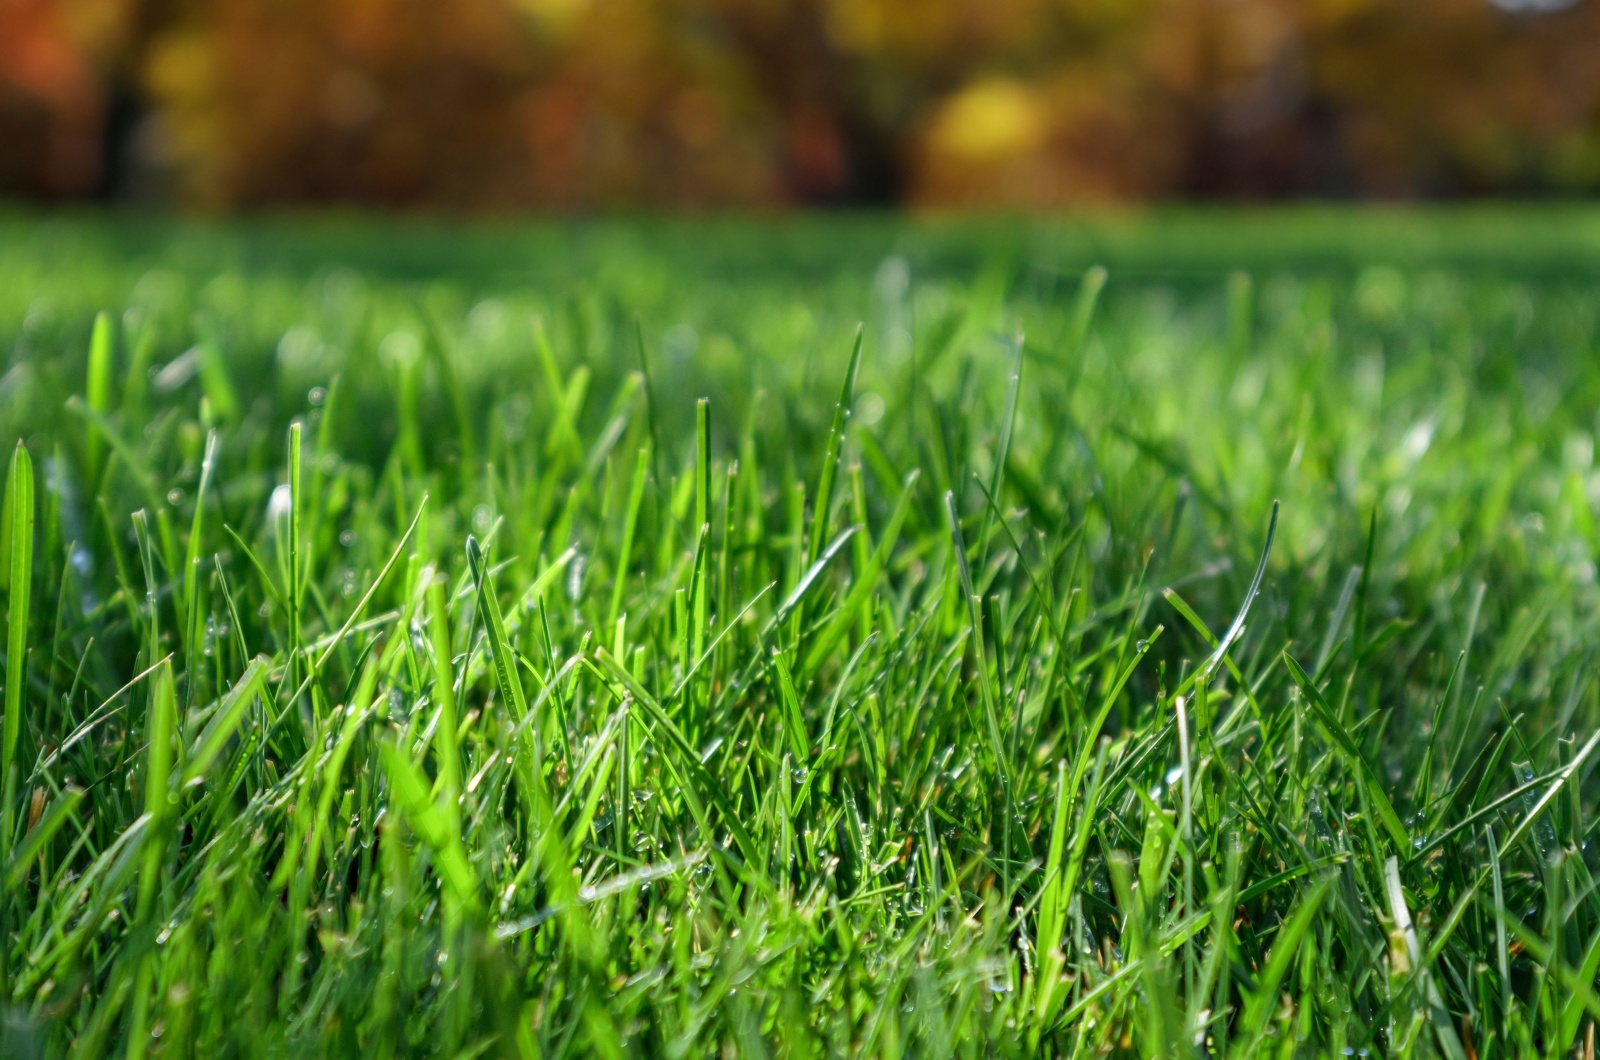
Alright, so now you’ve dethatched – your lawn’s probably a little tired, but no worries! Time to give it some TLC.
Fertilize, reseed if needed, and water regularly. In about two to three years, you’ll only need to repeat this process. Yup, it’s that easy!
Who knew that the secret to a green and thick lawn could be so simple and involve so little effort?
Dethatching may take just a few minutes, but it can make a huge difference. Now that you know this trick, give your lawn the love it deserves – your grass will thank you in no time!
Give Your Lawn Some Breathing Room
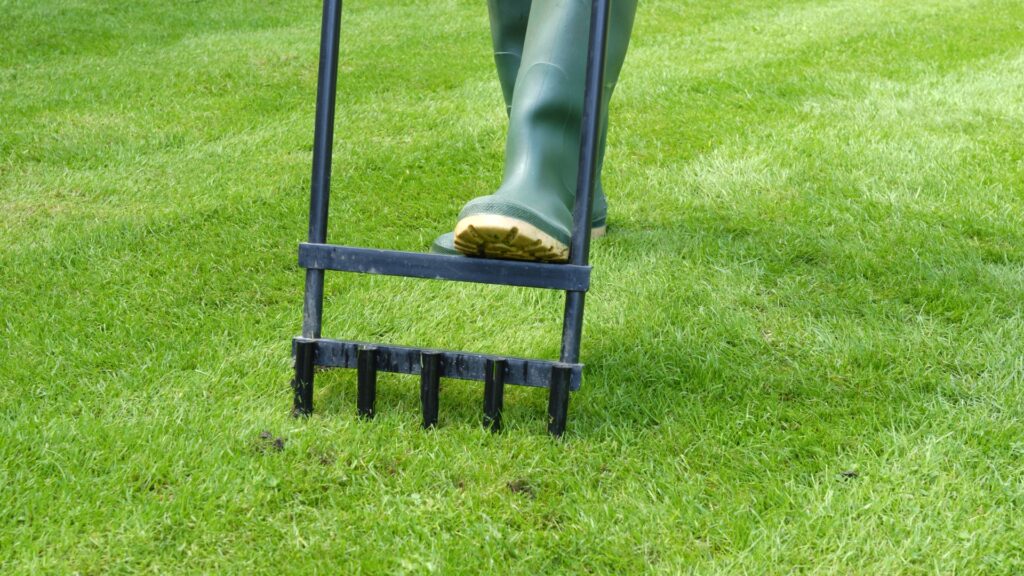
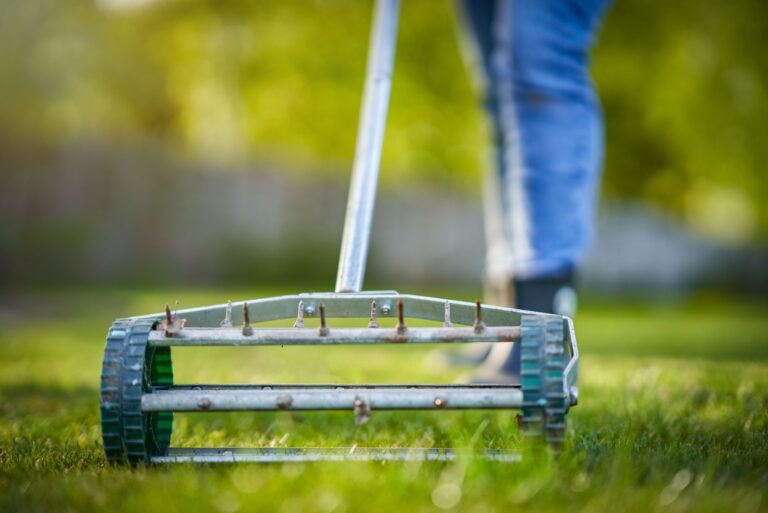
After dethatching, your lawn is primed for the next level of care—aeration. Think of it like giving your grass a deep breath of fresh air. Over time, soil gets compacted from foot traffic, rain, and even just regular mowing. When that happens, water and nutrients struggle to reach the roots.
I learned this the hard way when my lawn started looking patchy despite regular watering. A simple aeration session (just poking holes in the soil using a manual or machine aerator) worked wonders!
Now, my grass soaks up all the good stuff and grows stronger than ever. Bonus tip: If you aerate right after dethatching, your lawn will recover faster and look greener in no time.
Compost And Lawn Food For A Happy Yard
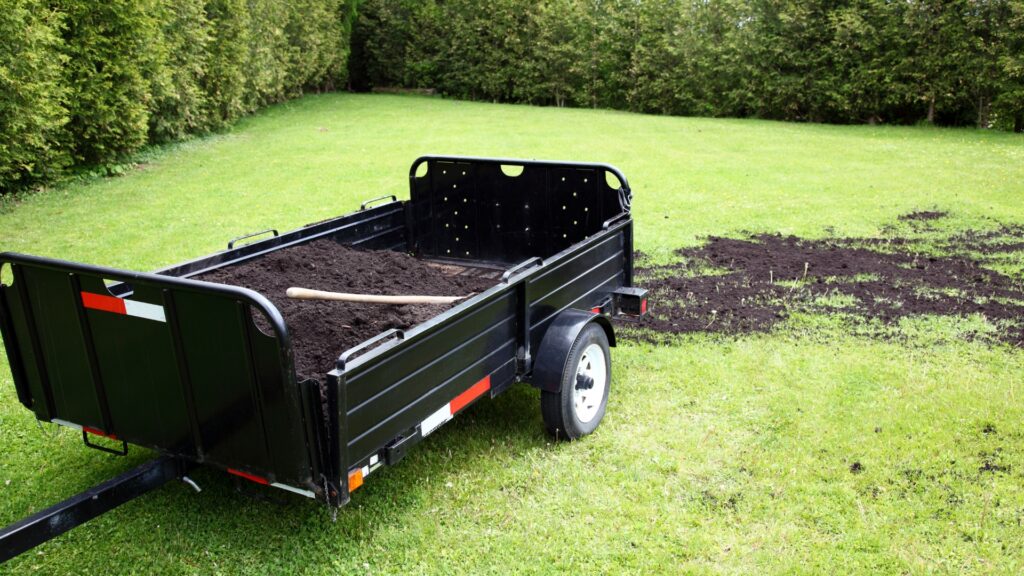
Once your lawn is dethatched and aerated, it’s time for a little nourishment. Think of it like a post-workout smoothie—your grass needs a nutrient boost! A light layer of compost or organic lawn food does wonders, replenishing the soil and helping new grass grow thick and lush.
I used to skip this step, thinking my lawn didn’t need extra feeding. Big mistake! The first time I added a thin layer of compost after dethatching, my grass bounced back quicker and looked healthier than ever.
Trust me, it’s a game-changer—your lawn will practically glow with gratitude.

