The Secret To Planting North Carolina Shallots In October For A Bigger Summer Harvest
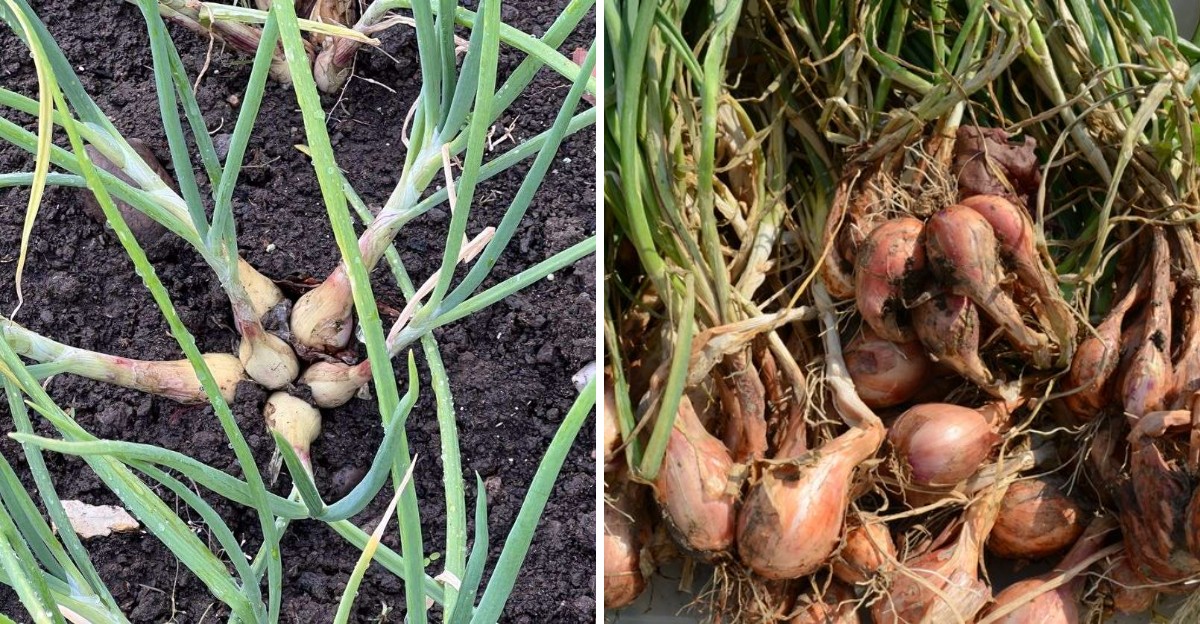
Shallots planted in October have a real advantage over those planted in spring, getting a crucial head start on root development before winter cold slows everything down.
This fall-planted timing allows shallots to establish strong roots during the mild weeks before frost, then resume vigorous growth the moment soil warms again in spring, well ahead of any spring-planted competition.
Fall planting gives shallots time to establish roots and leaves before spring, when lengthening days trigger bulb formation.
The exact response depends on variety and local conditions. Timing this planting correctly, not too early and not too late, makes a real difference in how well the crop performs.
Getting shallots into the ground this October can mean a noticeably bigger, more productive harvest by next summer.
1. Choose The Right Fall Planting Window
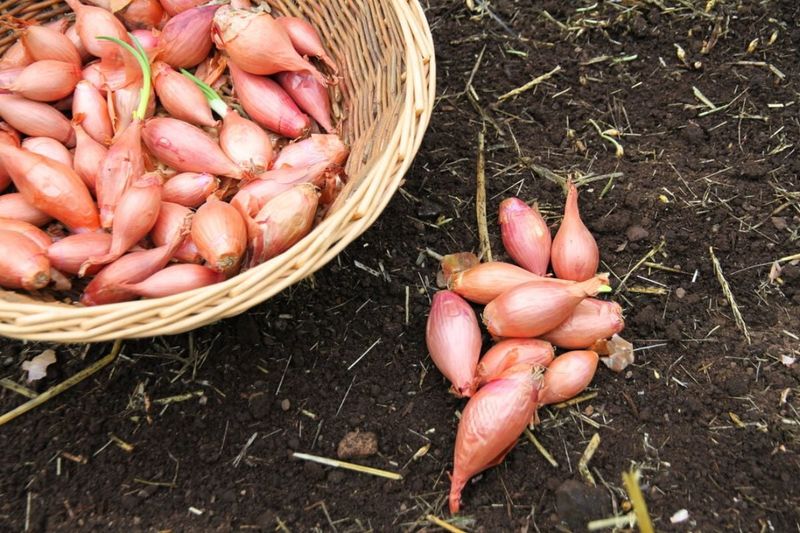
Ask three gardeners in North Carolina when to plant shallots, and you might get three different answers. They could all be right. Our state stretches from the Blue Ridge Mountains to the Outer Banks, and the weather changes a lot along the way.
Out west in the mountains, cold weather shows up early. Gardeners there often plant in late September or early October so roots can grow before the ground gets too chilly.
Some mountain growers even wait and plant in early spring instead, since hard freezes can push small sets out of the soil.
Down in the Piedmont, October into early November usually works well. Along the coast, where winters stay milder, many gardeners plant from late October through November.
A good rule is to aim for about four to six weeks before your first hard freeze, which gives roots time to settle in.
Soil temperature is another helpful clue. Shallots like to root when the soil has cooled from summer heat but is still workable, often in the 50s and 60s Fahrenheit. A cheap soil thermometer can take the guesswork out of it.
Variety matters too. Some shallots, like certain French types, handle cold better than others, while seed-grown types may follow different timing. Check the seller’s notes or your local NC State Extension office for advice that fits your county.
So think of October as a starting point, not a firm rule. Watch your local weather, check the soil, and plant when the conditions line up. That small bit of patience can pay off with fuller clusters come summer.
2. Start With Healthy Shallot Sets
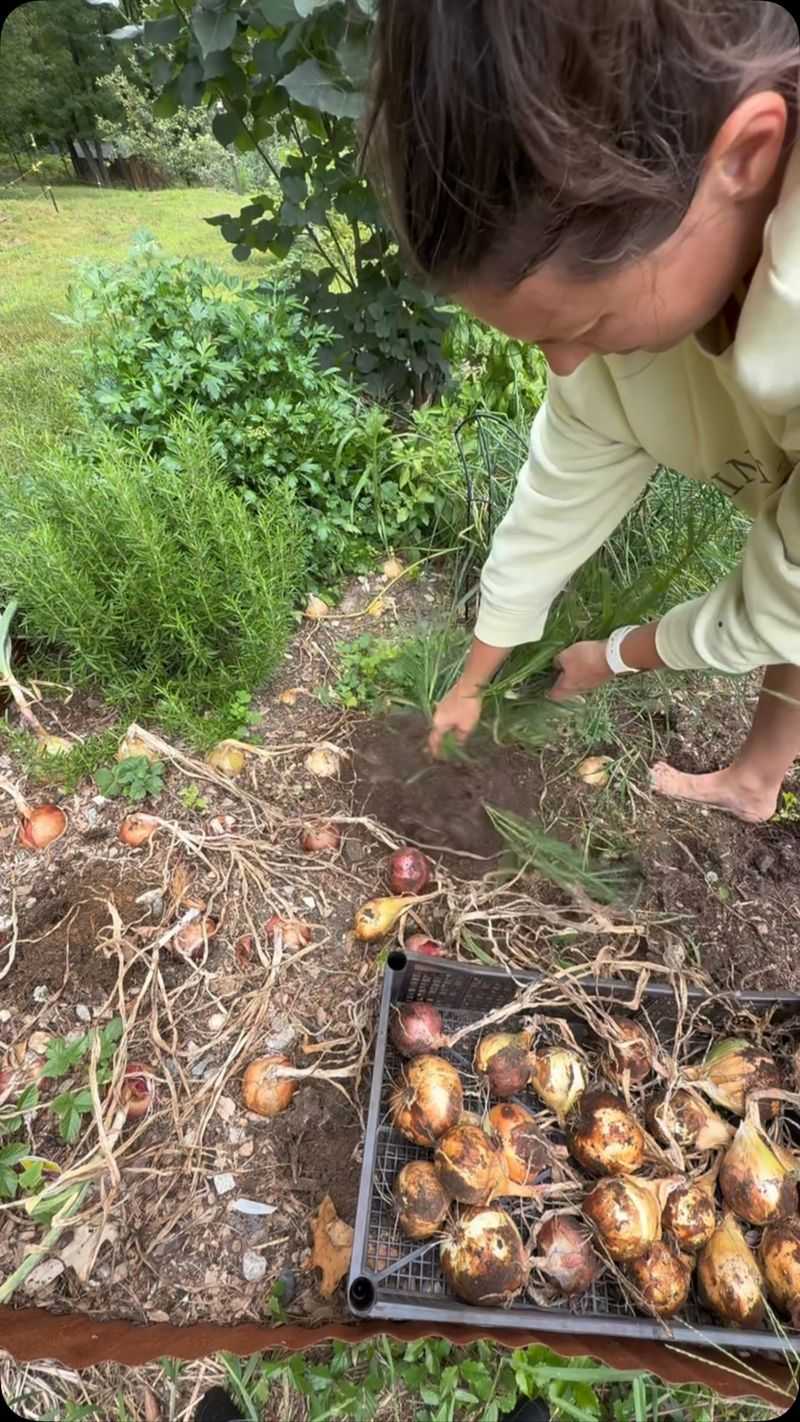
Picture a runner lining up for a big race with a sprained ankle. That runner might finish, but it will be a struggle. Shallot sets work the same way, and the ones you plant in October set the tone for the whole season.
Every set is like a packed lunch for the young plant. It holds the stored energy that feeds new roots and leaves until the plant can make its own food from sunlight.
A firm, plump bulb has a full lunchbox, while a soft or shriveled one is running low before it even starts.
Your North Carolina Garden Changes Every Week. Your Plan Should Too.
Gardening in North Carolina changes quickly throughout the season. Every Friday you’ll receive a simple weekly plan showing exactly what to plant, prune, fertilize, harvest, and protect so you never miss the right timing.
Give each set a quick squeeze before planting. Good ones feel solid, like a small onion, and have dry, papery skins. Skip any that feel mushy, smell sour, or show fuzzy gray or blue mold.
Rot and mold are more than just ugly spots. They can carry fungal and bacterial problems into your garden soil, where they may linger and spread to healthy plants nearby. Tossing a questionable bulb now is much easier than fighting a disease later.
Where you buy matters as well. Grocery store shallots can sprout, but some are treated to slow sprouting, and they may not be suited to our climate. Garden centers, seed catalogs, and trusted local growers usually offer sets chosen for planting.
Size plays a role too. Medium sets, about the size of a large marble to a walnut, often give the best balance of vigor and cluster size.
Very large ones can be more likely to bolt, sending up flower stalks instead of building bulbs. Sort carefully, plant the best, and your garden gets a strong head start.
3. Give Them Well-Drained Soil
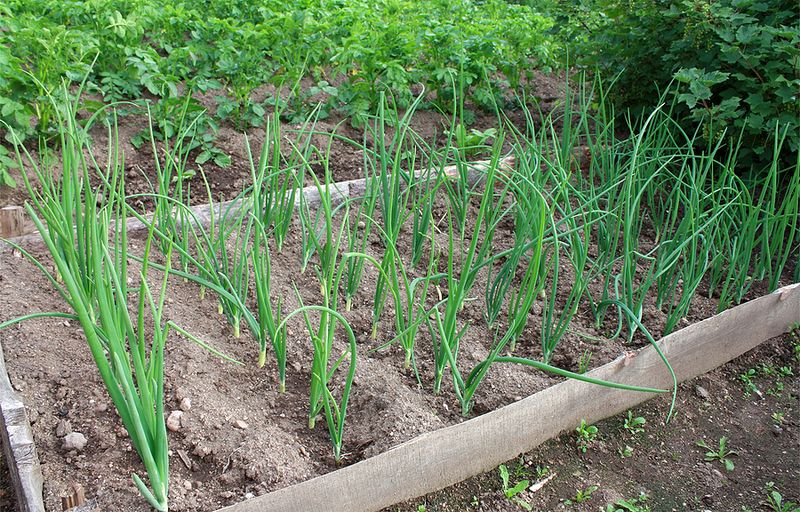
Here is a fun fact: shallots belong to the same plant family as onions, garlic, and leeks, and none of them enjoy wet feet.
Their roots need air as much as they need water. When soil stays soggy for days, those tiny air pockets fill with water and roots start to struggle.
North Carolina gardeners know all about heavy red clay. It holds nutrients well, but it can also hold water like a bathtub after a rainy week. Sandy coastal soils drain faster, though low spots there can still flood after big storms.
Long stretches of soggy ground raise the risk of bulb rot and root diseases. Fungi that cause these problems love cool, wet conditions, and fall and winter bring plenty of both. A bulb sitting in cold mud all winter is an easy target.
Raised beds are a favorite fix, since they lift the roots above soggy ground and warm up faster in spring. Even a mound just six to eight inches high can make a real difference.
Mixing in compost helps too. Organic matter opens up clay so water can move through, and it helps sandy soil hold just enough moisture. Work two to three inches of compost into the top several inches of soil before planting.
Want to test your drainage? Dig a hole about a foot deep, fill it with water, and watch. If it takes many hours to empty, pick a different spot or build up a bed.
A soil test through the NC Department of Agriculture can also tell you your pH, which shallots like around 6.0 to 6.8.
4. Plant In A Sunny Location
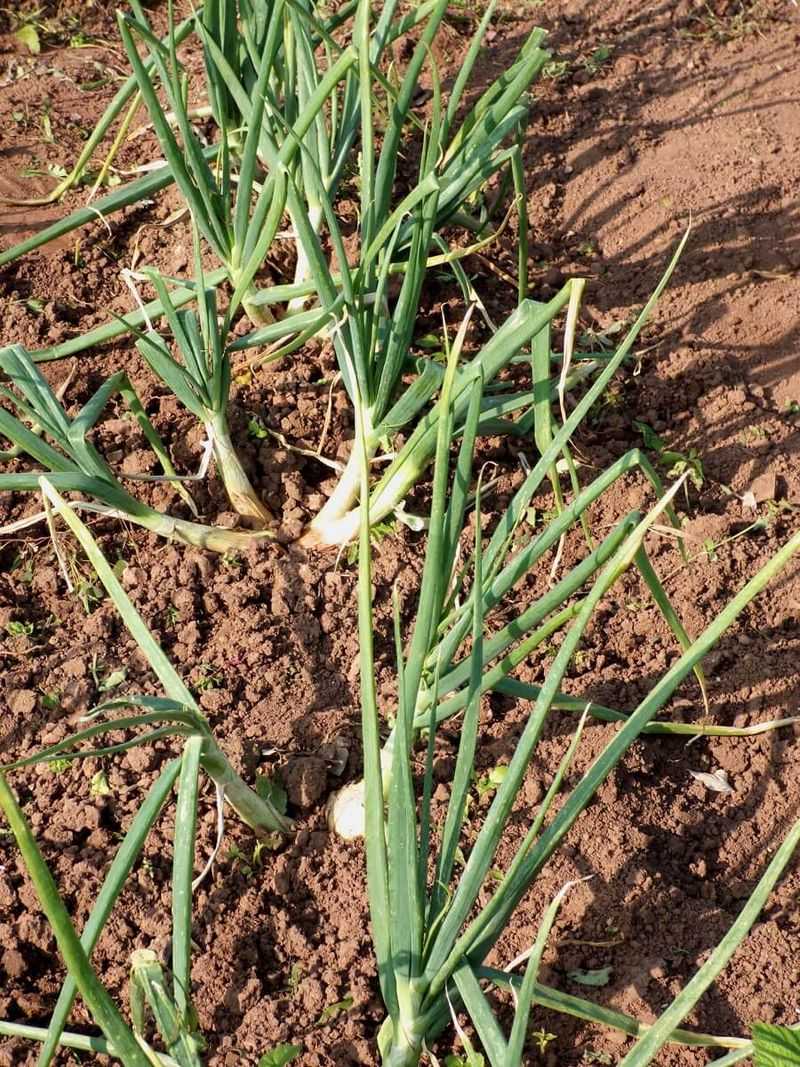
Think of shallot leaves as tiny solar panels. Every green blade soaks up sunlight and turns it into sugar, and that sugar eventually gets packed into the bulbs you harvest. Fewer panels, or panels stuck in the shade, mean less power for the whole plant.
Shallots grow best in full sun, which means at least six hours of direct light each day. More is even better, especially during fall and winter when the sun sits lower in the sky and days are short. A spot that looks bright in July might be shaded by November.
Take a walk around your yard at different times of day before choosing a bed. Notice where shadows from houses, fences, and evergreen trees fall.
Leafy trees like oaks and maples drop their leaves in fall, so a spot under them may get more winter sun than you expect, but it can turn shady again by late spring when bulbs are sizing up.
Heavy shade causes several problems. Plants grow thin and floppy as they stretch toward the light, and the bulbs often stay small. Damp, shady beds also dry out slowly, which can invite leaf diseases.
Sunlight also warms the soil, which helps roots keep growing during mild spells in winter. A south-facing bed often stays a few degrees warmer than a north-facing one. That extra warmth can give your shallots a small but helpful edge.
If your yard has limited sun, try containers or a raised bed you can place in the brightest corner. Your future harvest will thank you for every hour of light.
5. Do Not Plant Too Deep
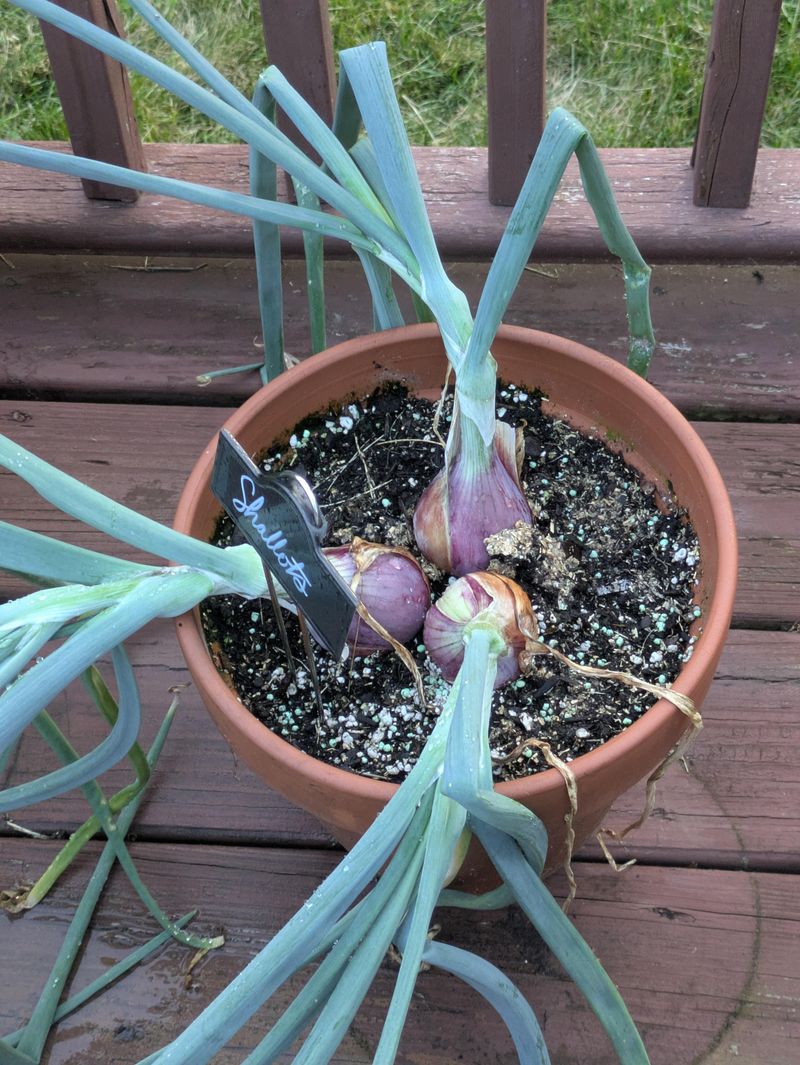
Burying treasure deep is great for pirates, but shallots prefer a shallow hiding spot. Many new gardeners push sets way down into the soil, thinking it will protect them. In truth, that extra depth often does more harm than good.
Most shallot sets do best when the pointed tip sits right at the soil surface or just barely below it. The flat root end goes down, and the pointy end faces up.
For many varieties, that means a planting hole only about one inch deep, though some growers in cold areas cover the tip with a little more soil for protection.
Why does depth matter so much? Shallots grow by forming a cluster of new bulbs around the original set, and those bulbs need room to swell. When soil presses heavily on them from above, they can end up smaller or oddly shaped.
Deep planting creates other issues too. Sprouts spend extra energy pushing up through the soil, and buried bulbs sit in cooler, wetter ground where rot is more likely. At harvest time, deep clusters are also harder to dig without nicking them.
Spacing goes hand in hand with depth. Place sets about six to eight inches apart in rows roughly twelve inches apart, giving each cluster space to spread. Crowded plants compete for water and nutrients, and they tend to make smaller bulbs.
Check the seed packet or grower’s instructions, since recommendations can vary by type. If birds or frost heave pull a few sets out of the ground, press them back in. A quick check once a week keeps everything snug.
6. Keep Moisture Consistent
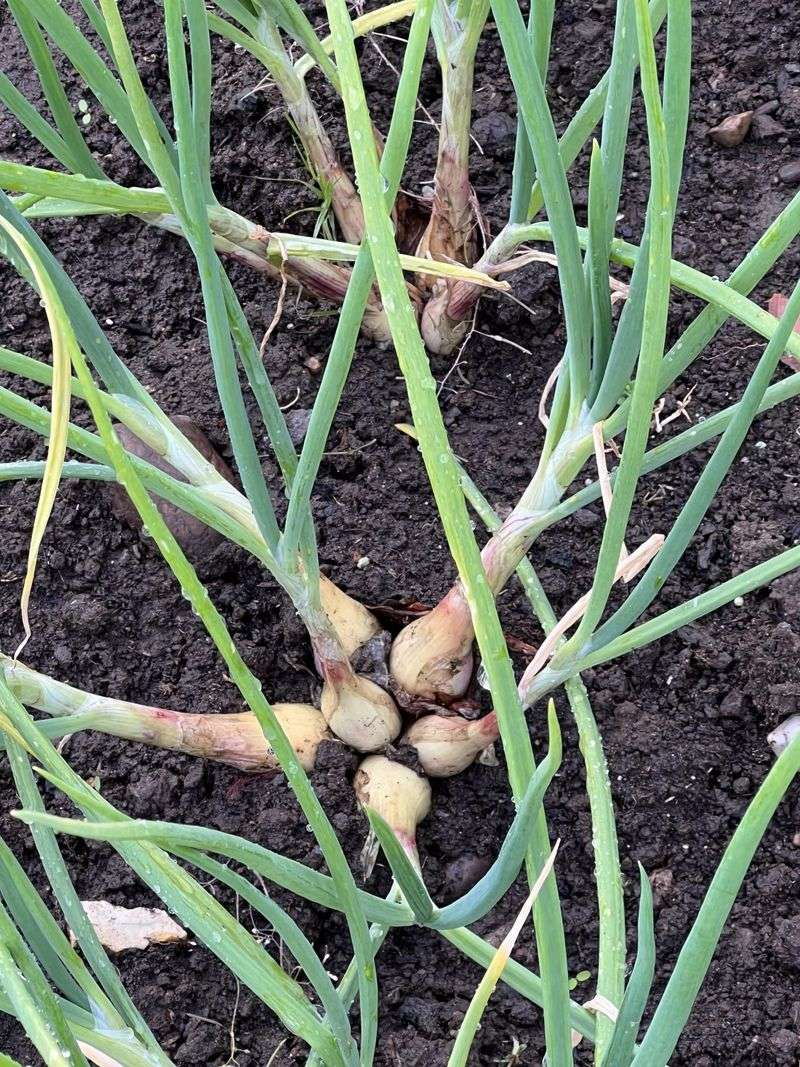
October weather in North Carolina loves to keep us guessing. One week might be warm and dry, and the next could bring a soaking tropical storm. Your newly planted shallots need a steady hand to get through those swings.
Right after planting, water the bed well so the soil settles around each set. Roots need moisture to begin growing, and dry soil can leave sets just sitting there doing nothing. For the first few weeks, aim to keep the soil about as damp as a wrung-out sponge.
A good general goal is about one inch of water per week, counting rain. A simple rain gauge makes tracking easy. If nature provides a steady inch, you can put the hose away.
Too much water is just as risky as too little. Waterlogged soil pushes out oxygen, and roots sitting in puddles can start to rot. After a heavy storm, check that water drains away within a day or so rather than pooling on the bed.
Your finger is the best tool you own. Poke it about an inch or two into the soil. Dry means water, and damp means wait.
Watering in the morning is a smart habit. Leaves dry off during the day, which lowers the chance of fungal problems. Drip lines or soaker hoses deliver water straight to the soil and keep the foliage dry.
Once cold weather slows growth in winter, shallots need much less water, and regular rain usually covers it. Keep an eye out during dry winter spells, though, because roots still need some moisture to stay healthy until spring.
7. Mulch After Plants Establish
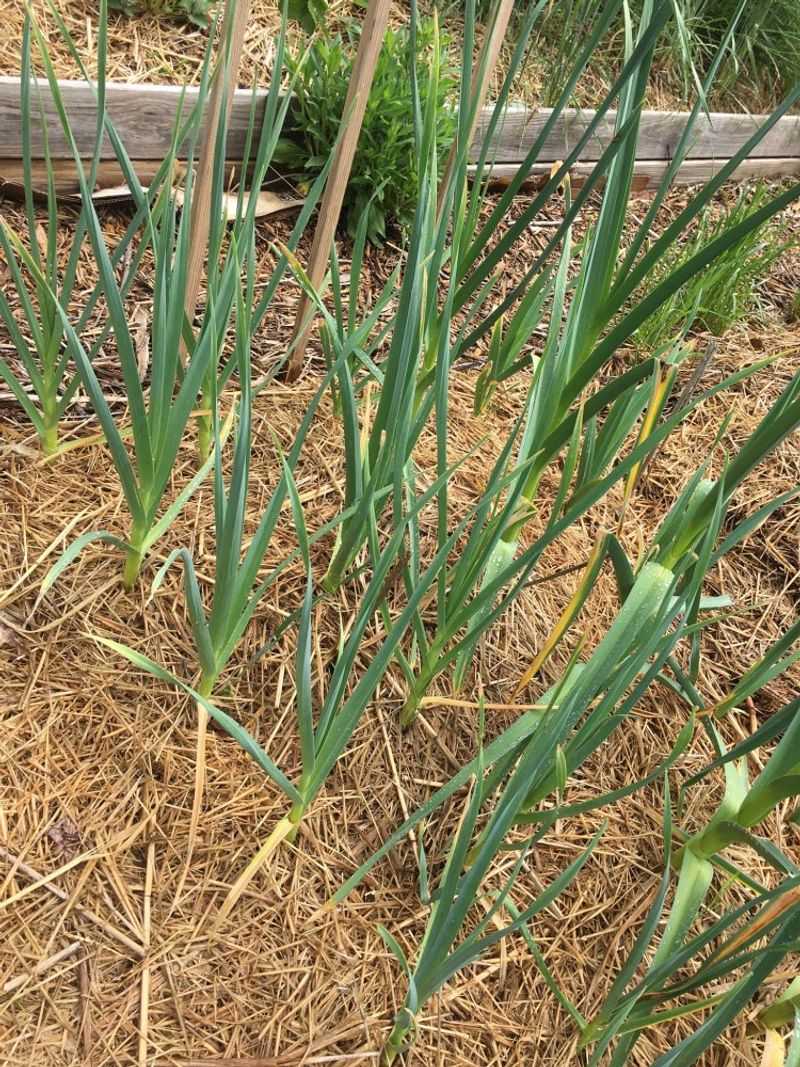
A good mulch layer works like a cozy blanket for your garden bed. It keeps soil from swinging wildly between warm and cold, and it holds moisture where roots can reach it. Timing is the real trick, though.
Wait until your shallots have green shoots a few inches tall and the soil has cooled, usually a few weeks after planting.
Mulching too early can keep the ground damp and warm, which slugs and some fungi enjoy. Once the plants are up and growing, spread your mulch around them.
Clean straw, shredded leaves, and pine needles are popular choices in North Carolina. Pine straw is easy to find across much of the state and lets water pass through nicely. Aim for a layer about two to three inches deep, keeping it loose so air can move.
Weeds are a big reason to mulch. Shallots have thin, upright leaves that do not shade the ground much, so weeds can easily crowd them. A good layer blocks light from weed seeds and saves you hours of pulling.
Mulch also protects plants during cold snaps. It slows freezing and thawing cycles that can heave small bulbs out of the soil. Mountain gardeners may want a slightly thicker layer for extra protection.
Here is a handy tip: keep mulch pulled back slightly from the base of each plant. Bulbs like a little airflow at the neck, and a heavy pile of wet material can invite trouble.
In spring, some growers thin the mulch as bulbs swell so the soil warms and the tops dry out before harvest.
8. Let Fall Roots Set Up The Summer Crop
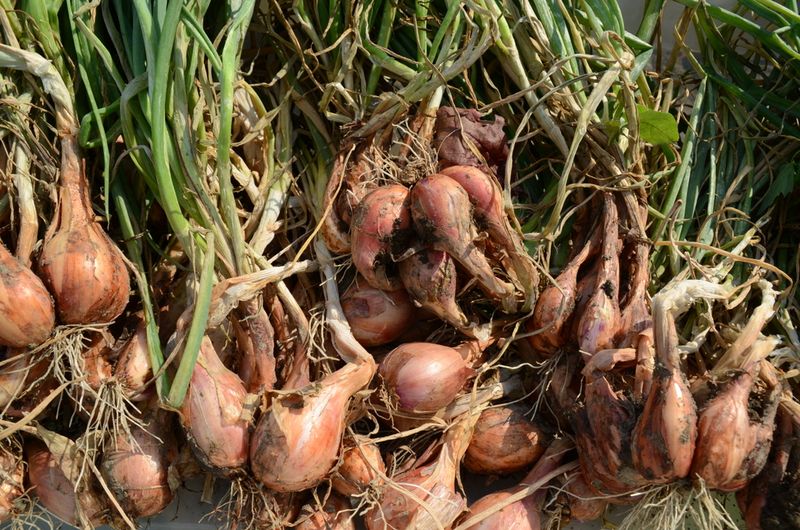
Much of the magic happens where you cannot see it. While the tops of fall-planted shallots may look small all winter, their roots are busy spreading through the soil. That hidden work is the real secret behind a strong summer harvest.
Roots planted in October have weeks of cool, moist weather to grow before winter slows things down.
When spring warmth returns, those plants do not have to start from scratch. They already have a working root system ready to pull up water and nutrients, so leaves can take off fast.
More leaves in spring usually mean bigger bulbs later. Shallots begin forming bulbs as days grow longer, and the size of the plant at that point has a lot to do with the size of the harvest. A spring-planted set simply has less time to build up that leafy engine.
Still, roots are only one piece of the puzzle. Variety, planting date, soil fertility, moisture, and weather all play a part in final bulb size.
A light side dressing of nitrogen fertilizer in late winter or early spring can support leaf growth, but stop feeding once bulbs start to swell.
Fun fact: one shallot set can multiply into a cluster of four to twelve new bulbs, depending on the type. Harvest usually comes in late spring to early summer in North Carolina, when about half the tops yellow and flop over.
Let the bulbs cure in a dry, shady, airy spot for a couple of weeks. Save a few of the best for next October, and the cycle starts all over again.