8 Things Maryland Gardeners Should Do With Hostas In June For Bigger, Fuller Plants
Maryland gardeners know June is not just another month. It is a test.
The heat shows up fast, the humidity follows, and your hostas are either thriving or quietly struggling right before your eyes.
Hostas are resilient, but resilient doesn’t mean maintenance-free.
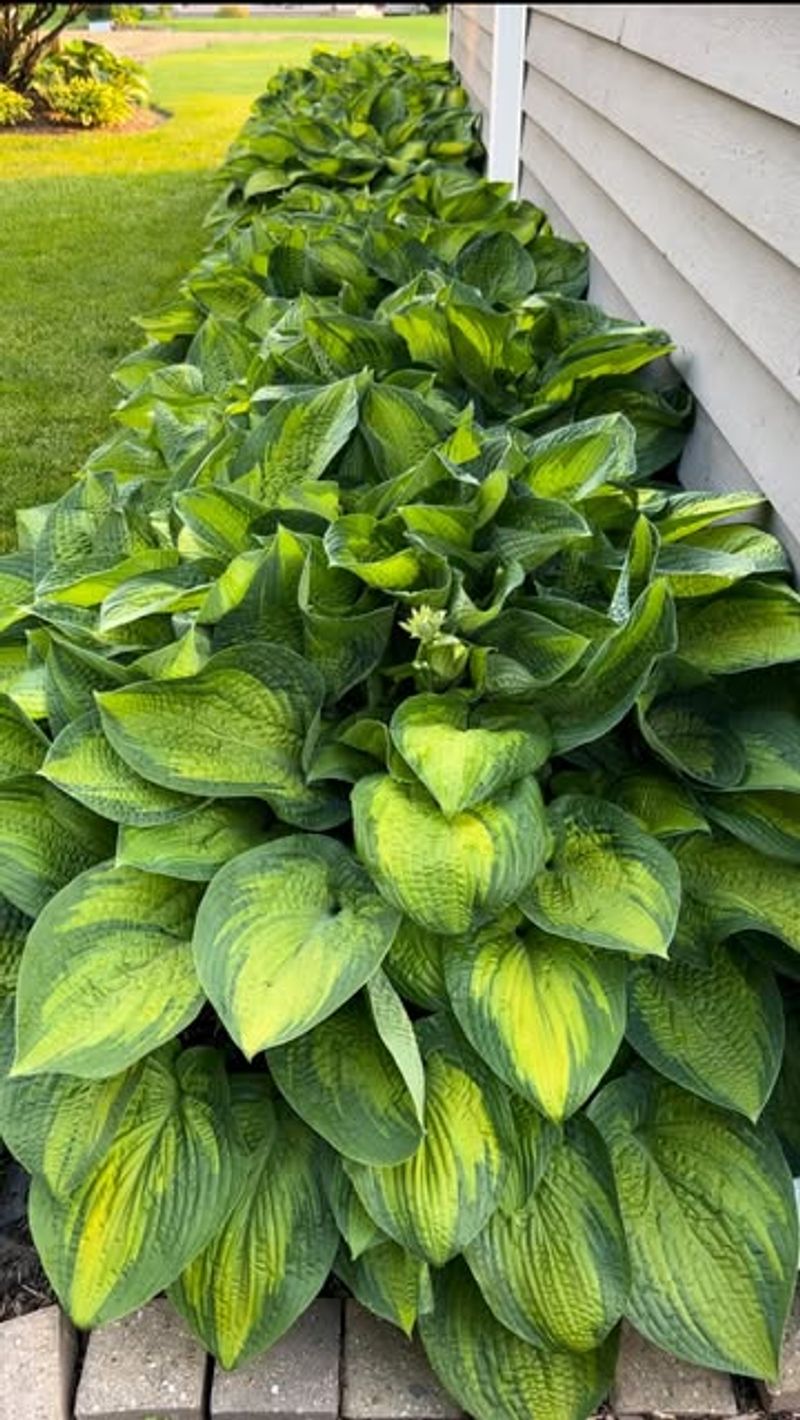
Some gardeners end up with politely decent hostas. Others end up with enormous, lush specimens that make visitors stop and ask what their secret is.
June can make a big difference.
The secret is a handful of targeted habits done at exactly the right time. This is that time.
Work with your plants now, while the season is still in your favor. You will have the kind of foliage that makes the rest of your yard look like it is trying to keep up.
1. Water Deeply And Consistently
Dry soil is the silent enemy of a thriving hosta. June in Maryland brings heat and inconsistent rainfall, which means your plants can go from plump to stressed faster than you think.
Hostas need about one inch of water per week. That sounds simple, but shallow watering is one of the biggest mistakes home gardeners make.
When you water just the surface, roots stay near the top of the soil. They never grow deep, and shallow roots mean weak plants that wilt the moment temperatures spike.
Deep watering encourages roots to push further into the ground. Stronger roots equal stronger plants, and stronger plants produce bigger, more dramatic leaves all season long.
Water at the base of the plant, not over the foliage. Wet leaves in humid Maryland summers are an open invitation for fungal problems you absolutely do not want to deal with.
Early morning is generally the best time to water. This gives any accidental leaf splash a chance to dry before nightfall, keeping disease pressure low.
A soaker hose or drip irrigation system works beautifully for hosta beds. Set it on a timer and your plants get consistent moisture every morning without any extra effort on your part.
Consistency matters just as much as quantity. Irregular watering causes stress that leads to brown leaf edges and stunted growth, two things that make hostas look tired and sad instead of bold and lush.
2. Feed With A Balanced Fertilizer
Hungry plants cannot grow big. June is prime feeding time for hostas, and skipping this step is like asking a plant to perform while running on empty.
A balanced fertilizer, something like a 10-10-10 or 12-12-12 formula, gives hostas equal amounts of nitrogen, phosphorus, and potassium. Each nutrient plays a specific role in plant health and leaf size.
Nitrogen fuels that deep, rich green color and pushes leaf growth. Phosphorus supports strong root development.
Potassium helps the plant handle stress from heat and pests.
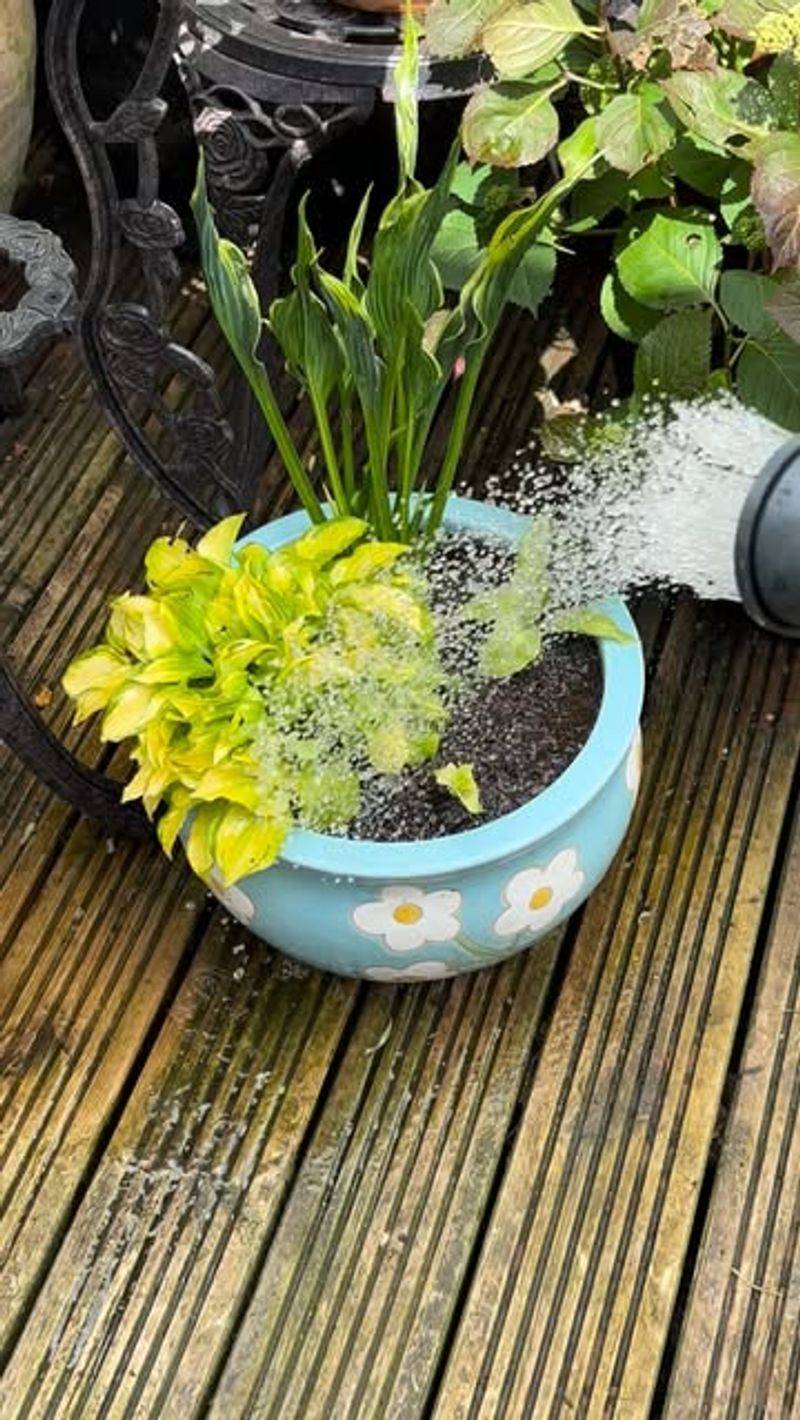
Granular slow-release fertilizers are a fantastic option for busy gardeners. Apply them once in early June, and they keep feeding your plants steadily for weeks without any extra effort on your part.
Liquid fertilizers work faster and can give a quick boost when you notice your hostas looking a little pale or sluggish. Just follow the label directions carefully to avoid burning the roots.
Your Maryland Garden Changes Every Week. Your Plan Should Too.
Gardening in Maryland changes quickly throughout the season. Every Friday you’ll receive a simple weekly plan showing exactly what to plant, prune, fertilize, harvest, and protect so you never miss the right timing.
Always water your hostas before and after applying granular fertilizer. Dry soil plus concentrated fertilizer is a recipe for root burn, which sets your plants back significantly.
Avoid high-nitrogen fertilizers in late June. Too much nitrogen late in the season pushes soft, leafy growth that is more vulnerable to pest damage and disease pressure as summer intensifies.
Feeding your hostas in June is one of the fastest ways to see a noticeable difference in plant size. Fuller leaves and richer color are very likely when you get the nutrition right.
3. Mulch Around The Base
Picture your hostas sitting on bare, cracked soil during a Maryland heat wave. Not a pretty image, and not a healthy situation either.
A fresh layer of mulch in June makes a noticeable difference. It acts like a blanket that keeps soil moisture locked in, temperatures stable, and weed seeds from getting the light they need to sprout.
Shredded bark, wood chips, or leaf mold all work well around hostas. Aim for a layer about two to three inches thick across the entire planting bed.
Keep the mulch pulled back slightly from the crown of each plant. Piling mulch directly against the stems traps moisture in the wrong spot and encourages crown rot, which can wipe out a plant fast.
Beyond moisture retention, mulch helps regulate soil temperature. Maryland summers can push ground temperatures high enough to stress hosta roots, and a good mulch layer buffers against those extremes beautifully.
Organic mulches break down slowly over time, adding nutrients back into the soil. This is a quiet bonus that improves your soil structure season after season without any extra work from you.
Refreshing your mulch in June is especially smart if you laid it down in spring and it has thinned out. A topped-up layer heading into the hottest months gives your hostas the best possible foundation.
Healthy soil beneath that mulch means healthy roots, and healthy roots are what produce the kind of oversized, lush foliage that makes hostas so satisfying to grow.
4. Remove Spent Flower Stalks
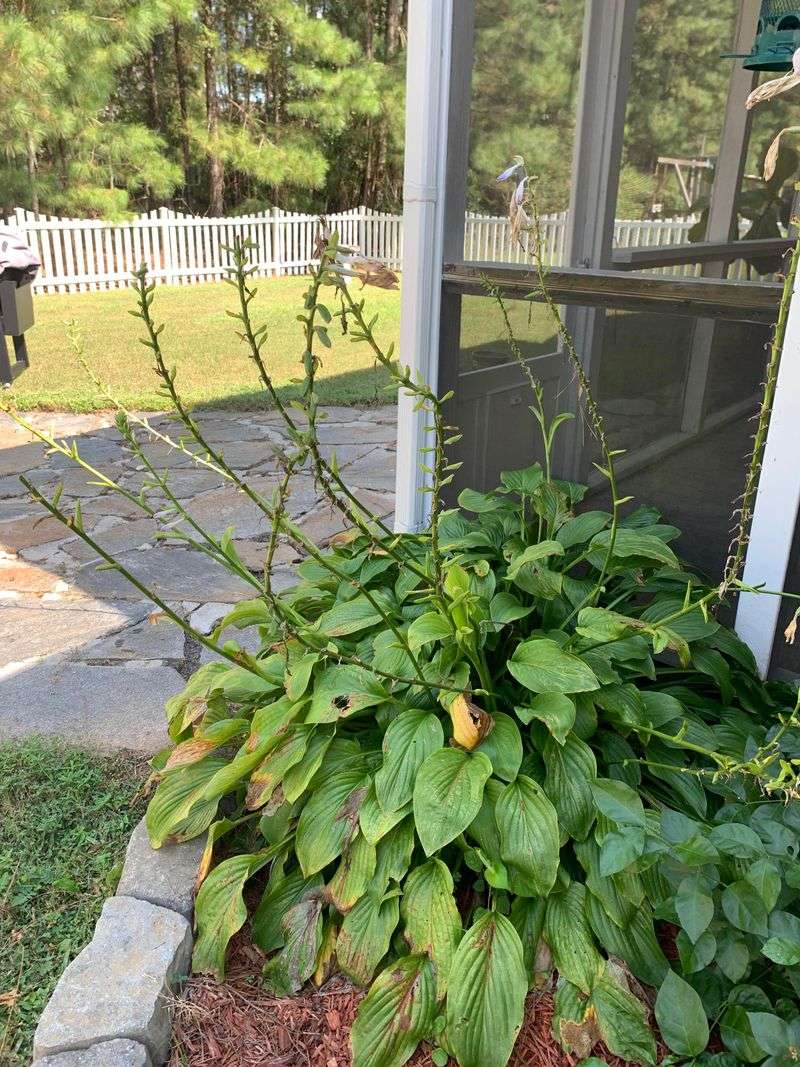
Once a hosta flower fades, it has done its job. Literally.
The plant keeps pouring energy into those spent stalks when that energy could be going straight into leaf production instead.
Removing spent flower stalks in June redirects the plant’s focus. Instead of trying to set seed on a finished bloom, the plant channels its resources into growing bigger, thicker, more dramatic foliage.
Use clean, sharp pruners or scissors to cut the flower stalk as close to the base as possible. A clean cut heals faster and reduces the risk of disease sneaking in through a jagged wound.
Some gardeners actually remove hosta flower spikes before they even fully open. This might sound drastic, but for varieties grown primarily for their foliage, it is a perfectly reasonable strategy.
Removing flowers is not about being anti-bloom. It is about making a deliberate choice to prioritize the feature that makes hostas truly special, which is their stunning, architectural leaves.
After cutting, give the area around the base a quick check. Spent stalks can trap moisture and debris at the crown, creating a cozy hiding spot for slugs and other unwanted visitors.
Toss the removed stalks into your compost bin rather than leaving them on the soil surface. Plant material left on the soil surface can harbor fungal spores as it breaks down.
A tidied-up hosta bed looks sharper and allows better air circulation, which keeps your plants healthier and more vigorous heading deeper into the summer season.
5. Divide Overcrowded Clumps
A hosta clump that has been sitting in the same spot for five or more years starts to compete with itself. The center gets crowded, leaves get smaller, and the whole plant starts to look tired and cramped.
Spring and fall are the preferred times to divide hostas. But early June can work if you approach it carefully and the heat has not yet peaked.
Start by watering the clump deeply the day before you plan to divide. Moist soil is easier to work with and causes less root disturbance than dry, compacted ground.
Use a sharp garden fork or spade to lift the entire clump from the ground. Work around the outer edges first, loosening the root ball gradually before popping it free.
Once it is out, you can pull sections apart by hand or use a clean, sharp knife to cut through the crown. Each division should have at least two or three healthy eyes, which are the growing points you can see at the base.
Replant divisions at the same depth they were growing before. Planting too deep buries the crown and causes rot, while planting too shallow leaves roots exposed and vulnerable.
Water new divisions generously right after planting and keep them consistently moist for the first few weeks. They need that extra support while their root systems re-establish in the new spot.
Dividing overcrowded hostas gives each section room to breathe, grow, and eventually become a full, impressive plant on its own.
6. Treat Slug And Snail Damage Early

Slugs love hostas almost as much as gardeners do. Those ragged, irregular holes appearing overnight are their signature calling card, and June’s warm, humid nights in Maryland are prime slug territory.
Catching damage early makes all the difference. A small slug population is manageable.
A large one can cause significant damage across the bed before you even realize what is happening.
Check your plants in the early morning when slugs are still active near the soil surface. Look under leaves, around the crown, and beneath any nearby mulch or debris where they love to hide.
Iron phosphate-based slug baits are one of the safest and most effective treatment options available. They are safe around pets and wildlife, break down naturally in the soil, and slugs find them irresistible.
Copper tape placed around the edge of raised beds or pots creates a barrier that slugs genuinely dislike crossing. It is not a perfect solution for open beds, but it works well for contained plantings.
Diatomaceous earth sprinkled around the base of plants creates a scratchy barrier that soft-bodied slugs avoid. Reapply after rain since moisture neutralizes its effectiveness fairly quickly.
Reducing hiding spots helps too. Keep mulch pulled slightly away from plant crowns, clear out leaf litter, and avoid overwatering, since slugs thrive in soggy conditions.
Protecting your hostas from slug damage in June means your leaves stay whole and beautiful all season long, which is exactly the goal.
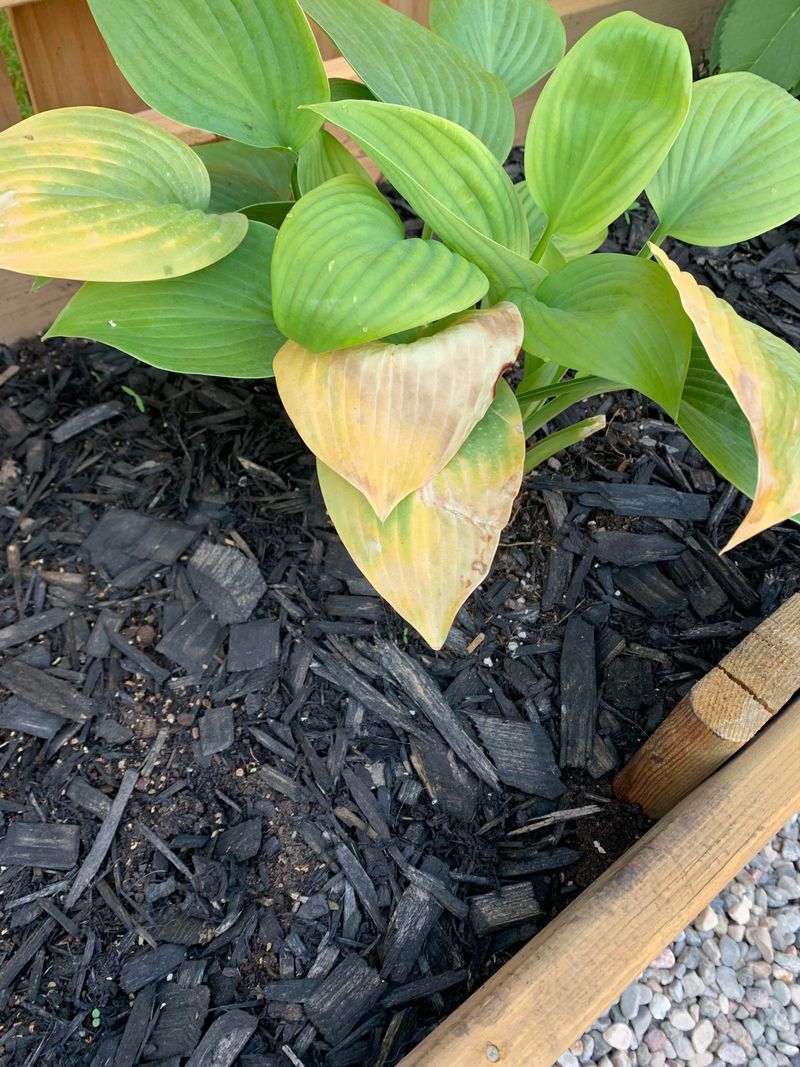
7. Check For And Correct Sun Stress
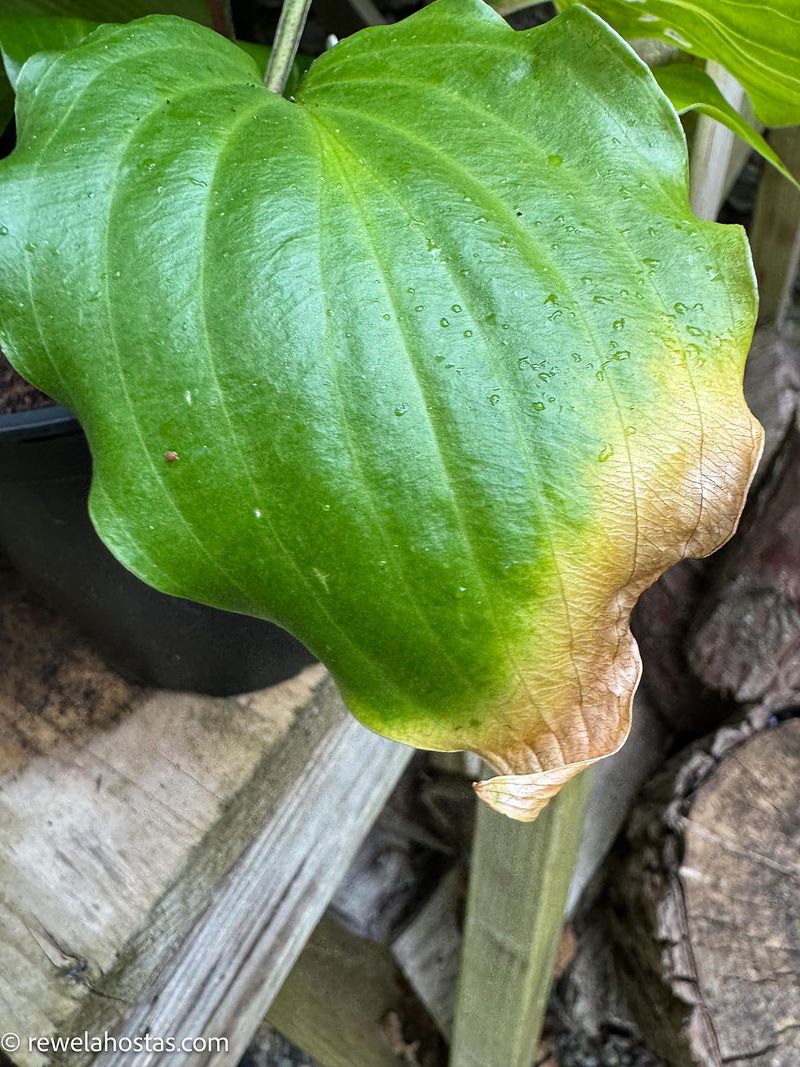
Bleached-out leaves with crispy brown edges are a classic cry for help. Hostas are shade-lovers by nature, and too much direct sun in June can cause visible damage within just a few days.
Maryland summers bring long, intense days that shift sun patterns in your yard significantly compared to spring. A spot that felt perfectly shaded in April may now be getting two or three extra hours of harsh afternoon sun.
Walk through your garden beds around midday and again at two in the afternoon. Note exactly where direct sunlight is hitting your hostas and for how long each day.
Most hosta varieties do best with morning sun and afternoon shade. Morning light is gentler and helps fuel growth, while afternoon sun tends to be far more intense and damaging to those broad, beautiful leaves.
If a hosta is getting hammered by afternoon sun, consider adding a shade structure, relocating a nearby container plant to block light, or transplanting the hosta to a better spot entirely.
Transplanting mid-season requires extra care and consistent watering, but saving a stressed plant from a bad location is worth the effort. In most cases, a recovered hosta will push out healthy new growth within a few weeks.
Some varieties like Sum and Substance or Sun Power are more sun-tolerant than others. Knowing your specific variety helps you make smarter decisions about placement and care throughout the season.
Correcting sun stress now prevents permanent leaf damage and keeps your hostas looking their absolute best through the rest of summer.
8. Clear Out Competing Weeds
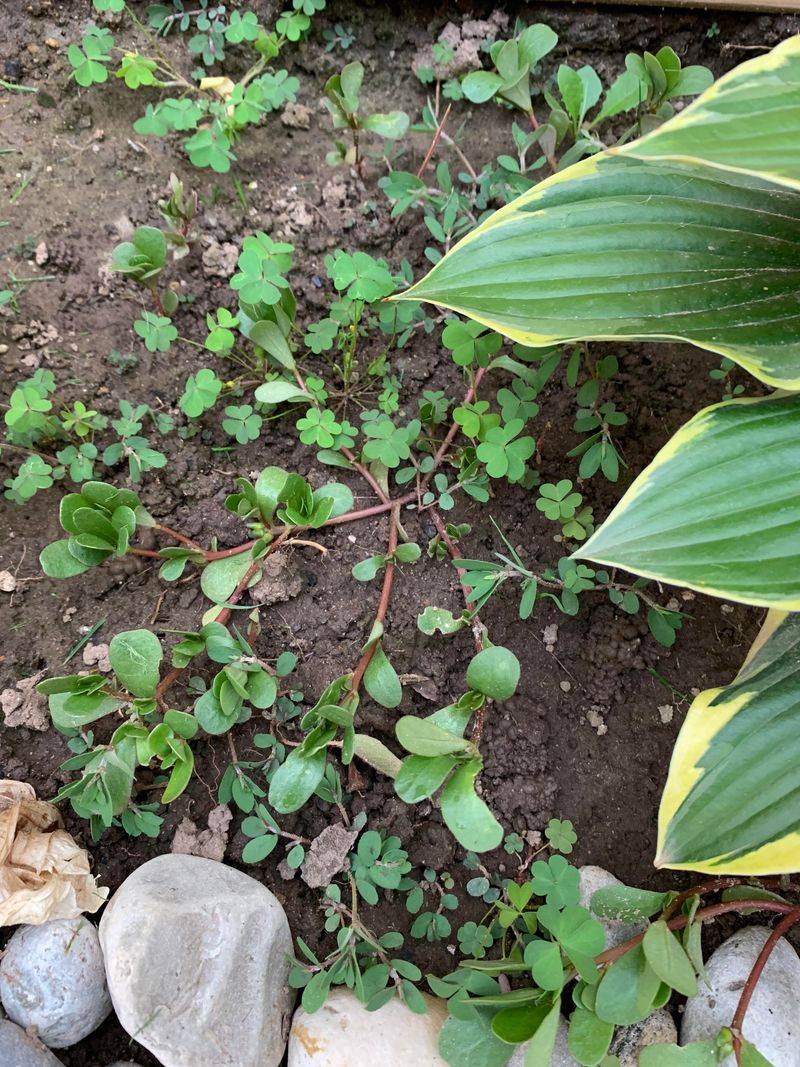
Weeds are ruthless competitors. They steal water, nutrients, and space from your hostas without a second thought, and June is when they hit their most aggressive growth phase.
A hosta trying to grow big and lush while surrounded by weeds is fighting an uphill battle. Clearing out the competition is one of the most impactful things you can do for your plants this month.
Pull weeds when the soil is moist, ideally the day after watering or a rain shower. Wet soil releases roots much more cleanly, reducing the chance of leaving fragments behind that will simply regrow.
Get as much of the root as possible when pulling. Weeds like ground ivy, creeping Charlie, and nutsedge are notorious for bouncing back from broken roots left in the soil.
Work carefully around hosta crowns to avoid accidentally damaging the shallow feeder roots that spread out close to the soil surface. A gentle hand tool like a narrow hori-hori knife works better than a large cultivator in tight spaces.
After weeding, top up your mulch layer to discourage new weed seeds from germinating. A consistent two to three inch layer can significantly reduce germination from light-dependent weed seeds.
Staying on top of weeds through June means less work in July and August when the heat makes garden chores genuinely unpleasant. A clean bed now is an investment in an easier summer ahead.
Your Maryland hostas deserve every inch of that soil to themselves, and clearing out the competition is how you make that happen.