Things You Should Never Do When Caring For An Orchid In Florida (What To Do Instead)
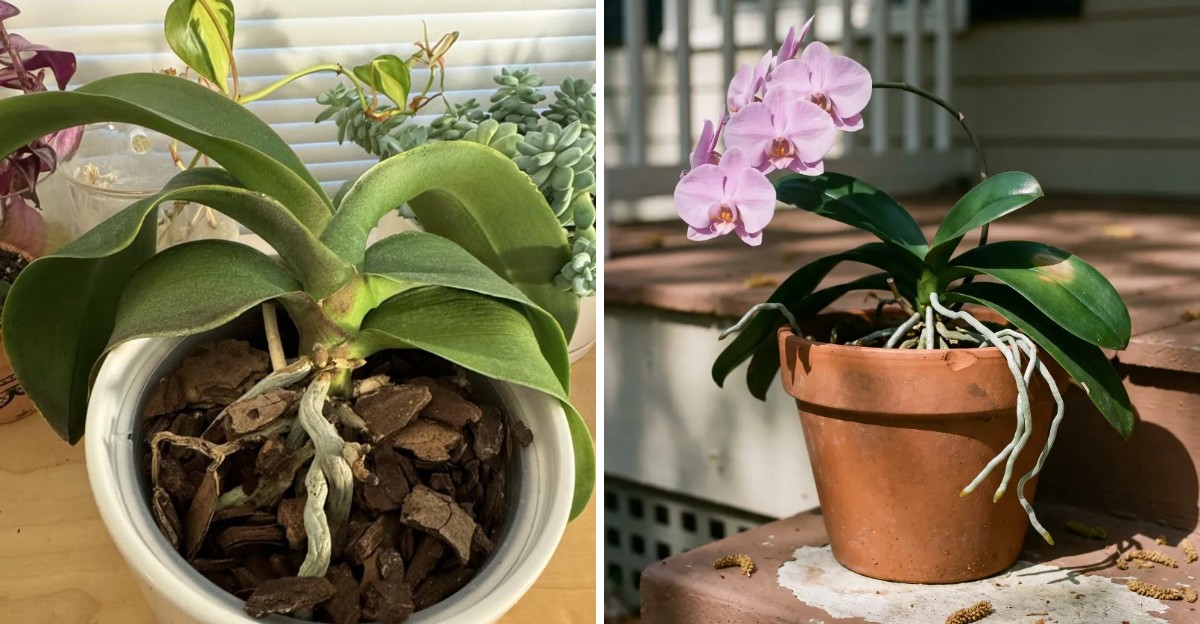
Your Florida orchid has survived on neglect and luck so far, but a few well-meaning habits could end the streak.
This plant has strong opinions. Humid air, soft light, and a fussy approach to water all land on its list of demands.
Florida homes check some of those boxes by accident, which tricks owners into thinking everything is fine.
Then a leaf goes yellow, a root turns to mush, or the blooms drop a month early. Nine times out of ten, a harmless-looking habit caused the whole mess.
The good news is that each mistake has an easy fix. Swap a few routines and the plant bounces back stronger than before.
Skim your own care routine with a skeptical eye. Something on the list probably sounds awfully familiar.
1. Never Pot An Orchid In Regular Potting Soil
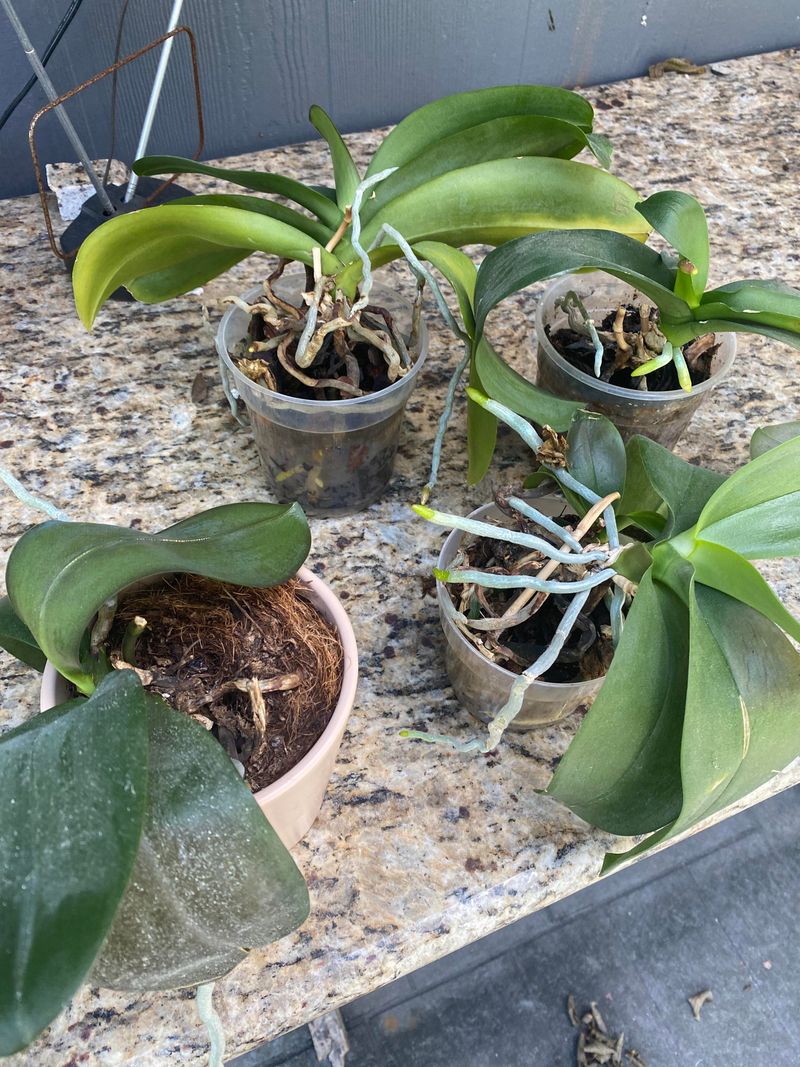
Grandma’s garden soil works wonders for tomatoes, but orchids see it as a heavy wet blanket. Most popular orchids grow on tree branches in the wild, with roots hanging out in fresh air.
Regular potting soil is dense and holds lots of water. In humid Florida, that moisture sticks around even longer.
Orchid roots packed into soil can struggle to breathe, and soon they turn soft and mushy.
Roots need airflow as much as they need water. When soil chokes them, the whole plant starts to look tired, with droopy leaves and few flowers.
Instead, pick up a bag of orchid potting mix from a garden center. Good mixes are chunky and loose, so water rushes through and air can reach the roots.
Common ingredients include fir bark, tree fern fiber, charcoal, volcanic rock, sphagnum moss, and perlite. A simple homemade blend is about half bark, one quarter sphagnum moss, and one quarter perlite or charcoal.
Fun fact: many growers skip pots entirely and mount orchids on slabs of cork or wood. Their roots cling on just like they would on a tree in the jungle.
Whatever you choose, think light and airy rather than heavy and packed. Your orchid’s roots will thank you with fresh green growth and healthy tips.
2. Never Let It Sit In Soggy Media
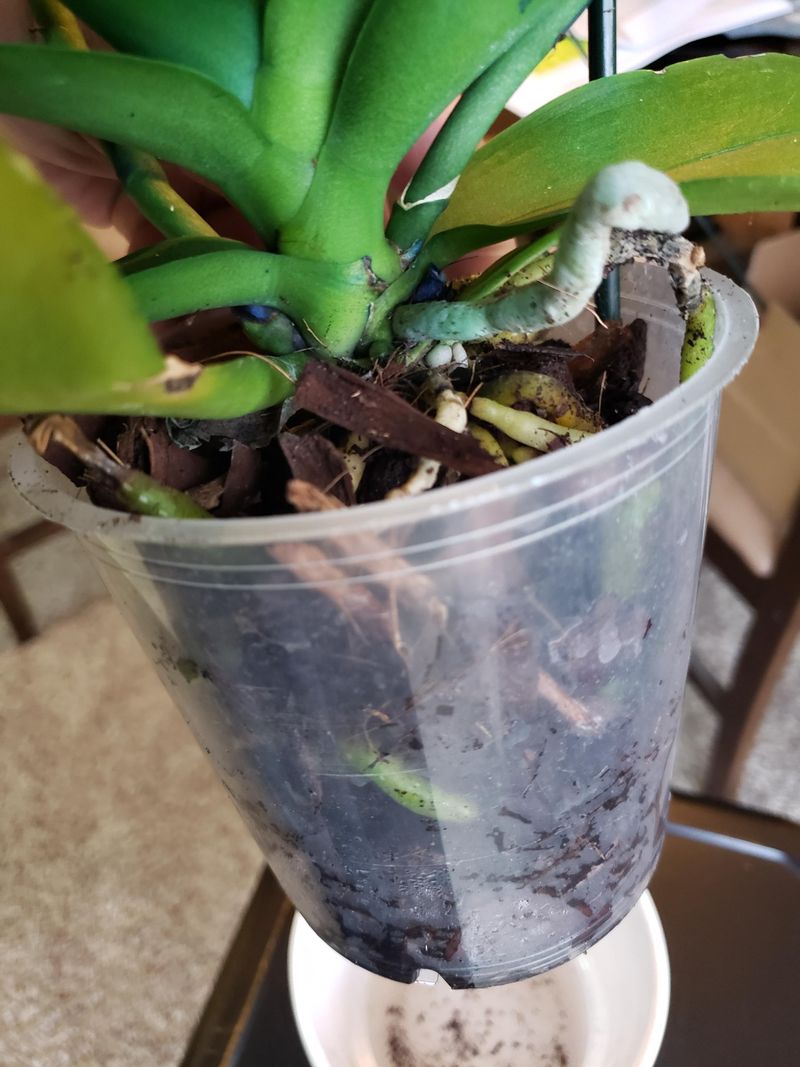
Wet socks feel awful after an hour, so imagine wearing them for a week. Orchid roots feel the same way when they stay stuck in soggy mix.
Constantly wet media pushes air away from the roots. Without that air, roots can rot, turning brown, soft, or slimy.
Once rot spreads, the plant has a hard time drinking at all.
Sticky humidity makes this problem sneakier. Pots dry slowly here, especially during the rainy summer months.
So what works better? Water deeply, letting the water run straight through the pot.
Then let every drop drain away before you set the plant back in place.
Skip saucers that collect standing water, or empty them right after watering. Wait until the mix feels slightly dry before watering again, usually every seven to ten days depending on light and heat.
A clear plastic pot is a handy trick for beginners. You can actually see the roots, which turn silvery when thirsty and green when freshly watered.
Your Florida Garden Changes Every Week. Your Plan Should Too.
Gardening in Florida changes quickly throughout the season. Every Friday you’ll receive a simple weekly plan showing exactly what to plant, prune, fertilize, harvest, and protect so you never miss the right timing.
Timing matters too. Water in the morning so the plant has all day to dry out before cooler night air settles in.
That small habit lowers the chance of rot and keeps your orchid happy.
3. Never Water With Cold Water
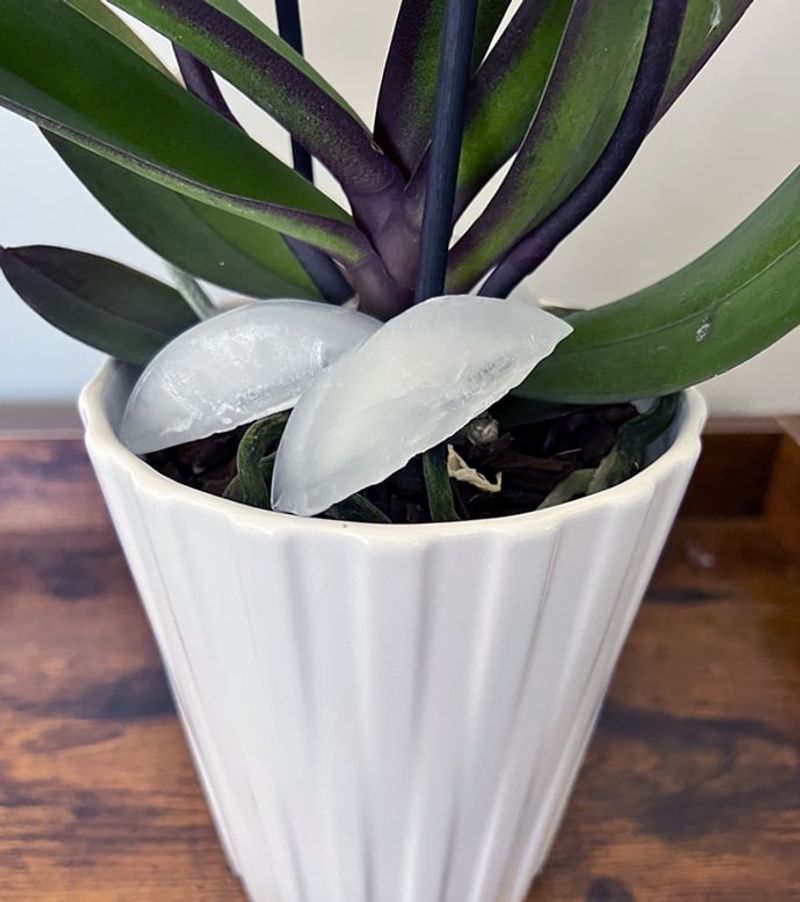
Jumping into a chilly pool on a hot day makes you gasp. Your orchid has a similar reaction when icy water hits its warm roots.
Experts say water that is more than five degrees colder than the plant can cause shock. Tender new leaves and flower buds take the biggest hit.
Phalaenopsis, the moth orchid sold in grocery stores, is especially sensitive.
You may have heard the popular trick of placing ice cubes on orchids. It sounds easy, but these tropical plants come from warm places and do not enjoy a frosty surprise.
Lukewarm or room temperature water is the friendlier choice. Fill your watering can the night before and let it sit indoors.
By morning, it will match the air in your home.
Another quick option is mixing a little warm tap water with cool water. Test it on your wrist, like checking a baby bottle.
If it feels neither hot nor cold, you are good to go.
Rainwater is a favorite among Florida growers, since it is soft and free of extra minerals. Just let collected rain warm up a bit if it has been sitting in a shady barrel.
Small details like this keep buds from dropping early.
4. Never Put It In Full Sun
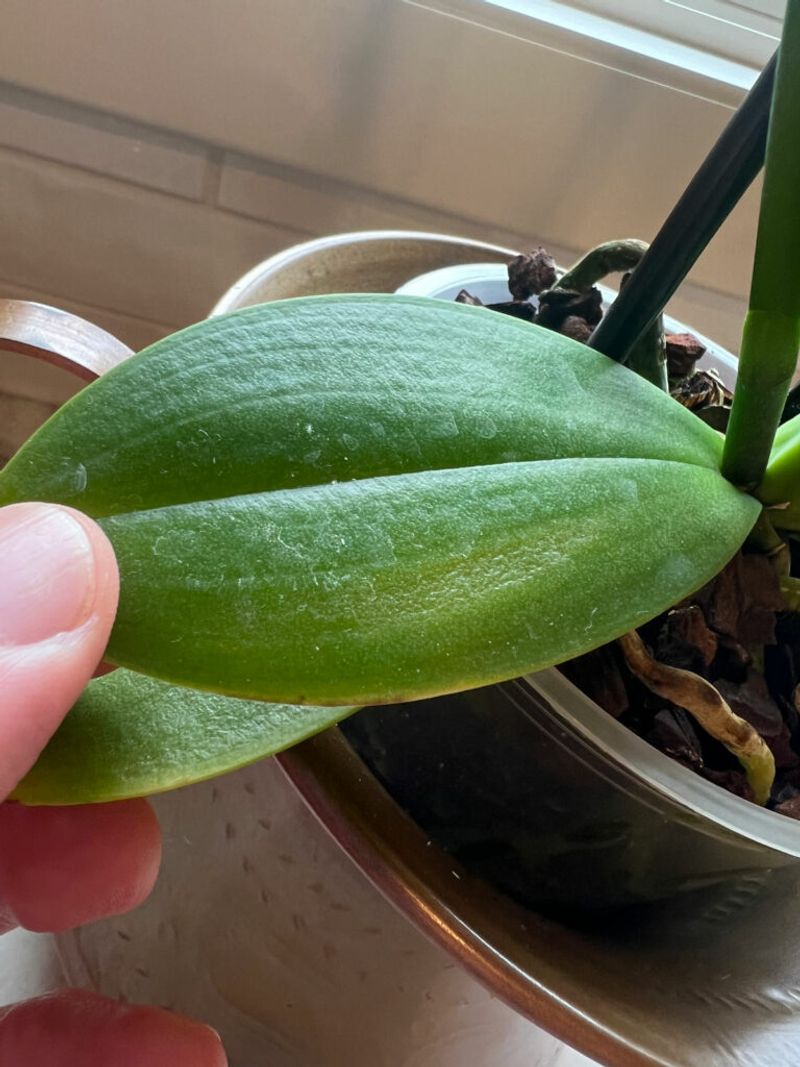
Florida sunshine is famous for a reason, and anyone who has gotten sunburned at the beach knows it means business. Orchid leaves can burn too, and the damage shows up fast.
Sunburned leaves develop yellow, white, or brown patches that feel crispy. Those spots will not heal, so the plant has to grow new leaves to recover.
Most orchids love bright light, just not the direct midday blast. Think of the soft, speckled light under a tree canopy.
Outdoors, hang orchids beneath trees with dappled shade or under a pergola or shade cloth. Many Floridians use 50 to 70 percent shade cloth to soften the rays.
Inside, an east-facing window is a sweet spot because morning sun is gentle. South or west windows work if you hang sheer curtains to filter the light.
Your plant’s leaves act like a built-in light meter. Medium green, almost grassy leaves mean the light is right.
Dark green leaves suggest your orchid wants a bit more brightness.
Reddish or yellow tinted leaves hint at too much sun. Move the plant gradually, though, since sudden changes can cause stress.
A few feet at a time over a week works nicely.
5. Never Leave It Outside When Temperatures Drop Below 50 Degrees
Cold snaps in our state catch people off guard every winter. One breezy night in January, and suddenly everyone is digging for sweaters.
Orchids feel that chill even more than we do. Most prefer temperatures between 65 and 75 degrees Fahrenheit.
Many popular types can be harmed once it dips below 50 degrees.
Moth orchids and big vandas like their nights above 60 degrees, though some handle a brief drop to 50. Cold damage often shows as leaves and stems turning white, then brown.
Chilly temperatures can also make it harder for roots to soak up water. That leaves the plant thirsty even when the mix is moist.
Keep an eye on the weather app during winter. Many experienced growers bring orchids indoors once nights reach around 55 degrees.
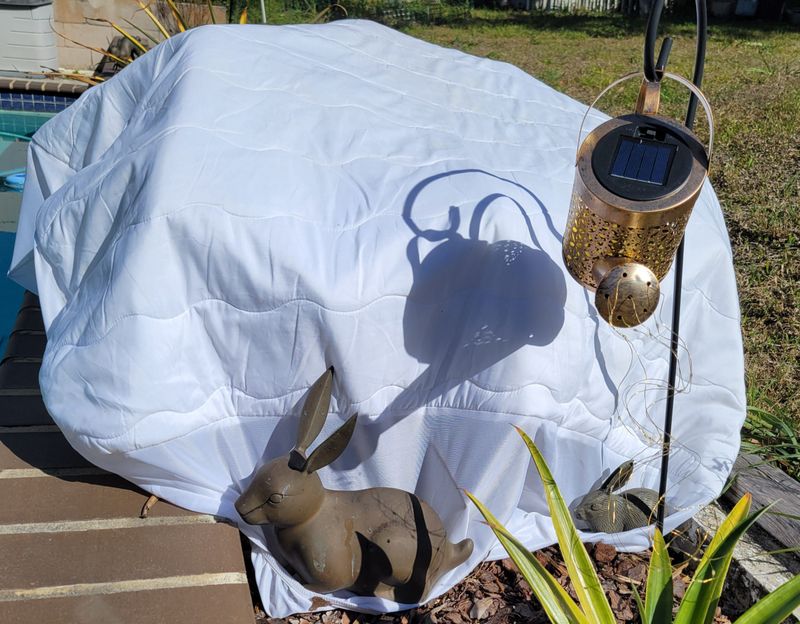
Plants in movable pots are easy to shuffle into a garage, sunroom, or living room overnight. Mounted orchids on trees are trickier, so cover them with frost cloth, an old blanket, or a towel.
Remove covers the next morning once things warm up, so the plant gets light and air. Clustering pots together near a warm wall also helps hold in heat.
A little prep on a cold evening saves months of regrowth.
6. Never Overload It With Fertilizer
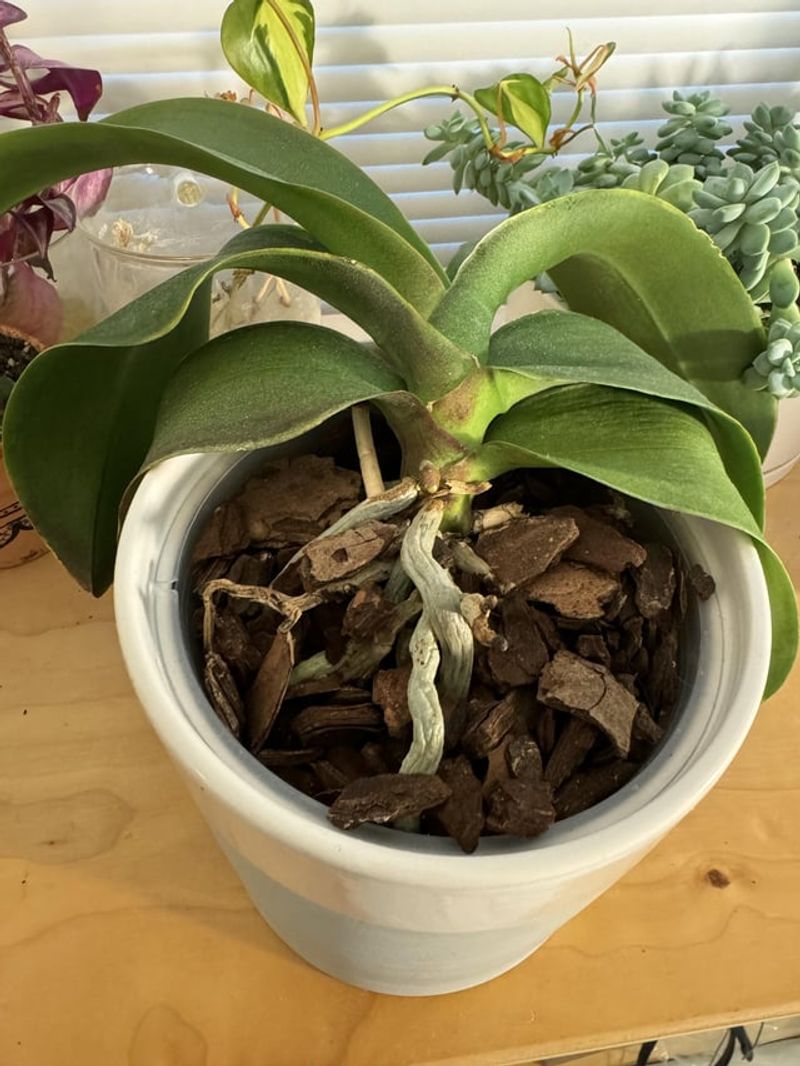
“Weakly, weekly.” Orchid growers repeat that little rhyme like a motto, and for good reason.
More food sounds like it should mean more flowers. Sadly, extra fertilizer can burn delicate roots and actually slow blooming.
Salt buildup from heavy feeding leaves crusty white residue on pots and root tips.
Orchids in nature get tiny doses of nutrients from rain and decaying leaves. They are built for light snacks, not giant meals.
A safe starting point is using about one quarter of the strength printed on the label. Some growers mix one teaspoon per gallon during active growth, then cut back to three quarters of a teaspoon during rest periods.
In South Florida, where plants grow quickly in summer heat, some experts suggest a balanced 20-20-20 formula at two teaspoons per gallon each week during lush growth. Start lower if you are new, then adjust.
Match feeding to your watering schedule. When you water less in winter, feed less too.
Once a month, flush the pot with plain water to rinse away leftover salts. Slow-release pellets and organic options are other gentle choices if mixing feels like a chore.
Patience pays off here, with healthier roots and longer-lasting blooms.
7. Never Ignore Your Potting Mix When Choosing Fertilizer
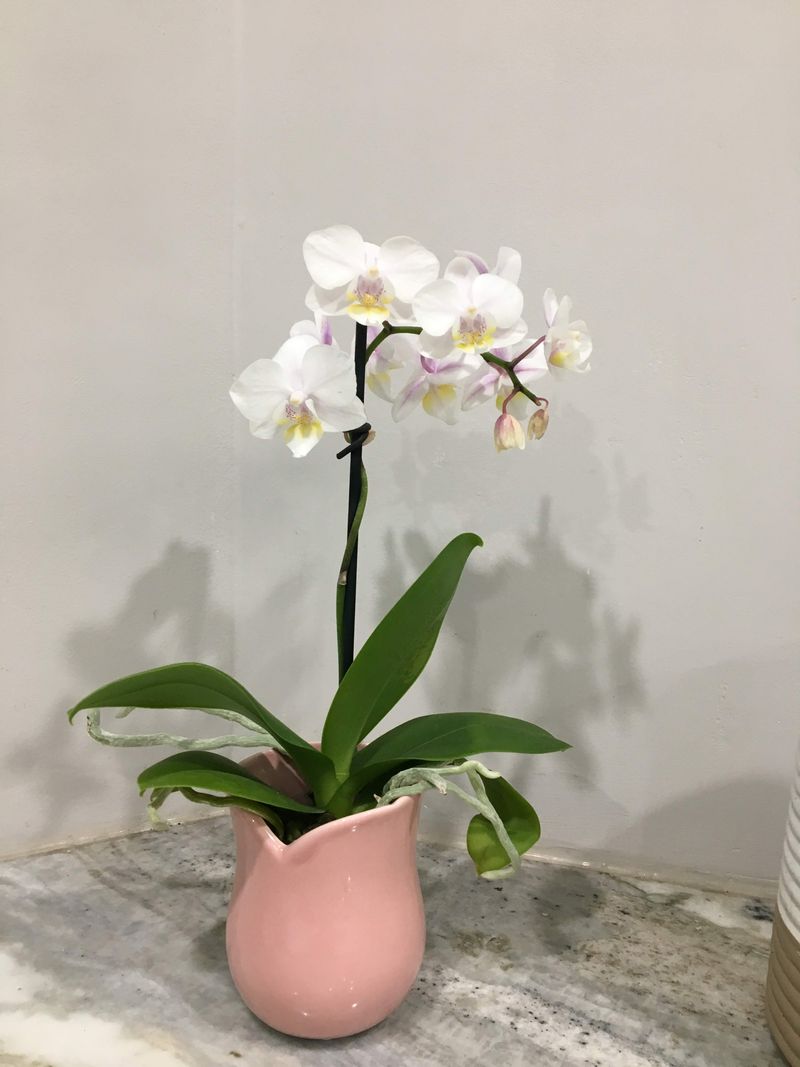
Here is a twist many beginners miss. The stuff your orchid grows in actually changes what kind of food it needs.
Bark-based mixes, especially fir bark, break down over time. Tiny organisms that eat the bark also use up nitrogen, leaving less for your plant.
That is why a high-nitrogen fertilizer, such as 30-10-10, is often suggested for bark mixes. It makes up for the nitrogen the bark is stealing.
For other media like lava rock, charcoal, or sphagnum moss, a balanced formula such as 20-20-20 usually does the job. Not sure what is in your pot?
A balanced fertilizer is the safe bet.
Some South Florida growers avoid fir bark entirely because it can grow mold in our damp climate. Many switch to inorganic chunks that last longer.
Those growers often love the Michigan State formula, labeled 13-3-15 with added calcium and magnesium. Others add a pinch of Epsom salts and calcium nitrate to cover the same needs.
One more label check is worth your time. Look for fertilizers with little or no urea, since orchids do not use it well.
Think of it as matching the menu to the kitchen. The right pairing keeps leaves sturdy and flowers bright.
8. Never Snip Off Healthy Aerial Roots
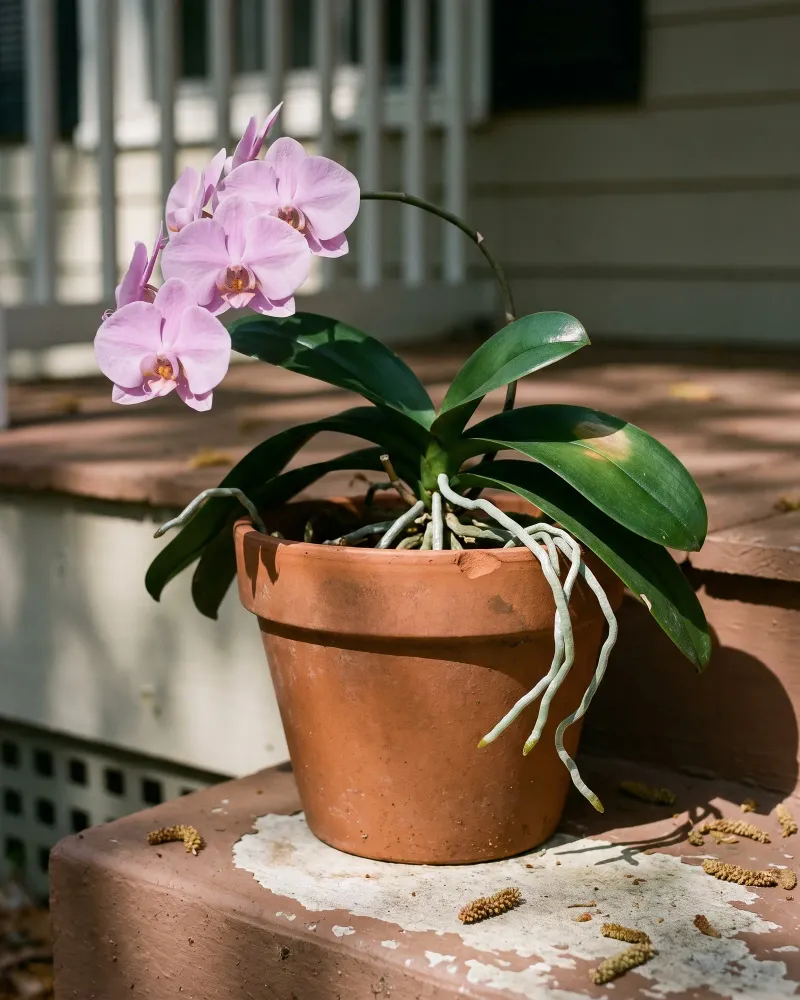
Those wild, wiggly roots poking out of the pot can look messy. Some people grab scissors right away, but that tidy-up can backfire.
Aerial roots are a sign of a healthy, curious orchid. They pull moisture and nutrients right out of the air, helping the plant during dry stretches.
Green roots even help with photosynthesis, making food from sunlight just like leaves do. They also act like grabby fingers, anchoring the plant to trees or supports.
Humid air is perfect for these roots. Many outdoor orchids here grow happily with roots dangling freely in the breeze.
Cutting a healthy root leaves an open wound. Germs and fungus can sneak in through that cut and cause trouble.
If a root is in the way, gently guide it in a new direction instead. You can tuck it near a stake or let it wander over the pot’s edge.
Only remove roots that are truly finished. Those look brown, shriveled, papery, hollow, or mushy when pinched.
When trimming is needed, wipe your scissors with rubbing alcohol first. Clean tools stop the spread of disease from plant to plant.
A plump, firm root with a green or silver color deserves to stay put.
9. Never Skip Repotting Once The Mix Breaks Down
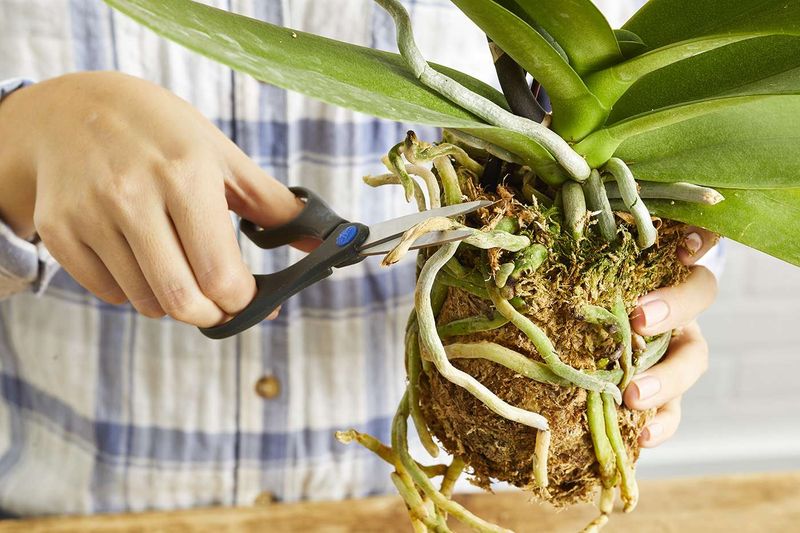
Bark and moss do not last forever. Over a year or two, they slowly crumble into fine, mushy bits that look more like mud than mix.
That breakdown is bad news for roots. Compacted mix traps water and blocks airflow, which invites rot and fungus.
Florida’s heat and humidity speed up this process. Mixes here often wear out faster than they would up north.
Watch for clues that it is time to repot. The mix may look dark and silty, smell sour, or stay wet for days.
Roots spilling out everywhere or a plant that has outgrown its pot are other signs.
Most orchids do well with fresh mix every one to two years. The best timing is right after blooming, or when new roots and shoots start to appear.
Try to avoid repotting while flowers are open. The stress can make blossoms drop early.
When you repot, gently pull away all the old material. Trim off any soft or hollow roots with clean scissors, then settle the plant into fresh, chunky media.
Give it a few days in slightly shadier light while it adjusts. Before long, new roots will push into that fresh mix and growth will take off again.