This Is How To Revive Heat-Damaged Gardenia Plants In Texas
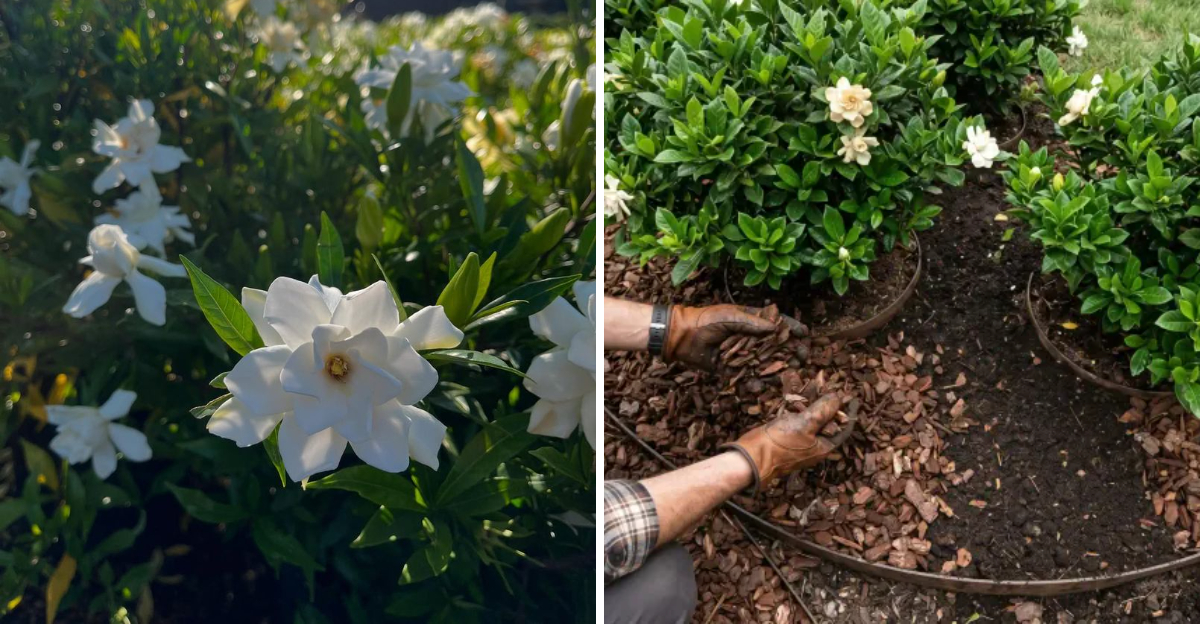
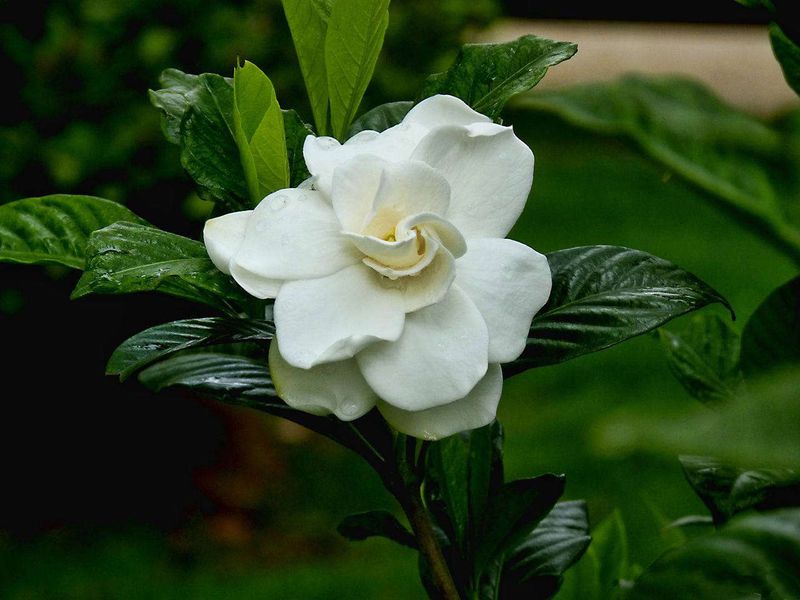
Gardenias are one of those plants that make a Texas garden feel truly special. That intoxicating fragrance, those creamy white blooms, the deep glossy green leaves.
When a gardenia is happy, there’s almost nothing more beautiful. But when the Texas summer heat really sets in, gardenias can go from stunning to struggling with alarming speed.
If your gardenia is looking stressed, scorched, or just completely defeated right now, you’re not alone. Heat damage is one of the most common problems Texas gardenia growers face, and it can show up in several different ways.
Yellowing leaves, dropping buds, crispy brown edges, wilting that doesn’t bounce back even after watering. Any of these signs mean your plant is telling you something needs to change.
The encouraging news is that a heat damaged gardenia is very often recoverable. But the steps you take right now matter a lot. Here’s exactly how to bring yours back before the damage becomes permanent.
1. Deep, Consistent Watering
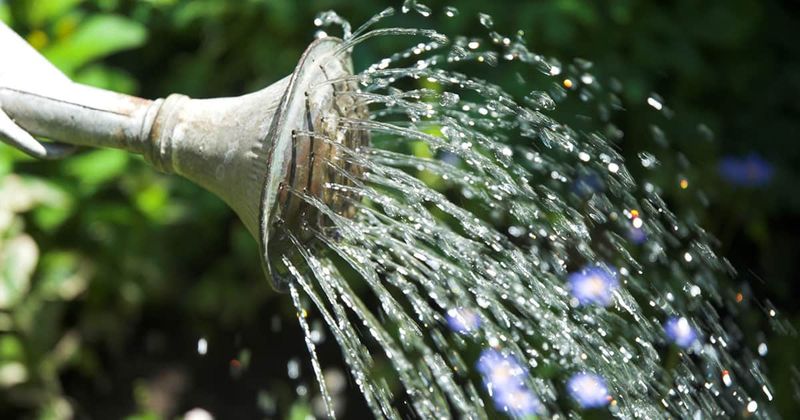
Nothing refreshes a heat-stressed gardenia faster than a good, deep drink of water. When Texas temperatures climb, the soil dries out quickly, and your gardenia roots struggle to pull up the moisture they need.
Shallow watering only wets the top layer of soil, which evaporates fast and leaves roots thirsty. Deep watering encourages roots to grow downward where the soil stays cooler and holds moisture longer.
Water your gardenia at the base of the plant, not on the leaves. Wet leaves in the hot sun can lead to scorching and fungal problems.
Early morning is the best time to water because the plant can absorb moisture before the heat of the day kicks in. Aim to water slowly and thoroughly so the water soaks at least six to eight inches into the soil.
Keep the soil evenly moist but never waterlogged. Too much standing water can suffocate roots and cause rot.
A simple trick is to stick your finger about two inches into the soil. If it feels dry at that depth, it is time to water. If it still feels damp, wait another day before watering again. Consistency is key here.
Irregular watering, where you soak the plant one day and skip several days after, puts extra stress on an already struggling plant. Try to water on a regular schedule, especially during heat waves.
Using a drip irrigation system or a soaker hose makes this even easier and more effective. Over time, steady and deep watering will help your gardenia recover and push out fresh, healthy new growth.
2. Provide Afternoon Shade
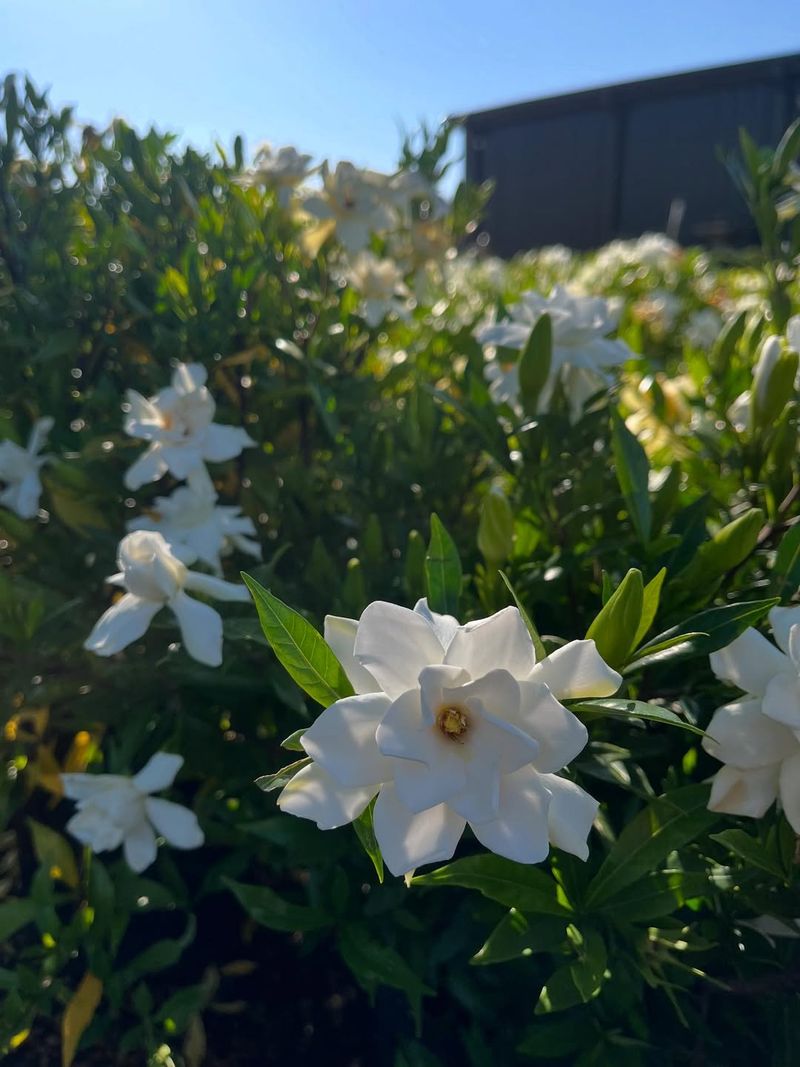
Gardenias love sunlight, but Texas afternoon sun is a whole different level of intense. When temperatures soar past 95 degrees and the sun beats down without mercy, even sun-loving plants can get scorched.
The leaves turn yellow or brown, and the plant looks exhausted. One of the smartest things you can do during a heat wave is give your gardenia a break from that harsh afternoon exposure.
If your gardenia is in a pot, move it to a spot that gets morning sun but is shaded from about noon onward. A covered patio, the east side of your home, or under a large tree all work well.
Your Texas Garden Changes Every Week. Your Plan Should Too.
Gardening in Texas changes quickly throughout the season. Every Friday you’ll receive a simple weekly plan showing exactly what to plant, prune, fertilize, harvest, and protect so you never miss the right timing.
Morning sun is gentler and gives the plant the light it needs without the brutal heat that comes later in the day. For gardenias planted in the ground, you can create temporary shade using a shade cloth, which is available at most garden centers and hardware stores.
Shade cloth comes in different densities, and a 30 to 50 percent shade cloth works great for gardenias. You can drape it over a simple frame made from PVC pipe or wooden stakes and remove it once temperatures cool down in the fall.
This is not a permanent fix but a smart seasonal solution. Reducing heat stress on the leaves gives the plant energy to focus on root recovery instead of fighting sun damage.
You may notice new leaf growth appearing within a few weeks once the plant is no longer fighting both heat and dehydration at the same time. Shade is one of the simplest and most effective tools in your recovery plan.
3. Mulch Around The Base
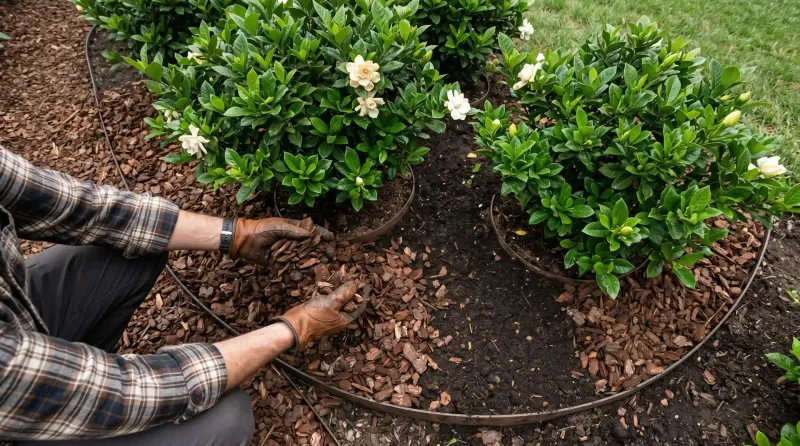
Here is a gardening secret that experienced Texas gardeners swear by: a thick layer of mulch around your plants can make a huge difference during summer.
Mulch acts like a blanket for the soil, but instead of keeping things warm, it keeps the ground cool and moist. For heat-stressed gardenias, this is exactly what the roots need to start recovering.
Apply two to three inches of organic mulch around the base of your gardenia, starting a few inches away from the main stem and spreading outward to cover the root zone. Good mulch options include shredded hardwood bark, pine straw, or wood chips.
Pine straw is especially popular in Texas because it is affordable, easy to find, and breaks down slowly. As it decomposes, it also adds a small amount of acidity to the soil, which gardenias love since they prefer slightly acidic conditions.
Mulch does several important jobs at once. It slows down water evaporation from the soil, which means you do not have to water as often.
It keeps soil temperatures significantly lower on hot days, sometimes by as much as 10 degrees. It also suppresses weeds that would otherwise compete with your gardenia for water and nutrients.
When you lay down mulch, be careful not to pile it directly against the stem of the plant. That can trap moisture against the bark and create conditions where rot or fungal problems can develop.
Keeping a small gap around the stem prevents that issue. Refresh your mulch layer every season to keep it effective, and your gardenias will have a much easier time making it through the Texas heat.
4. Prune Damaged Foliage
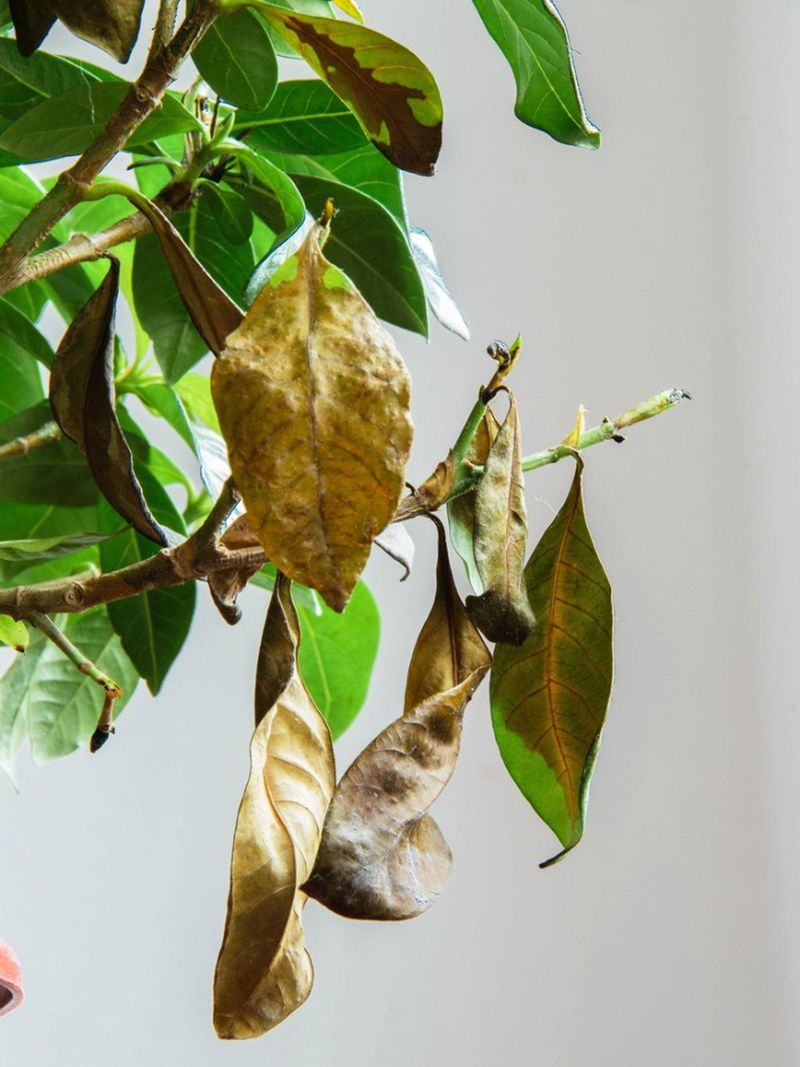
Scorched, brown, and wilted leaves are more than just an eyesore. They are actually a drain on your gardenia’s energy.
When a plant holds onto damaged foliage, it continues spending resources trying to maintain tissue that can no longer function properly. Removing that damaged material frees up energy so the plant can focus on producing healthy new growth instead.
Before you start cutting, make sure your pruning shears are clean and sharp. Dull or dirty tools can crush stems and introduce bacteria or fungal spores into fresh cuts.
Wipe your blades with rubbing alcohol before and after use to keep things sanitary. Then, look for leaves and stems that are brown, crispy, or completely wilted.
Snip those off cleanly, cutting just above a healthy leaf node or bud if possible. Do not go overboard with pruning all at once. Removing too much foliage at one time can shock a plant that is already under stress.
A good rule of thumb is to remove no more than one-third of the plant in a single session. If there is a lot of damage, do your pruning in stages over a few weeks.
After pruning, you may notice small green buds beginning to emerge along the stems within a week or two. That is a great sign that your gardenia is recovering and pushing out new, healthy growth.
Pruning also improves airflow through the plant, which helps reduce the chances of fungal disease taking hold in the humid Texas climate. Keep your tools clean and your cuts precise, and your gardenia will reward you with a fresh flush of beautiful foliage.
5. Fertilize Carefully
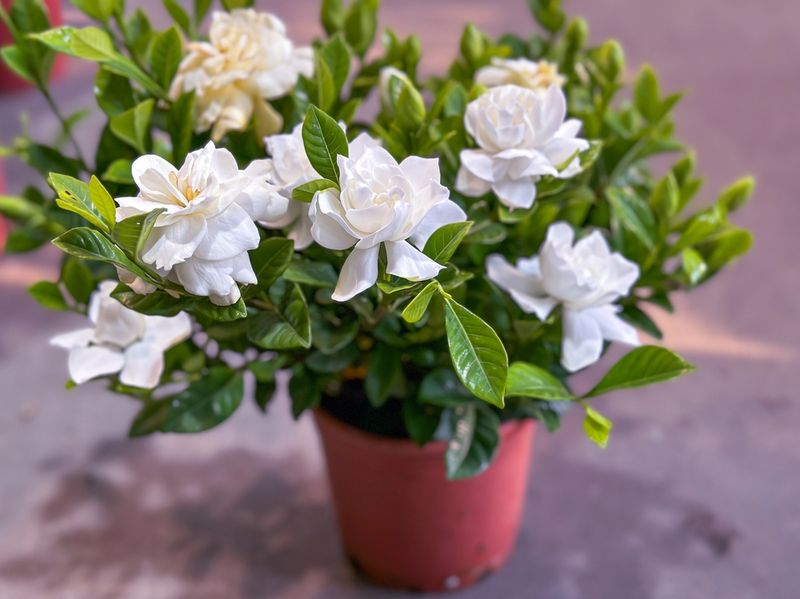
Fertilizer can be a powerful tool for helping gardenias recover, but timing and type matter more than most people realize. Reaching for a strong, fast-release fertilizer when your plant is already stressed might seem like a good idea, but it can actually make things worse.
Concentrated fertilizer salts can burn already-weakened roots and cause more leaf damage on top of the heat stress your plant is already dealing with.
The smarter move is to use a slow-release, acid-loving fertilizer that is specifically formulated for gardenias, azaleas, or camellias. These fertilizers deliver nutrients gradually over several weeks, which is much gentler on stressed roots.
Look for a formula that includes iron and sulfur, as these help maintain the slightly acidic soil conditions that gardenias need to absorb nutrients properly. A soil pH between 5.0 and 6.5 is ideal for gardenias.
Wait until the most intense heat has passed and your gardenia shows some signs of recovery before applying fertilizer. Feeding a plant that is still in shock can do more harm than good.
Once you see new leaf growth appearing, that is your signal that the plant is ready to accept nutrients.
Apply the fertilizer according to the package directions, and water it in well after application so the nutrients can reach the roots without sitting on the surface and burning anything.
Avoid fertilizing in late summer or fall in Texas, as this can push out tender new growth that gets damaged by early cold snaps. Spring and early summer are the best times to fertilize gardenias for strong, healthy results throughout the growing season.
6. Monitor For Pests And Diseases
Stressed plants are like an open invitation for pests and diseases. When a gardenia is already weakened by heat, its natural defenses drop, making it much easier for insects and fungal problems to move in and cause additional damage.
Catching these issues early can make the difference between a full recovery and a plant that continues to decline through the rest of the season.
Spider mites are one of the most common pests on heat-stressed gardenias in Texas. They thrive in hot, dry conditions and feed on plant sap, leaving behind tiny yellow or bronze spots on the leaves.
You might also notice fine webbing on the undersides of leaves. Aphids are another frequent visitor, clustering on new growth and sucking out nutrients.
Both pests can be treated with a strong spray of water to knock them off, followed by an application of insecticidal soap or neem oil for more stubborn infestations.
Fungal issues like sooty mold or leaf spot can also develop, especially if the plant has been watered inconsistently or if there is poor airflow around the foliage.
Sooty mold usually appears as a black, powdery coating on leaves and is often linked to aphid or whitefly activity.
Improving airflow through pruning and treating the underlying pest problem usually clears it up. Organic treatments like neem oil work well for both pests and mild fungal issues without introducing harsh chemicals into your garden.
Check your gardenias every few days during recovery and act quickly when you spot something unusual. Early action keeps small problems from becoming big setbacks and gives your plant the best chance at a full, healthy comeback.