This Is When And How To Divide Daylilies In Ohio Gardens
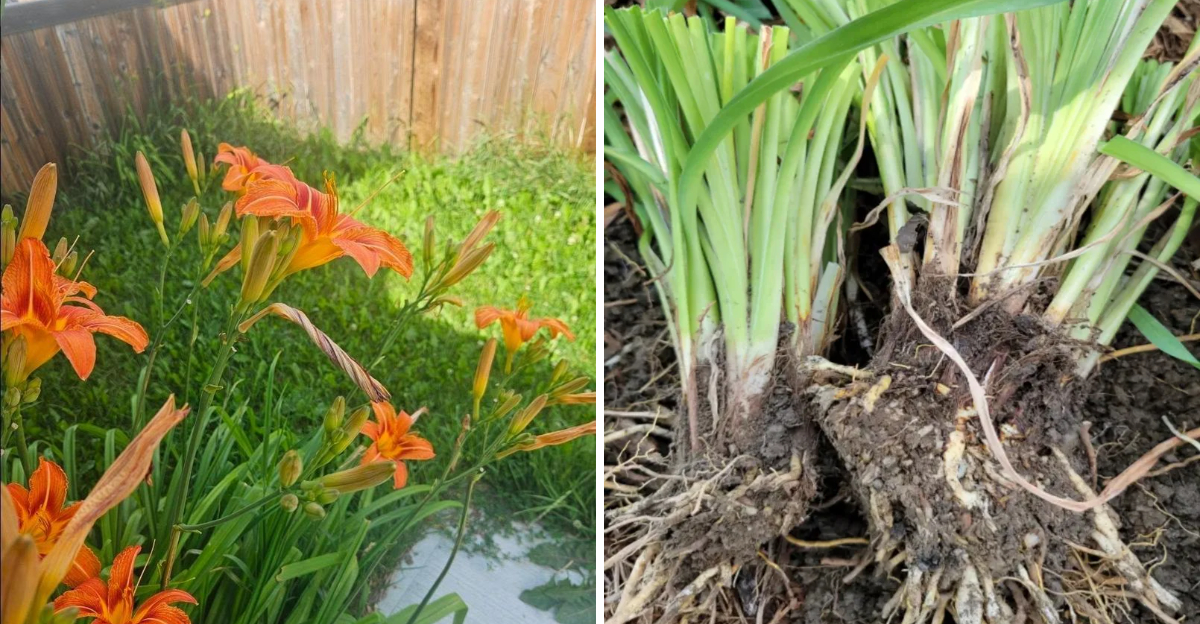
Every garden has one plant that keeps producing without asking for anything.
It fills the bed with color, shrugs off drought, ignores whatever the weather does, and never once complains.
Then somewhere around year four, the flowers thin out. Nothing looks wrong exactly. The foliage still comes up. Something just seems tired.
Most Ohio gardeners assume it needs fertilizer, or more sun, or some product from the shelf at the garden center.
What it actually needs costs nothing and takes one morning with a shovel.
Better yet, the job hands you three or four new plants for free, which is a return on effort you rarely see in gardening.
Here’s what makes this worth knowing. Timing matters more than technique, and there are two good windows in Ohio rather than one.
Miss both and you can still do it, though the plant takes longer to recover.
Curious which which window closes soonest?
1. Wait For Early Spring Or Late Summer
Timing does most of the work when splitting these tough perennials.
Ohio offers two good windows. Early spring as shoots emerge, or late summer once the main bloom has finished.
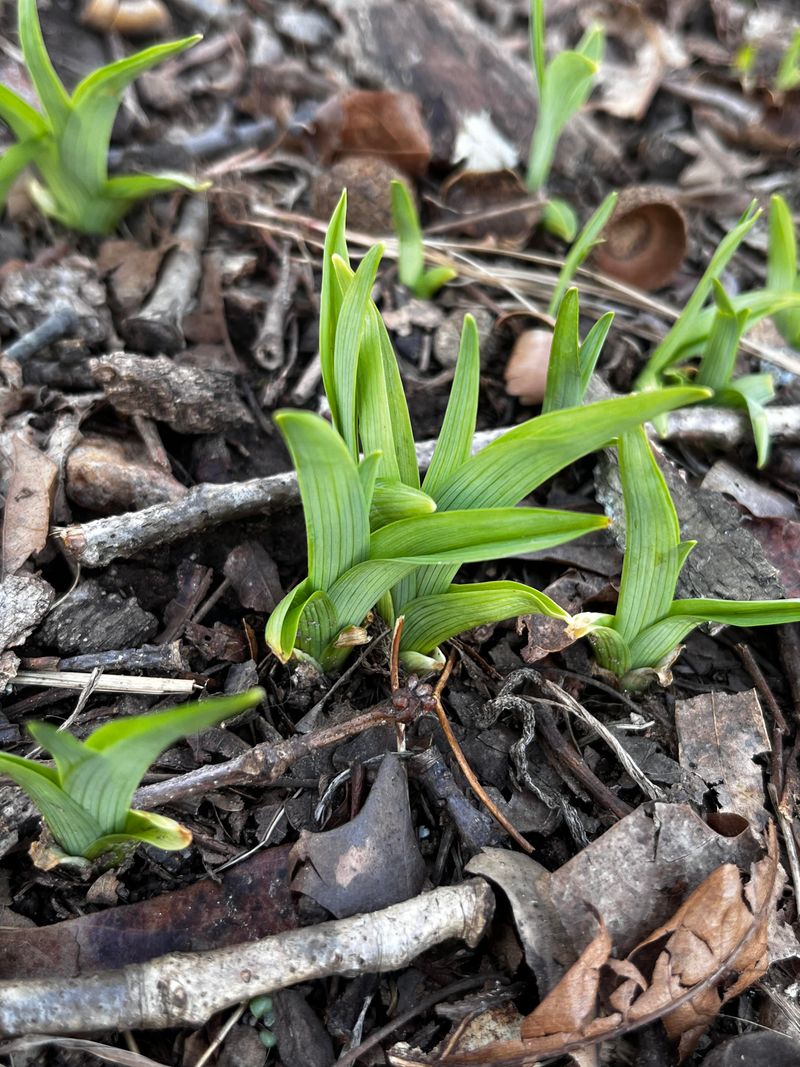
Spring division gives roots a full growing season to establish before winter. Little green fans pushing through the soil are your signal to grab a shovel.
Cool air and steady spring rain help transplants recover quickly.
Late summer works equally well, roughly August into early September. With flowering done, the plant can direct energy toward root growth.
Aim to finish about six weeks before the first frost, which arrives somewhere around mid October across much of the state.
Peak summer heat is the stretch to avoid. Hot dry weeks stress divisions and slow recovery.
Truth be told, daylilies tolerate division at almost any point in the growing season. The windows above simply produce faster establishment and better bloom the following year.
Local conditions shift the timing. Northern Ohio near Lake Erie runs cooler and wetter while southern counties warm earlier, so watching your own beds beats following a fixed date.
A cloudy mild day makes the whole job easier on you and the plants both.
2. Spot The Signs Your Plant Needs Splitting
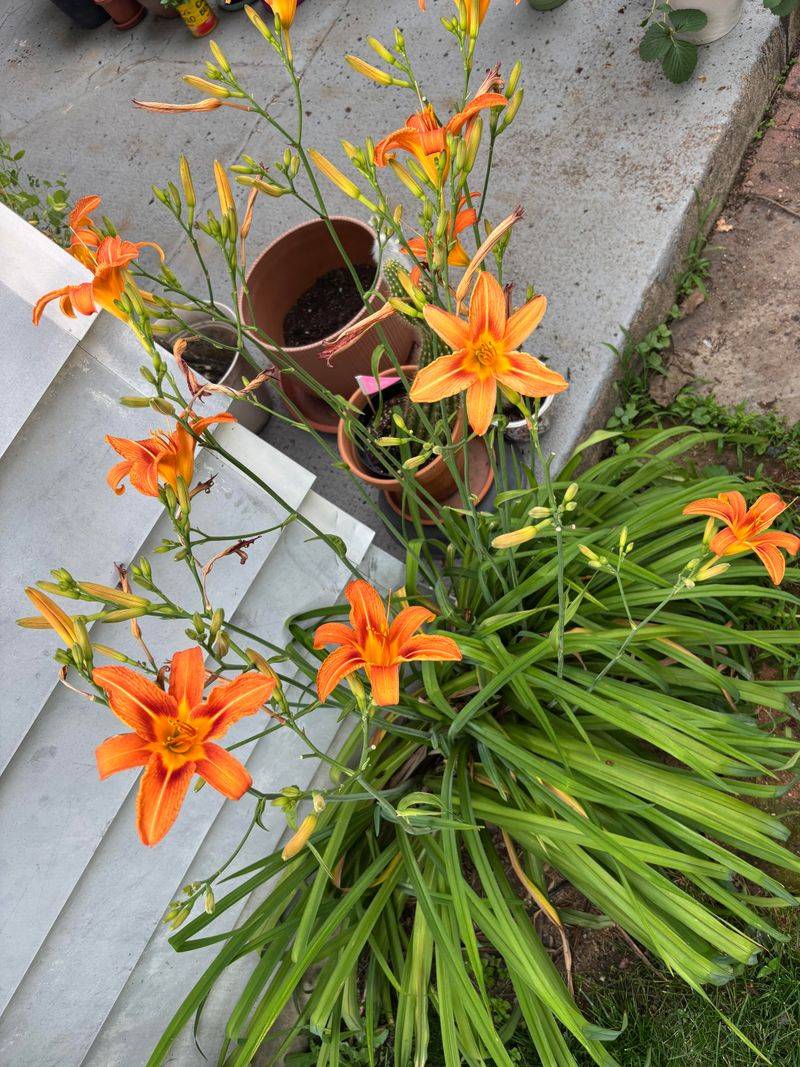
Daylilies communicate crowding fairly clearly once you know the signals.
Reduced flowering is the most common one. A clump that used to produce heavily now offers a handful of blooms while roots compete underground for water and nutrients.
A bare hollow center is another giveaway. Older clumps often form a donut shape, with vigorous growth around the edges and an empty tired middle.
Overall size tells you something too. A mound that has expanded past two feet across and started pushing into neighboring plants is asking for room.
Smaller, thinner foliage compared with previous seasons fits the same pattern.
Most Ohio daylilies benefit from division every three to five years. Vigorous cultivars may need it sooner while slower growers can wait longer.
Worth noting that some varieties genuinely bloom less as they age regardless of spacing, so division does not fix every decline.
Your Ohio Garden Changes Every Week. Your Plan Should Too.
Gardening in Ohio changes quickly throughout the season. Every Friday you’ll receive a simple weekly plan showing exactly what to plant, prune, fertilize, harvest, and protect so you never miss the right timing.
Other causes deserve a look before you dig. Increasing shade from a growing tree, competition from spreading neighbors, or daylily rust can all reduce flowering.
A simple garden journal makes patterns visible across years.
When the show starts slowing, the moment has arrived to give the plant a fresh start and a roomier spot.
3. Gather the Right Tools Before You Start
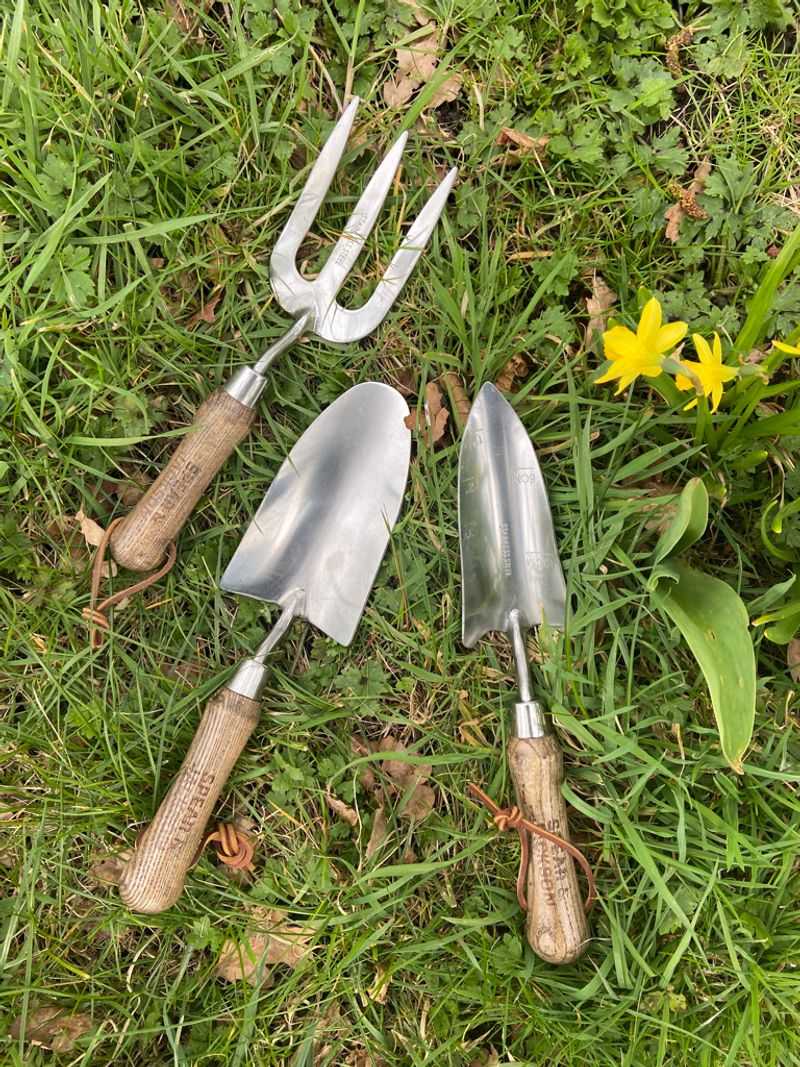
Nothing slows a garden project down like running back to the shed halfway through. A little prep saves your afternoon.
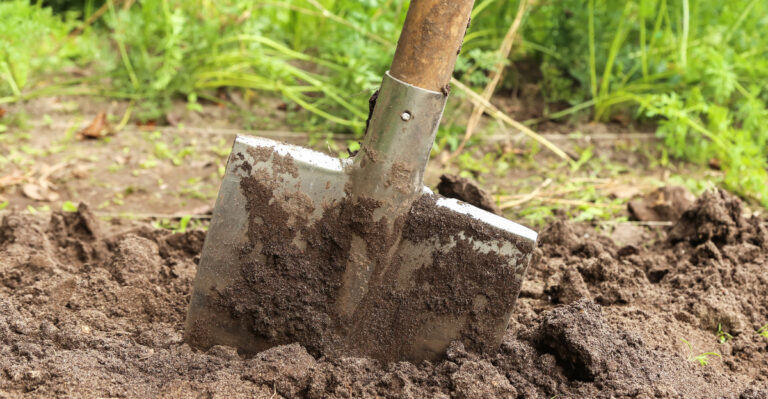
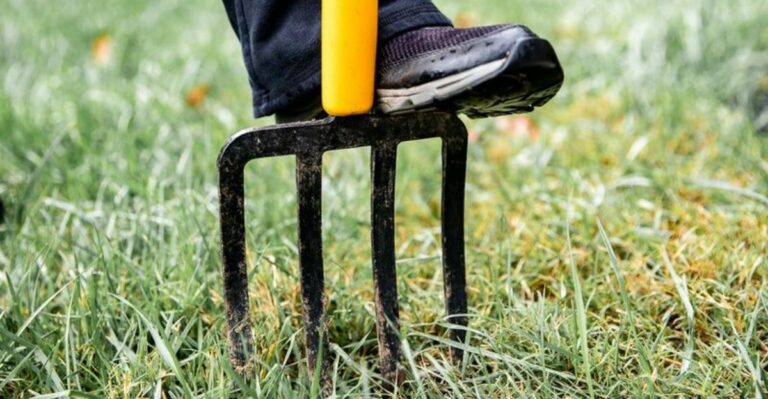
Start with a sturdy spading fork or a round-point shovel. The fork works wonders because it slides between roots without slicing through too many of them. A shovel handles the heavier lifting when clumps get stubborn.
Keep a sharp knife or an old bread knife handy for tough, tangled root masses. Some gardeners even use two forks placed back to back to pry sections apart. Whatever you choose, clean tools help prevent spreading any lingering plant troubles.
Grab a pair of gloves to protect your hands from blisters and dirt. Daylily foliage is not sharp, but a full day of digging takes a toll on bare palms.
Fill a bucket with water nearby. Setting divided pieces in it keeps the roots moist while you finish the job, and thirsty roots are unhappy roots.
A tarp or wheelbarrow makes moving soil and plants much easier, especially in larger Ohio beds. Toss in a hose for rinsing muddy clumps so you can see the roots clearly.
Finally, mark where you plan to replant with a few stakes or a garden label. Having everything within arm’s reach turns a tiring chore into a smooth, satisfying morning outdoors.
4. Dig Up The Whole Clump Carefully
Here comes the fun part, where a little muscle meets a lot of reward. Digging up the clump feels like unearthing buried treasure.
Begin by cutting the foliage back to about six inches tall. Shorter leaves reduce stress on the plant and make the clump easier to handle without leaves flopping in your face.
Push your fork into the soil roughly six inches away from the outer edge of the plant. Work your way all the way around, loosening the dirt as you go. This circle of digging frees the roots on every side.
Once you have gone around, slide the fork underneath and gently lift. Rock the tool back and forth to coax the clump upward. Big Ohio clumps can be surprisingly heavy, so bend your knees and let your legs do the work.
Do not yank hard if it resists. Instead, dig a bit deeper and try again, since patience protects those valuable roots.
After the clump is out, shake off loose soil so you can see what you are working with. A quick rinse from the hose reveals the tangled roots and hidden growing points.
Lay the plant on your tarp and take a good look. Seeing the natural clumps and fans helps you plan where to make your splits before you start pulling anything apart.
5. Separate Into Healthy Fans
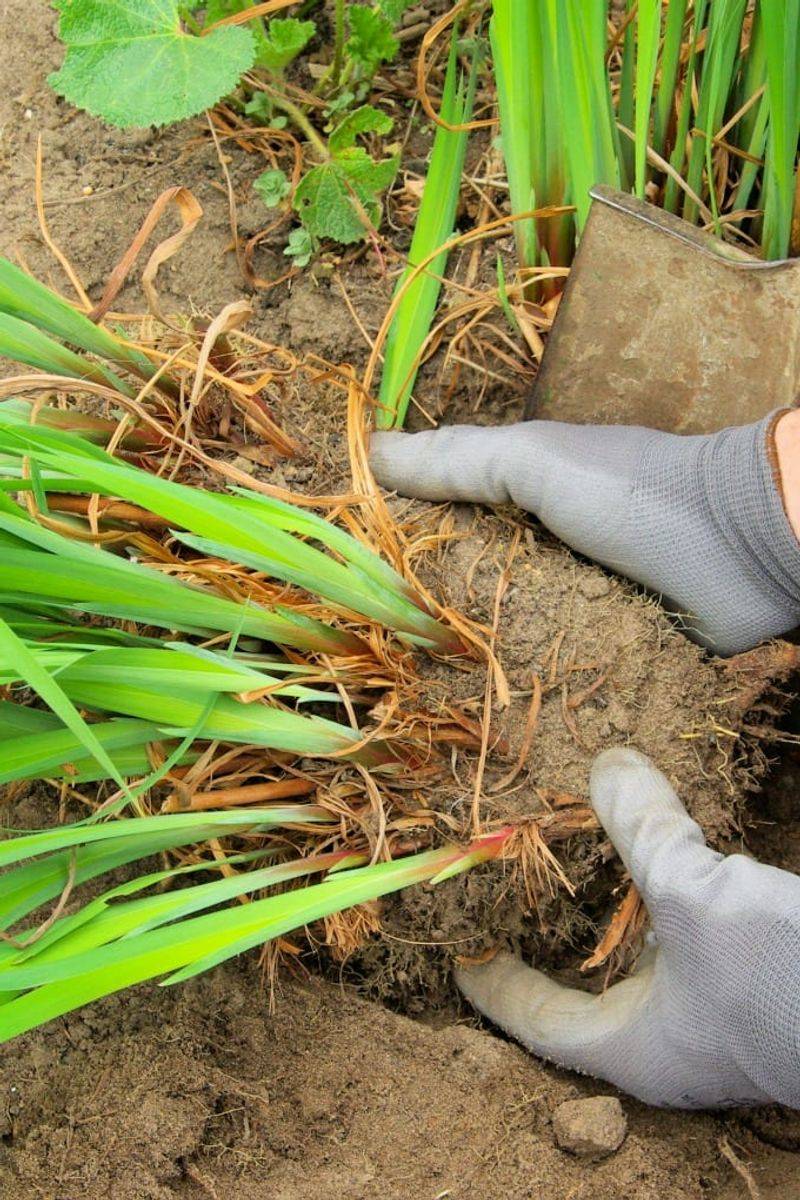
Now for the moment that turns one plant into many free ones. Splitting the clump is oddly satisfying, almost like solving a puzzle.
Look for the natural groupings called fans, which are the little bundles of leaves sprouting from their own roots. Each division you create should have at least two or three healthy fans attached to a good chunk of roots.
For soft, younger clumps, you can often tease the sections apart with just your hands. Wiggle and pull gently, following the natural seams where the fans separate.
Tougher, older clumps may fight back. That is when your two-fork trick shines: push both forks into the center back to back, then pull the handles apart to lever the mass into pieces.
A sharp knife helps with the really dense knots. Slice straight through the root crown, making sure each piece keeps some roots and leaves.
Toss out any mushy, rotten, or hollow bits from the tired center. Those pieces rarely bounce back and only waste space in your beds.
Try not to make the divisions too tiny. Bigger sections with several fans settle in faster and often bloom the very next season, while single-fan slivers take longer to fill out.
Set each finished piece in your water bucket to keep the roots happy until planting time arrives.
6. Replant At The Correct Depth
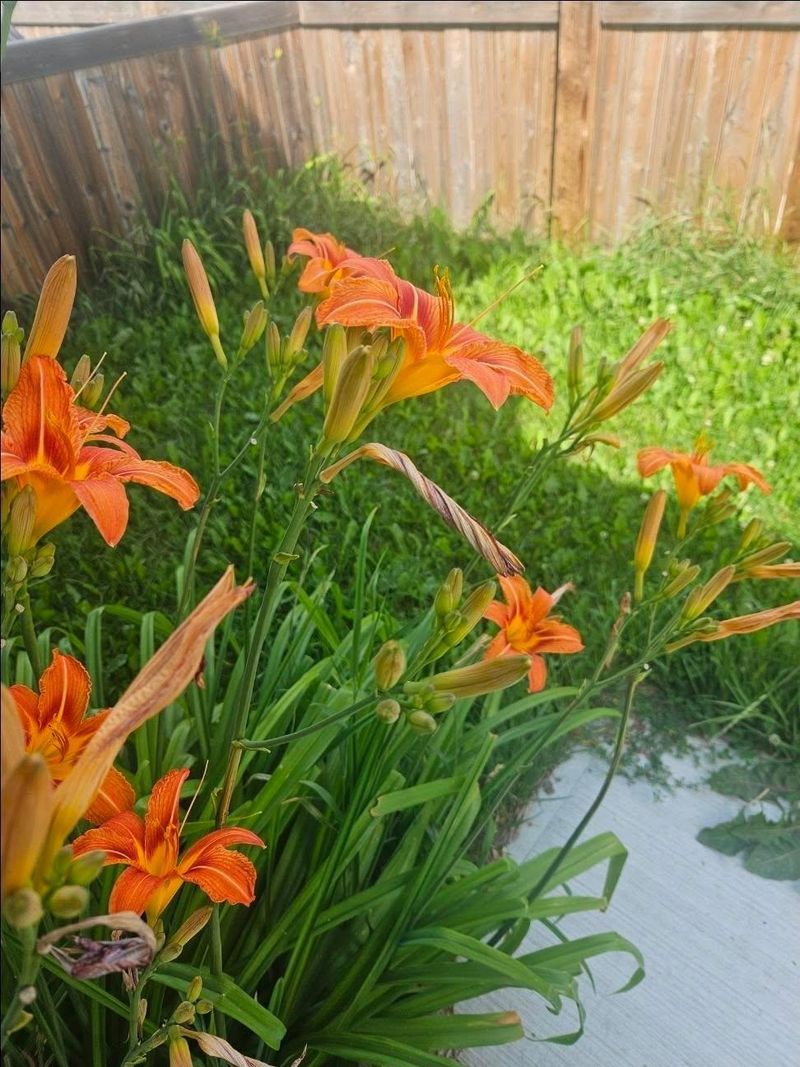
Getting your divisions back into the ground the right way sets them up for years of blooms. Depth matters more than folks expect.
Dig a hole wide enough that the roots can spread out naturally instead of curling into a ball. Loosen the soil at the bottom so tender new roots can push through easily.
Build a small mound of dirt in the center of the hole. Drape the roots over this little hill, spreading them like the legs of an octopus for better anchoring.
Aim to set the crown, where the roots meet the leaves, about one inch below the soil surface. Planting too deep can rot the crown, while planting too shallow leaves it exposed and stressed.
Space each division roughly eighteen to twenty-four inches apart. That gap gives them room to grow into full clumps without crowding again too soon.
Backfill with soil and press it down gently with your hands to remove air pockets. Ohio clay soils benefit from a scoop of compost mixed in, which improves drainage and feeds the roots.
Water thoroughly right after planting to help the soil settle around the roots. A slow soak beats a quick splash every time.
Add a label if you grow several varieties, because next spring you will be glad you remembered which colorful bloomer went where.
7. Care For New Divisions Through The Season
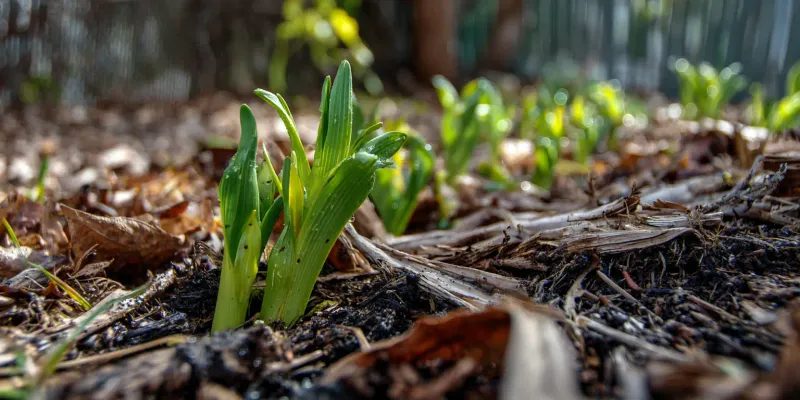
The finish line is in sight, but a bit of aftercare seals the deal. Fresh divisions need gentle attention while they settle in.
Water is your best friend during the first few weeks. Keep the soil evenly moist, giving a deep drink two or three times a week if rain stays away. Ohio summers can turn dry fast, so a rain gauge helps you keep track.
Spread a two- to three-inch layer of mulch around the plants, but keep it off the crown. Mulch locks in moisture, keeps weeds down, and shields roots from the temperature swings common in the region.
Hold off on heavy fertilizer for a few weeks. Let the roots establish first, then a light feeding in spring gives them a gentle boost.
Do not panic if the leaves look a little sad at first. Transplant shock is normal, and the plants usually perk up within a couple of weeks as the roots grab hold.
For late-summer divisions, add extra mulch before winter to guard against frost heaving, where freezing and thawing pushes plants upward.
Blooms may be sparse the first year, especially on smaller pieces, and that is perfectly fine. By the following season, your patience pays off with fuller clumps and a brighter, cheerier display than before.
8. Decide What To Do With The Extras
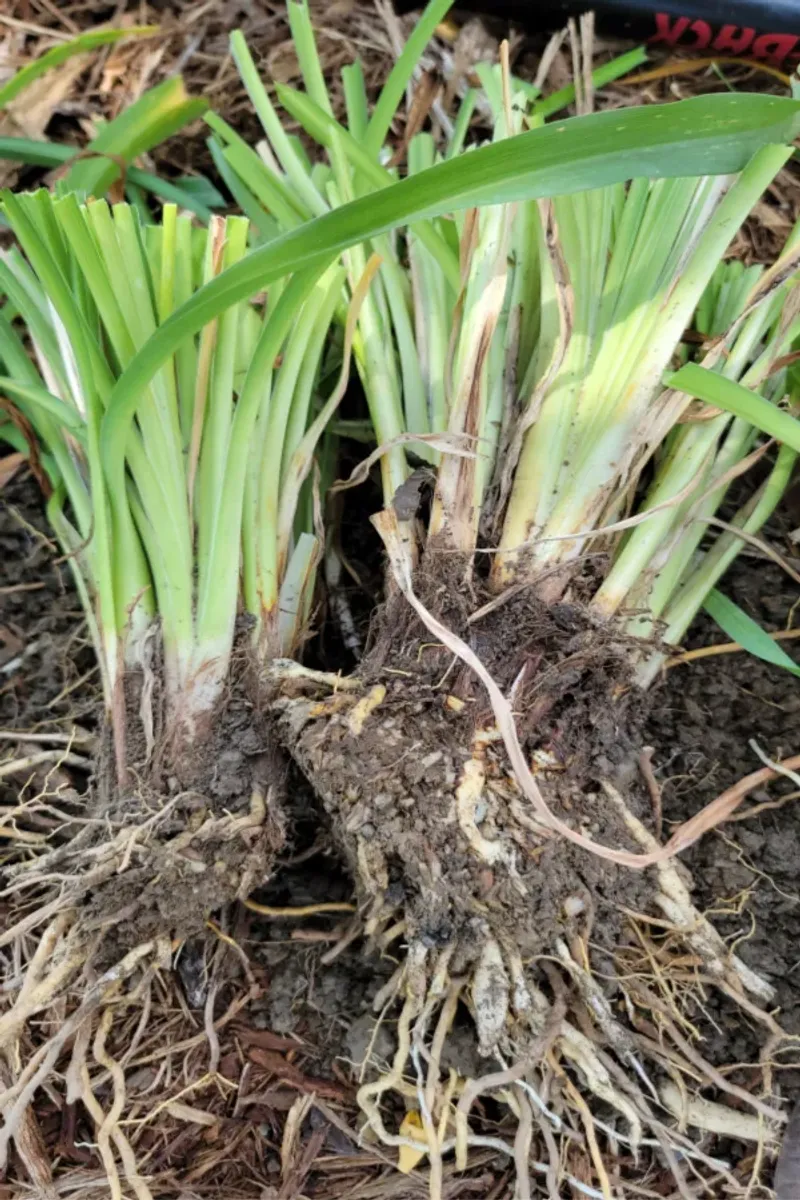
One divided clump usually produces more plants than you had room for.
That surplus is the best part of the job, provided you have a plan before the pieces start drying out.
Replanting elsewhere in the yard is the easy answer. Daylilies handle hellstrips, slopes, and the awkward patch by the mailbox that nothing else tolerates.
Massing several divisions of one cultivar reads better than scattering singles around. Repetition looks deliberate.
Sharing works well too, since divisions travel easily. Wrap roots in damp newspaper inside a plastic bag and they hold for a day or two without trouble.
Plant swaps and garden club sales both welcome daylilies, and local groups often organize exchanges in spring and late summer.
Potting extras is another option. A one gallon container with regular potting mix holds a division fine until you find it a home.
Keep potted divisions in part shade and watered, since containers dry faster than beds.
Compost the truly spent material from the hollow center. Those pieces rarely amount to anything.
One caution on sharing. Daylily rust and other issues travel with divisions, so inspect foliage before handing plants to a neighbor.
Label everything you give away. Nobody remembers cultivar names four months later, and a friend with a mystery orange daylily will eventually ask.