This Rain Barrel Setup Is Helping Minnesota Gardens Cope While Water Restrictions Tighten
Minnesota’s water restrictions are turning green yards into dry, brown patches this summer. Homeowners wake up to sprinkler ban notices.
By noon, they see their plants struggle in the heat. City officials keep tightening the rules, and lawns across the state are feeling the strain.
Vegetable beds dry out fast under the sun. Gardeners are searching for a workaround that won’t spike their water bill.
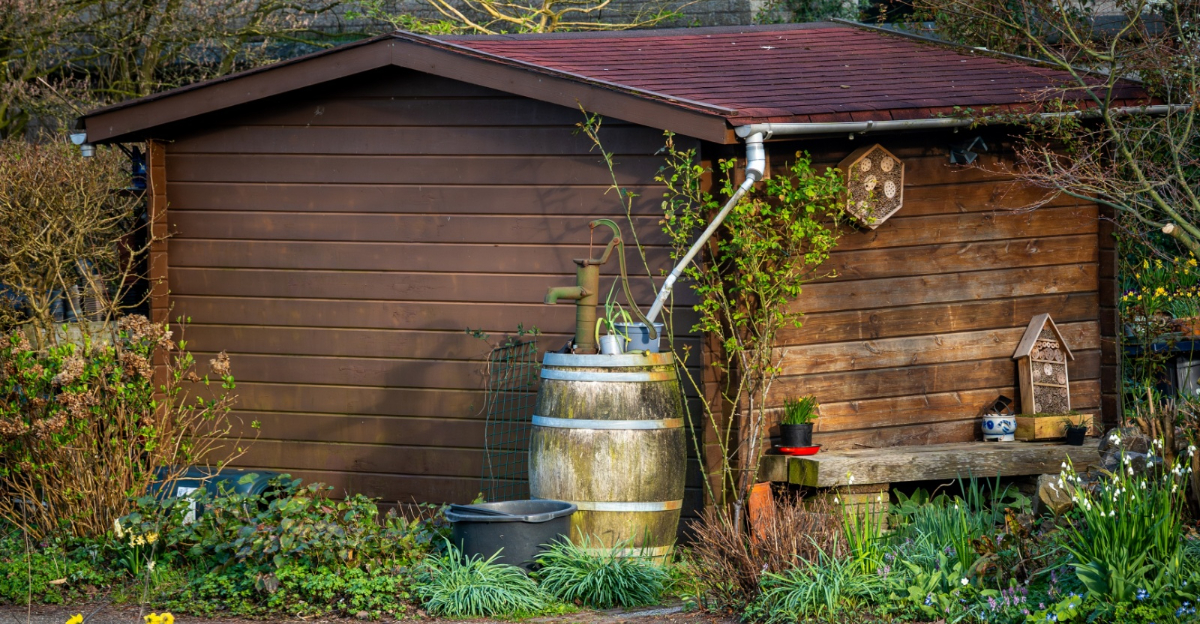
There’s one simple solution homeowners are turning to. A simple rain barrel placed under a gutter downspout is helping supply backyard gardens all over Minnesota.
Rooftop runoff, once wasted down the storm drain, now fills buckets that keep basil, peppers, and cold-hardy hydrangeas like panicle or smooth varieties thriving. Neighbors are noticing too.
What started as one household’s quiet fix is turning into a street-by-street trend. It’s proof that sometimes the solution may already be on your roof.
Why Minnesota Gardens Are Struggling Under New Water Restrictions
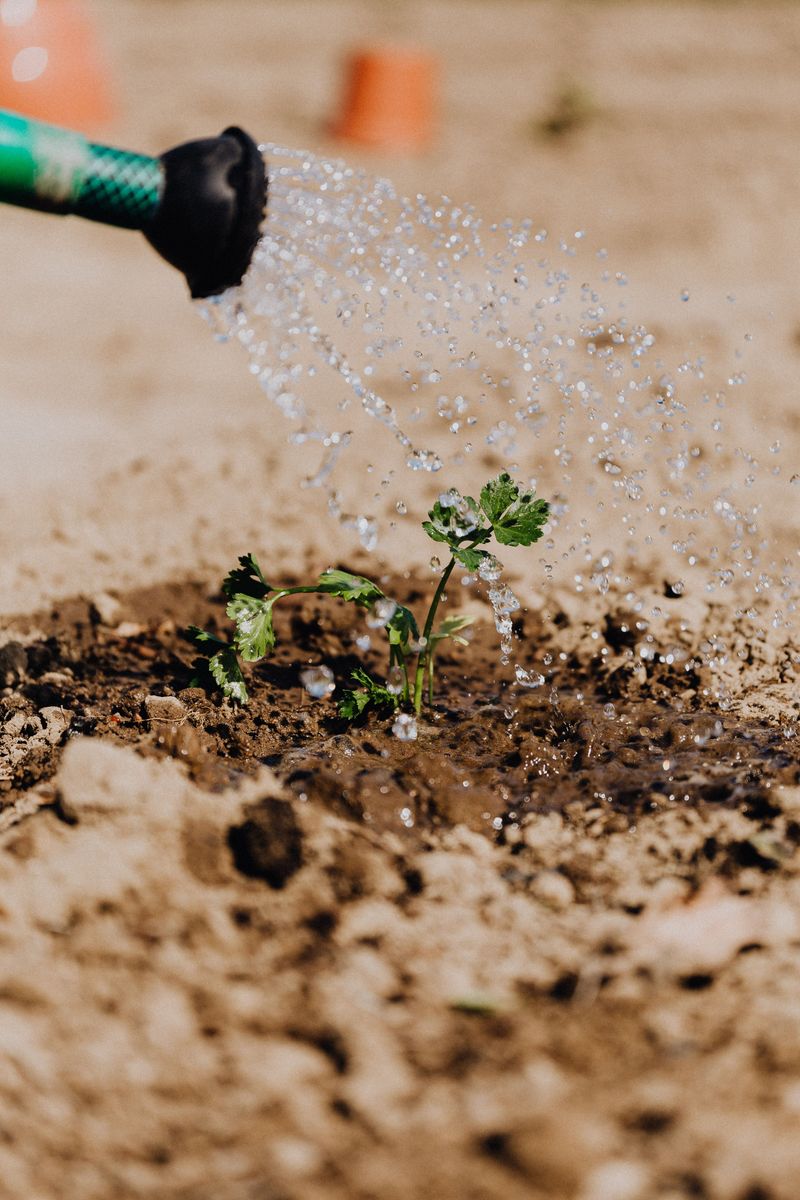
Cracked soil is a common sight this season. Minnesota gardeners are facing some of the tightest water restrictions in recent memory, and their plants are feeling the effects.
Many cities across the state have moved to odd-even watering schedules. Some neighborhoods now face complete outdoor watering bans on certain days.
The restrictions stem from a combination of drought conditions and aging municipal water systems. Demand spikes during summer months, and water utilities simply cannot keep up with every lawn and garden in the region.
Vegetable gardens are especially vulnerable to these cutbacks. A tomato plant needs consistent moisture to produce fruit, and skipping even two days of watering can cause blossom drop.
Flower beds and perennial borders are also taking a hit this season. Established plants that made it through past summers are now showing stress signs like yellowing leaves and stunted growth.
Homeowners who relied on hose-end timers are suddenly finding those tools useless under the new rules. The flexibility they once enjoyed has vanished almost overnight.
The good news is that a rain barrel setup offers a legal and practical workaround. In general, Minnesota does not restrict rainwater collection the way some other states do.
However, local ordinances and HOA rules can still apply, so it’s worth checking your city’s specific requirements.
Smart gardeners are already making the switch and keeping their beds lush while their neighbors’ plants show signs of stress. The solution was sitting on their rooftops the whole time.
What A Rain Barrel Setup Actually Involves
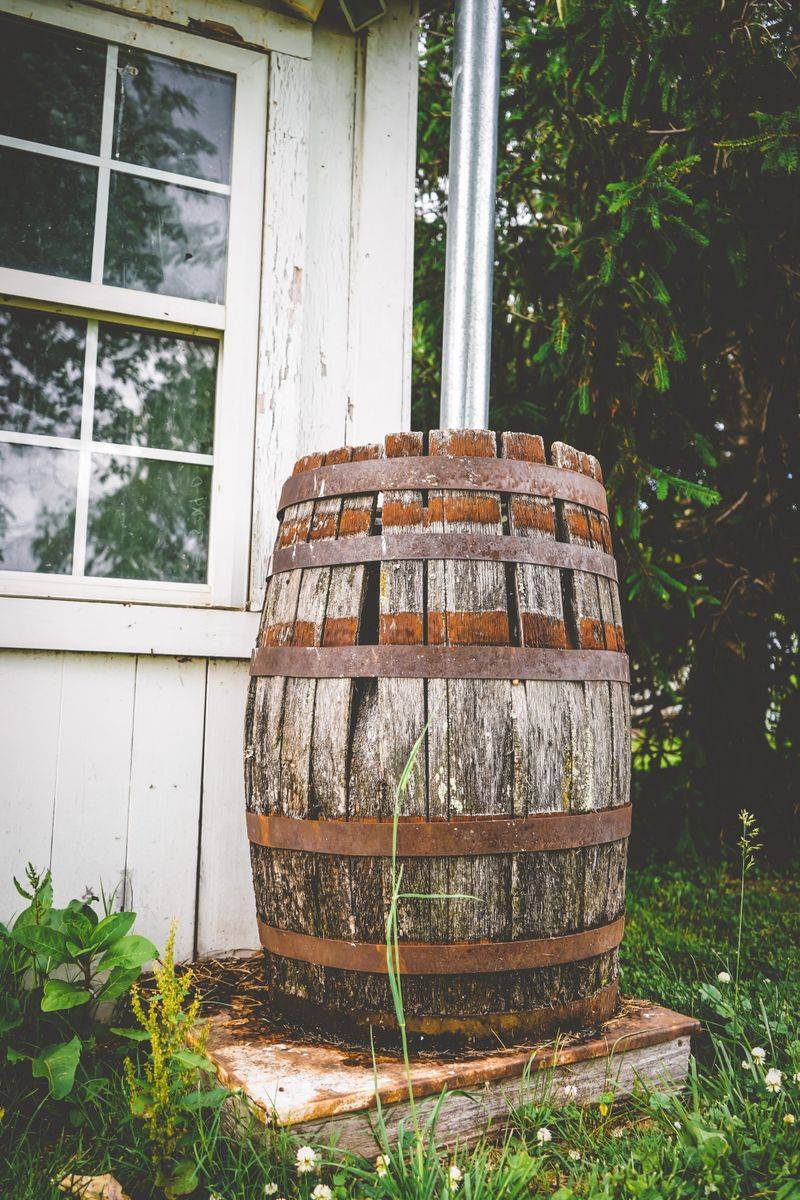
A rain barrel setup is simpler than most people imagine. At its core, it is just a container that catches roof runoff before it hits the ground and disappears.
The typical system starts with a barrel placed directly beneath a downspout. A diverter kit redirects water from the spout into the barrel instead of letting it drain away.
Most barrels hold between 50 and 100 gallons of water. That might sound like a lot until you realize a single inch of rain on a 1,000-square-foot roof generates over 600 gallons of runoff.
Your Minnesota Garden Changes Every Week. Your Plan Should Too.
Gardening in Minnesota changes quickly throughout the season. Every Friday you’ll receive a simple weekly plan showing exactly what to plant, prune, fertilize, harvest, and protect so you never miss the right timing.
A standard setup also includes a spigot near the bottom of the barrel. That spigot connects to a garden hose or drip irrigation line for easy delivery to plants.
Overflow systems are another key component of this rain barrel setup. When the barrel fills up, excess water needs somewhere to go that does not flood your foundation.
A mesh screen covers the top opening to block leaves, mosquitoes, and debris. Keeping the water clean from the start prevents clogs downstream in your hoses and emitters.
Some setups link multiple barrels together in a daisy-chain configuration. Connecting two or three barrels dramatically increases storage capacity for longer dry spells.
The whole system can be assembled in an afternoon with basic tools. Once it is in place, it works automatically every time it rains, requiring almost no effort from the homeowner.
How To Build The Setup At Home
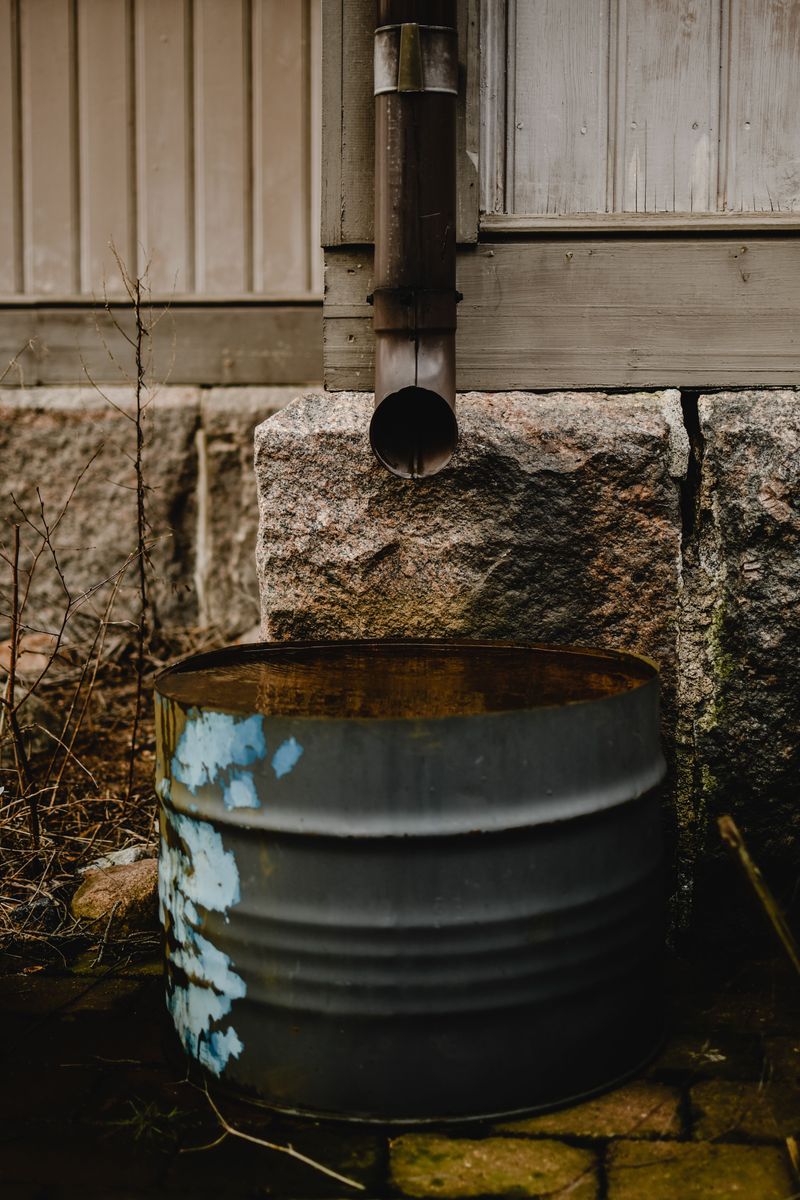
Building your own rain barrel is a weekend project with big payoffs. You do not need advanced skills, just a drill, a few fittings, and the right barrel to start.
Food-grade 55-gallon plastic drums are the most popular choice for DIY builds. Many can be found cheaply through local farms, food distributors, or online marketplace listings.
Start by drilling a hole near the bottom of the barrel for the spigot fitting. Use a hole saw bit that matches your spigot diameter, usually three-quarters of an inch.
Thread the spigot through the hole and seal it with rubber washers and plumber’s tape. A tight seal prevents leaks that would waste the water you worked to collect.
Next, cut an opening in the barrel lid for the downspout connection or overflow pipe. Cover that opening with a fine mesh screen secured by a bungee cord or zip ties.
Install a downspout diverter kit on your existing gutter system. These kits are widely available at hardware stores and snap onto standard downspout sizes without cutting the pipe permanently.
Elevate the barrel on cinder blocks or a sturdy wooden platform. Raising it even 12 inches creates enough water pressure for a garden hose to flow without a pump.
Once everything is connected, run a test with your garden hose to check for leaks. A properly built rain barrel setup should hold water for weeks without losing a drop.
How Much Water And Money You Can Actually Save
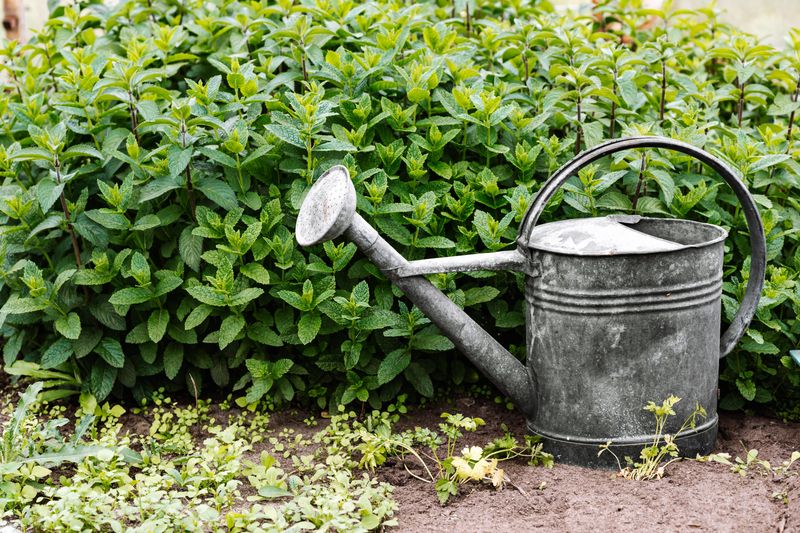
The savings add up faster than most homeowners expect. A single rain barrel can offset a significant chunk of your summer water bill with almost no ongoing cost.
Nationally, outdoor watering is often estimated to account for a large share of household water use during summer months. Replacing even half of that with collected rainwater creates noticeable savings on monthly utility bills.
A 55-gallon barrel filled twice a week through a rainy stretch gives you roughly 440 gallons of free water per month. At typical municipal rates, that translates to several dollars saved each billing cycle.
Homeowners who chain multiple barrels together see even bigger returns. A three-barrel system holding 165 gallons can supply a small vegetable garden for an entire week between rain events.
Beyond the water bill itself, using collected rainwater protects your plants in ways that also save money. Rainwater is naturally soft and slightly acidic, which most garden plants prefer over chlorinated tap water.
Healthier plants need fewer inputs like fertilizer and pest treatments. When your soil stays consistently moist and your plants stay strong, you spend less at the garden center each season.
Some Minnesota utility providers have offered rebates for rain barrel installation in the past, which we will cover shortly. These rebates can meaningfully reduce your upfront cost, shortening the payback period.
Over a five-year span, a well-maintained rain barrel setup can easily save hundreds of dollars. This can add up to real savings over time.
Local Rules, Rebates, And Permits To Know Before Installing
Before you buy a single barrel, check your local rules. Minnesota is generally rain barrel-friendly, but individual cities and HOAs can have their own specific requirements.
Minnesota generally does not restrict rainwater harvesting the way some western states do. However, as mentioned earlier, some cities and HOAs have their own rules about how barrels must look or be maintained.
That said, some municipalities require barrels to be covered, opaque, and screened. These rules exist to prevent mosquito breeding and to keep neighborhoods looking tidy during the summer months.
Certain HOAs have aesthetic guidelines that govern what can be placed in front or side yards. Tucking your barrel behind a fence or along the back of the house usually satisfies most association rules.
Several Minnesota cities and water utilities have offered rebate programs for rain barrel purchases in the past, including Saint Paul Regional Water Services. Check your local utility’s current program for exact amounts.
Minneapolis and some suburban utilities have run similar programs through their stormwater management departments. Checking your city’s environmental services website is the fastest way to find current offers.
Some programs require you to attend a brief workshop before the rebate applies. These sessions are usually free and take less than two hours, teaching you proper installation and maintenance basics.
Permits are rarely required for a standard single-barrel system. Larger multi-barrel setups or underground cisterns may need approval, so always confirm with your local building department before expanding your rain barrel setup.
Common Mistakes That Hurt A Rain Barrel System’s Performance
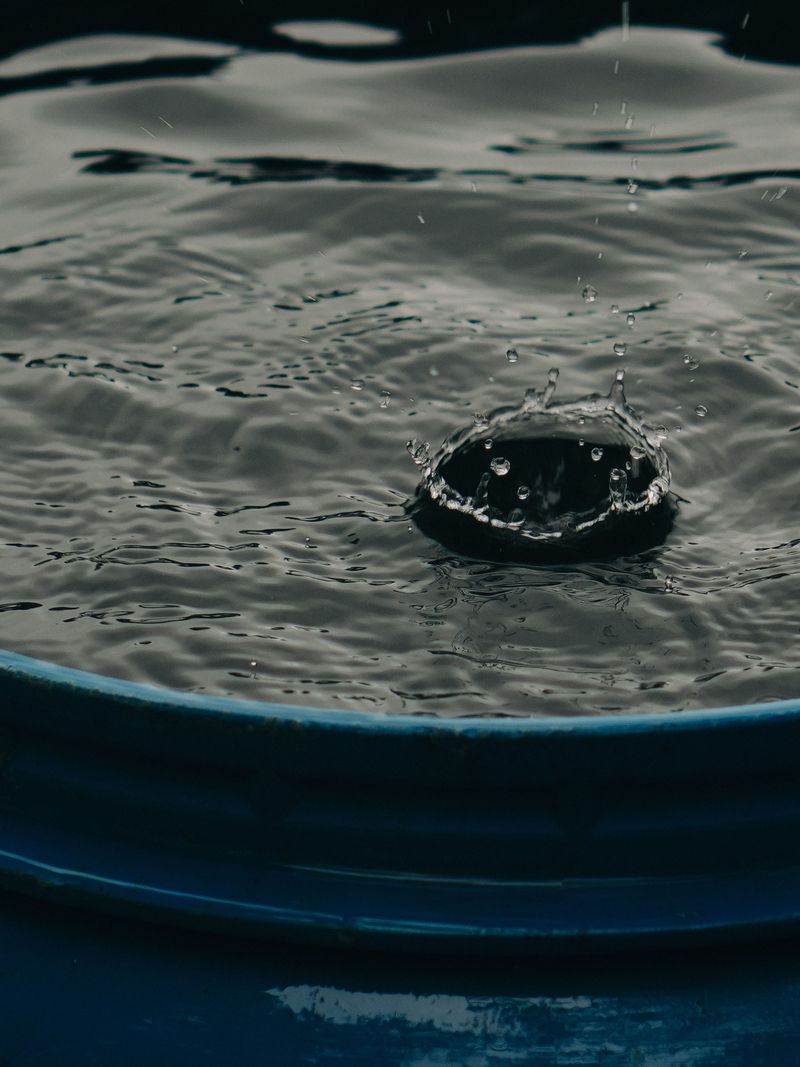
A poorly set up barrel can cause more problems than it solves. Knowing the common pitfalls ahead of time keeps your system running smoothly all season long.
The biggest mistake homeowners make is skipping the overflow outlet. When a barrel fills up and has nowhere to drain, water spills toward your foundation and can cause serious basement moisture issues.
Another frequent error is placing the barrel directly on flat ground. Without elevation, gravity pressure is too weak to push water through a hose, leaving you hauling buckets by hand all summer.
Forgetting to clean the first flush is also a common oversight. The initial rain after a dry spell washes bird droppings, pollen, and debris off your roof directly into the barrel.
A first-flush diverter solves this problem by redirecting the first few gallons of dirty runoff away from your storage container. Adding one to your system costs very little but protects water quality significantly.
Leaving the barrel uncovered is another error that invites mosquitoes to breed inside. Even a small gap in the screen can allow mosquitoes to lay eggs in standing water within a few days.
Some homeowners forget to disconnect barrels before the first hard freeze. Water expands when it freezes, cracking plastic barrels and splitting fittings, which means replacing the whole system come spring.
Avoiding these mistakes keeps your rain barrel setup productive and problem-free. A little attention at the start saves a lot of frustration later in the growing season.
The Best Barrel Types And Where To Find Them

Not all barrels are created equal, and the one you choose affects how well your whole system performs. Picking the right type from the start saves you from headaches down the road.
Food-grade plastic drums are the most affordable option for most homeowners. They are durable, lightweight, and widely available through local farms, breweries, and online classifieds for under 20 dollars.
Purpose-built rain barrels from garden centers come with spigots, screens, and overflow ports already installed. They cost more upfront but save installation time for people who prefer a ready-to-use solution.
Decorative rain barrels designed to look like wooden planters or ceramic urns have grown in popularity. These blend into landscaping nicely and satisfy HOA aesthetic requirements without sacrificing function.
Collapsible fabric rain barrels are a newer option worth considering for renters or small spaces. They fold flat for winter storage and set up quickly each spring when the rainy season returns.
UV-resistant materials matter more than many buyers realize. Barrels exposed to direct sunlight will degrade faster if they are made from standard plastic, eventually cracking and leaking after just a few seasons.
Dark-colored barrels are preferable because they block sunlight from entering the water. Sunlight penetrating clear or light-colored containers encourages algae growth, which clogs spigots and smells unpleasant.
Local hardware stores, big-box retailers, and online suppliers all carry solid options. Comparing a few sources before buying ensures you get the best value for your rain barrel setup investment.