Tidewater Gardeners Are Burying Oyster Shells In Their Garden Beds. Here’s Why
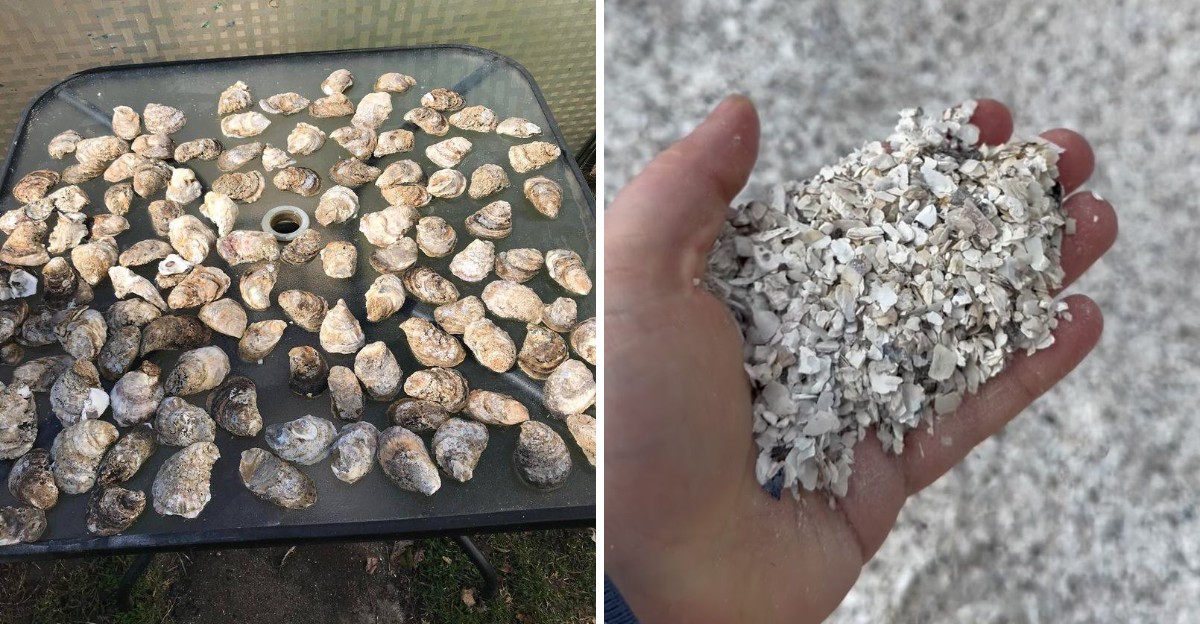
After a backyard oyster roast, plenty of Tidewater gardeners skip the trash can entirely. Those rough, salty shells go straight into their garden beds instead.
Crunchy white bits now peek out between tomato plants and fresh lettuce across coastal Virginia. The habit sounds quirky, but there’s real science hiding inside every shell.
Coastal soil tends to lean sour, and oyster shells may be one of the oldest fixes around. They slowly release calcium that many vegetables love.
Still, shells aren’t a magic cure for every plant or patch of ground. Some flowers and shrubs would rather skip the treatment entirely.
Find out how a seafood leftover became a garden secret, and how to try it the smart way.
Oyster Shells Are Packed With Calcium
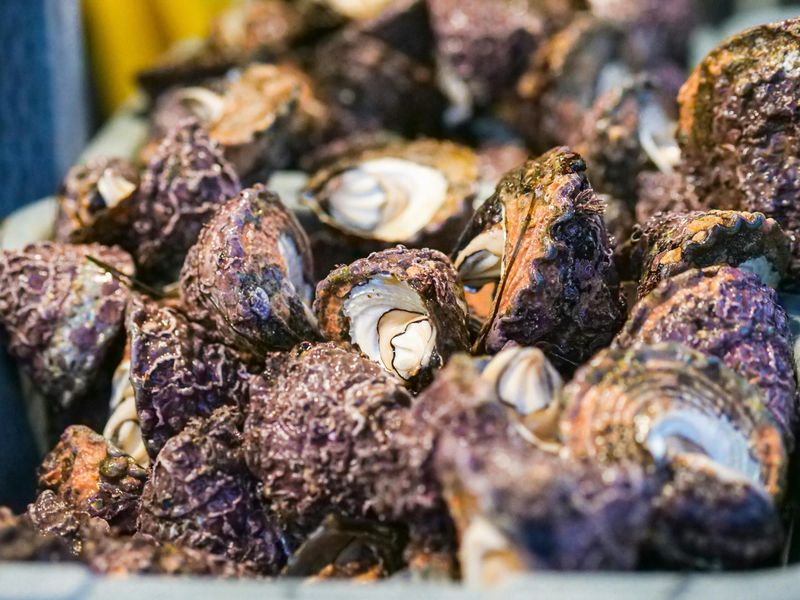
Crack open the science, and an oyster shell turns out to be mostly rock. More than 90 percent of each shell is calcium carbonate, the same mineral in limestone and chalk.
Small amounts of magnesium carbonate and calcium sulfate are mixed in too. Gardeners get a handy bundle of minerals from something many people simply throw away.
Plants need calcium to build strong cell walls, much like we need it for bones. Without enough of it, stems grow weak and new leaves can look twisted or stunted.
Calcium also moves slowly inside a plant, so steady supply matters a lot. A plant cannot easily borrow calcium from old leaves to feed new growth.
Here is where oyster shells shine for a busy home gardener. They release calcium little by little, feeding plants across a whole growing season.
Store-bought calcium sprays can wash away quickly after a hard summer storm. Shells stay put and keep working long after the rain clouds pass over Norfolk or Hampton.
Tidewater families have easy access to shells after oyster roasts and holiday parties. Saving a bucket each winter can give your beds a free mineral boost by spring.
Try keeping a lidded bin near your back porch to collect shells over time. Once it fills, you will have plenty for a few raised beds.
Fun fact: oysters build their shells by pulling calcium straight out of seawater. Your garden is basically borrowing a mineral the Chesapeake Bay already gathered for you.
They Slowly Sweeten Acidic Coastal Soil
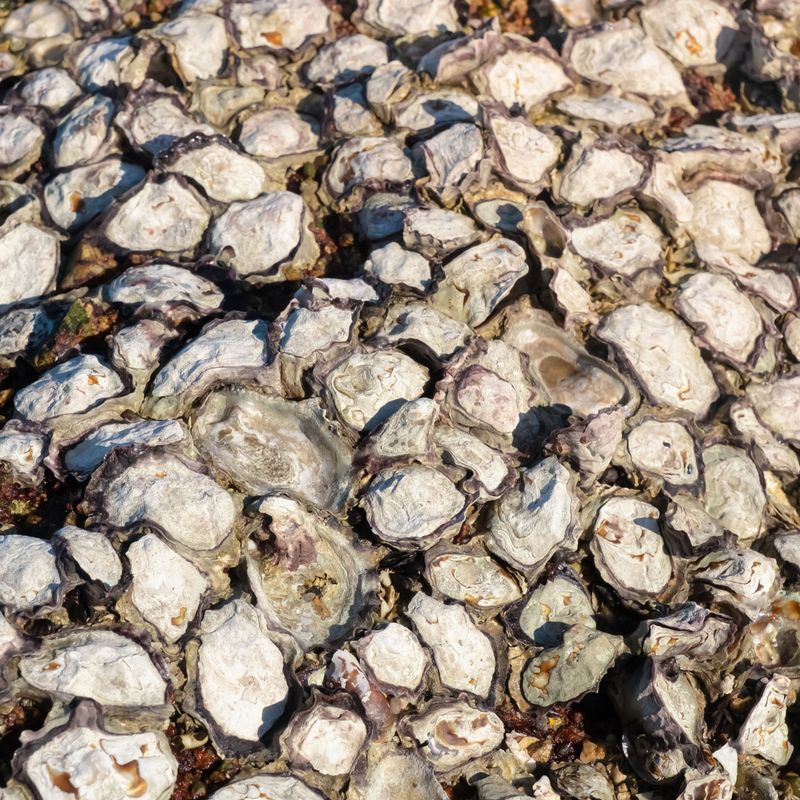
Sour soil sounds like a strange idea, yet many Virginia coastal yards have exactly that. Heavy rain and sandy ground wash away minerals, leaving the soil more acidic over time.
Gardeners use the word sweeten when they raise soil pH toward neutral. Most vegetables grow happiest between about 6.0 and 7.0 on the pH scale.
When soil drops too low, plants struggle to take up the food already in the ground. Leaves may yellow, and harvests often come up smaller than you hoped.
Oyster shells act as a natural form of garden lime. As the calcium carbonate breaks down, it slowly cancels out acid in the surrounding soil.
The best part is the gentle pace of the change. Shells work over many months, which lowers the risk of swinging pH too far too fast.
Your Virginia Garden Changes Every Week. Your Plan Should Too.
Gardening in Virginia changes quickly throughout the season. Every Friday you’ll receive a simple weekly plan showing exactly what to plant, prune, fertilize, harvest, and protect so you never miss the right timing.
Synthetic lime can be strong medicine if someone measures carelessly. Shells give a softer nudge that suits patient gardeners who like steady progress.
A good habit is mixing shells in during fall cleanup. Winter rain and freeze-thaw cycles give them a head start before spring planting.
Picture a bed in Virginia Beach that once grew sad, pale beans. With a few seasons of shell amendments, the soil can become a much friendlier home.
Think of it as slow cooking rather than microwaving. The results take time, but they tend to last.
Crushed Shells Work Faster Than Whole Ones
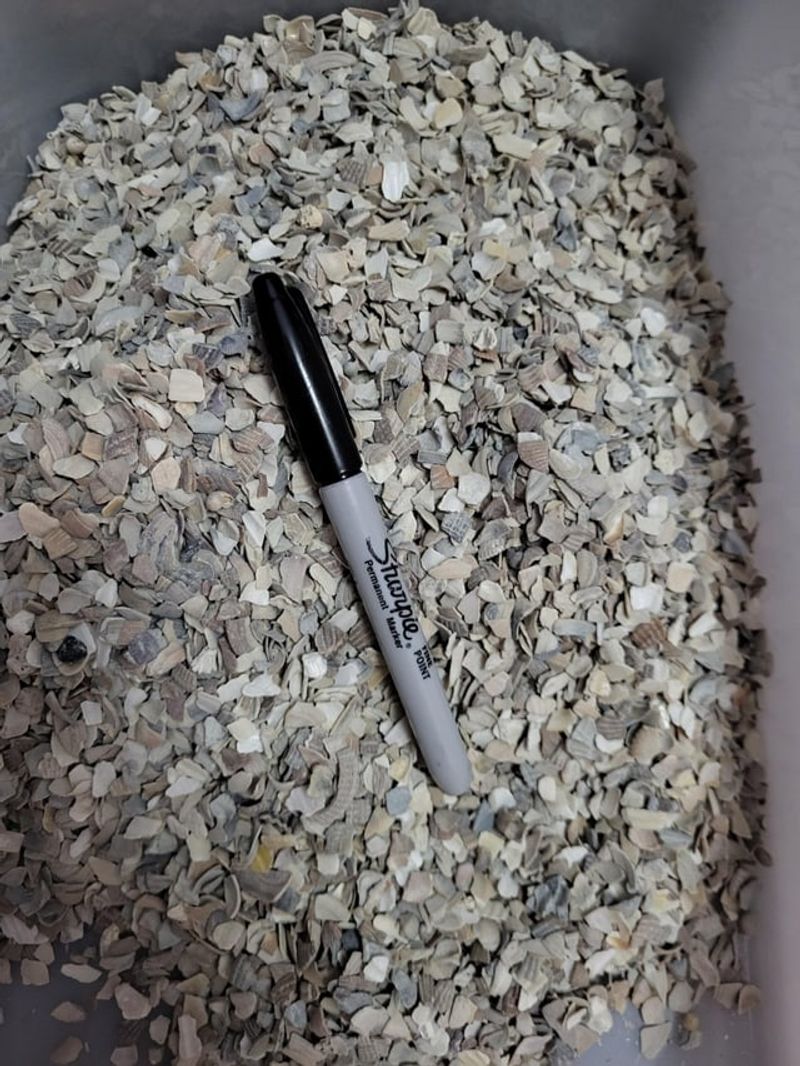
Want results this season instead of three years from now? Smaller pieces are your friend when it comes to oyster shells.
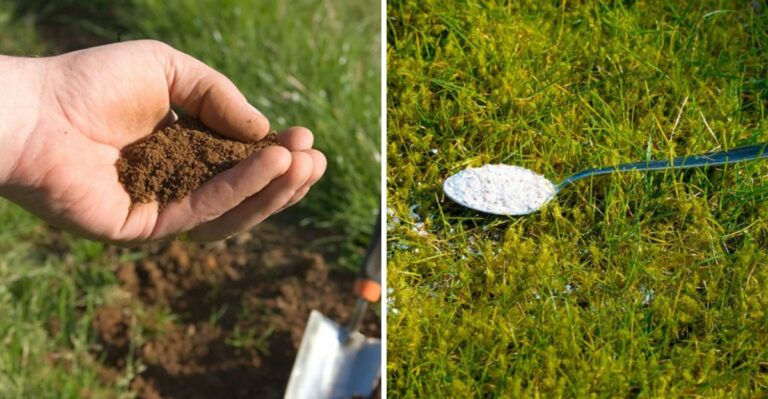
A whole shell can take many years to fully break down, releasing its goodness a little at a time. Crushed shell or fine shell flour gets to work much sooner.
The secret is surface area, which is a fancy way of saying exposed outside edges. More broken edges means more spots where soil water and microbes can nibble away.
Think about a sugar cube versus loose sugar in iced tea. The loose sugar melts fast, while the cube sits at the bottom for ages.
Shells behave the same way in your garden bed. Ground shell meal blends into soil and starts adjusting pH much more quickly.
Many feed stores sell crushed oyster shell for chickens at a fair price. Gardeners often grab a bag from that aisle and use it on vegetable beds.
If you prefer DIY, place dry shells inside a sturdy feed sack. Tap them with a hammer or roll over them with a tamper.
Wear safety glasses and gloves, because sharp chips can fly. A little caution keeps the job fun instead of painful.
Crushed shells also break down nicely in compost piles. Toss in a handful with each layer, and your finished compost gets a calcium bonus.
Mixing sizes works well too. Fine bits act quickly, while chunky pieces keep feeding the soil in later years.
Tomatoes And Leafy Greens Love The Extra Calcium
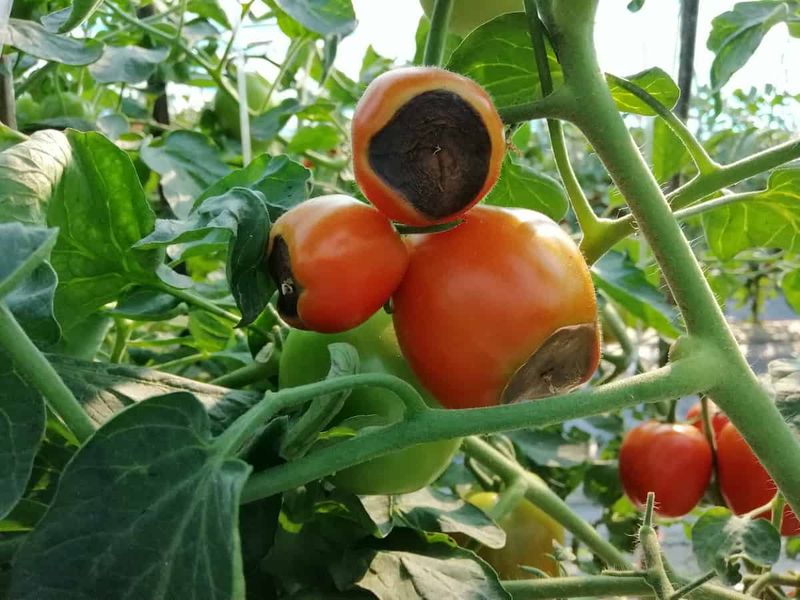
Nothing stings quite like a perfect red tomato with an ugly black bottom. That dark, sunken patch is called blossom end rot, and it often points to calcium trouble.
Peppers, squash, and eggplant can show the same frustrating spots. Each one needs a steady calcium supply as fruit swells in summer heat.
Uneven watering plays a big role too, so shells are only part of the answer. Calcium travels with water, so dry spells block its path to the fruit.
Pair your shells with deep, regular watering for the best chance at clean tomatoes. A layer of mulch helps hold that moisture steady during hot Tidewater summers.
Leafy crops are big fans of calcium as well. Lettuce, spinach, cabbage, broccoli, cauliflower, and kale all grow sturdier with enough of it.
Lettuce short on calcium may get tip burn, where leaf edges turn brown and crispy. Cabbage can show similar trouble inside its tightly packed head.
Calcium also helps plants grow bigger roots and stronger tops. Stronger plants tend to handle wind, heat, and pests a bit better.
Try sprinkling a handful of crushed shell into each tomato planting hole. Mix it well with the soil so roots can reach it easily.
For greens, work shell meal into the top few inches before sowing seeds. Your fall salad bowl may look greener and crunchier than ever.
Whole Shells Make A Charming, Long-Lasting Mulch
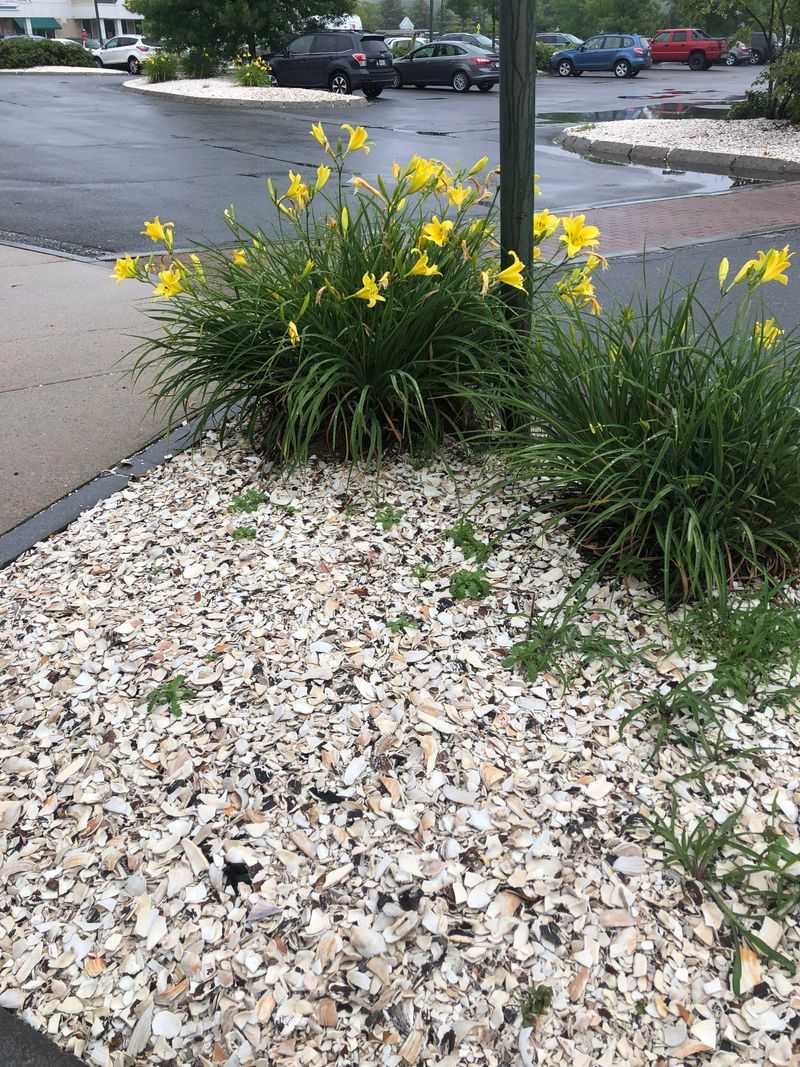
Walk through an old Eastern Shore garden, and you might hear shells crunch underfoot. Whole oyster shells have dressed coastal paths and beds for generations.
As a mulch, they look bright, beachy, and a little old-fashioned. The pale color reflects light and gives beds a clean, tidy finish.
Shell mulch does more than look pretty, though. A thick layer blocks sunlight, which helps keep many weeds from sprouting.
It also slows evaporation, so soil stays damp a bit longer on windy or sunny days. Water still soaks through the gaps easily during a good rain.
Slugs and snails tend to dislike crawling across rough, jagged edges. A ring of shells around hostas or lettuce can make these pests think twice.
Unlike wood chips, shells break down very slowly. One layer can last for years with only light topping off.
As time passes, the shells still release small amounts of calcium below. You get mulch and a mild soil amendment in one tidy package.
Herbs like lavender, rosemary, and thyme pair beautifully with shell mulch. Those plants enjoy sweeter soil and good drainage anyway.
Spread shells about two inches deep for solid weed control. Keep a small gap around plant stems so air can move freely.
Fair warning: bare feet and shell mulch do not mix well. Save this look for beds and paths where shoes are the rule.
Clean And Rinse Shells Before They Hit The Garden
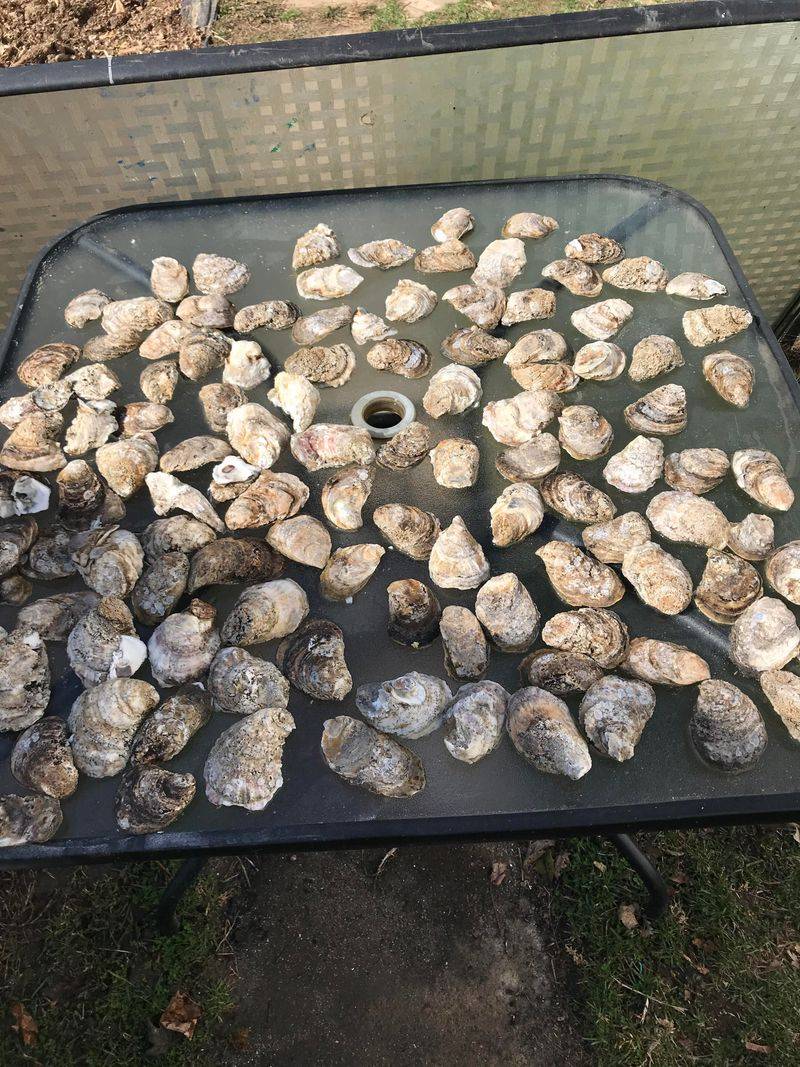
Leftover oyster shells straight from a party can get smelly fast. Bits of meat and juice attract flies, raccoons, and the neighbor’s curious dog.
A quick cleaning routine solves most of these problems. Your nose and your garden will both appreciate the extra effort.
Start by hosing the shells off outside to remove mud and sand. Then let them soak in a bucket of water for a few hours.
Next, grab a stiff-bristled brush and scrub away stuck dirt and barnacles. Old dish brushes work fine for this messy little job.
Some gardeners add a splash of bleach to the soaking water to sanitize shells. Others prefer a mild vinegar soak for a gentler approach.
Go easy with vinegar, since acid slowly eats at calcium carbonate. A short soak cleans without dissolving the good stuff you want.
After soaking, rinse everything well with fresh water. Leftover bleach or salt should not end up near tender roots.
Finally, spread the shells in a sunny spot to cure for a few weeks. Sunlight and air help dry them out and fade any lingering odor.
Many gardeners lay shells on an old window screen or tarp. Rain rinses away extra salt while the sun handles the rest.
Patience pays off here. Clean, sun-bleached shells are safer, fresher, and much nicer to handle in the garden.
Test Your Soil First, Or You Could Overdo It
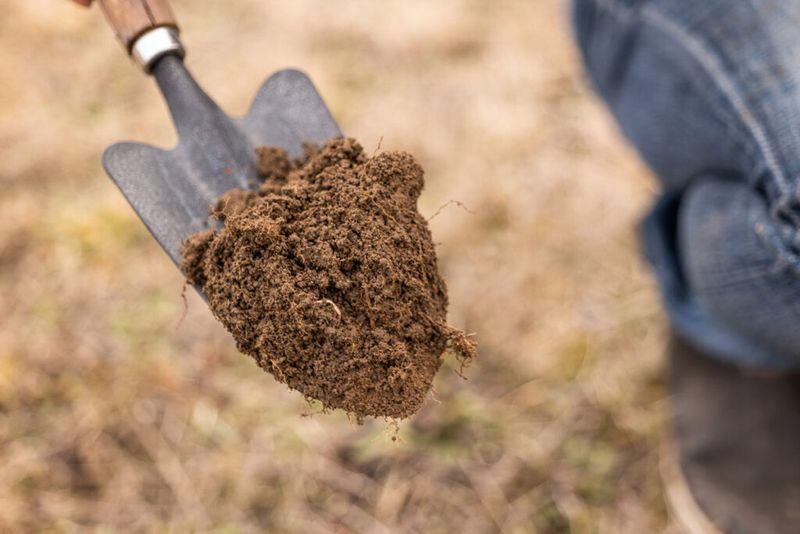
More is not always better, even with something as natural as seashells. Too much calcium carbonate can push soil pH higher than your plants want.
When soil gets too alkaline, certain nutrients become harder for roots to grab. Iron, manganese, and zinc are common ones that get locked away.
Plants short on iron often show yellow leaves with green veins. Gardeners may mistake that for hunger and add fertilizer that does not help.
A simple soil test takes the guessing out of the process. It tells you your current pH and whether shells make sense at all.
Virginia Cooperative Extension offers affordable soil testing through local county offices. Results often include clear advice on how much lime your beds actually need.
Home test kits from garden centers work too for quick checks. They are less detailed, but they give you a helpful starting point.
Remember that shells work slowly over several months. Testing again the following year shows how much your soil has really shifted.
Many gardeners add a fresh dose once a year as old shells wear down. Your soil test will tell you if that yearly top-up is needed.
Keep a small notebook with your test results and shell amounts. Over time, you will see patterns that make planning much easier.
Think of soil testing like checking a map before a road trip. A few minutes of prep can save a season of wrong turns.
Skip Them Around Azaleas And Blueberries
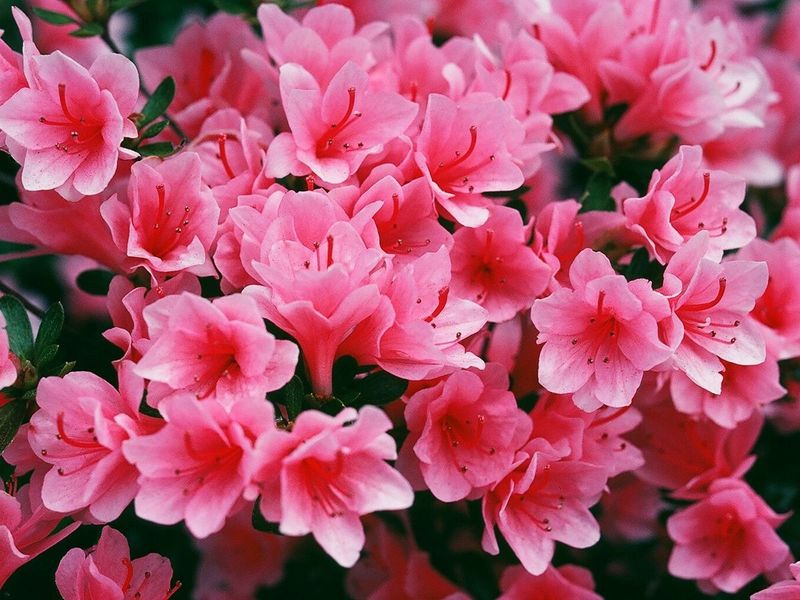
Azaleas light up Tidewater yards each spring like fireworks in pink and purple. Those flowers, however, want nothing to do with oyster shells.
Some plants actually love sour soil and grow best there. Azaleas and blueberries top that list for many Virginia homeowners.
Adding shells near them raises pH in the wrong direction. Leaves may yellow, growth may slow, and berry harvests can shrink.
Acid-loving plants need low pH to absorb iron and manganese properly. Sweeter soil locks those nutrients away, leaving the plants hungry.
Rhododendrons, camellias, and cranberries belong in the same picky club. Many evergreens, oaks, and magnolias also feel at home in naturally acidic ground.
Bigleaf hydrangeas are a fun twist on this rule. Acidic soil keeps their blooms blue, while sweeter soil can turn them pink.
So if you adore blue hydrangeas, keep the shells far away. If you prefer pink, a little shell meal might nudge things your way.
Plan your garden in zones to keep everyone happy. Vegetable beds can get shells, while shrub borders stay shell-free.
Pine needles make a lovely mulch around blueberries and azaleas instead. They hold moisture and keep the soil on the acidic side.
Watch for runoff too, since shells on a slope can wash downhill. Keep them away from beds sitting below your vegetable patch.