What Curling Tomato Leaves Are Telling Every New York Gardener Right Now
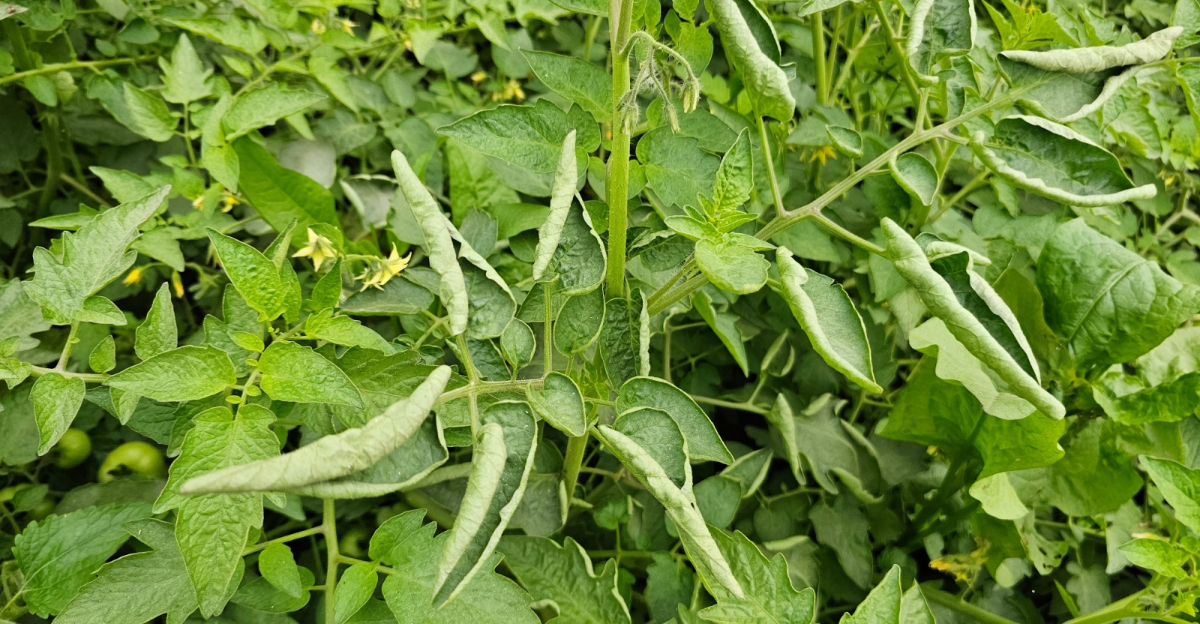
Tuesday was fine. Wednesday?
My tomato plants looked like they’d survived something genuinely traumatic overnight, curled leaves, yellow patches, spots I did not plant there. If you’re growing tomatoes in New York, you already know the summer humidity is no joke.
The clay-heavy soil holds moisture like a grudge. Rain shows up whenever it feels like it.
Together, they create conditions that mess with even the most carefully tended plants. I’ve lost whole harvests trying to guess what went wrong.
Spoiler: the plants were telling me the whole time. I just didn’t know how to listen.
Here’s the thing about New York tomato growing, the problems look scary but they’re usually fixable once you know what you’re actually seeing. Curling, yellowing, spotting, each one means something specific.
So what exactly are your plants trying to tell you right now?
1. Check If Curling Is Upward Or Downward
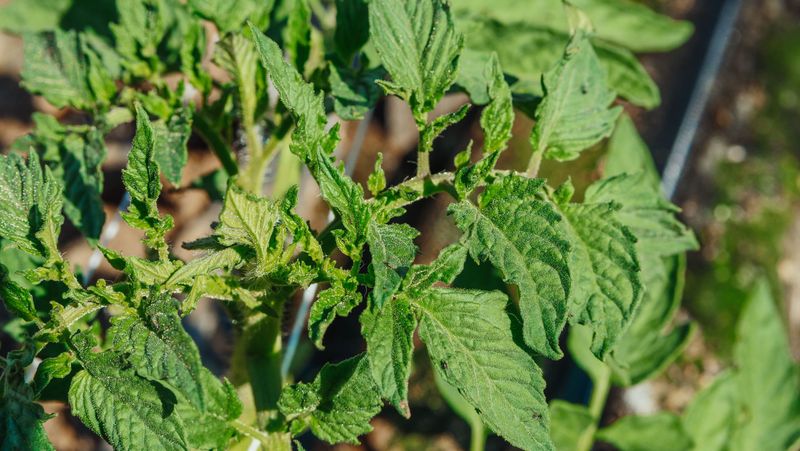
Leaf curl is one of the most misread signals a tomato plant can send. Upward curling usually means the plant is stressed by heat or inconsistent watering, and it is actually a self-defense move to reduce moisture loss.
Downward curling, on the other hand, often points to a pest problem or a viral infection working quietly beneath the surface.
Grab a leaf and look closely at which direction it folds. If the edges roll inward and upward like a taco shell, your plant is likely just hot and thirsty.
If the edges curl down and under, start checking for pests or signs of mosaic virus, which causes a mottled, rumpled texture along with the curl.
New York summers can swing between scorching heat waves and sudden cool rainy spells.
That kind of whiplash puts real stress on tomato plants, and knowing the curl direction saves you from treating the wrong problem entirely. A plant curling upward from heat stress does not need pesticide spray.
It needs shade cloth in the afternoon and a deep, slow watering at the roots.
2. Look For Aphids And Spider Mites On Leaf Undersides
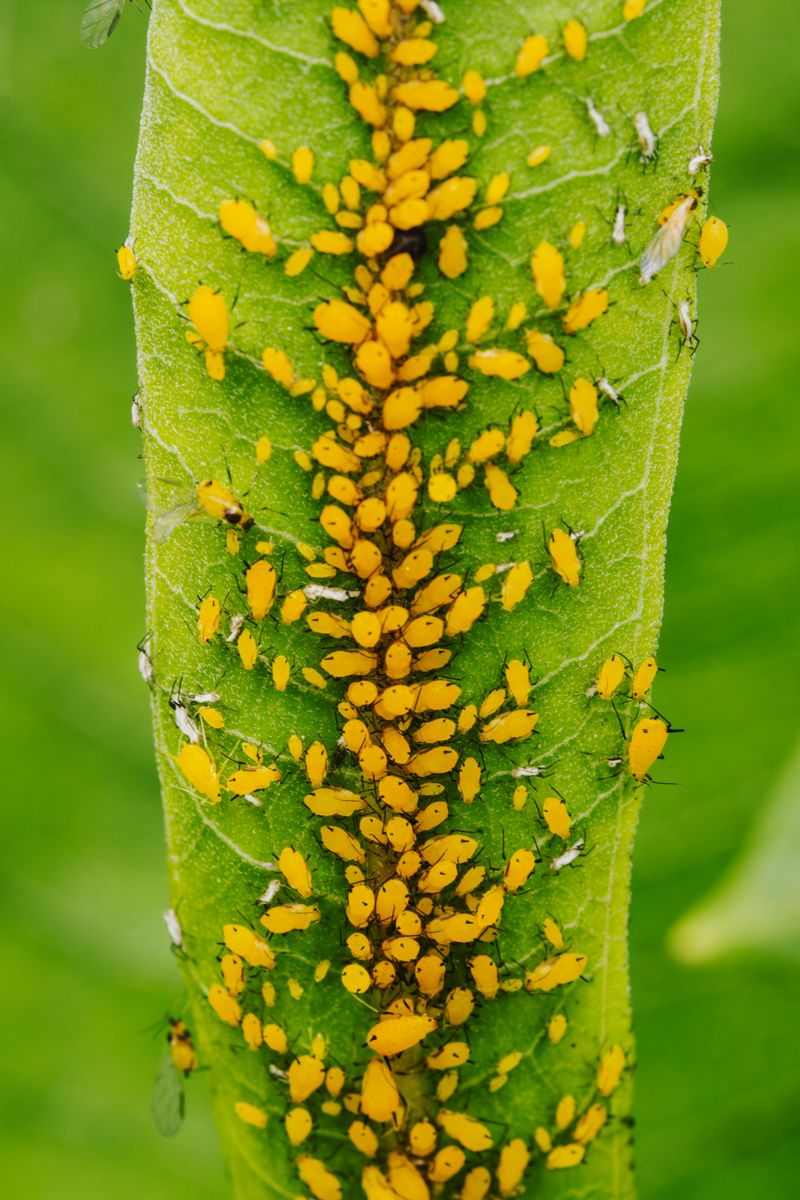
Flip a tomato leaf over and prepare to be surprised by what lives there. Aphids are tiny, soft-bodied insects that cluster in groups and come in green, yellow, or black depending on the species.
Spider mites are even smaller and leave behind fine, dusty webbing that looks like someone draped thread across the leaf surface.
Both pests pierce the leaf tissue and suck out the juices, causing the leaves to yellow, pucker, and eventually drop.
A single aphid colony can grow rapidly during warm New York summers, so catching them early makes an enormous difference in how much damage your plants suffer.
Run your finger along the underside of a few leaves on different parts of the plant. Sticky residue combined with tiny moving dots is a sure sign.
Spider mites thrive in hot, dry conditions, while aphids love tender new growth at the tips.
Checking both the top and bottom of leaves every few days during peak season turns a potential infestation into a minor inconvenience you can handle fast.
Your New York Garden Changes Every Week. Your Plan Should Too.
Gardening in New York changes quickly throughout the season. Every Friday you’ll receive a simple weekly plan showing exactly what to plant, prune, fertilize, harvest, and protect so you never miss the right timing.
3. Check Soil Moisture Before You Do Anything Else
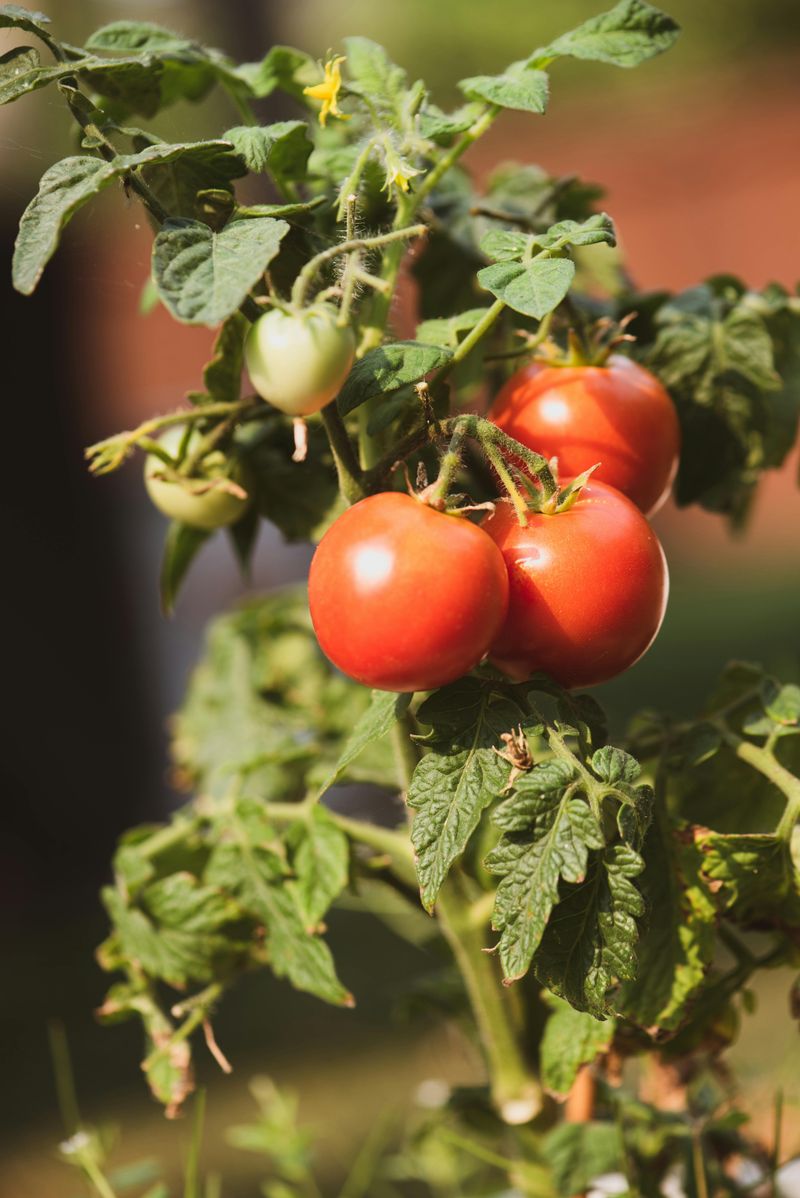
Dry soil and waterlogged soil both look like the same crisis from above ground. Wilting, yellowing leaves, and stunted growth happen whether your tomatoes are drowning or parched, which is why guessing is a bad strategy.
The only way to know for sure is to stick your finger two inches into the soil and feel what is actually happening down there.
If the soil feels bone dry past the first inch, your plants are thirsty and showing early drought stress.
If the soil feels soggy and smells slightly sour or muddy, you may be overwatering, which cuts off oxygen to the roots and invites fungal problems.
New York clay soils hold water longer than sandy loam, so what looks dry on the surface might be wet just below.
A simple moisture meter from any garden center takes the guesswork out completely. Aim for soil that feels like a wrung-out sponge, consistently damp but never saturated.
Check moisture before adding any water. Watering on a schedule instead of reading the soil is the most common mistake tomato growers make.
4. Water Deeply And Consistently For Strong Roots
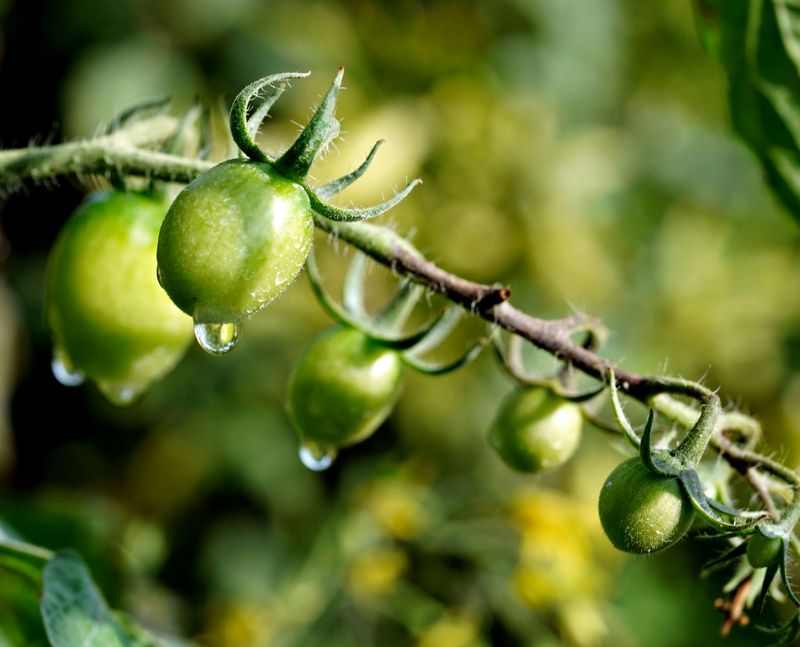
Shallow watering builds shallow roots, and shallow roots buckle under summer heat. Tomatoes need water delivered slowly and deeply so it reaches the root zone six to eight inches below the surface.
A quick sprinkle every day actually trains roots to stay near the surface where they are most vulnerable.
Deep watering once or twice a week is far more effective than daily light watering. Let the water run slowly at the base for several minutes until you see it beginning to pool slightly, then stop and allow it to absorb.
In New York, late July and August bring intense heat stretches that dry out even well-mulched beds faster than expected, so bumping up frequency during those weeks makes good sense.
Consistency matters just as much as depth. Tomatoes that get flooded one week and ignored the next develop blossom end rot and cracked fruit.
Both problems start in the roots long before you notice them on the tomato itself.
Building a reliable watering rhythm, adjusted for rainfall and temperature, gives your plants the steady foundation they need to push through the toughest growing weeks.
5. Water At The Base, Never Overhead
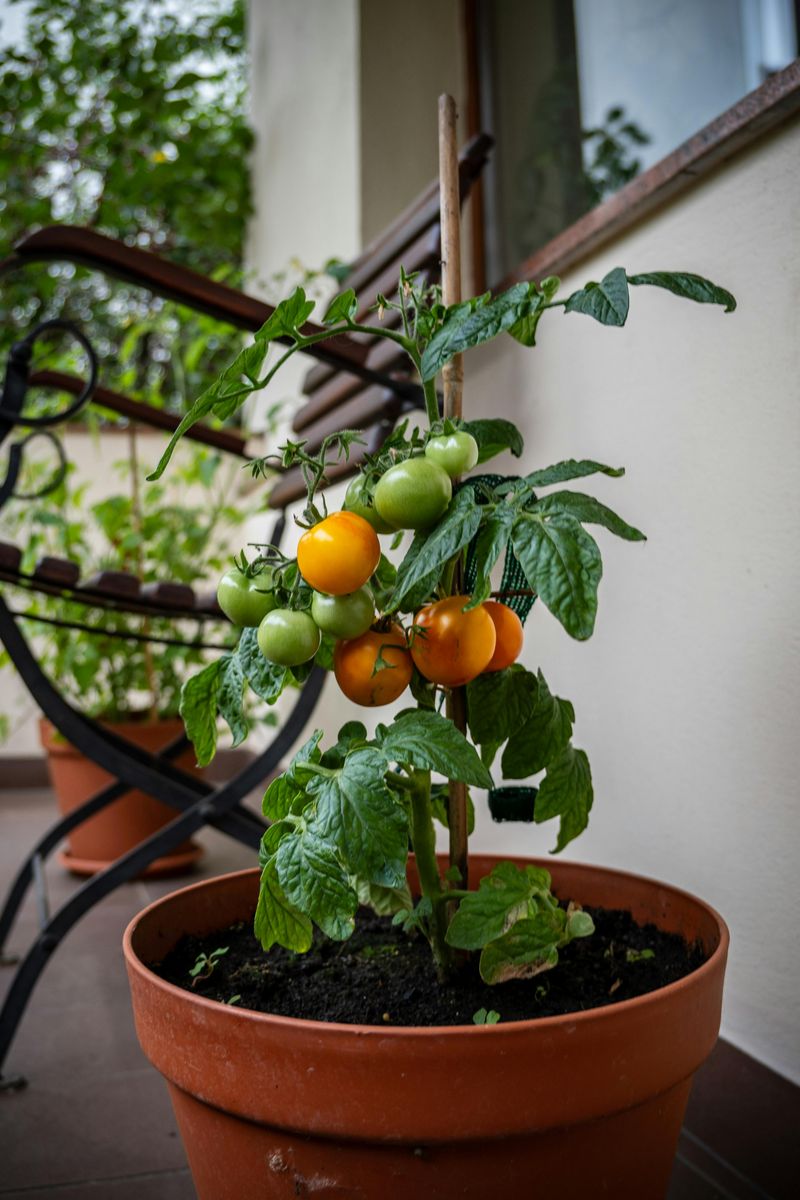
Overhead watering is one of the fastest ways to invite fungal disease into a tomato garden. When water lands on leaves and sits there through the night, it creates the exact warm, wet conditions that early blight and Septoria leaf spot love.
Both of those diseases are extremely common in New York because of the humid summer climate.
Switching to base-only watering makes a noticeable difference within just a few weeks. A soaker hose laid along the row or a drip irrigation system delivers moisture directly to the roots while keeping the foliage completely dry.
Even hand watering with a wand held low and aimed at the soil counts as base watering and protects the plant from unnecessary moisture stress on the leaves.
Morning is the best time to water regardless of method, because any accidental splash on the leaves has hours of sunlight to evaporate before nightfall.
Evening watering, especially overhead, leaves foliage wet all night and practically rolls out the welcome mat for disease.
This one small habit change costs nothing and protects your entire crop from the most damaging and frustrating tomato leaf problems New York gardeners face each season.
6. Mulch Heavily Around The Base To Lock In Moisture
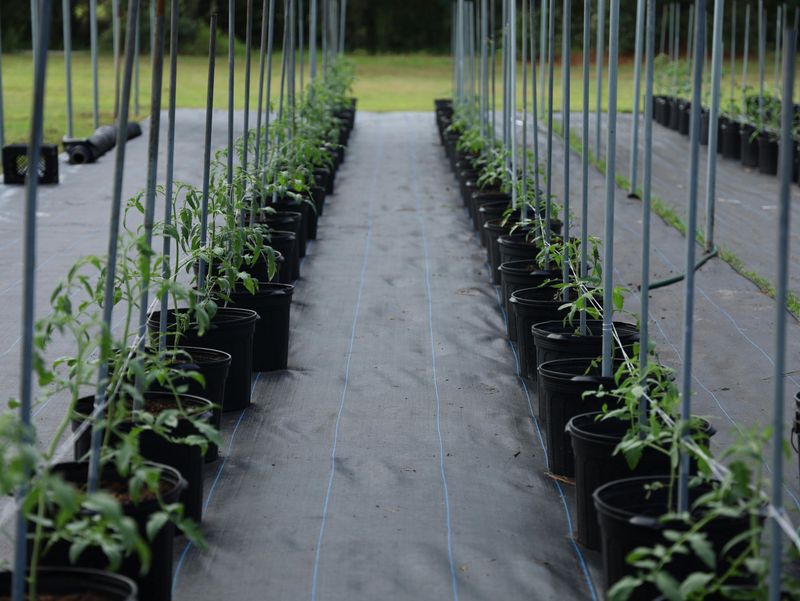
Bare soil around a tomato plant is basically an open invitation for trouble.
Without a protective layer on top, the soil dries out fast, soil-borne fungal spores splash up onto lower leaves during rain, and temperature swings stress the roots with every passing weather front.
A good layer of mulch fixes all three of those problems at once.
Straw, shredded leaves, or wood chips spread three to four inches deep around the base of each plant acts like a blanket for the soil.
It holds moisture between waterings, keeps the root zone cooler during heat waves, and creates a physical barrier that stops spores from bouncing up off the ground.
In a state where summer rain can come down hard and fast, that barrier protection alone is worth every bit of effort.
Pull the mulch back a couple of inches from the main stem to prevent rot where the plant meets the soil. Refresh the layer mid-season if it breaks down or thins out.
Gardeners who mulch consistently report far fewer lower-leaf disease problems and spend less time watering overall. It is one of those simple, low-cost moves that pays back in plant health all season long.
7. Remove And Dispose Of Heavily Infected Leaves
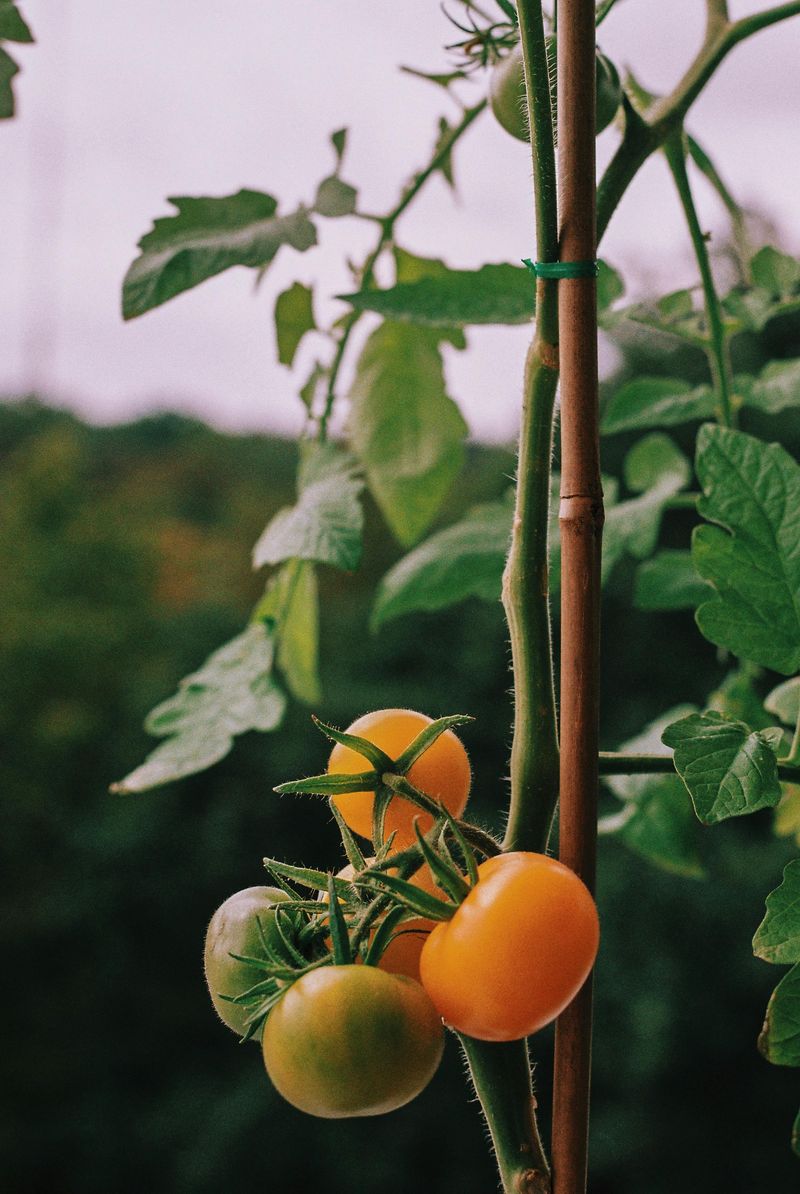
Spotted, yellowed, and crispy leaves hanging on the plant are not just an eyesore. They are active sources of spreading spores that reach healthy tissue every time the wind blows or water splashes.
Removing them promptly is one of the most effective things you can do to slow the spread of fungal and bacterial infections.
Use clean scissors or pruning shears and cut the affected leaves cleanly at the stem. Do not tear them off because tearing leaves a ragged wound that takes longer to seal and creates another entry point for pathogens.
Wipe the blades with rubbing alcohol between cuts if you are working on multiple plants, since diseases travel on tools just as easily as they travel through air.
Here is the part most people get wrong: those removed leaves should go straight into a sealed trash bag and out to the garbage, not into the compost pile.
Backyard compost rarely gets hot enough to break down fungal spores, so infected material is better bagged than composted.
Bagging and trashing the leaves is the clean break your tomato garden needs to start recovering and pushing out fresh, healthy growth again.
8. Apply Insecticidal Soap If Aphids Are Confirmed
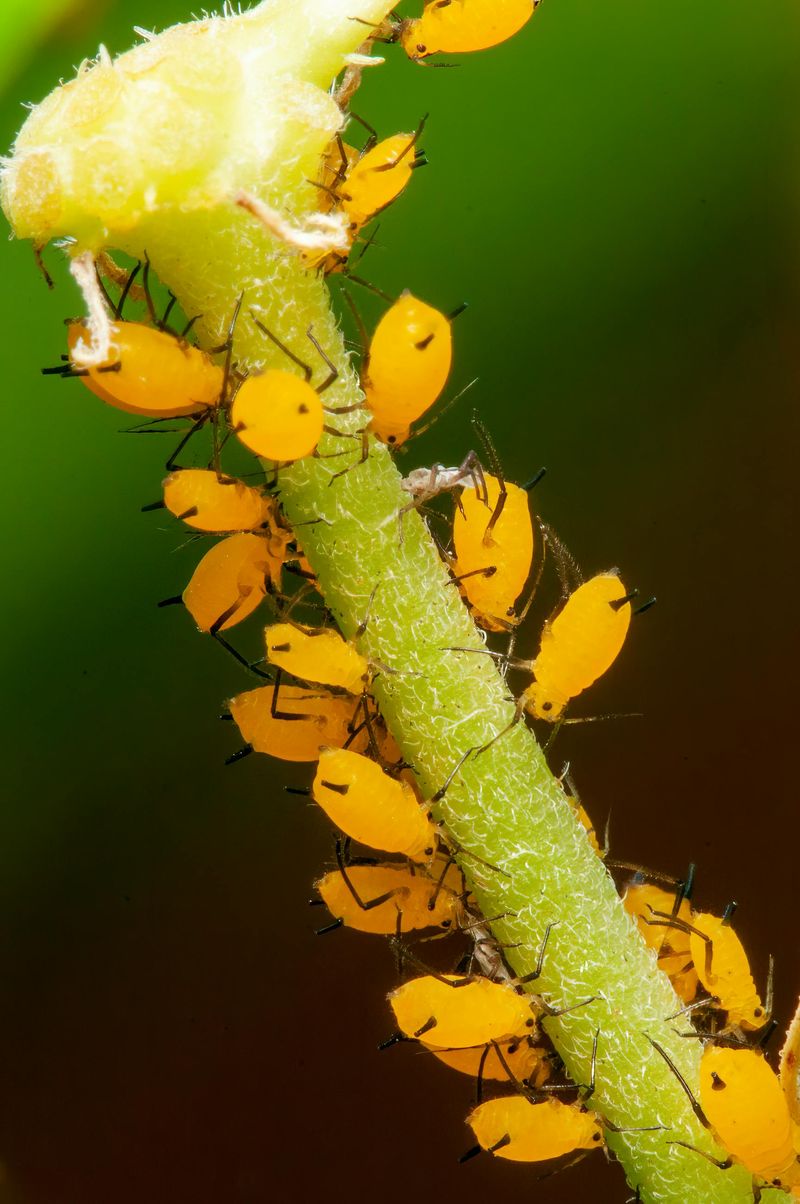
Know your pest first, then act. Once you have flipped the leaves and spotted actual aphids, not just sticky residue or discoloration, insecticidal soap is your fastest and safest first response.
It works by dissolving the soft outer coating of the insect, causing dehydration without leaving harmful residues on your food crop.
Mix a ready-to-use insecticidal soap spray according to label directions, or make a simple version by combining a few drops of pure castile soap with water in a spray bottle.
Coat the undersides of leaves thoroughly because that is where the colonies live and feed.
Repeat the application every four to five days for two to three rounds to break the reproductive cycle and catch any newly hatched nymphs.
Spray in the early morning or late evening to avoid burning the foliage in direct midday sun. Avoid spraying when beneficial insects like ladybugs are actively foraging because insecticidal soap does not discriminate between pest and predator on contact.
A targeted, timed approach gives you pest control without wiping out the garden allies that would naturally keep aphid populations in check over the long run.
9. Improve Air Circulation By Pruning Suckers
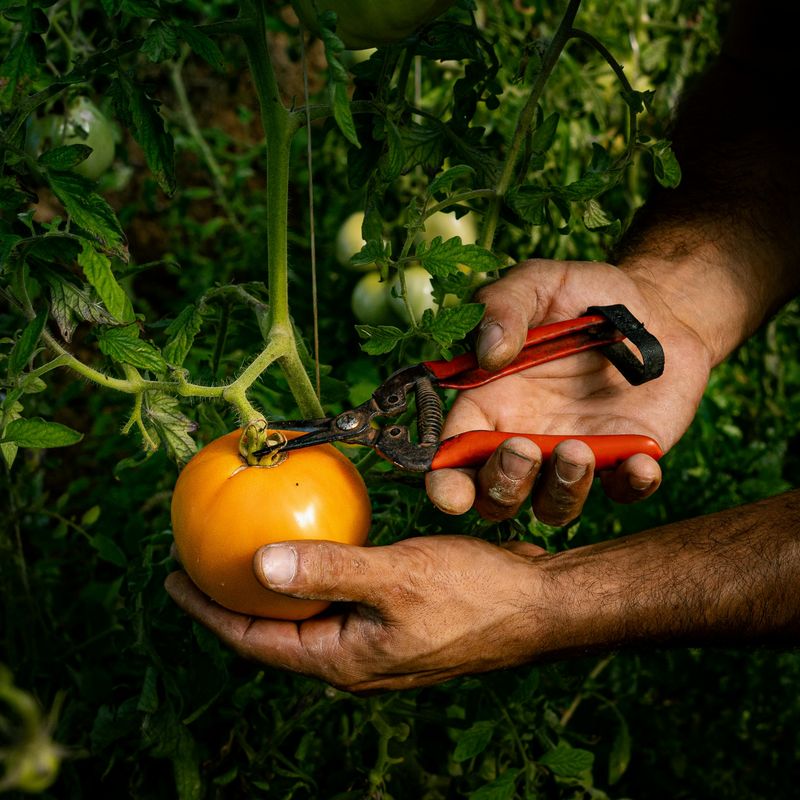
Skipping pruning turns your tomato plant into a humid, disease-welcoming jungle overnight.
Suckers are the small shoots that sprout from the junction between the main stem and a branch, and while they eventually produce fruit, too many of them create a crowded canopy that blocks airflow and light.
Removing suckers below the first flower cluster is standard practice for indeterminate tomato varieties, which are the tall, vining types most New York gardeners grow.
Pinch them off when they are small, around two inches long, using your fingers for a clean snap.
Larger suckers should be cut with sanitized shears to avoid tearing and stressing the plant unnecessarily.
Good airflow through the plant canopy lowers humidity around the leaves, which directly reduces the risk of fungal diseases like early blight, Septoria, and gray mold. Think of it like opening the windows in a stuffy room.
Plants with open, airy structure dry off faster after rain and morning dew, which cuts down the window of time when fungal spores can germinate on the leaf surface.
A little pruning every week or two keeps the whole plant healthier with minimal effort.
10. Avoid Overfertilizing With Nitrogen
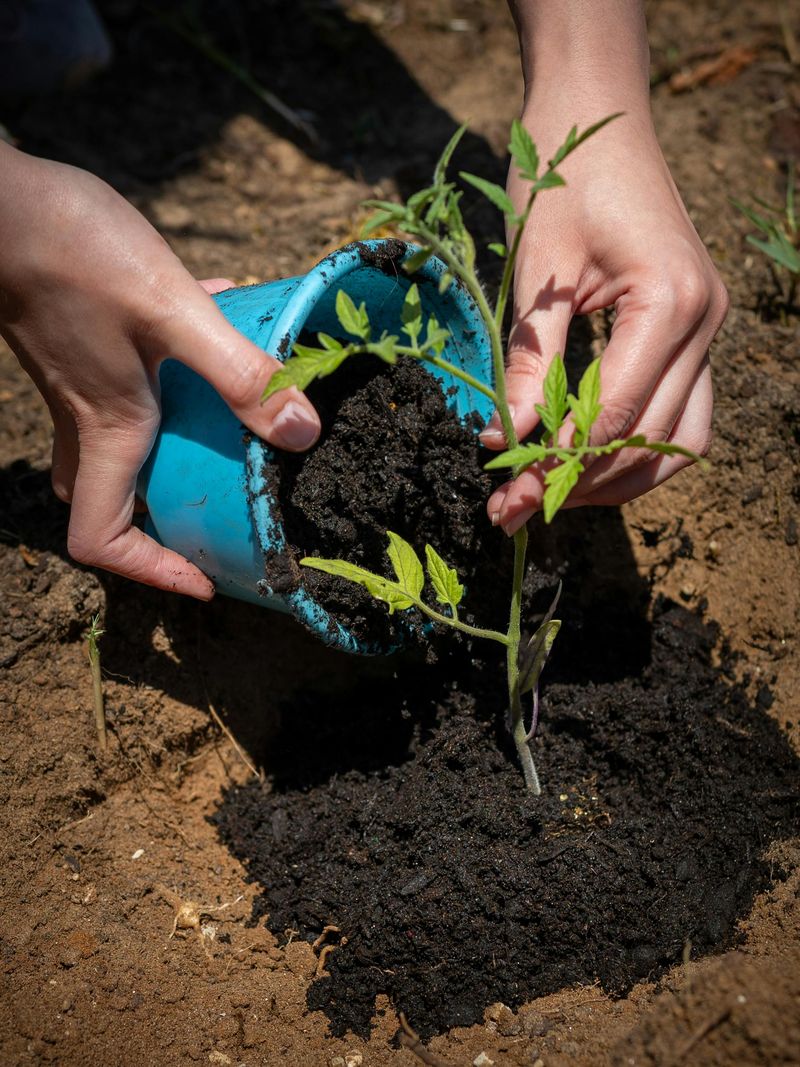
Too much of a good thing is still too much. Nitrogen in a tomato garden proves that point every single time.
Nitrogen fuels leafy green growth, which sounds like a win, but an overdose produces big, lush, dark green plants that pour all their energy into leaves and stems while producing very little fruit.
The leaves may also become thick, brittle, and more susceptible to pest damage.
Signs of nitrogen overload include extremely dark green foliage and a noticeable lack of blossoms even in mid-season. If your tomato plants look more like a hedge than a vegetable plant, excess nitrogen is likely the culprit.
Check the fertilizer you have been using and look at the first number in the N-P-K ratio on the label.
High-nitrogen fertilizers labeled for lawns or leafy greens should stay away from your tomato beds entirely. Once fruit sets, tomatoes need more phosphorus and potassium.
Too much nitrogen at that stage works against fruiting. Scaling back or switching fertilizer formulas mid-season is not a failure.
It is a smart adjustment that gets your plants back on track for the harvest you actually want.
11. Apply Balanced Fertilizer For A Strong Recovery
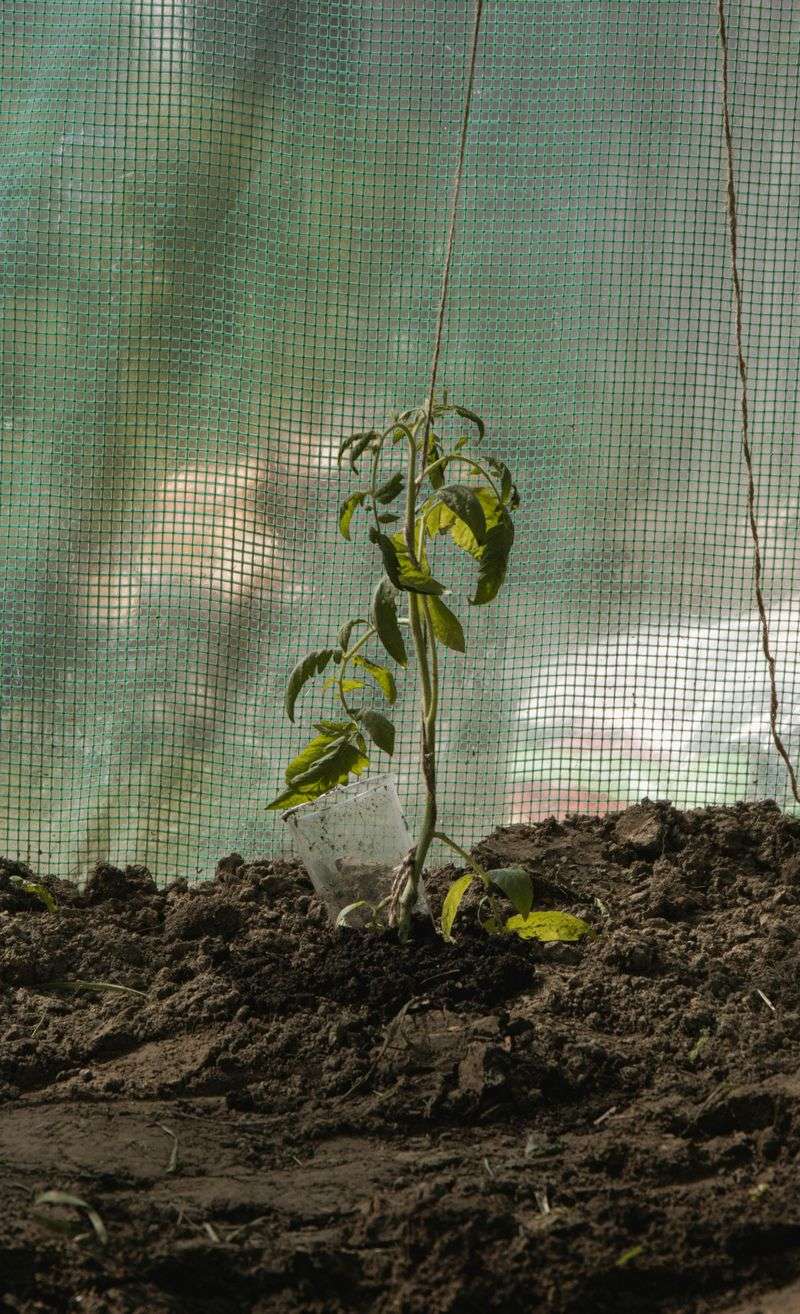
A stressed tomato plant has a long memory. Pests, disease, drought, nutrient imbalance, recovery from any of it starts with the right nutritional support.
A balanced fertilizer with equal or near-equal parts nitrogen, phosphorus, and potassium, something like a 10-10-10 or 5-5-5 blend, provides steady, even nourishment without pushing the plant in the wrong direction.
Apply the fertilizer according to package directions, working it lightly into the soil around the drip line of the plant rather than piling it against the stem.
Water the area well after application to help nutrients move down toward the root zone where they can actually be absorbed.
A slow-release granular formula works especially well for tomatoes because it feeds consistently over several weeks instead of delivering one sharp burst.
Liquid fertilizers are a good option when you need faster results because they become available to the roots within days rather than weeks.
Tomato-specific liquid formulas are widely available and designed with the right nutrient ratios for fruiting plants.
Whichever form you choose, consistency is the key.
A plant recovering from New York tomato leaf stress needs steady, reliable nutrition to rebuild healthy tissue, push out new growth, and finally get back to producing the tomatoes you planted it for.
12. Keep A Garden Journal To Spot Patterns Early
Patterns in the garden repeat every single year. The gardeners who catch problems earliest are usually the ones writing things down.
A simple garden journal, even just a few lines per week, helps you track when leaf curl first appeared, which plants got aphids, how much rain fell, and what treatments actually worked. That information becomes priceless the following season.
Note the date when you first notice any symptom, what the weather has been like, and what you did in response.
Over two or three seasons, you will start seeing patterns that tell you exactly when to start watching for spider mites or when to back off on watering.
New York growing seasons are short and intense, so front-loading your knowledge with good records makes every week of the season count more.
A phone camera works just as well as written notes for tracking visual changes over time. Take a quick photo of any suspicious leaf and date it in your camera roll.
Comparing photos from week to week shows whether a problem is spreading or stabilizing, which changes the urgency of your response completely. Staying one step ahead of tomato leaf stress is not about luck.
It is about paying attention, staying consistent, and learning from every season you grow.