What Ohio Hostas Need In October Before They Disappear For Winter
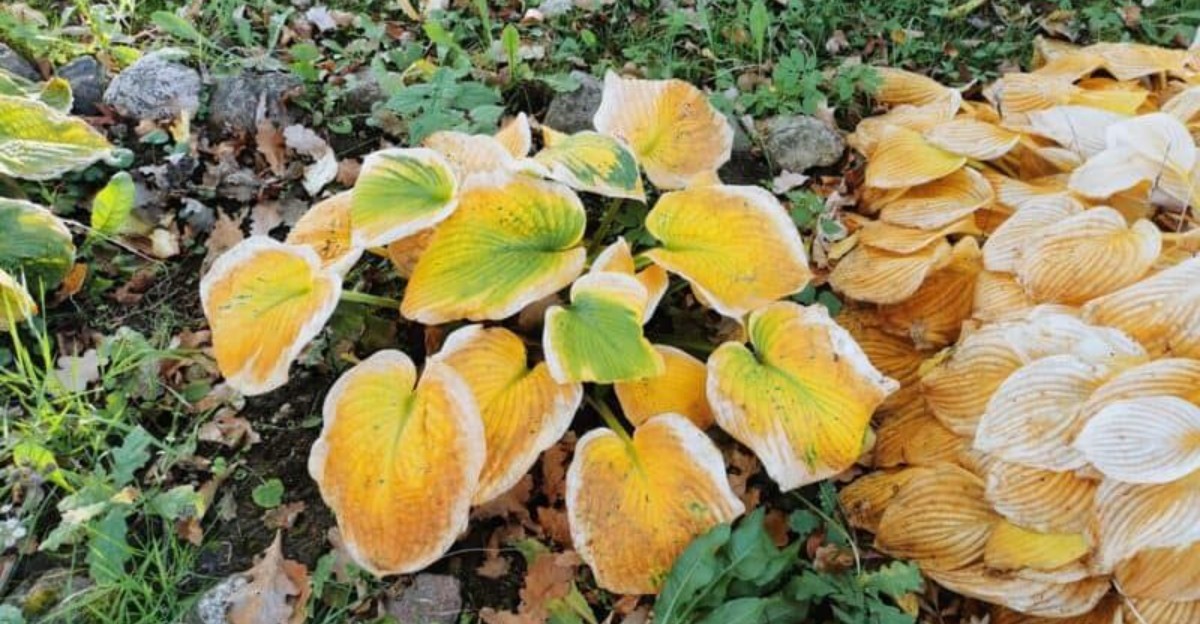
Your hostas are packing up for winter, and one October task decides how strong they come back in spring.
Most Ohio gardeners watch the leaves go yellow and figure the plant’s done for the year, walking away without giving it another thought.
That assumption skips a step the plant actually needs right now, while it’s still quietly working below the surface even as everything above ground looks finished.
Skip this and you’re not looking at a disaster. You’re looking at a slower start next spring and a plant that takes longer to bounce back than the neighbor’s hosta that got this one thing right.
Give your hostas this last bit of attention before the ground locks up for the season. What you do in these final weeks matters more than anything you did all summer.
1. Let Hosta Foliage Fade Before Cutting It Back
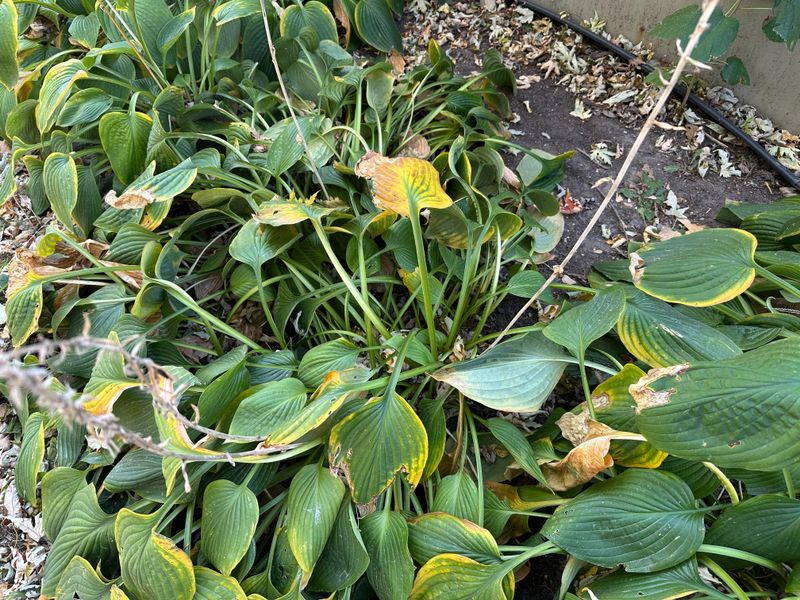
Patience might be the most useful garden tool you own this month. Those yellowing hosta leaves look tired, but they are still hard at work for the plant.
As the weather cools, each leaf slowly sends sugars and nutrients back down into the roots. Think of it like a squirrel packing acorns into a hollow tree before the snow arrives.
The plant is filling its pantry for next spring.
If you cut green or half-green leaves too early, you interrupt that process. The roots end up with less stored energy, and the spring shoots may come up smaller or slower.
Nobody wants a skimpy hosta in May after all that waiting.
So what should you do instead? Let the leaves change color at their own pace, from green to gold to tan.
Some varieties glow bright butter yellow for a week or two, which adds a cheerful pop to a gray fall yard.
A good rule is to wait until the leaves feel soft and floppy. When they lie flat on the ground and pull away with a gentle tug, the plant has finished its job.
Until then, enjoy the show and leave the pruners in the shed.
Here is a fun bit of trivia. Hostas are native to Japan, China, and Korea, where cold winters taught them this smart habit long ago.
2. Remove Spent Leaves After Frost Finishes The Show
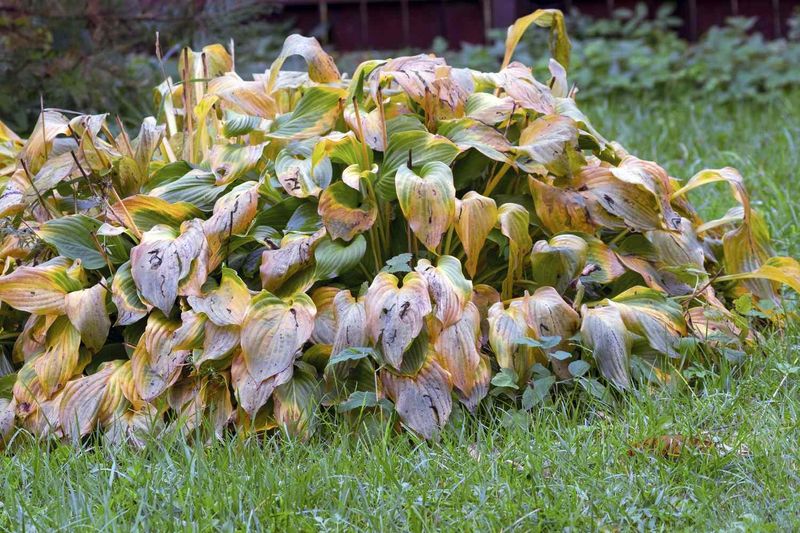
One chilly morning you will step outside and find your hostas looking like wet paper bags. That limp, brown mess means the first hard frost has arrived.
Believe it or not, this is good news. The plant has pulled back what it needs, and those leaves are now just empty wrappers.
It is the perfect moment for cleanup.
Why bother? Slugs love to lay eggs under soggy hosta leaves, and those eggs hatch right on time for spring snacking.
Old foliage also holds moisture that fungus spores enjoy all winter long.
The job itself is quick and oddly satisfying. Most frosted leaves slip off with a light pull, so you may not even need tools.
If a few stems hang on, snip them close to the soil with clean pruners.
Your Ohio Garden Changes Every Week. Your Plan Should Too.
Gardening in Ohio changes quickly throughout the season. Every Friday you’ll receive a simple weekly plan showing exactly what to plant, prune, fertilize, harvest, and protect so you never miss the right timing.
Toss healthy leaves into your compost pile, where they break down into rich food for next year. A wheelbarrow or big tarp makes hauling easy, especially if you have a long shady border.
My neighbor calls this her hosta haircut day. She puts on a podcast, clears her whole bed in twenty minutes, and says her slug trouble dropped a lot after she started.
A tidy bed going into winter often means fewer surprises when the new shoots appear.
3. Clear Diseased Foliage From Around The Crown
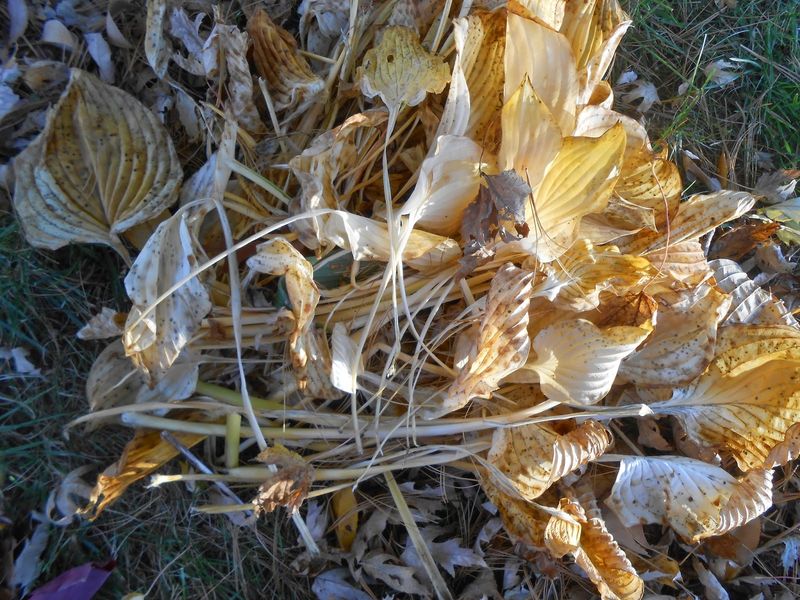
Spotted, streaky, or ragged leaves deserve a closer look before winter. Trouble that hides in fall debris has a sneaky way of showing up again in spring.
Watch for brown patches between the leaf veins, which can point to foliar nematodes. Tan spots with dark edges may be anthracnose, a fungus that loves damp Ohio summers.
Mushy, smelly stems near the base can signal bacterial rot.
Any of these problems can overwinter in old leaves resting right beside the crown. The crown is the spot where the leaves meet the roots, and it is where next year’s shoots are waiting.
You want that area clean and airy.
Gather up every suspicious leaf and stem. Rake gently so you do not scrape the crown itself.
Then bag the debris and put it out with the trash.
Skip the compost pile for this batch. Most home compost does not get hot enough to wipe out disease, so you could end up spreading the problem across your whole yard next year.
A quick wipe of your pruners with rubbing alcohol between plants helps too. It takes seconds and keeps you from carrying germs from a sick hosta to a healthy one.
Small habits like that make a real difference over the seasons.
4. Keep Soil Moist During A Dry October
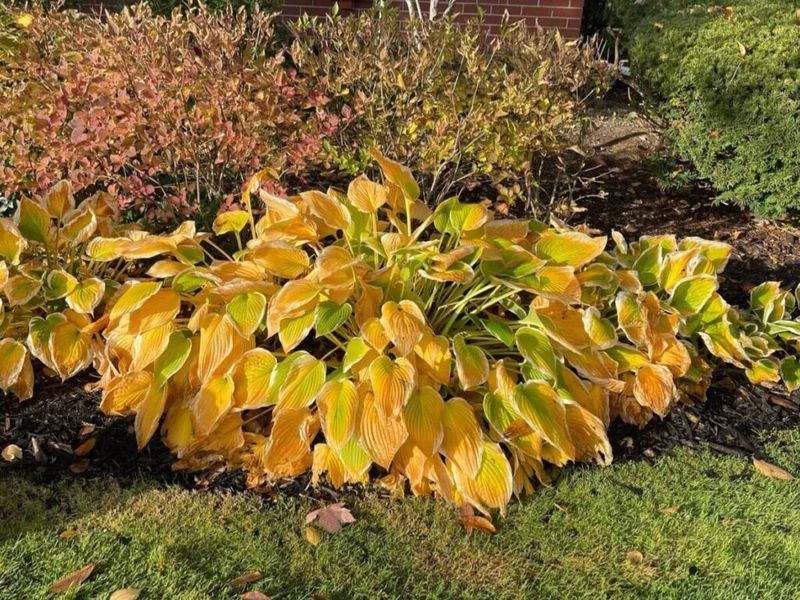
Crunchy leaves underfoot are fun on a hike, but crunchy soil is another story. Some Ohio falls turn surprisingly dry, and hostas feel it more than you might guess.
Even as the tops fade, the roots keep growing and storing energy until the ground freezes. That work needs water.
Thirsty roots go into winter weaker, and spring growth can suffer.
Here is an easy test. Push your finger about two inches into the soil near your plants.
If it feels dry, it is time to water.
Aim for a deep soak once or twice a week instead of a quick sprinkle every day. Slow watering lets moisture sink deep where the roots live.
A soaker hose or a watering can held low works much better than a spray nozzle.
Water in the morning if you can. That gives the surface time to dry before cold nights roll in, which keeps fungus from getting comfortable.
Keep an eye on rain totals, too. If a week passes with less than an inch of rain, your hostas will thank you for a drink.
Continue until the soil starts to stiffen with frost, then roll up the hose for the season. Moist soil also holds warmth better than dry soil, giving roots extra cold protection.
5. Refresh Mulch Before The Ground Freezes
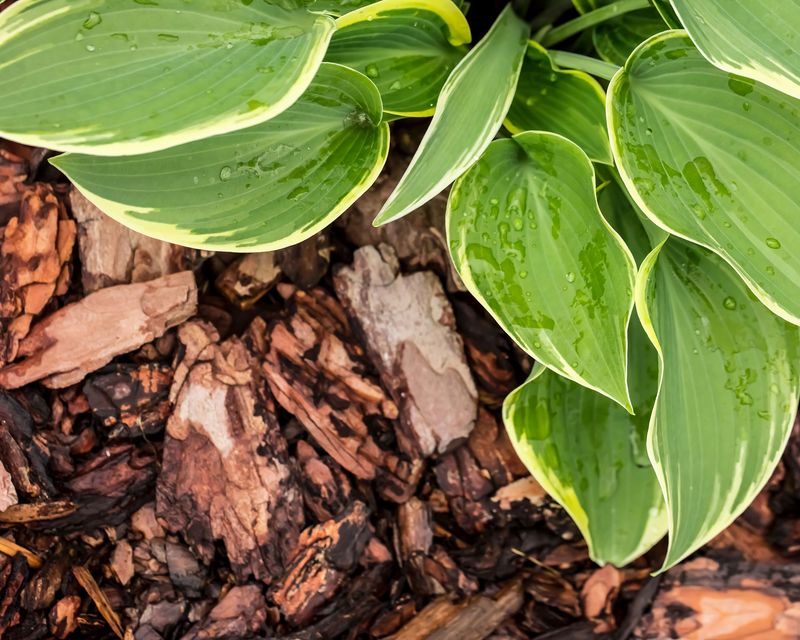
Picture a cozy blanket tucked around your garden bed. That is basically what a good layer of mulch does for hostas during an Ohio winter.
Winter here is moody. It can be ten degrees one day and fifty the next, and those swings make the soil freeze and thaw over and over.
Mulch keeps the ground temperature steadier and holds in moisture.
You have plenty of options, and some are free. Shredded leaves from your own yard work great, especially oak and maple run through a mower.
Pine needles, straw, compost, and shredded bark are all solid choices too.
Spread your mulch two to four inches deep across the bed. Wait until the soil has cooled a bit, often late October or early November.
Mulching too early can invite voles looking for a warm hideout.
One detail matters a lot. Pull the mulch back a few inches from the center of each plant so the crown can breathe.
Piling mulch right on top can trap wetness and lead to rot.
A fun fact for leaf lovers: shredded leaves break down into leaf mold, a crumbly soil booster that gardeners sometimes call black gold. Your hostas get winter protection now and a healthier home next summer, all from a pile of leaves.
6. Protect Exposed Crowns From Winter Temperature Swings
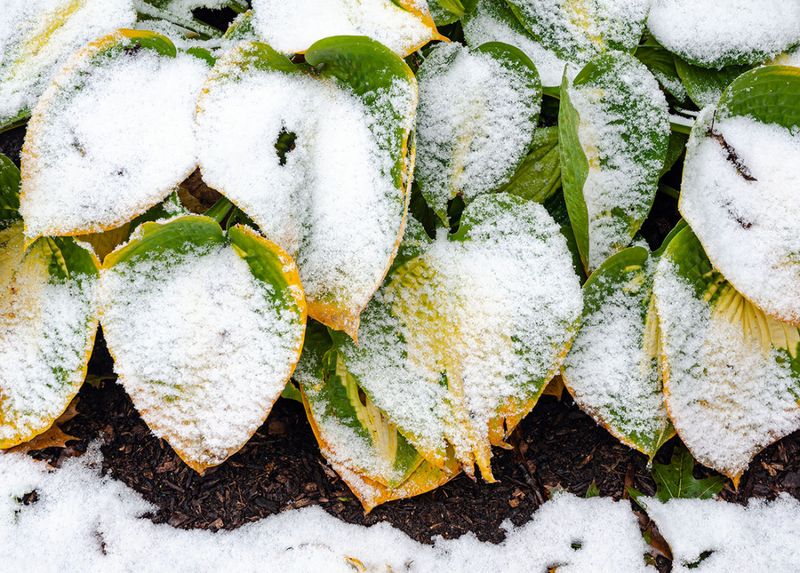
Ever seen a hosta crown sitting on top of the soil in March, roots poking out like messy hair? That is frost heave, and Ohio winters are famous for it.
When wet soil freezes, it expands. When it thaws, it shrinks.
Repeat that dance all winter and the ground can slowly push plants upward, leaving crowns exposed to bitter wind and cold.
Mulch is your first line of defense, since it softens those wild temperature swings. Check your beds after big thaws.
If a crown has lifted, gently press it back down with your foot and add a bit more mulch.
Container hostas need extra help. Pots do not have the insulation of the ground, so roots can freeze solid.
Move them into an unheated garage, shed, or sheltered porch where they stay cold but out of harsh wind.
No room indoors? Dig a hole in the garden and sink the whole pot into the soil up to its rim.
Cover the top with mulch, and the earth will do the insulating for you.
Remember that hostas actually need a cold rest to grow well. Most varieties want several weeks below about forty degrees.
So the goal is steady cold, not warmth, which is why a heated room is the wrong spot.
7. Skip Fertilizer As Hostas Enter Dormancy
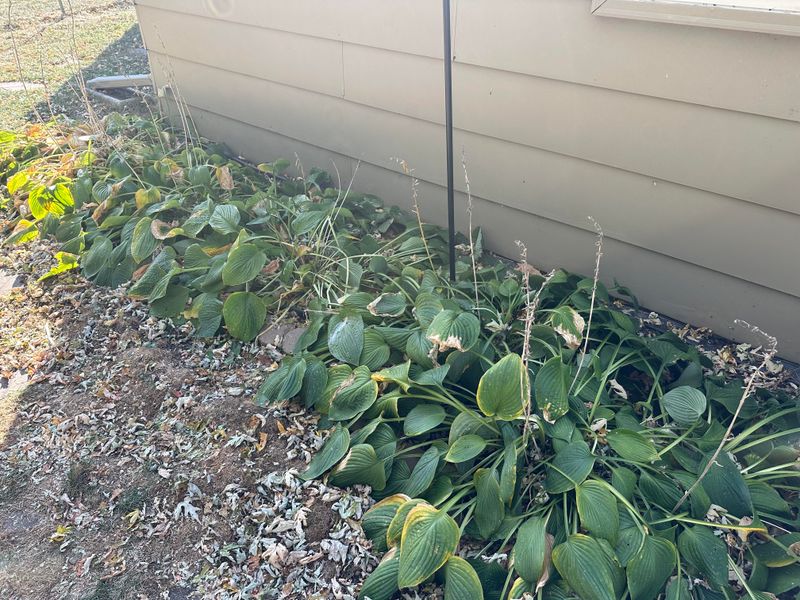
Feeding your plants feels like a kind thing to do, so this one might surprise you. In fall, fertilizer can actually do more harm than good.
Fertilizer, especially the kind high in nitrogen, tells a plant to grow. Hostas in October should be slowing down, not pushing out new leaves.
Tender fresh growth has no time to toughen up before frost hits.
Those soft leaves and shoots get zapped by cold, and the plant wastes energy making them. Energy that should be heading down into the roots ends up spent on growth that will not last.
That can leave the whole plant weaker next spring.
Think of it like eating a giant sugary snack right before bed. You get a burst of energy at the worst possible time, and you pay for it later.
So put the fertilizer bag on the shelf and write yourself a reminder for spring. Early spring, when the pointed shoots called pips start poking through the soil, is the ideal time to feed.
If you want to help your soil now, compost is a friendlier choice. It releases nutrients slowly and improves soil texture without sparking a growth spurt.
Spread a thin layer as part of your mulch, and let winter worms work it in.
8. Divide Crowded Hostas Before The Leaves Fade
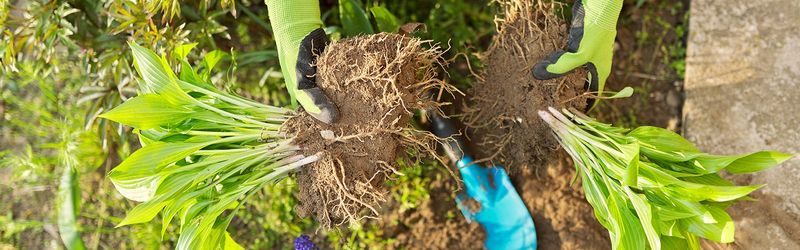
Free plants! That is the best part of dividing hostas, and fall is a great season to do it.
Over the years, a hosta clump can grow so big that the center thins out or it crowds its neighbors. Splitting it gives each piece room to breathe.
You can fill bare spots or share extras with friends.
Timing is the tricky part. Dividing while the leaves are still up lets you see each clump clearly, and you can trim the foliage back first to make the job easier.
But the new pieces need about four to six weeks to grow roots before the ground freezes.
In most of Ohio, that means late September to mid-October works best. Northern parts of the state may need to start a little sooner.
Dig around the whole clump with a sharp spade and lift it out. Then slice it into sections, making sure each one has a few healthy buds and a good chunk of roots.
Hostas are tough, so do not worry if it feels a bit rough.
Replant the divisions at the same depth they grew before. Water them well and add mulch to keep the soil moist.
Here is a neat fact: some hosta clumps have lived in the same garden for more than fifty years, getting divided again and again.
9. Leave Healthy Roots Undisturbed Through Winter
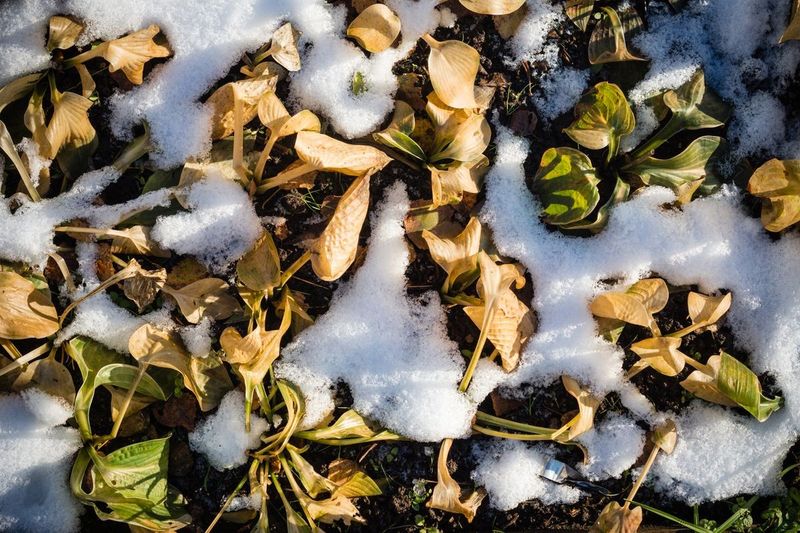
Sometimes the kindest thing a gardener can do is walk away. After your fall chores are done, your hostas simply need a long, quiet nap.
Underground, the roots and crown are holding all the energy the plant saved up this season. That stored fuel powers the burst of growth you see in spring.
Poking, digging, or moving plants now can break roots and waste that effort.
Hostas are true survivors. Many varieties handle winters far colder than anything Ohio usually throws at them.
They just need stable, undisturbed soil to do their thing.
A handy tip is to mark your hosta spots with small stakes or plant tags. Once the leaves are gone, it is easy to forget where they are.
Markers keep you from stepping on crowns or planting spring bulbs right on top of them.
Try to keep foot traffic and heavy snow piles off the bed, too. Shoveling a driveway full of salty snow onto hostas can harm the roots over time.
Then relax and let winter take its course. Flip through seed catalogs, dream about new varieties, and wait.
Come April, those tight little shoots will unroll like green party horns, ready to show off your October care.