What To Do With Your Mums After They Finish Blooming In California
Tiny green rosettes hugging the soil under a faded fall bloomer usually mean the plant is gearing up for another round. The flowers may look finished, yet the roots are often still busy.
Their internal calendar amazes me. Buds form in response to shorter days and longer nights, so they bloom on schedule even when a California September feels like July.
Most pots sold at garden centers each fall are hardy perennials, too, not one-season decorations.
This month, porches across the state fill up with droopy brown pots. Mine looked like a sad bouquet after a bad first date. Let me save you some trouble, though: a crispy top rarely tells the whole story, and California’s gentle winters work in their favor.
That faded pot by the front door could quietly turn out to be the toughest plant on your whole porch.
That Faded Mum Pot Might Still Have a Comeback in It
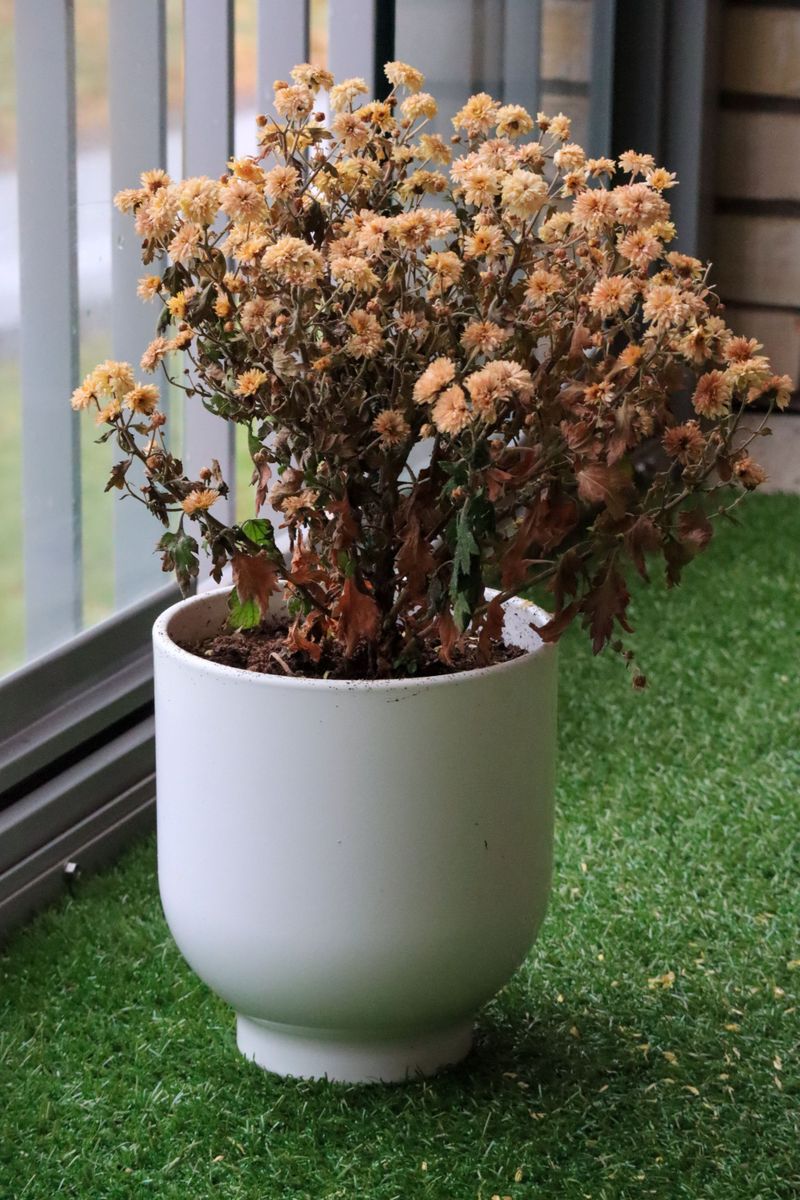
Brown petals look like a goodbye, but the roots underneath are often wide awake. Most mums sold at garden centers in fall are hardy garden mums, which are perennials in nearly every part of California.
The trick is knowing which type you brought home. Garden mums usually carry lots of small flowers on a tidy dome and come in plastic nursery pots. Florist mums, often wrapped in foil, have huge, showy blooms and were bred for indoor display.
Florist types can sometimes survive outdoors in coastal and Southern California, but they often bloom later and less reliably. Garden mums have a much better track record of returning year after year.
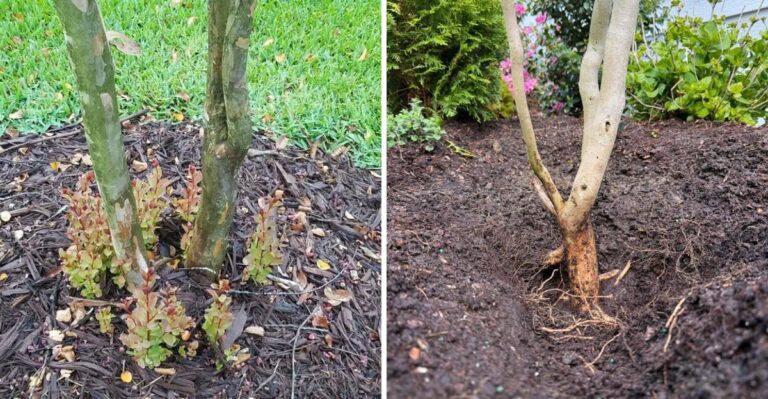
Before you decide anything, check the base of the plant. Look for small green shoots or rosettes of leaves hugging the soil line. Those little sprouts are a strong sign that your plant is ready for another round.
Gently tip the pot out and peek at the roots too. White or tan roots that feel firm mean the plant is healthy. Mushy, dark roots point to rot, and that plant may belong in the compost pile instead.
Once you spot healthy growth, you have a keeper worth saving.
Snip Those Spent Chrysanthemum Blooms Right Away
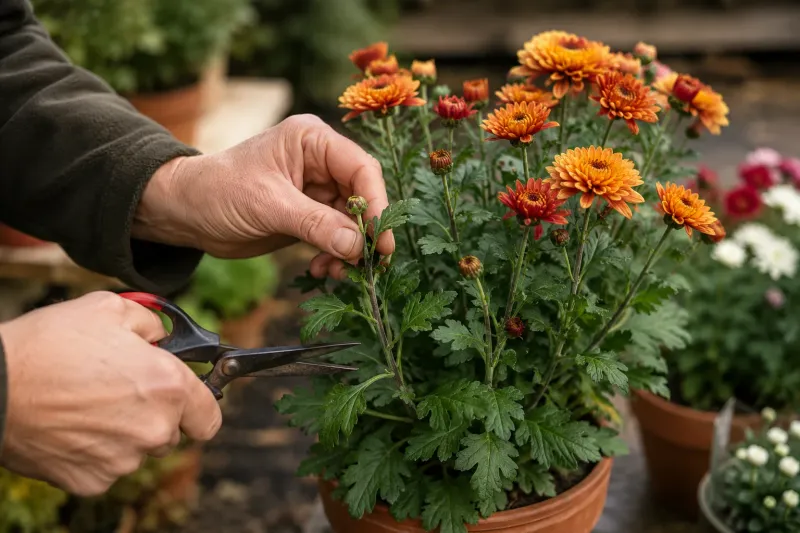
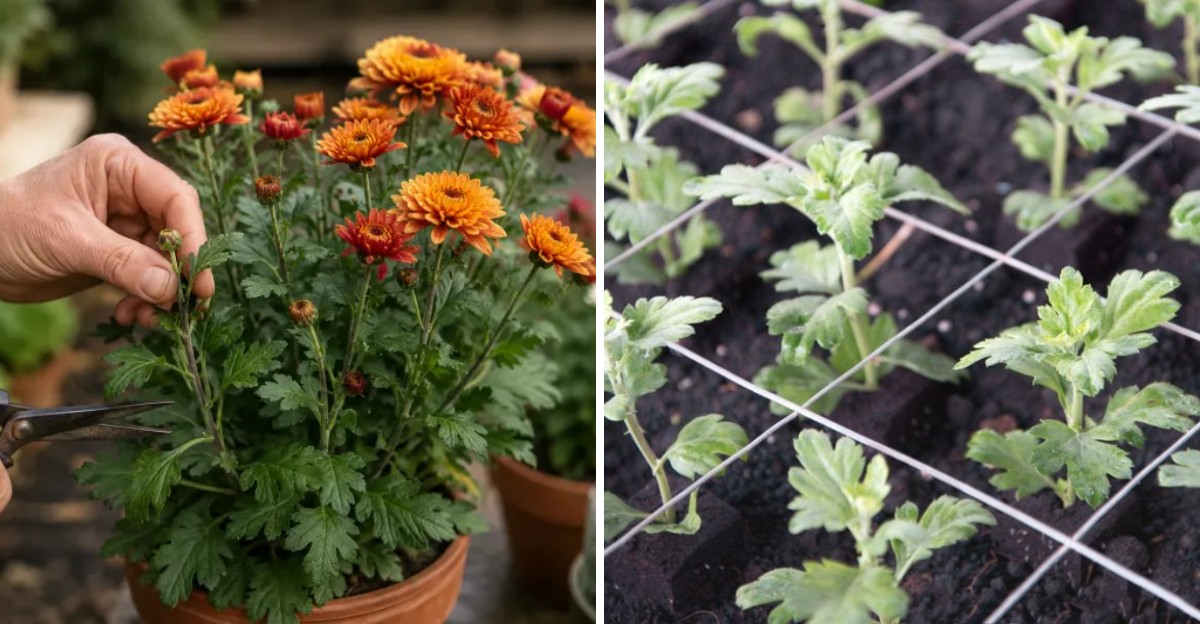
A quick haircut can buy you more flowers. Once individual blooms turn brown, pinch or snip them off just above a set of healthy leaves.
Removing old flowers stops the plant from spending energy on seeds. In warm parts of California, that saved energy sometimes produces a smaller second flush of color before winter settles in.
I like to do this every few days while blooms are fading. It takes about five minutes with a sharp pair of scissors, and the plant looks tidier right away.
Keep your tools clean between plants. Wiping blades with rubbing alcohol or a household disinfectant helps reduce the spread of leaf spot and other problems.
Do not expect a full repeat of the fall show. The second round is usually lighter, with fewer and smaller blooms. Still, a few bonus flowers in November feel like a gift.
Once the plant stops pushing new buds, you can move on to the bigger cutback. That step comes later, after the flowering cycle wraps up for the season.
Toss the trimmed heads into your compost bin. They break down fast and return nutrients to your garden soil.
Get Potted Mums Into the Ground Where Their Roots Can Spread

Plastic nursery pots are snug little hotels, not long-term homes. Mums grown for fall sales are often root-bound, so moving them into garden soil gives them room to settle in.
In most of California, you can plant mums in late fall or early winter because the ground rarely freezes. Spring planting works well too, especially in mountain areas where cold snaps are tougher.
Pick a spot with at least six hours of direct sun. Mums grown in shade turn floppy and produce fewer buds next year.
Drainage matters just as much as sunlight. Heavy clay is common in many California neighborhoods, so mix in compost or plant on a slightly raised mound to keep water from pooling.
Dig a hole about twice as wide as the root ball. Loosen circling roots with your fingers, set the plant at the same depth it grew in the pot, and backfill gently.
Water deeply right after planting to remove air pockets. Space plants about 18 to 24 inches apart so air can flow between them.
Personally, I think this single move does more for a mum’s future than any fertilizer could.
Cutting Mum Stems Back to Six Inches Sets Up Spring Growth
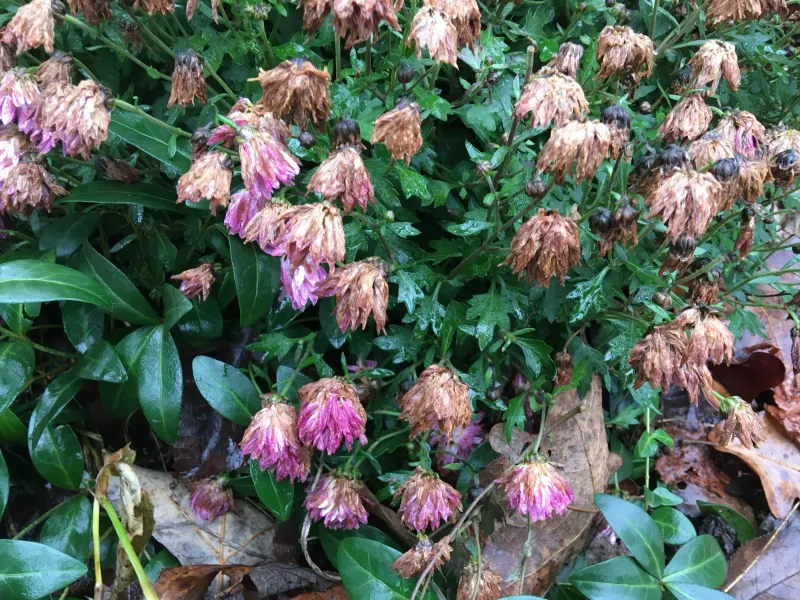
Here comes the satisfying part. After blooming fully ends and the foliage starts to look tired, cut the stems down to about 4 to 6 inches above the soil.
Gardeners in snowy regions often leave stems standing all winter to trap insulating snow. California is a different story in most places, and a cleaner cutback helps reduce hiding spots for aphids, mites, and fungal problems.
Look closely before you snip. You want to keep those low green rosettes at the base, since they become next year’s growth.
Gardeners in the Sierra foothills or high desert may want to wait until late winter. Old stems give a little cold protection when nights drop well below freezing.
Bag up any leaves showing spots, white powder, or rust-colored bumps. Those clippings should go in the green waste bin, not your home compost, since many backyard piles do not get hot enough to break down disease.
Healthy trimmings can go straight into compost. Chopping them into smaller pieces helps them decay faster.
Short, tidy plants may look plain for a few months. Trust me, that stubby mound is quietly building strength for a much bushier display next fall.
Water Resting Mums Lightly Through California Winters
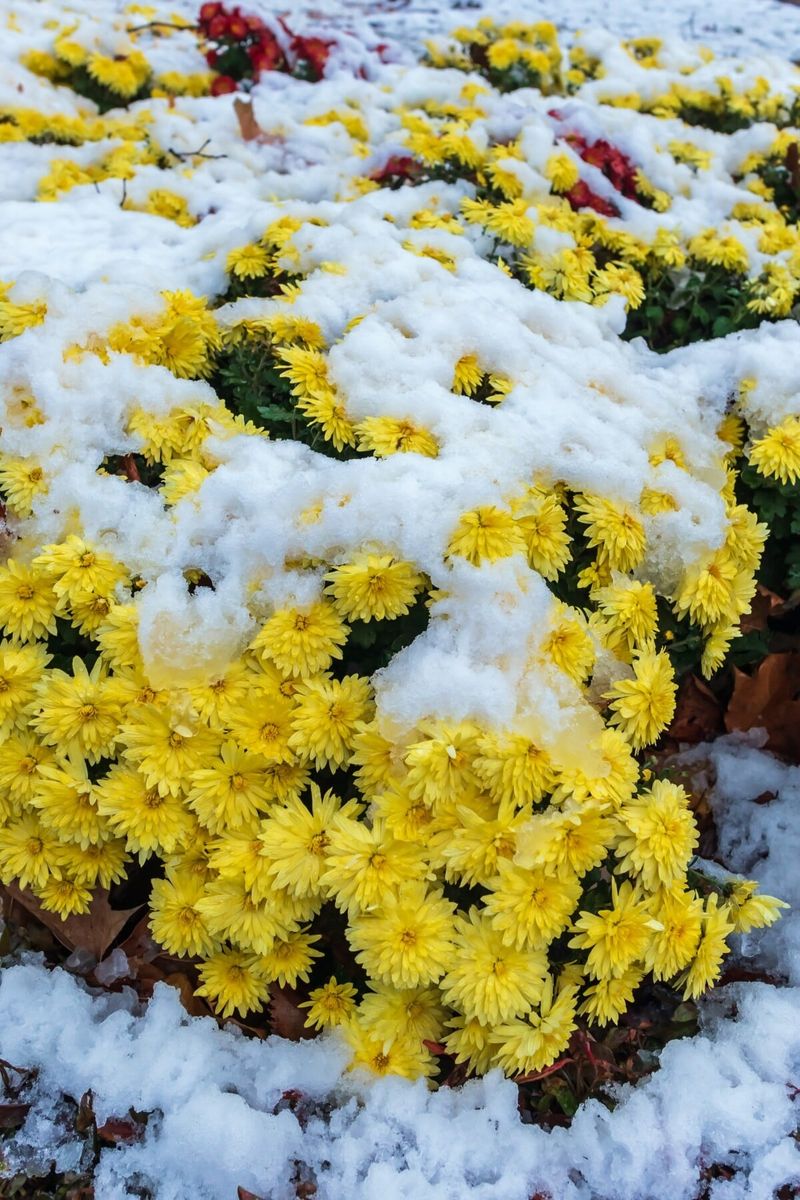
Rest does not mean thirst-free. Dormant mums need far less water than they did in summer, but the roots still should not dry out like toast.
Winter rain often handles the job in Northern California. Southern parts of the state can go weeks without a drop, so a quick finger test matters.
Push a finger about two inches into the soil. If it feels dry at that depth, give the plant a slow, deep drink. If it feels damp, wait a few more days.
Soggy soil is the bigger risk during cool months. Mums sitting in cold, wet ground can develop root rot, which is hard to reverse once it starts.
Potted mums need extra attention. Containers dry faster in Santa Ana winds, yet they also hold water if drainage holes get clogged.
A thin layer of shredded bark, straw, or leaf mulch helps steady soil moisture. Keep it an inch or two away from the stems, since mulch piled against the crown can trap moisture and invite rot.
Turn off or reduce drip timers that were set for summer. Many California water districts encourage cutting irrigation in winter anyway.
Fresh Spring Mum Shoots Are Perfect for Dividing
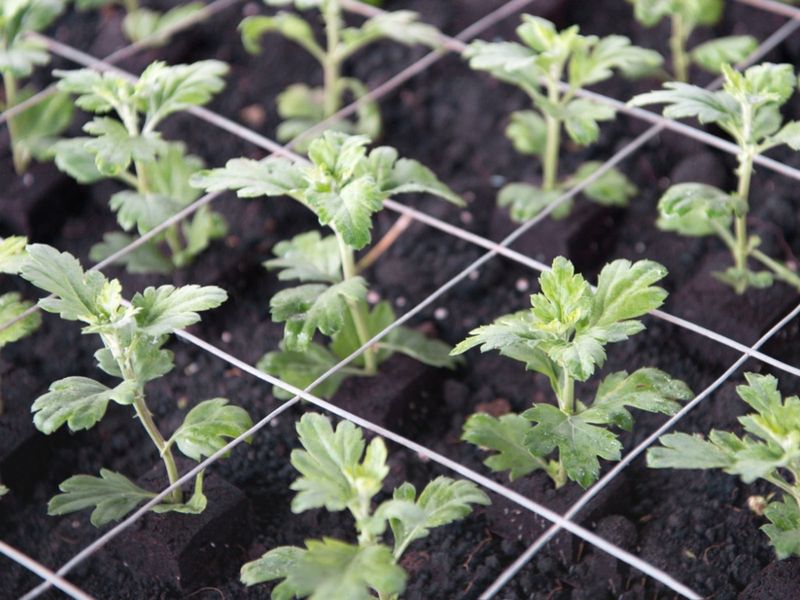
Spring wake-up calls come early here. By February or March in much of California, you will notice fresh green shoots pushing up around the old stubs.
That flush of growth signals a great time to divide older clumps. Mums tend to grow outward while the center weakens, often leaving a woody, bare middle after two or three years.
Dig up the entire clump once shoots are a few inches tall. Use a sharp spade or knife to separate healthy outer sections, each with several shoots and a good chunk of roots.
Toss the tired center. Replant the young outer pieces in sunny spots with compost-enriched soil, then water them well.
I love how one fading pot can turn into three or four plants this way. Share extras with neighbors, or fill a gap along a sunny walkway.
Start feeding plants once active growth begins. A balanced, slow-release fertilizer applied in spring supports strong stems and leafy growth.
Clear away any leftover mulch and old brown stems at the same time. Spring cleanup helps sunlight reach new shoots and lowers the chance of pests sheltering in debris.
Pinching Mum Tips Through Summer Builds Bushier Fall Plants
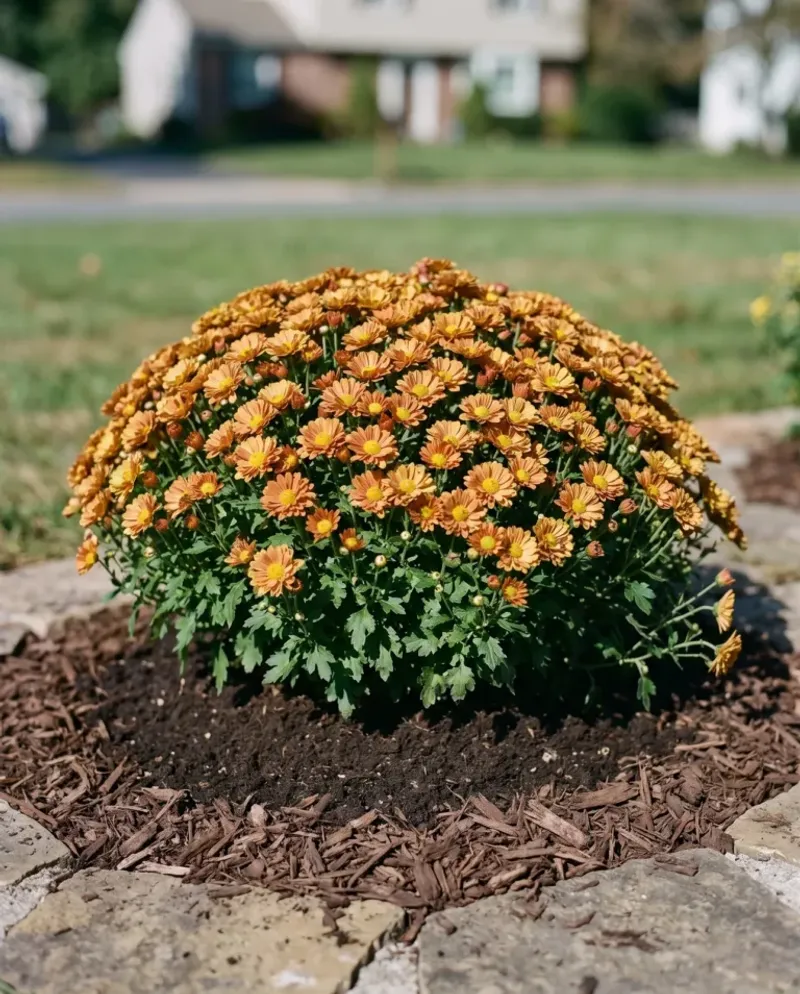
Ever wonder how nursery mums look like perfect round cushions? Growers pinch them repeatedly, and you can copy that trick at home.
Once new stems reach about 6 inches tall, pinch off the top inch or so with your fingers. Each pinched stem branches into two or more, creating a fuller plant with extra flower buds later.
Repeat every few weeks as stems grow back to about 6 inches. Skipping this step often leads to tall, leggy plants that flop over by fall.
Timing matters most at the end. Many gardeners stop pinching around mid-July, though some California growers in warm areas continue into early August. Pinching too late can remove the buds forming for autumn.
Mums set flowers in response to shorter days and longer nights. That built-in calendar is why they reliably bloom in fall, no matter how warm a California September feels.
Keep watering steadily during hot months, since summer heat stresses shallow roots. Morning watering at the soil line helps reduce leaf diseases.
Fun bonus: those pinched tips are not trash. Many of them can become brand-new plants, which leads straight to the next project.
Rooting Chrysanthemum Cuttings Turns One Favorite Into Many
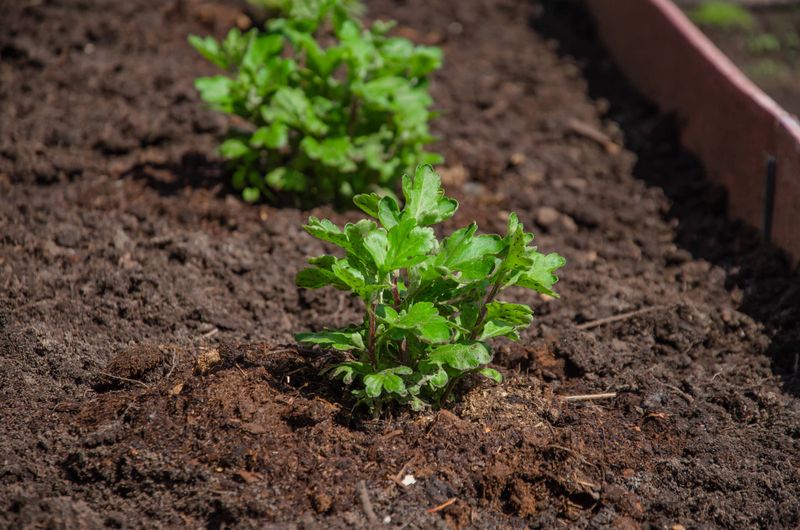
Got one mum color you adore? Cuttings let you clone it for free, and the process is surprisingly forgiving.
Take 3 to 5 inch cuttings from healthy, non-flowering stem tips in spring or early summer. Snip just below a leaf node, the small bump where a leaf joins the stem.
Strip the lower leaves so only a few remain at the top. Dipping the cut end in rooting hormone is optional, though it often speeds things along.
Stick each cutting into moist, sterile potting mix or a blend of perlite and peat. Place the pots in bright, indirect light, away from harsh afternoon sun.
Keep the mix damp but not soggy. A clear plastic bag tented over the pot holds humidity, just open it daily for fresh air.
Roots usually form in about two to four weeks. A gentle tug that meets resistance tells you the cutting has rooted.
Move young plants into larger pots or the garden once they look sturdy. By fall, you could have a whole row of that favorite shade. I believe that is the sweetest reward for not tossing a faded pot last year.