What White Garden Phlox Is Really Telling Pennsylvania Gardeners
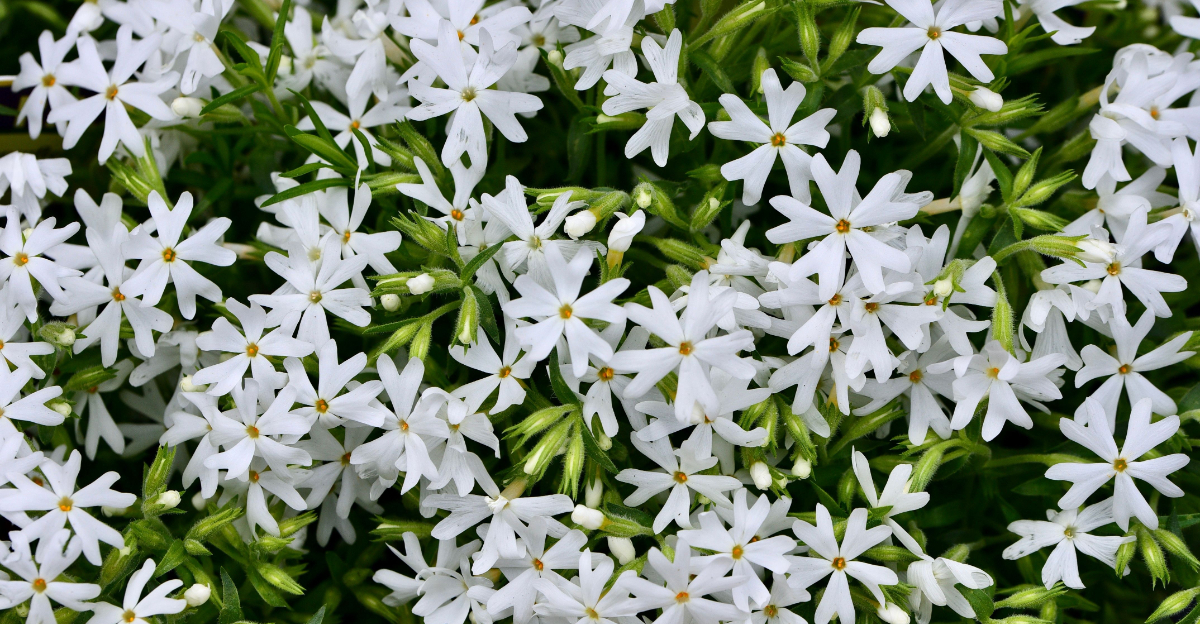
Pennsylvania phlox can go from border superstar to flour-dusted mystery almost overnight.
June makes everything look promising. Tall stems rise, buds tighten, color starts building, and the whole bed feels ready for compliments.
Then August rolls in with sticky air, warm nights, and leaves that suddenly look powdered instead of lush.
That white coating is not just a cosmetic problem. It is a message from the garden.
Your phlox may be telling you the plants sit too close, the air cannot move, the foliage stays damp too long, or the variety was never built for Pennsylvania’s humid summer pressure.
The frustrating part is how familiar the scene becomes year after year.
Sprays may help for a moment, but the real fix starts with reading the pattern.
So what is that white powder on garden phlox actually telling Pennsylvania gardeners?
Start with airflow, spacing, sunlight, watering habits, and plant choice before one dusty leaf turns into a whole border problem.
1. Powdery Mildew Is The Big Clue
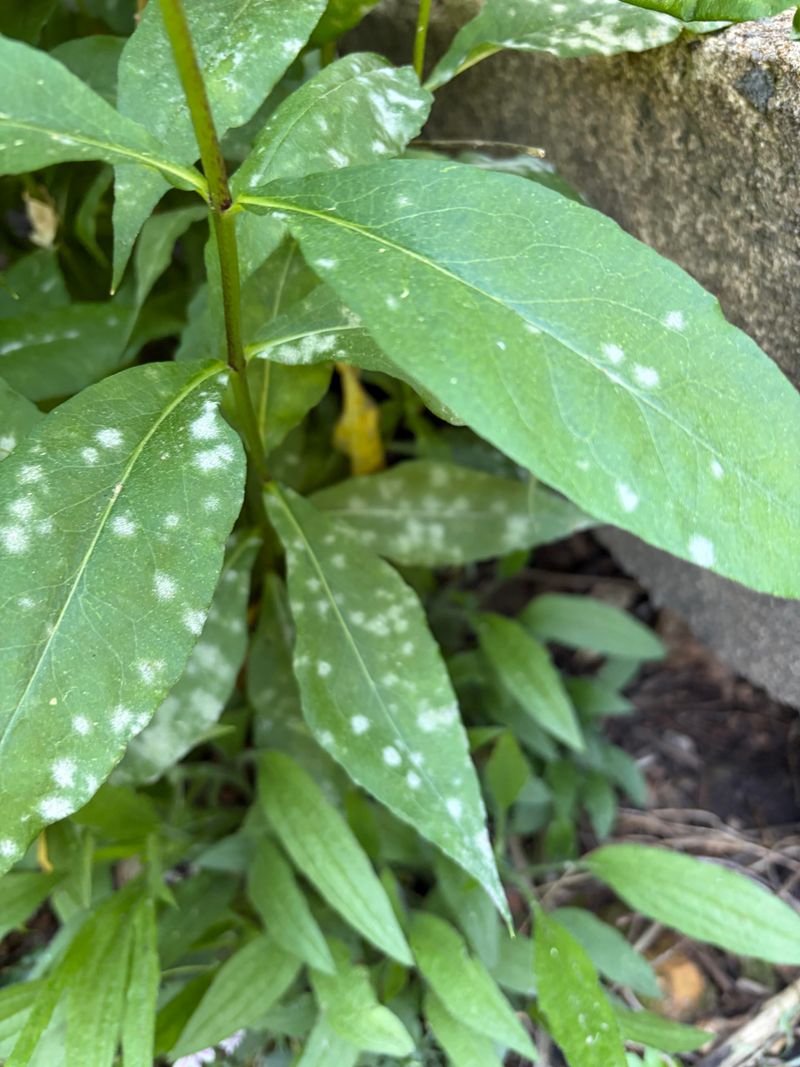
That flour-like coating creeping across your phlox leaves is almost certainly powdery mildew, a fungal disease caused by Erysiphe cichoracearum and related species.
Unlike most fungal problems, powdery mildew does not need wet leaves to get started.
It thrives in warm, dry leaf surfaces paired with humid air around the plant. That combination is basically a Pennsylvania summer in a nutshell.
The white coating is actually fungal threads and spores spreading across the leaf surface.
Leaves may yellow, curl, or look dull underneath the white layer. Stems and flower buds can also show symptoms if the infection is heavy.
Before you assume every white mark is mildew, check carefully.
Rub a leaf gently with your finger. If the white wipes off and leaves a green surface underneath, it is mildew.
Powdery mildew tends to start on upper leaf surfaces and spread outward in circular patches.
Catching it early makes management much easier, so a quick look through the border every week or two in July and August pays off.
2. Humid Air Is Helping It Spread
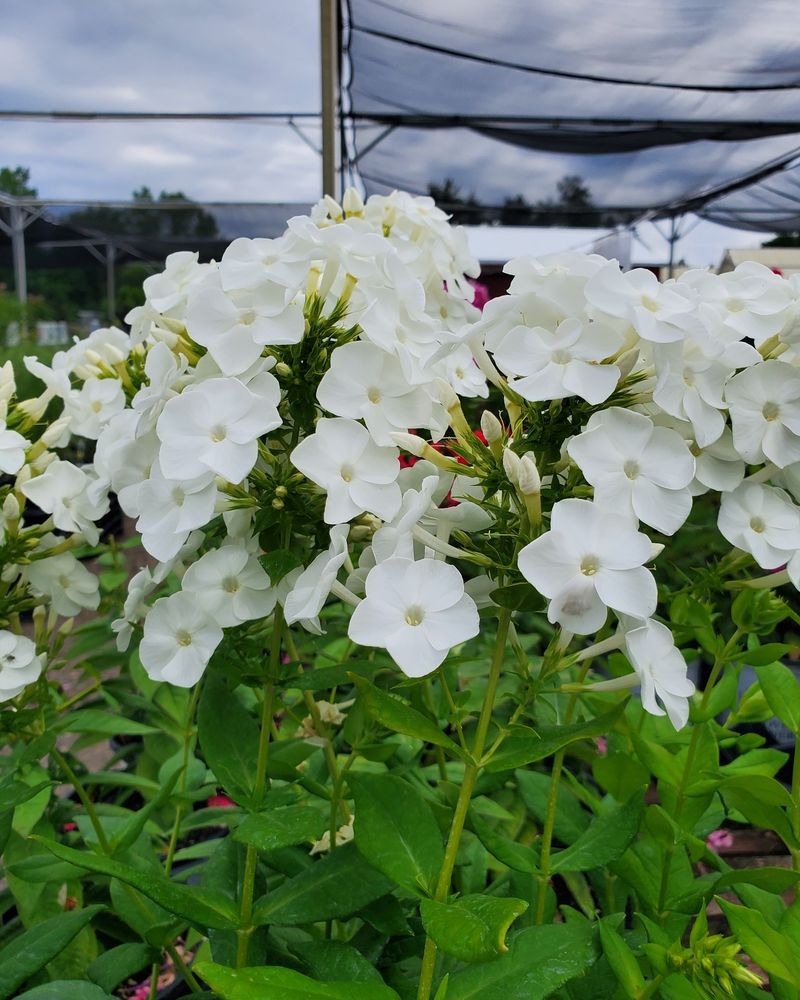
A muggy evening in central Pennsylvania is practically a welcome mat for powdery mildew spores.
The fungus spreads through airborne spores that travel easily on light breezes.
When nighttime temperatures stay between 60 and 80 degrees Fahrenheit and relative humidity climbs above 70 percent, spore germination rates go up sharply. Pennsylvania summers check both boxes from June through early September.
What makes this tricky is that you cannot change the weather.
Humid nights are part of gardening here, and phlox is a plant that loves the same warm season that mildew loves. The goal is not to eliminate humidity but to reduce how much of it lingers around your plants.
A border that stays damp and still from sundown to sunrise gives spores hours of perfect conditions to land, germinate, and start a new colony on nearby leaves.
Spores from infected plants nearby, including wild phlox growing along roadsides or in neighboring yards, can drift into your garden.
Penn State Extension notes that powdery mildew fungi are highly host-specific, meaning the strain on your phlox will not jump to your roses, but it will move freely from one phlox plant to another.
Your Pennsylvania Garden Changes Every Week. Your Plan Should Too.
Gardening in Pennsylvania changes quickly throughout the season. Every Friday you’ll receive a simple weekly plan showing exactly what to plant, prune, fertilize, harvest, and protect so you never miss the right timing.
When a stretch of warm, still, muggy nights is in the forecast, that is the right time to check your phlox closely and take action before the problem blooms out of control.
3. Crowded Stems Need Thinning
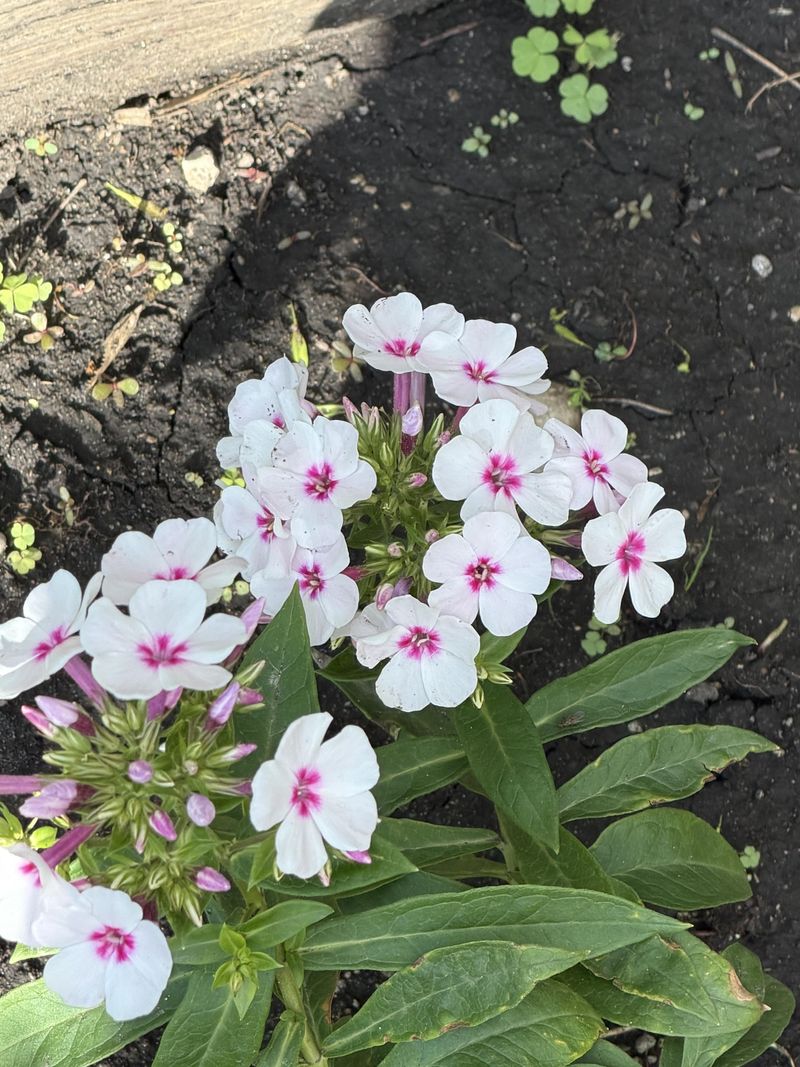
A border where phlox has been growing in the same spot for four or five years without being divided turns into a tight mass of stems so packed together that you can barely slide a finger between them.
That crowded center is a mildew factory.
Airflow through the plant drops to nearly nothing, moisture clings to leaves, and spores have an easy time moving from stem to stem without ever catching a breeze.
Thinning is one of the most effective cultural tools you have.
In early spring, when new shoots are just a few inches tall, remove about one-third of the stems from each clump by cutting or snapping them off at the base.
Penn State Extension recommends leaving the strongest, most evenly spaced shoots and removing the weakest or most crowded ones.
This opens up the interior of the plant and lets light and air reach the foliage that remains.
Dividing older clumps every three to four years also helps.
Use a garden fork to lift the entire clump, cut it into sections, and replant the outer portions, which tend to be the healthiest. Discard or compost the woody center.
Space new divisions at least 18 to 24 inches apart.
Giving each plant room to breathe is one of the simplest and most lasting ways to reduce mildew pressure without reaching for a single product.
4. Lower Leaves Started The Story
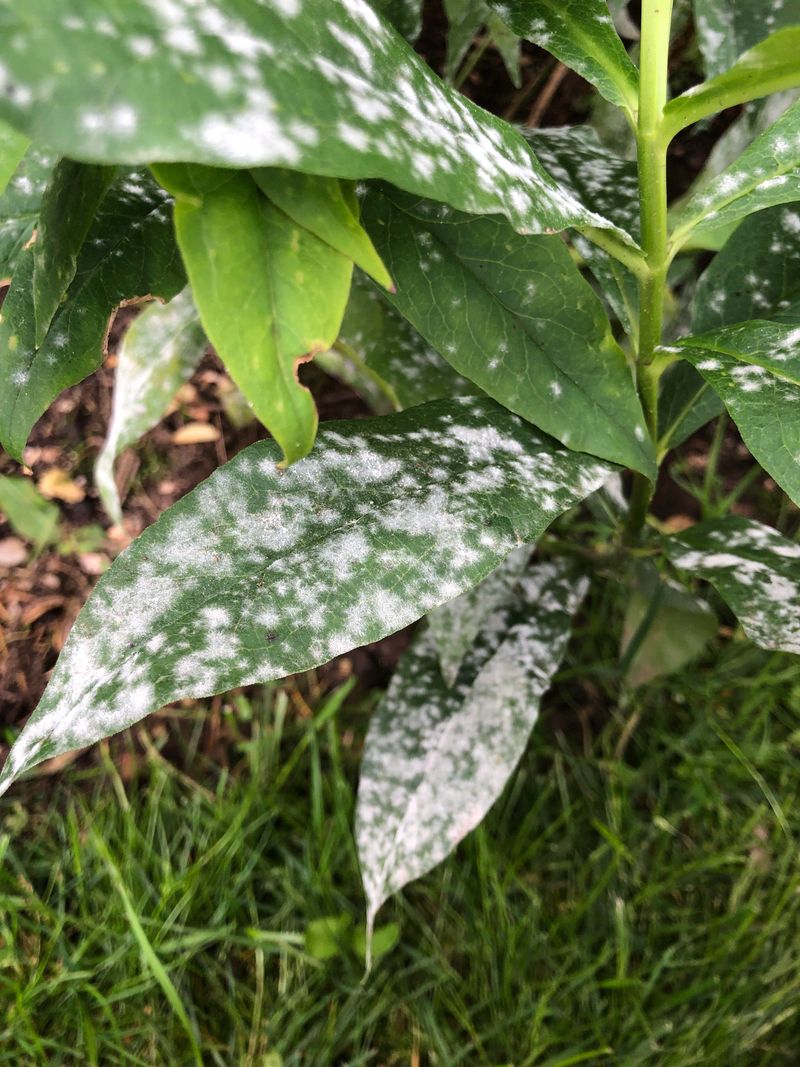
Reach down toward the base of a phlox plant in mid-July and look at the lower leaves.
Chances are, if mildew has arrived, that is where it started.
The lowest leaves on a garden phlox stem get the least airflow, the most shade, and often the most splash from soil during rain or watering. Those conditions make the lower canopy the first place the fungus takes hold each season.
Spotting symptoms early at the base of the plant gives you a head start on management.
Removing affected lower leaves by hand and putting them in the trash, not the compost pile, slows the spread upward and outward.
Some gardeners strip the bottom third of leaves from phlox stems as a routine practice in early July, before any symptoms appear.
This simple step opens airflow near the soil line and removes the tissue most likely to become infected first.
A plant that gets checked weekly from late June onward can have infected leaves removed while the infection is still limited.
A plant that goes unchecked until late August may have mildew covering most of its foliage by the time anyone notices.
Walking through the border and flipping a few lower leaves takes about two minutes per plant. Think of it as reading your phlox like a book. The lower leaves are the opening chapter, and catching a bad plot twist early leaves room for a better ending.
5. Overhead Watering Adds Pressure
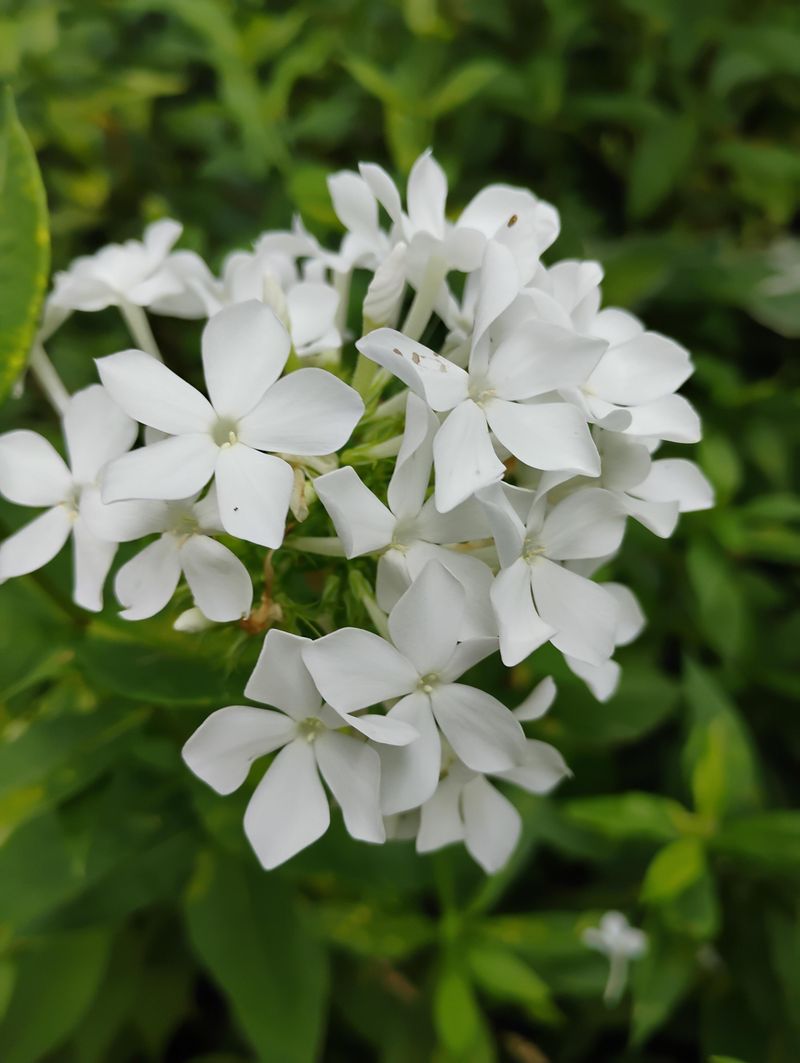
Grabbing a hose and spraying the whole border from above feels fast and satisfying, but for garden phlox, that habit adds up to trouble.
Wet foliage in warm weather creates a surface where spores settle in more easily.
Even though powdery mildew does not need free moisture to germinate the way downy mildew does, wet leaves slow drying and keep humidity right at the leaf surface for longer stretches of time.
Switching to ground-level watering makes a noticeable difference.
Soaker hoses laid along the base of the border deliver water directly to the root zone without touching leaves at all.
Drip irrigation works the same way and can be set on a timer to run in the early morning, giving any accidental splash time to dry before temperatures drop at night.
If you water by hand and cannot avoid wetting the leaves, morning is much better than evening.
Foliage that gets wet in the morning has the rest of the day to dry out in sunlight and moving air.
Foliage that gets wet at dusk stays damp all night, which is exactly the window when mildew spores are most active.
Changing your watering routine is a low-cost adjustment that protects your plants without requiring any products or special equipment.
Small habit shifts in the garden often produce surprisingly large results.
6. Airflow Needs A Boost
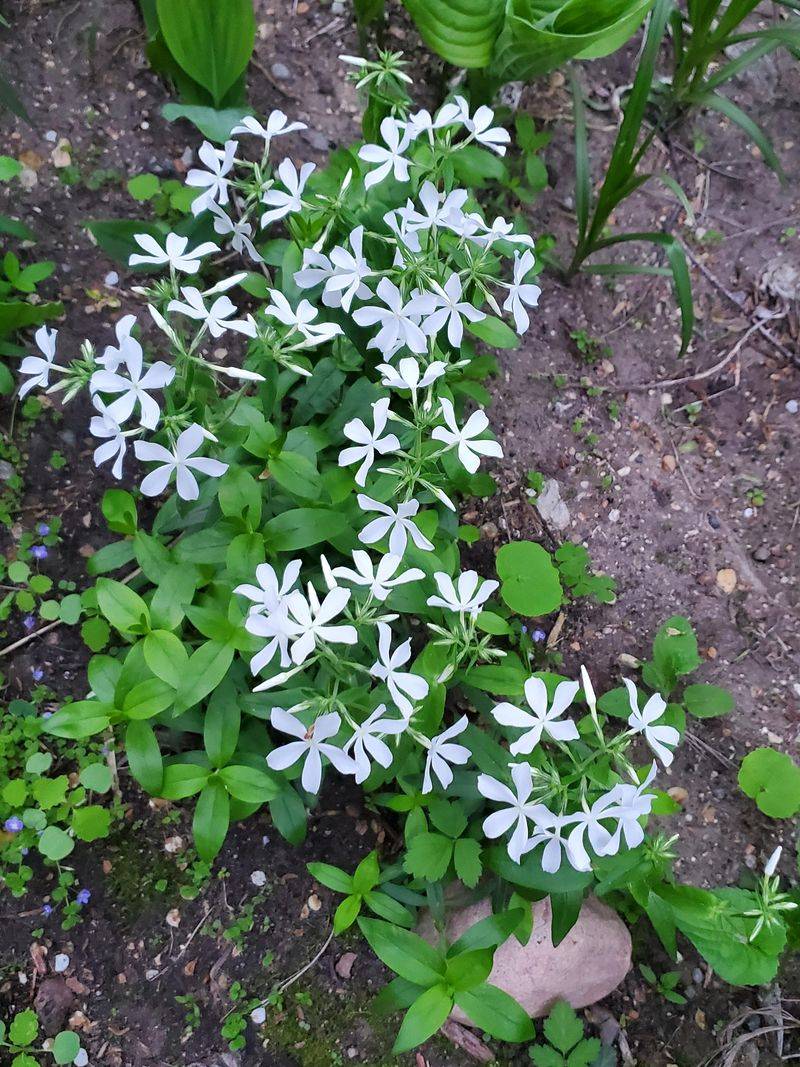
Standing at the edge of a crowded mixed border on a still August afternoon, you can almost feel the air stop moving once you step between the plants.
Tall phlox surrounded by dense shrubs, overgrown ornamental grasses, and unpruned perennials on all sides ends up in a pocket of trapped air that barely stirs from morning to night.
That stagnant zone is where mildew pressure builds fastest.
Improving airflow does not mean removing everything around your phlox. It means being thoughtful about what grows close to it.
Trim back neighboring plants that are leaning into the phlox stems. Cut back any shrub branches that hang over the border and shade the plants while blocking air movement.
Staking phlox stems also helps.
Tall garden phlox can reach four to five feet and tends to flop outward as it grows, especially in partly shaded spots.
When stems lean over and press against each other or neighboring plants, air circulation drops and the chance of mildew increases.
Use grow-through stakes or bamboo and twine to keep stems upright and separated.
A border with good vertical structure and open spacing between plants moves air more freely even on calm days.
Giving your phlox a little breathing room, literally, is one of the most practical and lasting improvements you can make to the health of the whole planting.
7. Resistant Cultivars Matter Next
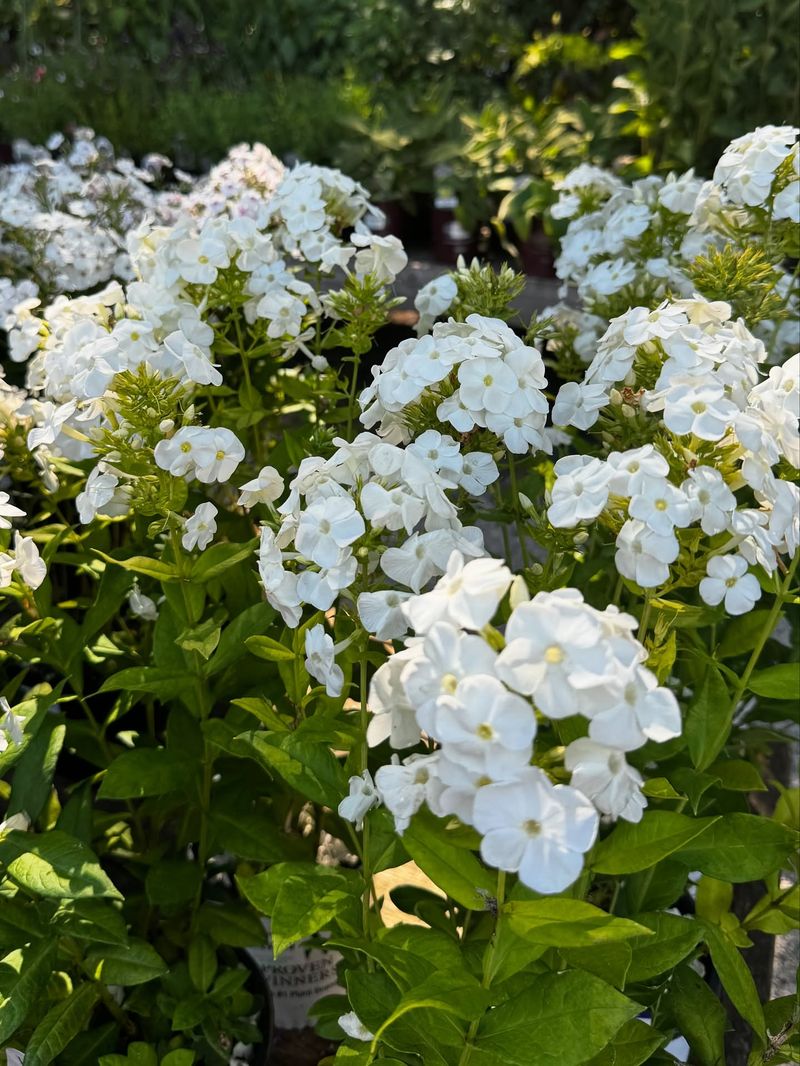
Some phlox varieties just handle Pennsylvania summers better than others, and choosing the right cultivar from the start is one of the smartest moves a gardener can make.
Powdery mildew resistance has been a major focus in phlox breeding for decades, and the results are genuinely impressive.
The white-flowering cultivar David is probably the most well-known mildew-resistant phlox and has been an All-America Selections winner.
It performs well in Pennsylvania conditions, holds its clean white blooms through August, and shows far less mildew pressure than older standard varieties.
Robert Poore is another highly regarded option with rosy-purple flowers and excellent resistance.
Jeana, a pale lavender cultivar, has received strong marks in Penn State and other extension trials for both mildew resistance and pollinator appeal.
These are not obscure specialty plants. Most good garden centers in Pennsylvania carry at least a few resistant varieties by midsummer.
Resistance does not mean immunity.
In a very wet, crowded, or poorly ventilated spot, even resistant cultivars can show some mildew late in the season.
Think of resistance as a strong advantage rather than a guarantee.
Pairing a resistant cultivar with good spacing, smart watering, and regular scouting gives you the best possible outcome.
If you are replacing old mildew-prone plants this fall or next spring, make resistance your first filter when choosing new varieties at the nursery.
8. Fall Cleanup Reduces Carryover
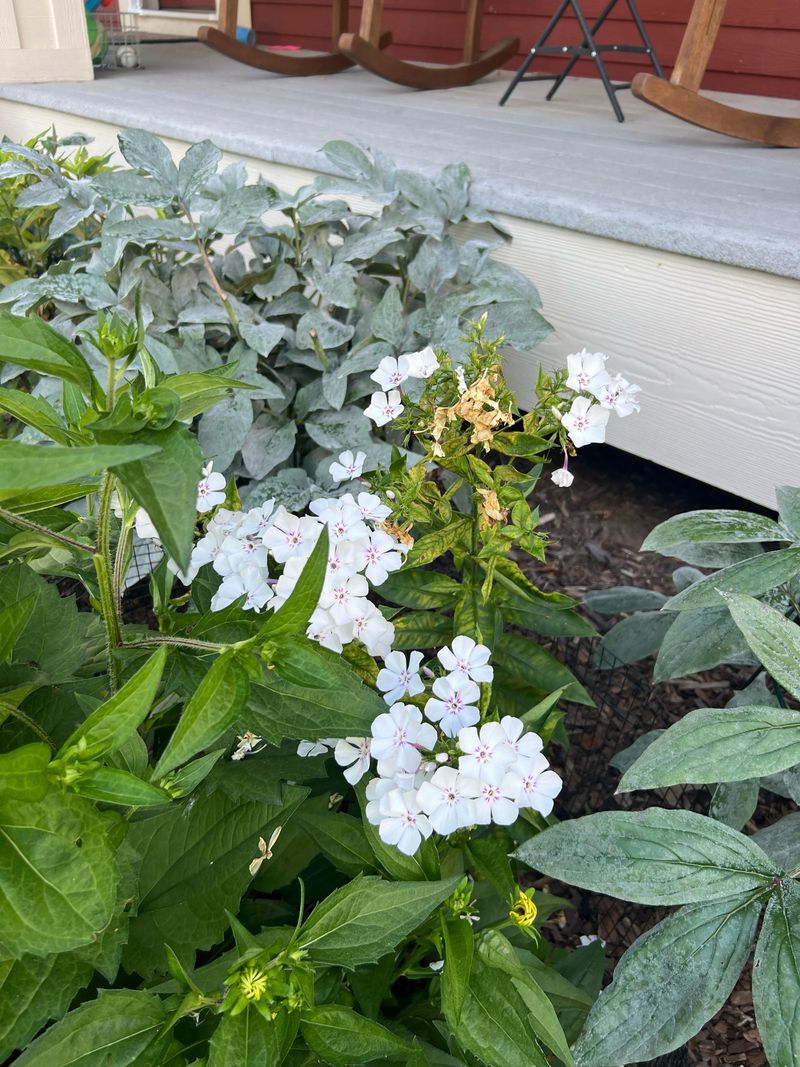
Once the blooms have faded and the first frosts start settling into Pennsylvania valleys, it is tempting to leave the garden as is and deal with cleanup in spring.
For powdery mildew on phlox, that choice comes at a cost.
The fungus overwinters in infected plant debris left on the soil surface. Spores and fungal structures tucked into old stems and fallen leaves become the starting point for next year’s infection, often showing up earlier and more aggressively than the previous season.
Cutting phlox stems down to just a few inches above the soil in late October or November and removing all the clippings from the garden breaks that cycle.
Do not compost heavily infected material.
Powdery mildew spores can survive in home compost piles that do not reach high enough temperatures to neutralize them. Bag the debris and put it out with yard waste collection, or dispose of it away from the garden entirely.
Cleaning up fallen leaves around the base of the plant matters too.
Raking out the crown area and removing any leaf litter that has settled against the stems reduces the places where the fungus can shelter through winter.
A light layer of fresh mulch applied after cleanup helps insulate the roots and keeps soil from splashing up onto new growth in spring.
Fall cleanup is not the most exciting garden task, but it is one of the highest-return hours you will spend in the garden all year.
A clean border in November sets your phlox up for a much fresher, healthier start when spring finally blooms back around.