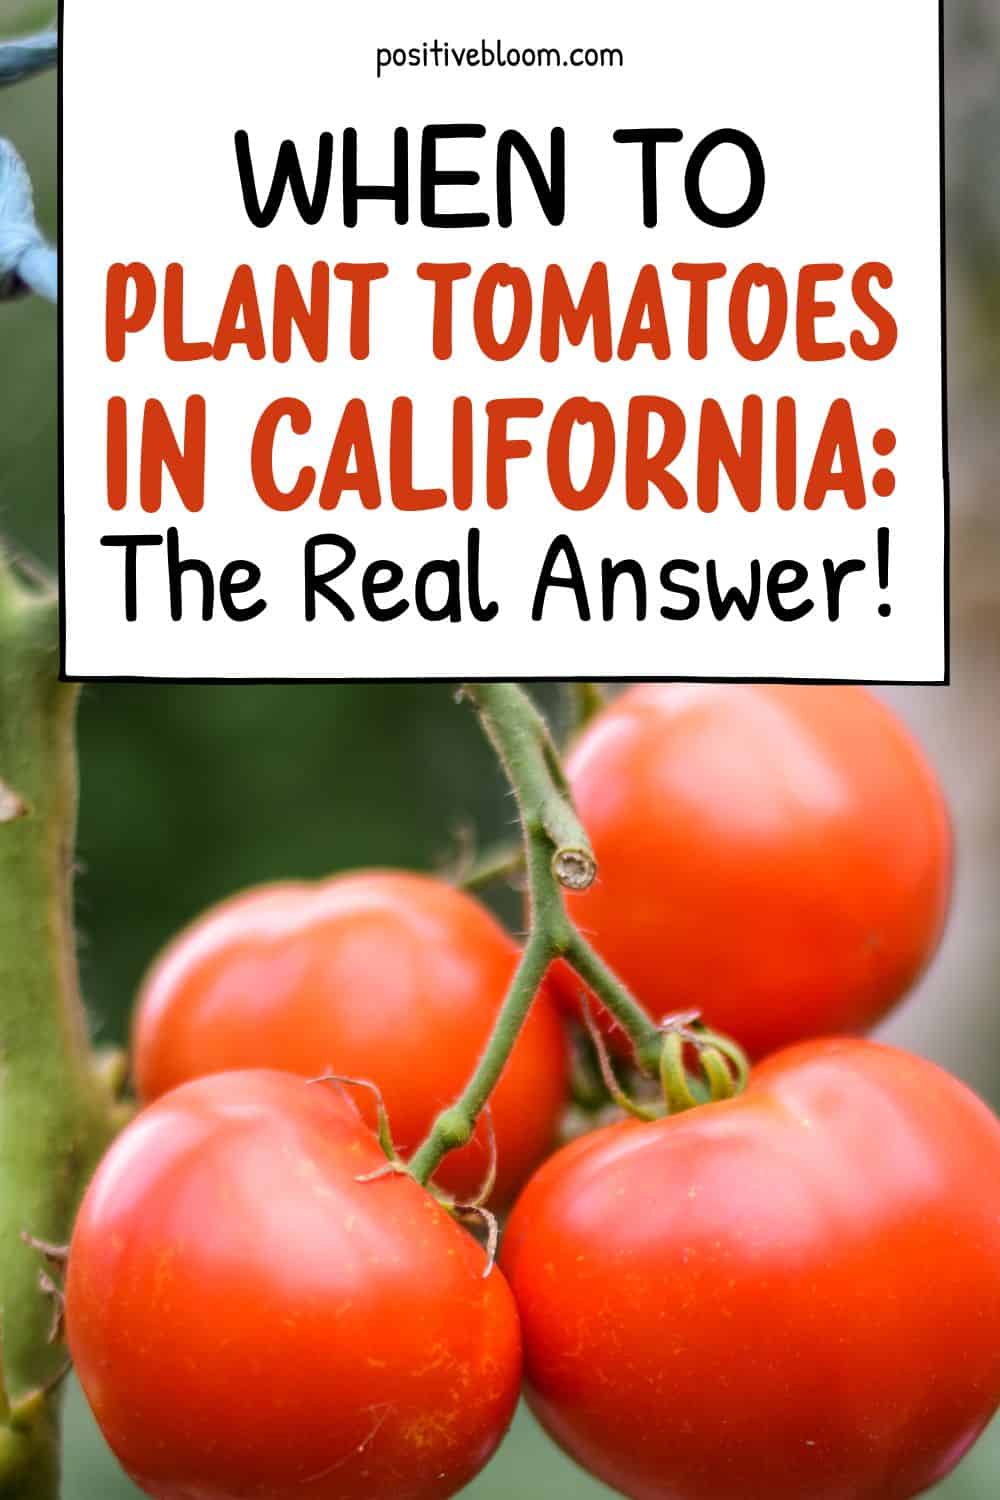
This Is When You Should Plant Tomatoes In California If You Want A High Yield
Yum! Yum! Yum!
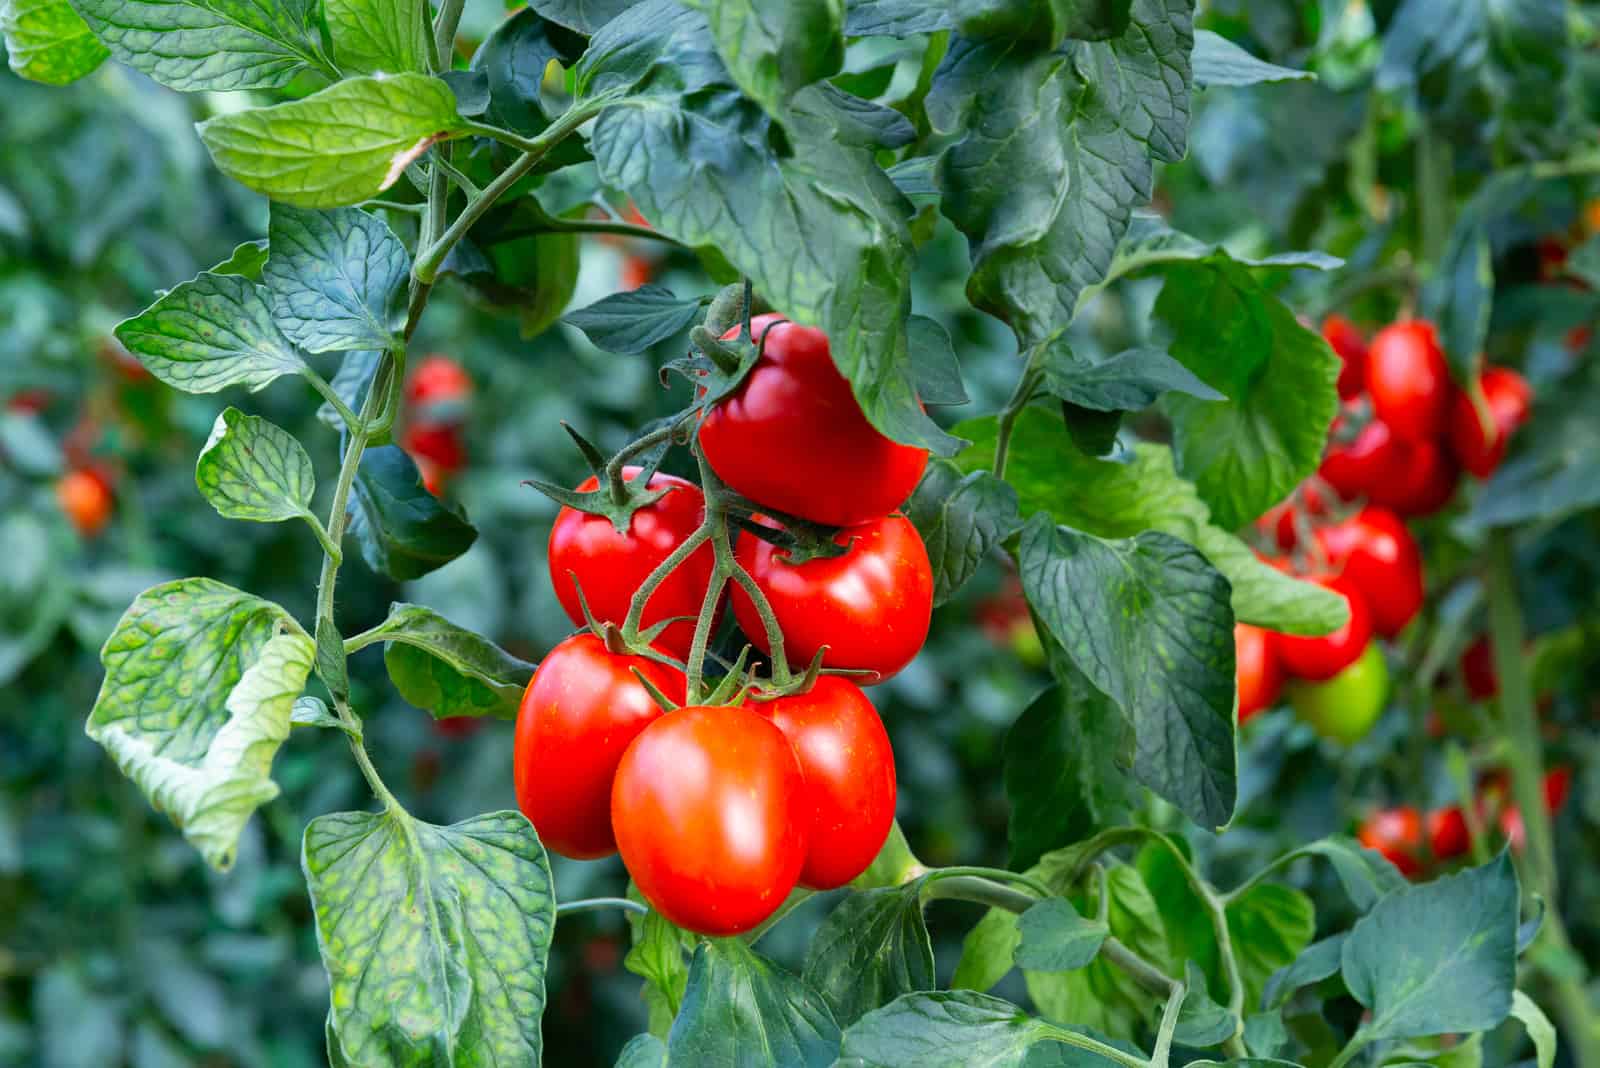
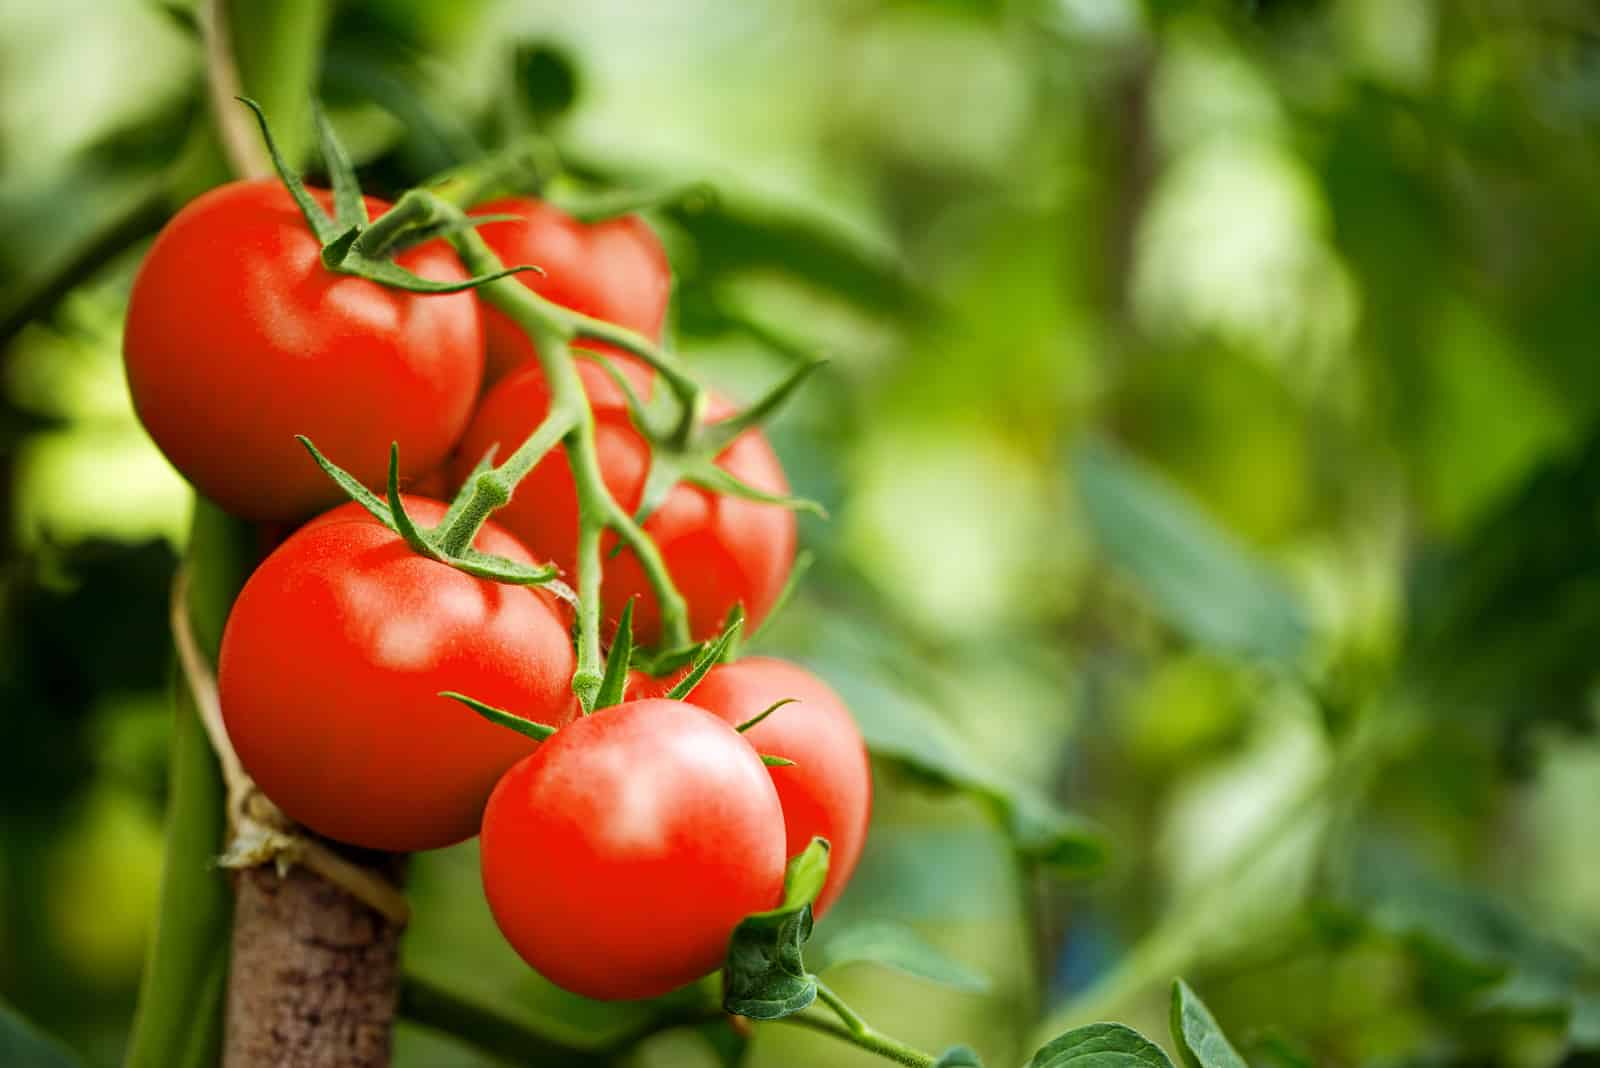
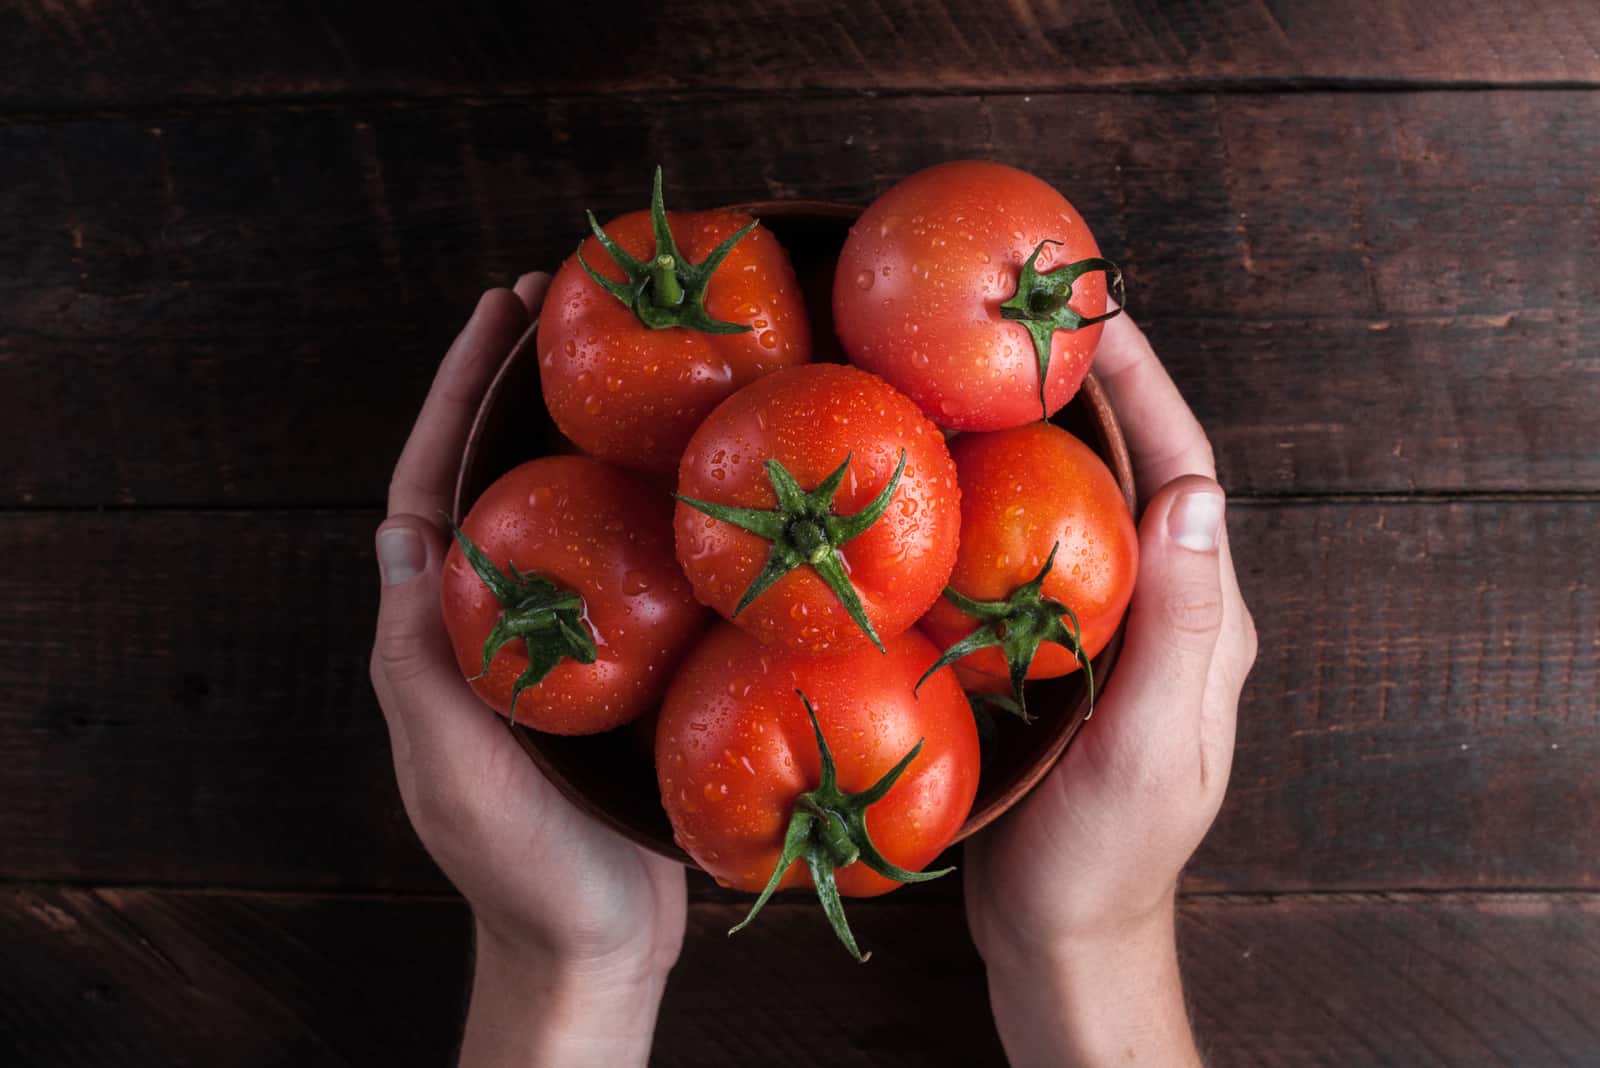
Let’s talk about my favorite vegetable – or should I say fruit? — tomato!
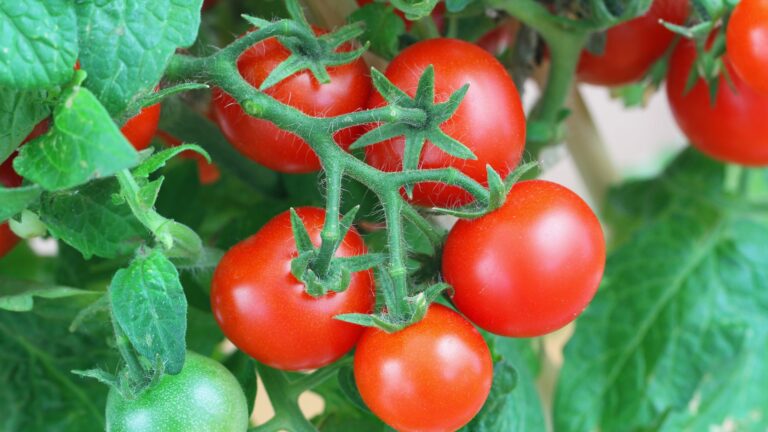
Tomato plants are probably one of the easiest plants to grow in a vegetable garden, especially because they can tolerate being exposed to full sun throughout the day. In fact, they need the sun for growth, development, and the production of their delicious fruit!
Therefore, if you live in an area with hot and sunny summers, growing tomatoes is definitely a great idea. When growing tomatoes, you must know when and how to plant them, as well as how to take care of them during the growing season.
If you live in California, you are in luck because the topic for today’s article is “When to plant tomatoes in California”.
So, without further adieu, let’s dive in!
When To Plant Tomatoes In California
California is a big state with a varying climate — it stretches across several USDA hardiness zones! That’s why we are going to cover when the perfect time to plant tomatoes in Southern California, Central California, and Northern California is.
This timing also depends on the varieties of tomatoes and the conditions in your home garden.
You must consider the climate in your region, the soil temperature, and the type of tomato you are planning to grow.
Here is some general information about the tomato plant:
[table id=253 /]
Let’s take a look at the perfect planting times for Southern, Central, and Northern California!
Southern California
The USDA hardiness zones in Southern California are from 5a to 11a. Please note that tomatoes are not frost hardy, so the planting time should always be once the danger of frost has passed.
If you live in southern Cali, you should plant your tomato plants anytime between March to April.
An ideal planting date would be March 15th if you live in coastal southern California because the expected last frost date is the 1st of March.
If you want to extend the growing season you can buy a frost blanket and plant them early, or you can give them a head start by planting them indoors. You should start the tomato seedlings indoors about 8 weeks before the last frost.
You should be aware that it takes roughly 6 weeks to two months for tomato seeds to grow and be ready for transplanting outdoors.
Only transplant the tomato seedlings after the latest frost date has passed and check the weather forecast. Just to be safe, try to plant the seeds around a week after the last frost.
Avoid planting your seeds too early to prevent leggy plants that are challenging to transplant.
Central California
This is the best region to grow tomatoes because they can grow and set fruits the whole year around — lucky you!
For optimal growth and fruit production, you should plant the tomato seeds in late winter or early spring. This way they should be ready for harvest in spring or summer!
Therefore, the best time to plant tomatoes would be when the weather is cooler so they can have enough time to establish before the hot summer days.
Northern California
Northern California slightly differs from the other regions because the weather is somewhat cooler compared to Central and Southern California.
Northern California is in USDA hardiness zones 5a to 10b. The best planting time would be from March to June, and you can plant tomato seeds early in the spring as soon as the danger of the last frost has passed.
Warm weather isn’t the only indicator that the perfect planting time has come — you will have to wait until soil temperature reaches up to 65 degrees Fahrenheit before planting.
How To Plant Tomatoes
We have covered one of the most important steps in growing tomato plants – determining the planting time according to the climate in your area. The second step is to prepare the soil, which greatly affects every growing stage of your precious tomatoes!
After you have successfully sown the seeds and you start noticing little sprouts growing, you must provide them with the best possible plant care if you want to harvest the sweetest tomatoes!
First let’s cover planting, then we’ll talk about tomato plant plant care.
Preparation Process
The first step in growing tomatoes is preparation, which comes before planting. It contains a lot of elements that you probably wouldn’t even think to include.
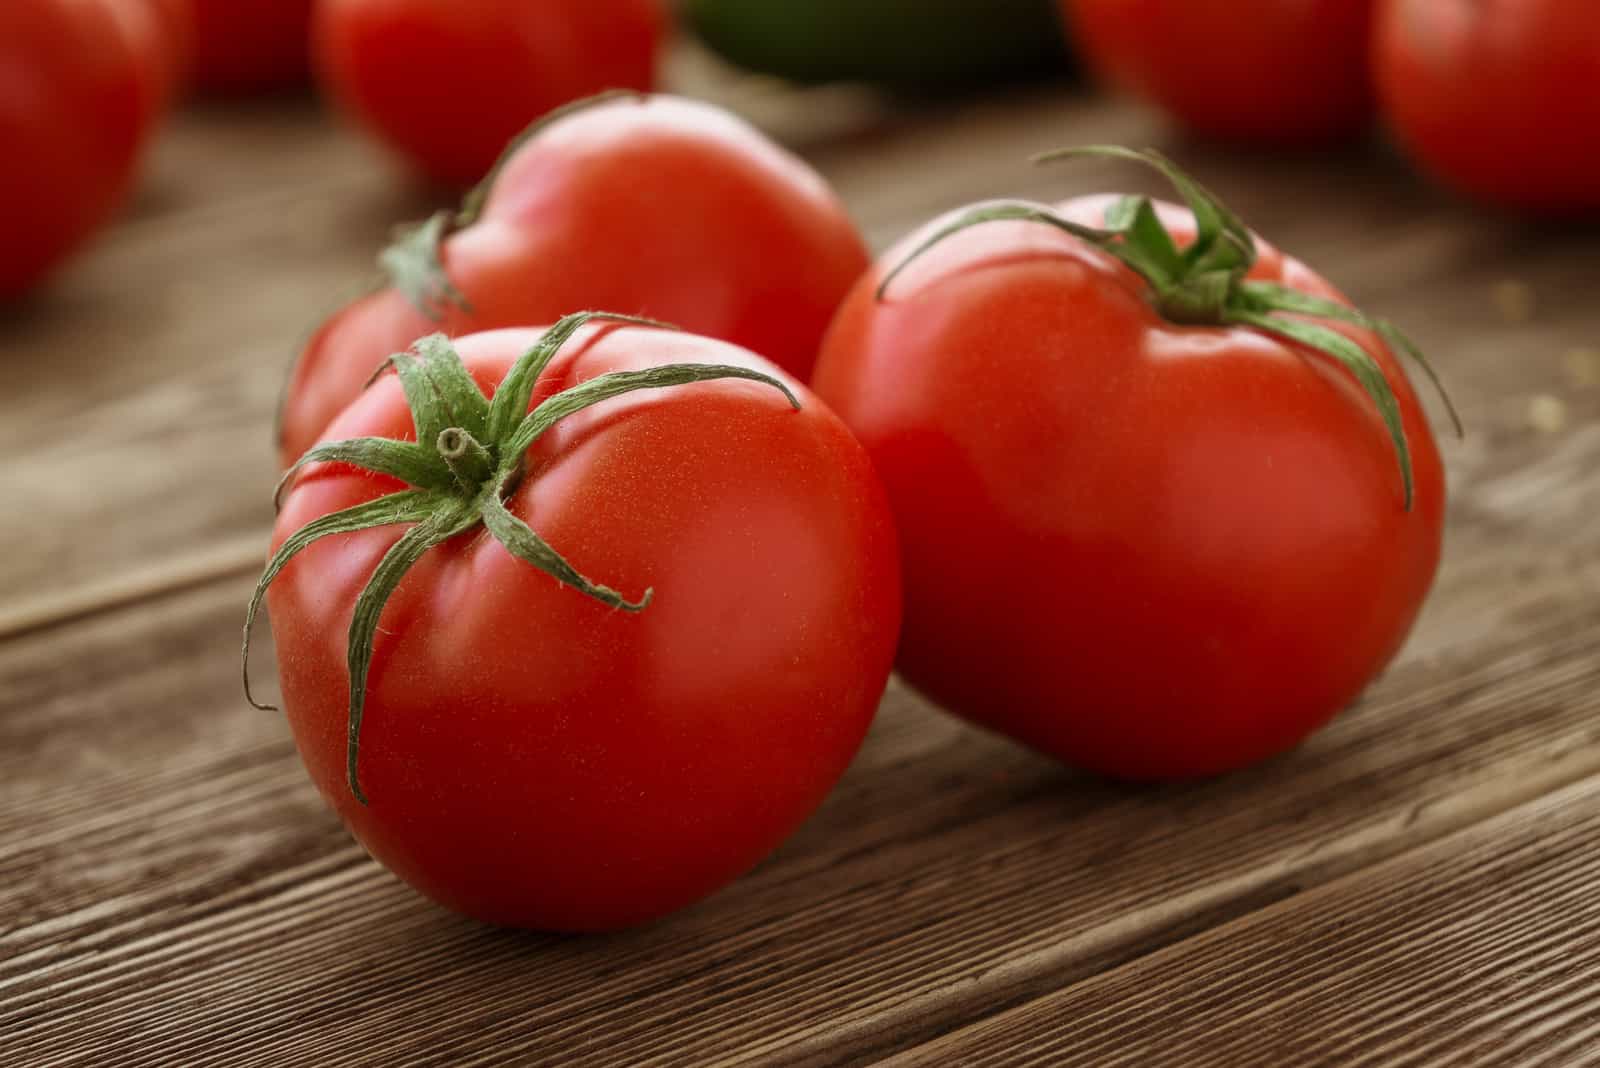
We have already noted that you must decide what tomato variety to grow. There are so many options, such as cherry tomatoes, Sungold tomatoes, Oxheart, and even some disease-resistant hybrids.
I personally like to grow Black Beauty Tomatoes because they have a super tasty and smokey flavor, and they also look hella cool because they are special black vegetables perfect for a gothic garden!
Keep in mind that you must decide whether you want to grow early, midseason, or late-season tomatoes.
Additionally, some tomatoes stop producing fruit after being harvested. Determinate tomatoes only bear fruit once, and the plant begins to wither as soon as you harvest them.
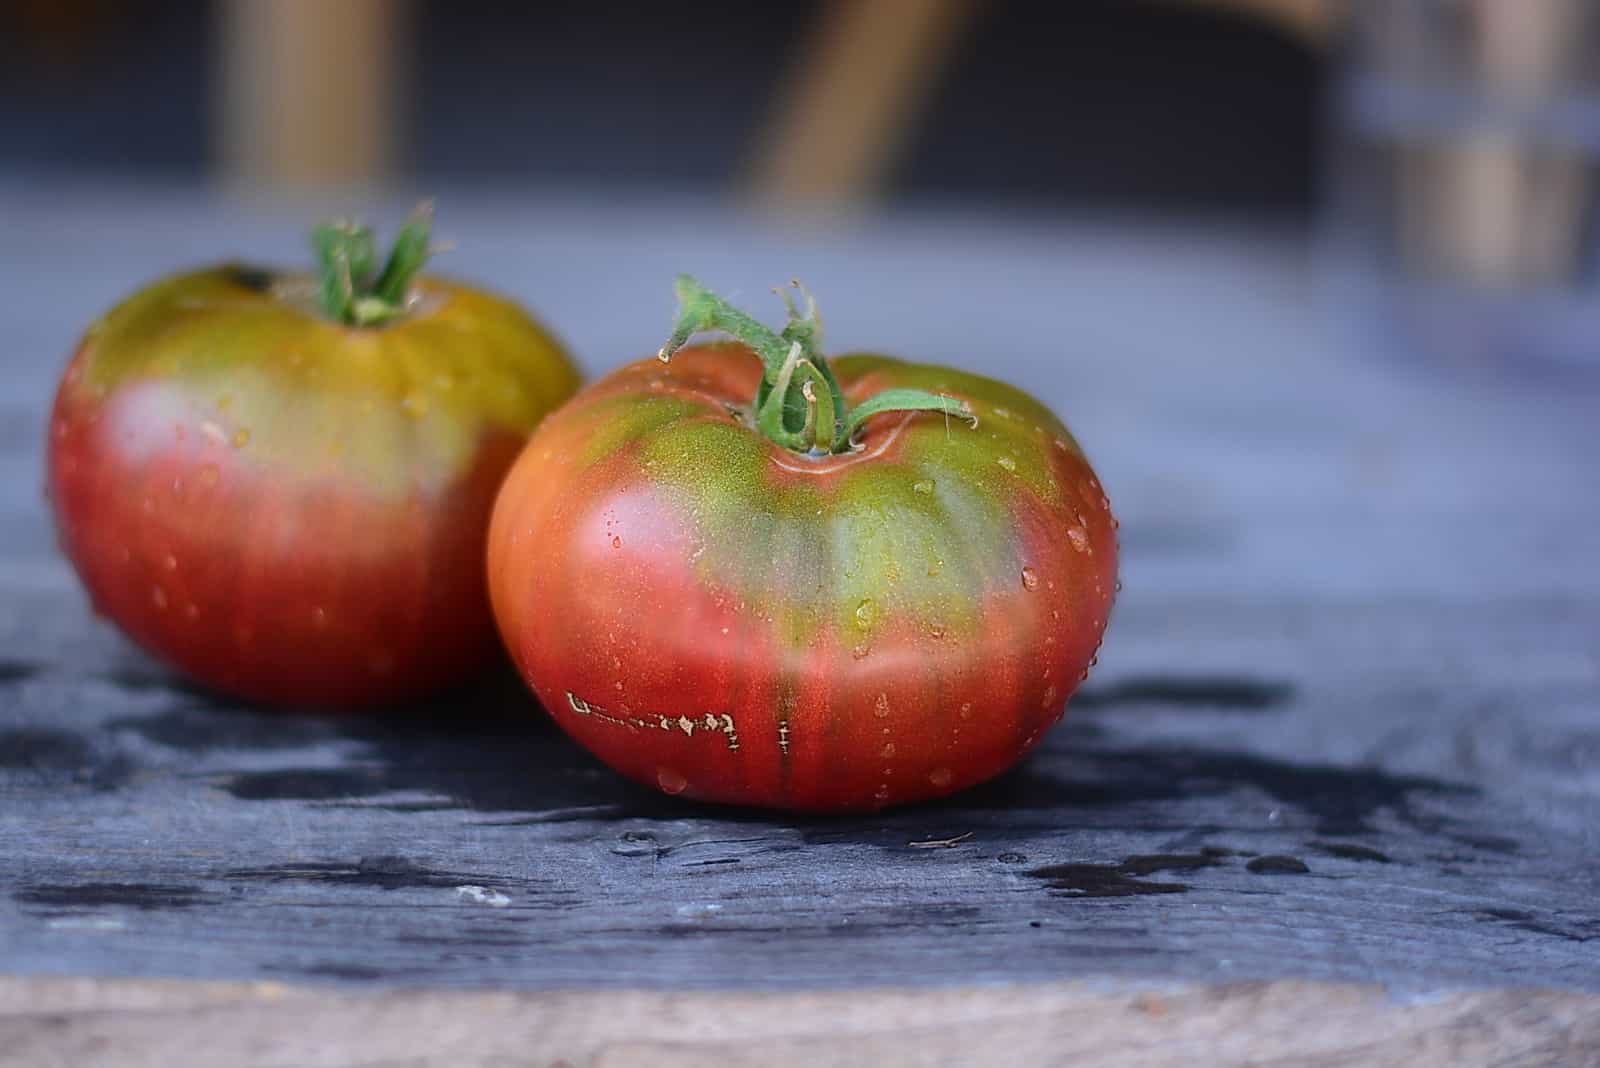
However, there are a lot of indeterminate tomatoes that you can pick repeatedly during their growing season, including beefsteak, heirloom tomatoes, practically all cherry varieties, and so on.
Choose A Short, Mid, or Late-Season Tomato Variety
As the last frost date usually determines the time of planting, which tomato variety will yield a healthy harvest in your growing zone depends on the first frost date in fall.
While the days to maturity and the harvest dates are usually represented on the seed packets or commercial tomato seedlings, you can start counting once you plant the seedlings or seeds in your own garden.
For instance, you can calculate the number of days between the first and last frost dates in your region, then choose types that will bear fruit during that time.
Short-season varieties need 50, 55, or 57 days to mature. Some of these varieties include:
• Siberian Tomato
• Small Red “Sub-Arctic Plenty”
• Orange Cherry “Sungold”
Mid-season varieties need around 78 to 80 days to mature, and these include:
• Yellow Pear
• Adelaide Festival Tomato
• Green Zebra
The late-season varieties need about 100 days to mature, and some of these varieties include:
• Amanga Orange
• Cherokee Purple
• Heirloom “Brandywine”
Prepare The Soil
Tomato growers typically start their seeds indoors and then transplant them outside once they are strong enough. You should think about the kind of soil you’re using.
Fortunately, agriculture has made significant progress and seed starting mixes are readily available at any garden center. These mixes comprise perlite, vermiculite, and peat moss, which make them light and loose to ensure optimum drainage.
Another technique that has significantly simplified my life is moistening the seed starting blend before adding it to the trays. This procedure guarantees that your seeds have the best growing medium and prevents uneven soil moisture.
Additionally, I usually use seedling trays with drainage holes so that I can count the number of seeds I have planted.
I don’t have to worry about spacing them correctly, thinning the plant as it starts to grow, or whether the water will collect and smother my tomato seeds.
However, you are not obliged to purchase seedling trays specifically for this application; instead, you can always use milk or egg cartons, yogurt containers, etc. Simply clean them, fill them with soil, and they are ready for planting!
Planting Process
It takes roughly a month and a half to two months for tomato seeds to grow and become prepared for transplanting. This is if you intend to start your seeds indoors before transplanting them outdoors.
Keep in mind that you should only transplant your young plants when the danger of the last frost has passed!
But the question is, how do you plant tomatoes?
Well, I am not going to call myself a master gardener, but my technique has proven to be quite successful for the past few growing seasons, and I will gladly share it with you!
Dig two holes six millimeters deep (quarter of an inch) with a broken pen or something similarly thin.
After lightly covering the seeds with damp soil, you can sit back and unwind because one task is now complete.
Your job doesn’t stop there, of course. You need to keep an eye on the seeds to make sure they receive enough heat and that the growing medium is moist.
Invest in a heating pad or adjust your thermostat to the appropriate soil temperature of between 65 and 85 degrees Fahrenheit (18-29 degrees Celsius) for the seeds to germinate.
In order to encourage germination, you need to increase humidity. To give the seeds enough moisture without having to water them regularly, you can loosely cover the tray with plastic wrap. This will also guarantee that there is good air circulation.
The humidity dome included with seedling trays can also be used.
How To Take Care Of Tomato Plants
You are off to a great start if the seeds have germinated and the plant has reached the seedling stage. At this stage, proper plant care is very important.
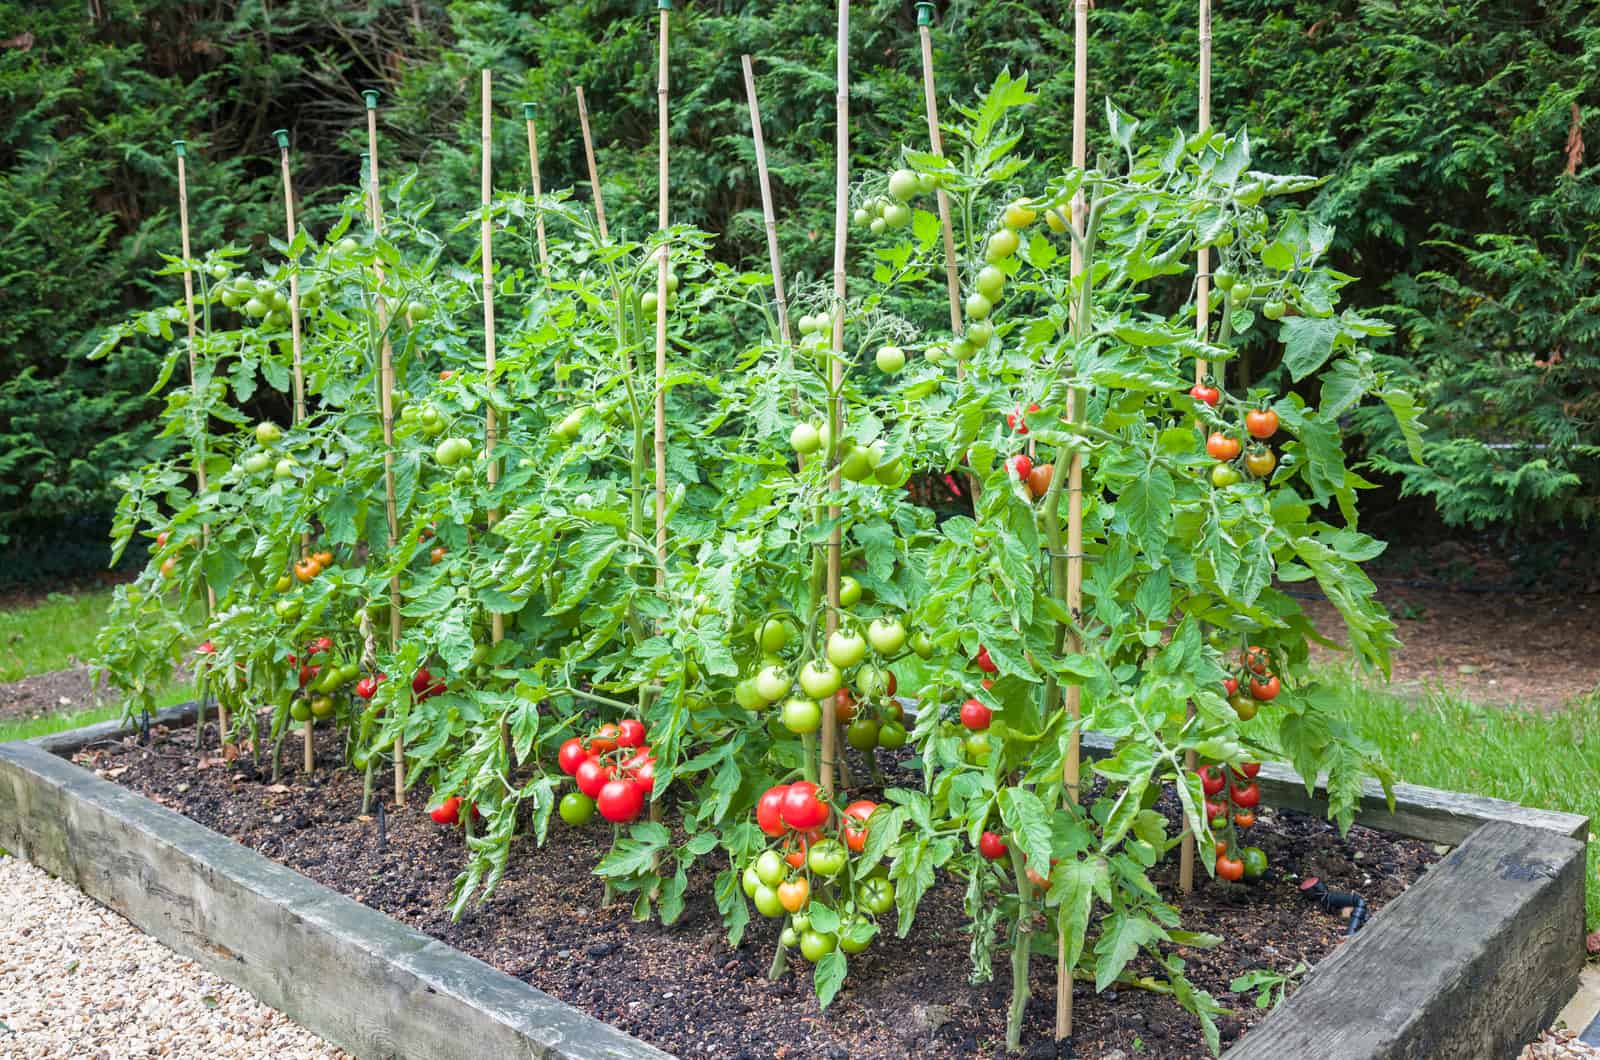
Please note that tomatoes are vining plants so you should grow them on trellises or stakes to make harvesting the delicious fruit a lot easier.
You won’t have to worry too much because tomatoes are one of the easiest veggies to grow and take care of!
Soil Requirements
The ideal potting soil pH range for tomatoes is between 6.2 and 6.8. The best substrates are loam and sandy loam because they are well-draining and loose enough to provide appropriate air circulation.
The tomato is a low-maintenance plant, however, and will thrive in many soil types – except for clay because it is too heavy and compact.
Light Requirements
Tomatoes need full sun exposure in order to grow happily and healthy, which means they need at least 8 hours of sunlight per day. However, that’s the very minimum, and if you want the juiciest and sweetest fruit you should aim for 12 to 16 hours of light each day.
If your area doesn’t receive this much sunlight, you can always invest in some grow lights!
Water Requirements
The watering requirements for garden and potted tomatoes are different, but both always need a lot of moisture.
Garden tomatoes require about 1-2 inches (2.5–5 cm) of water each week. Tomatoes grown in containers require more care as the soil dries up more rapidly and the substrate heats up more quickly.
Pouring 2 inches of water all at once won’t have much of an impact on garden tomatoes. Instead, water the tomato plants slowly once per day (ideally in the morning to avoid the midday sun), or even twice per day if the temperature is too high.
On the other side, you should water potted tomatoes until you see water draining through the drainage holes in the bottom. Like with garden tomatoes, water them in the morning and check the soil once more in the evening. Rehydrate the plant if the top 1 inch (2.5 cm) of the soil appears to be a little dry.
You can also add mulch around the base of garden tomatoes to retain moisture and prevent weed growth.
Fertilizer Requirements
During the vegetative phase of growth, this red fruit vine needs a lot of nitrogen. However, once flowering begins you should minimize nitrogen and boost phosphorus and potassium, which promote blooming and fruiting.
Balanced fertilizers are ideal, but if the soil is rich in nitrogen you can use formulas with a higher phosphorus content.
You can always use different methods to feed your tomatoes if you’re unsure about fertilizers. For instance, applying compost based on loam soil has shown to be a trustworthy source of organic content.
You should fertilize these plants immediately after planting and then again before fruit production. Avoid overfertilization as the chemicals can build up in the soil, which prevents the root system from absorbing nutrients and water.
Temperature & Humidity Requirements
Low humidity can cause the pollen to dry out, while high humidity can impair the release of pollen. Tomatoes do best in moderate to slightly high humidity levels.
This plant thrives in summer greenhouses because its optimal relative humidity ranges from 65 to 85 percent.
The ideal temperature range for tomatoes is between 55 and 85 degrees Fahrenheit (13 and 29 degrees Celsius). Even if the plant does develop fruit, it won’t change color if the temperature rises over 85 degrees Fahrenheit (29 degrees Celsius) or falls below 50 degrees Fahrenheit (10 degrees Celsius).
Pruning
If you want a big crop of tomatoes, especially from indeterminate tomato varieties, you must prune your plants.
Suckers (stems between the main stem and the main leaf branch) can be removed, which is advantageous as it allows the plant to focus all of its energy on the main stem rather than dispersing to the other parts of the plant.
You can let a few of these side shoots produce fruit however, if you don’t remove them, the main stem won’t have enough energy to produce as much fruit.
Suckers and the bottom leaves should also be removed because doing so enhances airflow and lowers humidity, all of which reduce the risk of bacterial and fungal diseases.
Once your tomatoes have flowered, you can begin pruning them so that you can identify suckers from fruit-bearing stems easier. After that, you can prune them every two weeks.
Cut the suckers as close to the main stem as you can using a sharp knife or pruning shears.
Common Problems
Even though tomato plants are one of the easiest plants to grow in the garden, you will still come across some issues with pests, diseases, legginess, and wilting.
The trick is to figure out what the actual problem is and then to try and fix it.
So, let’s take a look into the common problems of tomato plants.
1. Blossom End Rot
Blossom end rot is not a fungus and nor is it caused by pests or bacteria — blossom end rot appears due to calcium deficiency. It is easily recognized by the rotting and discolored patches on the exact opposite of the stem.
In this case applying fertilizer can only make things worse. The plant’s capacity to absorb calcium quickly enough to stop the rot is hampered by excessive nitrogen. The best strategy, as is so frequently the case, is to provide healthy, free-draining soil that has been greatly supplemented with organic matter.
I would recommend you pick the affected fruit to prevent spreading, and then water the soil with diluted milk to boost the calcium content (I usually combine 50/50 milk and water).
2. Sunscald
Sunscald is a common issue with a lot of plants that grow in full sun exposure. Sunscald is more frequent in young fruits, and can be recognized by the white blisters that often turn.
It can be easily prevented by giving your plants enough fertilizer to encourage them to produce plentiful foliage, which provides great shade for the growing fruit. If necessary, provide bare fruit with some temporary protection like covering them with light fabric.
3. Powdery Mildew
If you see white patches that kind of look like snow or dust all over your leaves, then you are probably dealing with powdery mildew, which is a fungal disease that can be found in a wide range of plants.
The sun-deprived leaves will turn yellow and fall off if neglected. If you identify the issue in time, remove and discard all of the afflicted leaves. Then, for as long as the mildew is present, spray your plants once a week with a solution of one part milk to five parts water.
4. Cracked Fruit
Unfortunately, these tomatoes are not cracking from laughing — the reason tomatoes sometimes crack is due to inadequate watering. This could be either overwatering or underwatering!
Whatever the reason is, just make sure that you give your tomato plants enough water so that they don’t crack!
You could also add mulch to help with water retention.
5. Cat-facing Fruit
This is one of the issues that simply cannot be solved. Just like with blossom end fruit, tiny cracks and deformations appear on the bottom end of the tomato, exactly opposite the stem.
These issues are likely caused by lower temperatures or excessive nitrogen in the soil.
The good thing is that these tomatoes are still perfectly edible because this is only an aesthetic issue.
6. Hollow Fruit
Another sign of poor growth conditions is hollow fruit, though it is less obvious than cracked fruit. Extreme weather, excessive soil nitrogen, and heavy watering or rain all contribute to it.
Although there is no treatment for injured fruit, the vine can still produce healthy fruit from later flowers if the conditions for growing improve.
7. Root Knot Nematodes
Root knot nematodes are not as common as pests and fungi, so many gardeners (especially gardener newbies) are not familiar with these parasites.
Root knot nematodes can survive solely off nutrients transported through tomato roots. They hide and multiply in galls that can grow up to an inch (2.5 cm) wide and create a variety of symptoms that indicate issues with the transport systems of affected plants.
Signs that the plant has been attacked by these little creatures are yellowing of the leaves and stunted growth.
8. Aphids
I assume that every gardener has dealt with an aphid infestation at some point, and if you are growing tomatoes you will probably be seeing them all over your plants.
They usually settle on the underside of the leaves where they suck the sap that contains the nutrients plants need to grow and multiply.
Signs of aphid infestation are discoloration of the leaves and overall wilting of the plant. If you don’t treat this issue, your plant will probably produce deformed fruit or no fruit at all!
To get rid of aphids, you can use pesticides or neem oil on your tomatoes.
Frequently Asked Questions
1. When is the right time to plant tomatoes in California?
It depends on where you live in California because it’s a big state that falls in several different USDA hardiness zones. If you live in Northern California, the best time to plant tomatoes is from March to June.
In Central California the perfect planting time would be late winter or early spring.
In Southern California you should plant tomato seeds anytime from March to April.
2. Is it hard to grow tomatoes in California?
No, it isn’t hard to grow tomatoes in California. All you have to do is to find the best planting time according to the climate in your area and figure out what tomato varieties you are going to grow.
When planting, choose a sunny spot in your garden because tomatoes absolutely love growing in full sun. Give them plant food right after planting, and then once again right before the fruit production begins.
These plants are low-maintenance and generally easy to grow, though you might come across some issues like aphid infestation, blossom end rot, and root knot nematodes.
To Sum Up
“When to plant tomatoes in California?” was a question I asked a few years back. When you are at the beginning of a gardening journey, everything seems complicated and hard — but truth be told, gardening is quite simple.
I would always recommend a newbie to start growing tomatoes first, especially if they live in an area with plenty of sun.
Tomato plants usually don’t have any special requirements, and can produce lots of fruits. Just imagine the delicious meals and salads that you could make with your own home grown tomatoes!
If the harvest is large, I would suggest you make salsa, that’s always fun — I once spilled my salsa all over the floor and it looked like a murder scene – in fact, I died trying to clean it up!
I hope this article was helpful. 🙂
Until next time!
Like this post? Share or pin it for later!