Why Michigan Gardeners Should Dig Up Cannas Before The First Hard Freeze
Cannas bring bold color and tropical flair to Michigan gardens all summer, but they aren’t built to survive the state’s winters.
Once a hard freeze hits, the cold can damage the tubers below ground, not just the foliage above it, putting next year’s plants at risk. Unlike some perennials that tolerate a light frost without issue, cannas are far more sensitive to sustained cold.
Waiting too long to dig them up can mean the difference between tubers that store well through winter and ones that rot or fail to sprout come spring. Timing this task before the season’s first hard freeze is key.
For Michigan gardeners hoping to enjoy the same cannas again next year, this is one fall task worth prioritizing.
Here’s why digging them up now matters, and what makes this window so important for protecting the tubers through the colder months ahead.
1. Michigan Winters Are Too Cold For Canna Rhizomes
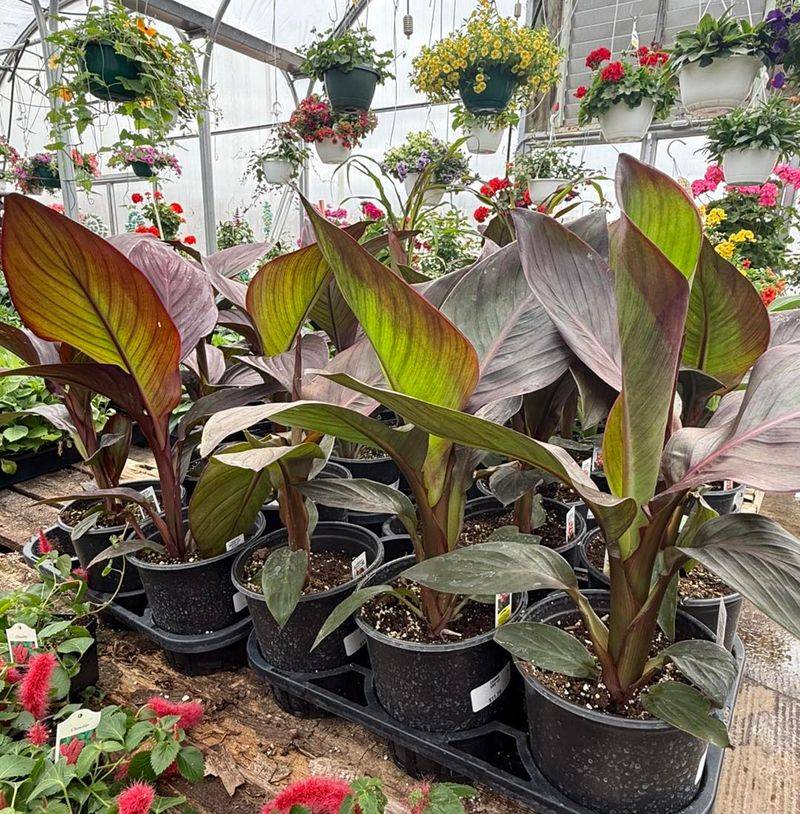
Cannas may look like they belong in your backyard, but their roots trace back to warm, tropical places. In their native climate, the ground stays cozy all year long.
Michigan sits in USDA zones 4 through 6, where winter soil regularly drops well below freezing. Those tropical roots, called rhizomes, are not built to handle that kind of chill.
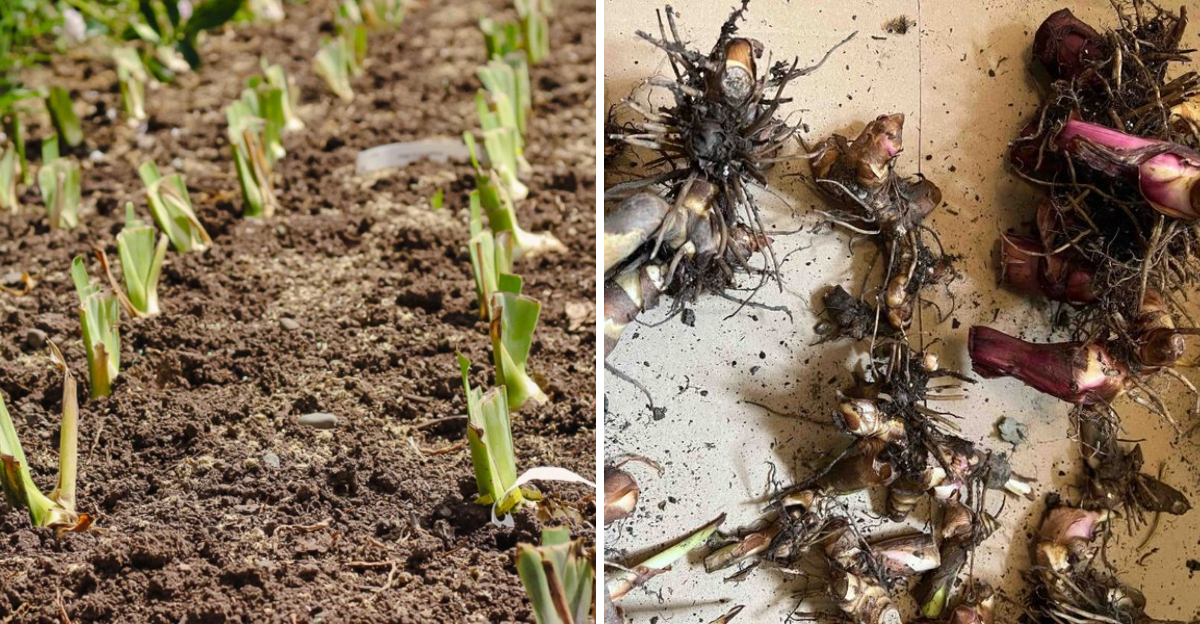
The rhizome is basically an underground storage tank. It holds the food and energy the plant needs to sprout again in spring, so protecting it matters a great deal.
When soil freezes solid, the water inside the rhizome cells expands into ice. That icy swelling can rupture the tissue and turn a firm, healthy rhizome into a mushy, useless lump.
Gardeners in warmer states, think zone 7 and south, can sometimes leave cannas in the ground with a thick mulch blanket. Michigan winters are simply too harsh for that gamble to pay off reliably.
Lifting the rhizomes each fall is your insurance policy. Instead of buying new plants every spring, you tuck the same ones away and bring them back for another season of color.
Think of it like packing away your patio furniture before the snow flies. A little effort now saves you money and heartache later.
Over a few years, a single canna clump can multiply into many, giving you plants to share with neighbors and friends. That generous multiplying habit is one of the best perks of growing them in the first place.
2. Wait For Frost But Not Frozen Soil

Timing your dig is a bit like catching a train. Show up too early and you waste your trip, show up too late and you miss it entirely.
A light frost is your green light. When temperatures dip to around 32 degrees for a short spell, the top growth blackens and the plant naturally slides into dormancy.
That first frost tells the canna the growing season has wrapped up. It signals the plant to slow down and finish tucking energy into the rhizomes below.
In much of Michigan, that gentle frost tends to arrive between late September and mid October, depending on where you live. The Upper Peninsula usually feels it earlier than the southern counties near Detroit.
Your Michigan Garden Changes Every Week. Your Plan Should Too.
Gardening in Michigan changes quickly throughout the season. Every Friday you’ll receive a simple weekly plan showing exactly what to plant, prune, fertilize, harvest, and protect so you never miss the right timing.
Here is the tricky part. You want to dig after that light frost but before a hard freeze locks the soil.
A hard freeze happens when temperatures stay near 28 degrees or lower for several hours. Once that sets in, the ground stiffens and your fork will fight you every step of the way.
Frozen soil also puts your rhizomes at risk while they sit underground waiting. The longer they endure deep cold, the greater the chance of damage.
Keep an eye on your local forecast during those chilly autumn weeks. When you spot a hard freeze warning on the horizon, plan your digging session for the day or two before.
Aim for a dry, mild afternoon if you can. Working loose, workable soil makes the whole job faster and far more pleasant.
3. Leave The Leaves Until They Fade
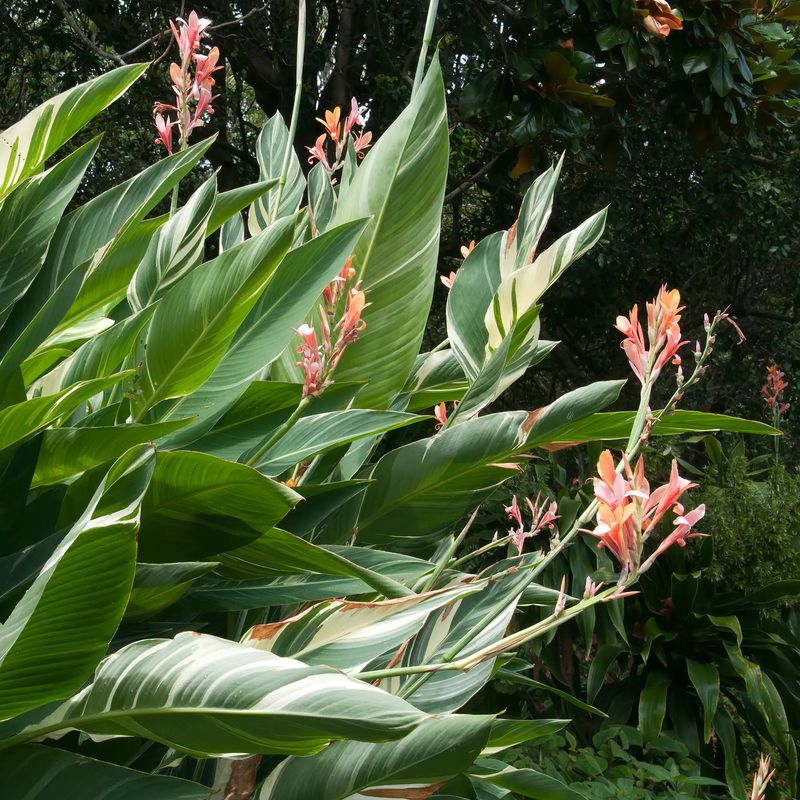
It can be tempting to tidy up your cannas the moment the weather cools. Resist that urge for a little while longer.
Those big, paddle-shaped leaves are working hard right up until frost. Through photosynthesis, they capture sunlight and turn it into food that travels down to the rhizomes.
Every day the foliage stays green and healthy, the plant packs more energy into its underground stash. That stored fuel is what powers next year’s tall stems and bright blooms.
Cutting the leaves too soon is like closing the kitchen while dinner is still cooking. You interrupt the process just when the plant needs it most.
Healthy foliage also shades and protects the crown of the plant during the last stretch of the season. Leaving it intact keeps everything working together as nature intended.
So enjoy the show. Late-season cannas often keep flowering into the cool weeks, adding color when many other garden plants have already faded.
Watch the leaves closely as autumn deepens. When they begin to yellow, droop, or take on a tired look after frost, that is your cue that their job is finished.
There is no need to rush the calendar. Let the plant tell you when it is ready rather than forcing the timeline yourself.
A patient gardener is often rewarded with fatter, healthier rhizomes come digging day. Those plump storage roots translate directly into stronger plants and more flowers the following summer, which makes the wait more than worth it.
4. Cut Back The Damaged Tops
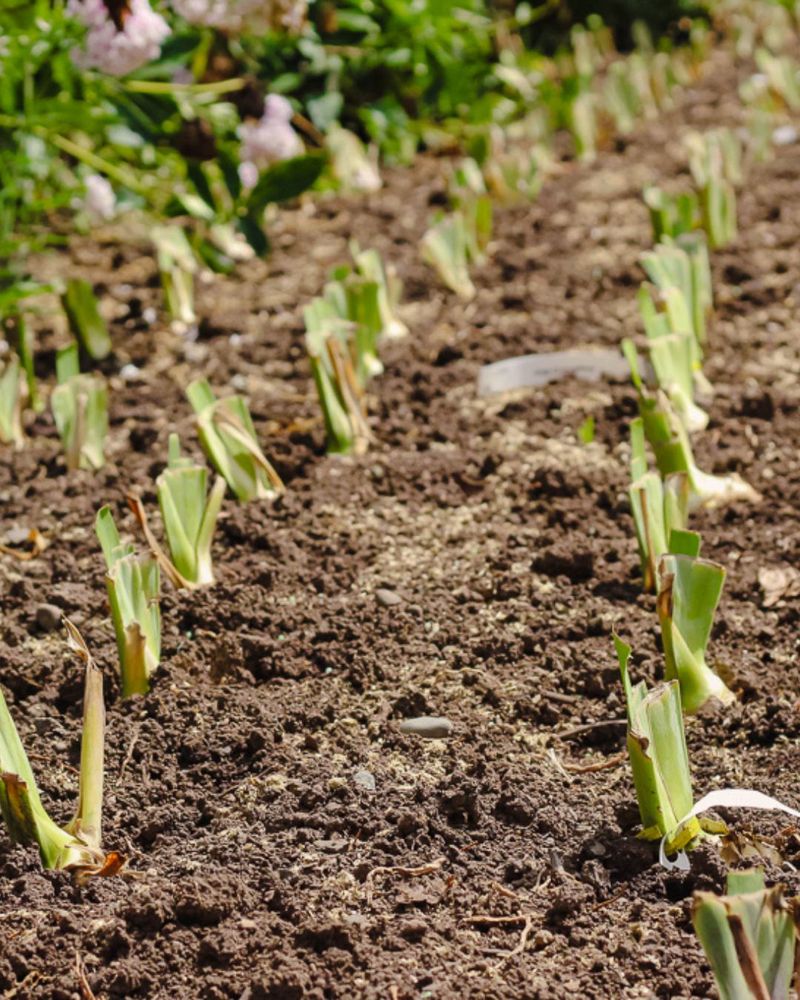
Once frost has done its work, your once-lush cannas will look rather sad. Blackened, limp leaves are perfectly normal at this stage.
That frost-damaged growth is no longer useful to the plant. Trimming it back makes the digging process cleaner and much easier to manage.
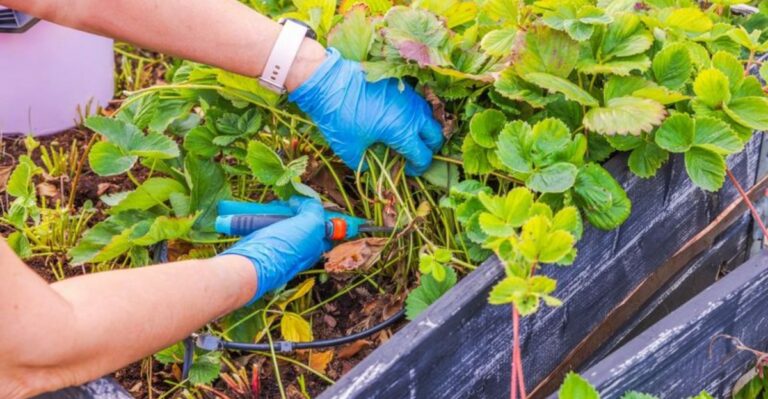
Grab a pair of sharp pruners or garden shears. Cut the stems down to about four to six inches above the soil line.
Leaving a short stub gives you a handy grip when you start lifting the clump. It also helps you spot exactly where each plant sits in the bed.
Avoid the temptation to cut everything back before frost arrives. Snipping healthy green stems early cuts off the energy flow the rhizomes still need.
Timing is the whole trick here. Wait for the frost to signal dormancy first, then remove the tops that have clearly faded.
Toss the trimmed foliage onto your compost pile if it looks clean and healthy. If you notice any spots, mold, or signs of disease, bag it up instead to keep problems out of your garden.
Wipe your pruners with rubbing alcohol between plants if you spotted anything questionable. A quick clean helps stop trouble from spreading to your stored rhizomes.
Work gently and take your time with each clump. Rushing with dull tools can crush the stems and bruise the tissue below.
With the tops tidied away, you now have a clear view of your planting area. That makes the careful digging step that follows far simpler and less stressful.
5. Dig Carefully Around The Rhizomes
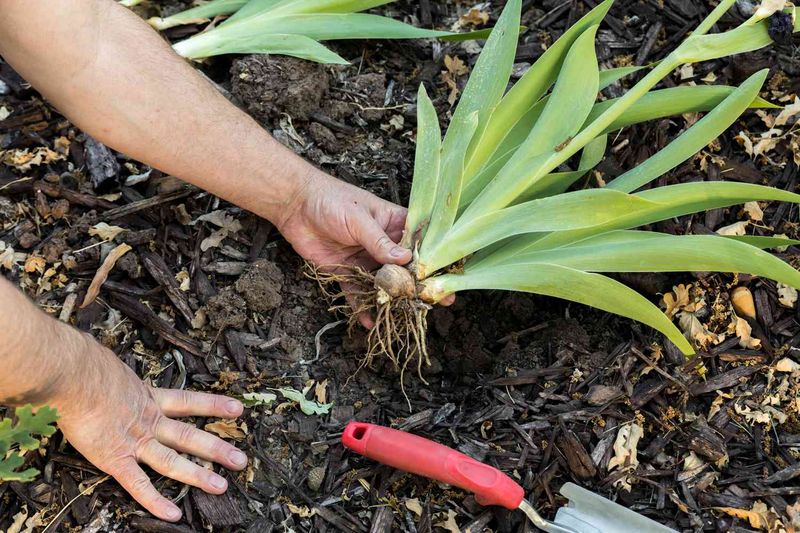
Here is where patience truly pays off. A rushed dig can slice right through the treasures you are trying to save.
Start by pushing your garden fork into the soil several inches away from the base of the plant. Give the rhizomes plenty of breathing room.
A fork usually works better than a spade for this job. Its prongs slide around the rhizomes instead of chopping straight through them.
Work your way around the entire clump in a circle. Gently rock the fork back and forth to loosen the grip of the surrounding soil.
Once the earth feels loose all around, lift the whole clump from underneath. Support it with both hands so it does not break apart under its own weight.
Canna clumps can grow surprisingly large and heavy over a single season. Do not yank them by the stems alone, since that can snap the connections between rhizomes.
Shake off the loose dirt gently once the clump is out. You do not need to scrub every speck of soil away right now.
Take a moment to inspect what you lifted. Firm, plump rhizomes are keepers, while any soft or damaged pieces should be set aside.
If you accidentally nick one, do not panic. A small cut can be trimmed and dried, and the piece may still sprout come spring.
Handle each clump like you would a basket of eggs. That gentle touch protects the buds, called eyes, that will become next year’s beautiful stems.
6. Dry The Rhizomes Before Storage
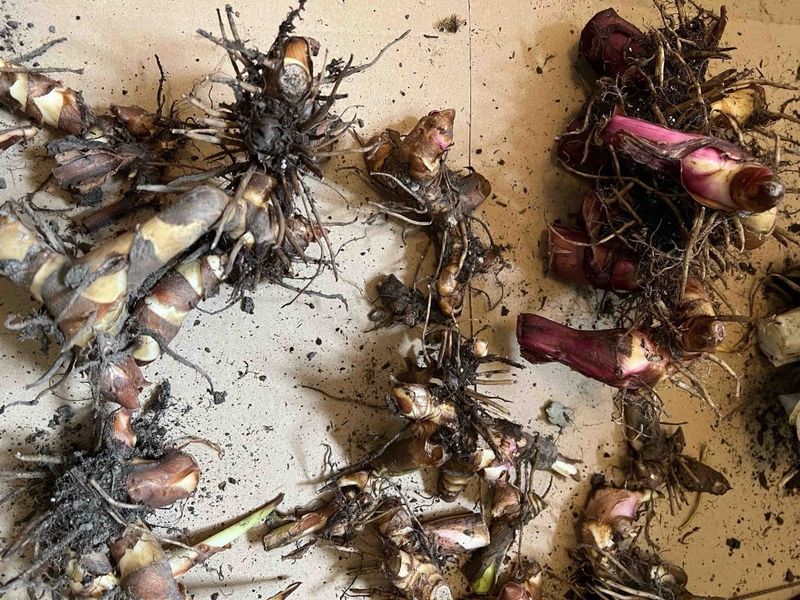
Fresh from the ground, your rhizomes are damp and coated in soil. Packing them away wet is a recipe for trouble.
Moisture trapped in storage invites rot, the number one enemy of stored bulbs and rhizomes. A short drying period, often called curing, keeps that problem at bay.
Find a sheltered, airy spot like a garage, shed, or covered porch. Spread the rhizomes out in a single layer so air can reach all sides.
Newspaper, cardboard, or an old screen makes a fine drying surface. Avoid piling them up, since that traps dampness right where you do not want it.
Let them sit for several days to a week. The goal is to let the outer surface and any cuts firm up and heal over.
You will know they are ready when the skin feels dry to the touch and the soil brushes off easily. The remaining dirt can be cleaned away gently at that point.
Keep the drying area cool but safe from frost. A spot that stays above freezing but below room temperature works nicely for this stage.
Skip washing the rhizomes with water if you can. Extra moisture only lengthens the drying time and raises the risk of soft spots.
While they cure, sort through them one more time. Discard any pieces that feel mushy, smell off, or show mold before they can affect the healthy ones.
This simple pause between digging and storing makes a huge difference. Well-cured rhizomes stand a much better chance of lasting all winter.
7. Store Them Above Freezing
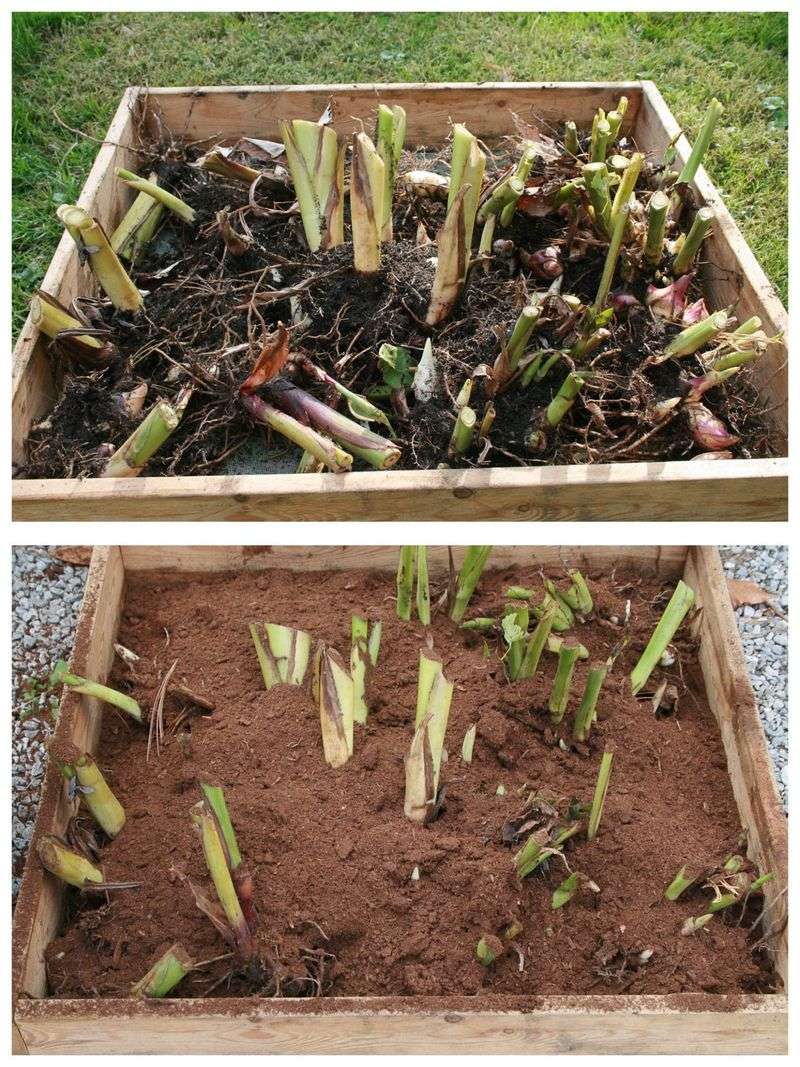
You saved your rhizomes from the cold, so do not undo that hard work now. Where you stash them for winter matters just as much as when you dug them.
The sweet spot is a cool, dark place that stays between 40 and 50 degrees. Basements, crawl spaces, and unheated closets often fit the bill in Michigan homes.
Steer clear of spots that dip below freezing, like an uninsulated garage or shed. A single hard cold snap in there could undo everything.
Pack the rhizomes in a breathable container such as a cardboard box or paper bag. Plastic bins with tight lids trap moisture and encourage rot.
Nestle them in dry peat moss, sawdust, wood shavings, or shredded newspaper. This packing keeps the rhizomes separated and buffers them against temperature swings.
Make sure the pieces are not touching each other too closely. A little space stops any single bad rhizome from spreading trouble to its neighbors.
Check on your stored stash once a month through the winter. Look for shriveling, softness, or mold, and remove any pieces that look worse for wear.
Label your box with the color or variety if you grew more than one, then come spring, you will be glad you know exactly which beauty is which. With good storage, your cannas rest quietly until warmer days return.
8. Replant After Michigan Soil Warms
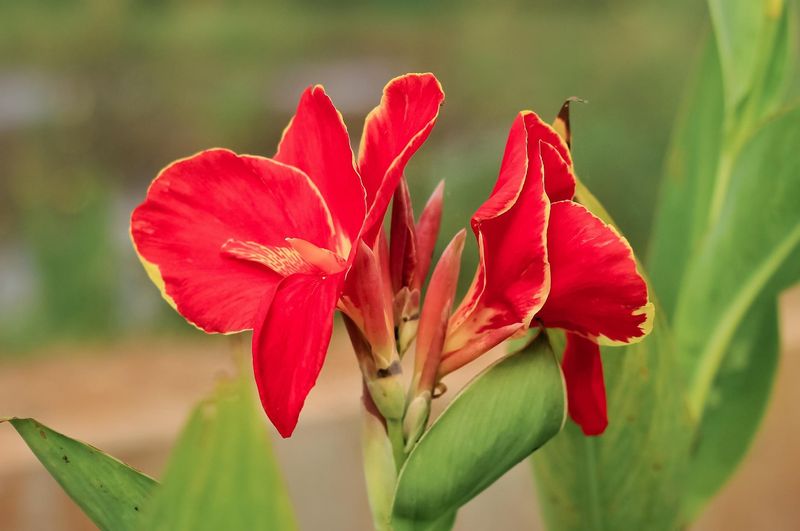
After a long winter of waiting, the itch to plant can be powerful. When it comes to cannas, a little more patience seals the deal.
These tropical plants have zero tolerance for frost, whether it strikes in fall or lingers in spring. Popping them out too early puts everything you saved at risk.
Wait until the danger of frost has fully passed in your area. Across much of Michigan, that means sometime in mid to late May, though the Upper Peninsula may wait into early June.
Soil temperature is your real signal, not just the calendar. Cannas prefer ground that has warmed to around 60 degrees before they settle in.
You can get a head start indoors if you are eager. Potting the rhizomes in containers a few weeks before your last frost date gives them a jump on the season.
Keep those indoor pots in a bright, warm spot and water them lightly. By the time it is safe to plant outside, you will have sturdy green shoots ready to go.
When the weather cooperates, choose a sunny bed with rich, well-drained soil. Cannas love the heat and will reward you with towering stems and bold blooms.
Plant the rhizomes a few inches deep with the eyes facing up. Water them in and watch for shoots to appear within a couple of weeks.
Before long, your patio garden bursts back to life. That yearly rhythm of lifting and replanting keeps your favorite cannas going strong for many summers.