Why Minnesota Lavender Struggles Every Summer And What Successful Gardeners Do About It

Lavender and Minnesota have a complicated relationship. A few seasons back, three beautiful lavender plants went into a sunny garden bed with high hopes and came out the other side of winter looking like sad little twigs.
No obvious mistakes, just a few things nobody mentioned about growing Mediterranean herbs in a state that gets six months of snow.
That experience led to a lot of research, a few more failed attempts, and eventually some real breakthroughs that changed everything. Lavender is genuinely worth growing in Minnesota, but it does require a different approach than the garden catalogs suggest.
The good news is that once you understand what this plant actually needs in this specific climate, the whole thing becomes considerably more manageable.
Plenty of Minnesota gardeners grow thriving, fragrant lavender every season by making a handful of smart adjustments.
The difference between struggling plants and healthy ones is often smaller than you might think. So what are they doing differently?
1. Unprotected Roots Struggle Through Minnesota Winters
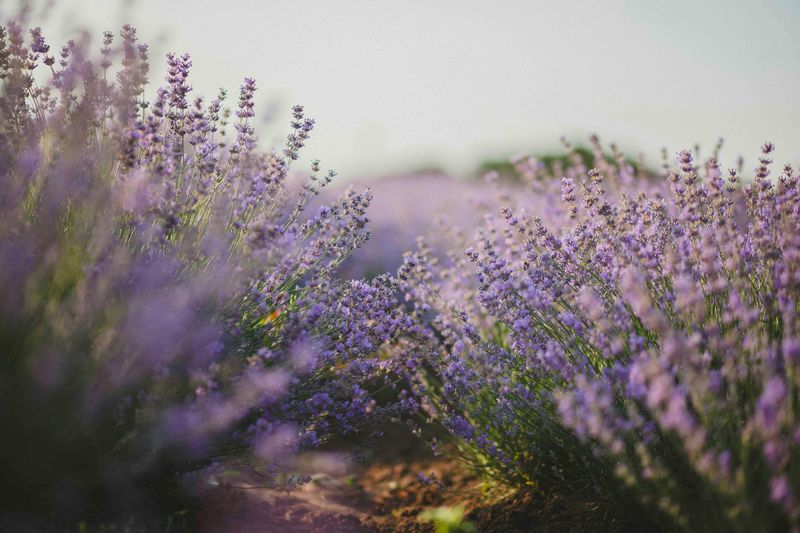
Lavender roots are relatively shallow, which makes them more vulnerable to the freeze-thaw cycles common in Minnesota winters. When temperatures swing from freezing to mild and back again, the soil heaves.
That heaving motion can gradually push roots upward and out of the soil.
When roots become exposed to open air during winter, the plant can experience significant stress. Many lavender varieties struggle with sustained temperatures below zero Fahrenheit.
Minnesota winters regularly drop well past that threshold.
Successful gardeners know that mulching is the first line of defense. A layer of gravel or coarse sand around the base keeps soil temperature more stable.
Unlike wood mulch, gravel does not trap moisture against the crown.
Some gardeners also use a light layer of evergreen boughs placed loosely over the plant after the ground freezes. This traps a small pocket of insulating air without smothering the crown.
The goal is protection without moisture buildup.
Timing matters too. Covering plants too early in fall can encourage mold.
Wait until after the ground has frozen solid before adding any winter protection. That one step can make a meaningful difference for many plants each season.
2. Heavy Clay Soil Causes Poor Drainage And Root Rot
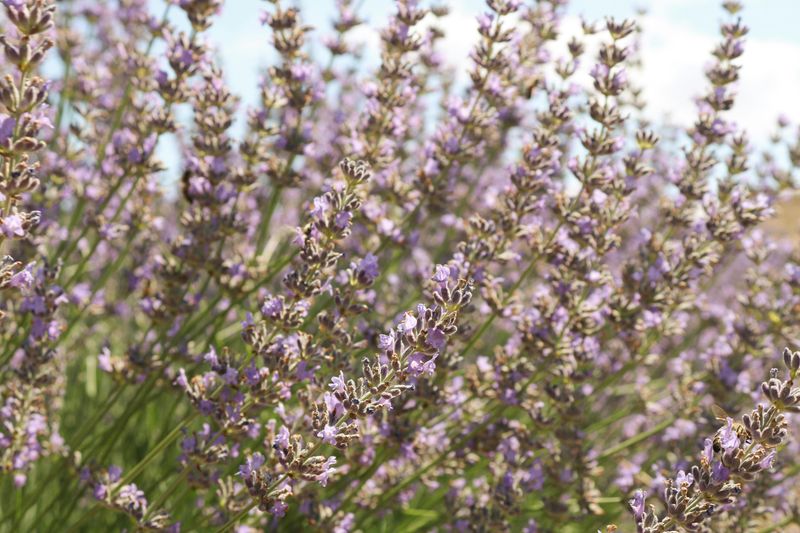
Clay soil is one of the more common and underappreciated causes of lavender decline across the upper Midwest. It holds water like a sponge, and lavender roots sitting in consistently wet soil can begin to deteriorate over time.
The plant can start to look wilted even when the soil is soaking wet.
That wilting can lead gardeners to water more. More water in clay soil tends to worsen the situation rather than improve it.
Root rot can progress relatively quickly once it takes hold.
The fix starts before you ever put a plant in the ground. Mixing coarse sand and compost into native clay breaks up the texture significantly.
Aim for a ratio of about one part clay to one part amendments by volume.
Your Minnesota Garden Changes Every Week. Your Plan Should Too.
Gardening in Minnesota changes quickly throughout the season. Every Friday you’ll receive a simple weekly plan showing exactly what to plant, prune, fertilize, harvest, and protect so you never miss the right timing.
Sandy loam is the ideal soil texture for lavender. It drains quickly, warms up fast in spring, and does not compact around roots the way clay does.
Even a modest improvement in drainage can make a meaningful difference in plant health.
Checking drainage before planting is straightforward. Dig a hole about 12 inches deep and fill it with water.
If it drains in under an hour, your soil is workable. If it sits for several hours, amending or raised planting is the more reliable path forward.
3. Spring Snowmelt Leaves Roots Waterlogged
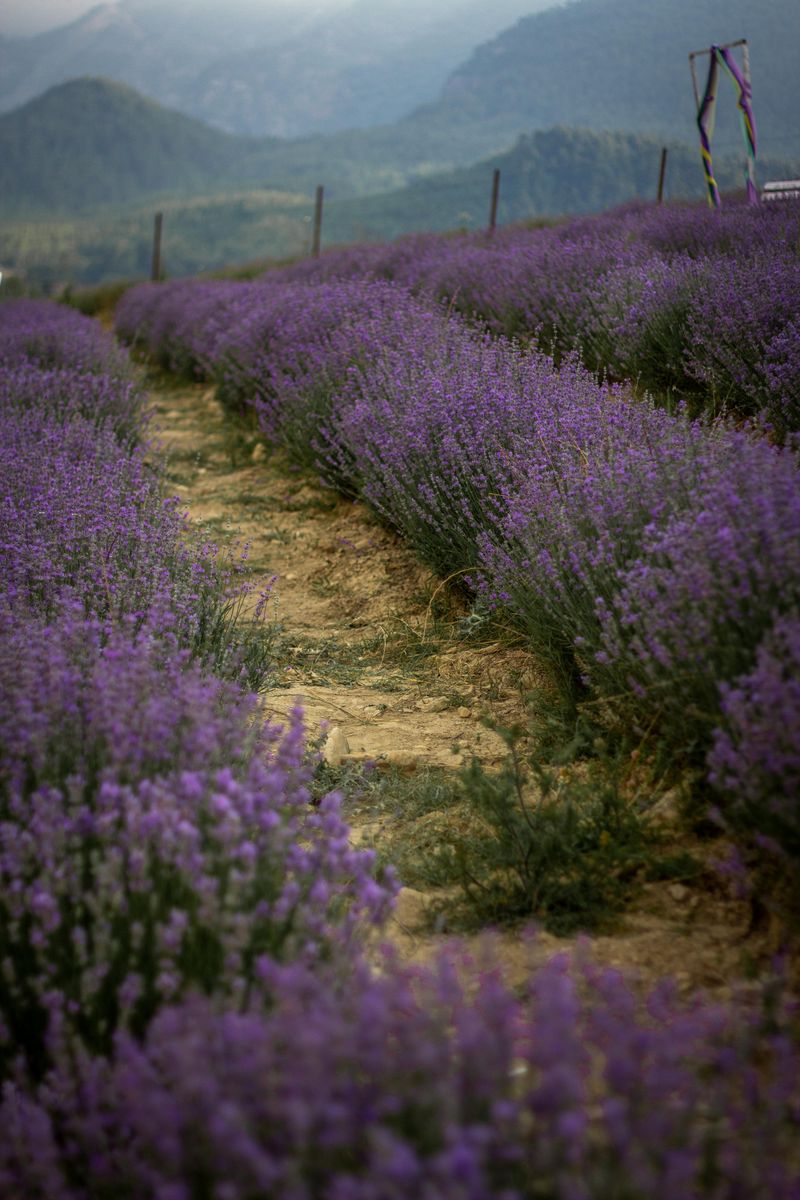
Spring in Minnesota arrives fast and wet. Snowmelt can deliver several inches of water into the garden over just a few days.
Lavender sitting in that pooling water is already under stress before the season even begins.
Waterlogged roots have limited access to oxygen, and without adequate oxygen, root cells can begin to break down relatively quickly. The plant shows signs of stress that can resemble drought, which is confusing for many gardeners.
Choosing a planting location with natural slope is one of the more effective preventive steps you can take. Water flows away from elevated spots instead of pooling around plant bases.
Even a gentle two-inch rise in grade can make a noticeable difference.
Raised beds are another practical solution that many experienced growers rely on. Building beds just six to eight inches above ground level improves drainage meaningfully during snowmelt season.
The soil in raised beds also warms up faster in spring, which helps lavender break dormancy at an appropriate time.
Monitoring soil moisture in early spring takes just a few minutes. Push a finger two inches into the soil near the plant base.
If it feels cold and wet, hold off on watering and consider improving drainage before the next season.
4. High Humidity Promotes Fungal Disease
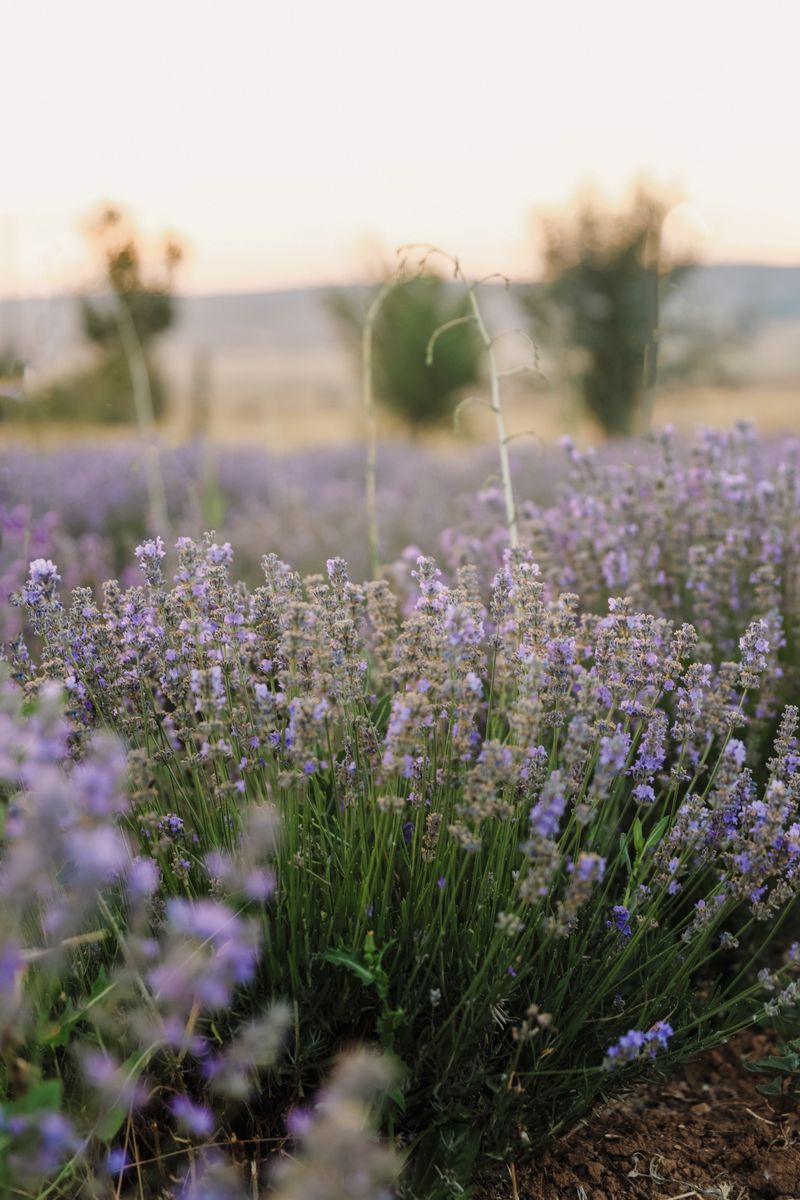
Minnesota summers can feel quite humid, and lavender tends to struggle in those conditions. Native to the dry, sun-baked hillsides of the Mediterranean, lavender evolved in low-humidity environments.
Sticky Midwestern air creates favorable conditions for fungal problems.
Gray mold, also called botrytis, is among the more common fungal threats. It shows up as a fuzzy gray coating on stems and leaves.
Once it takes hold, it can spread through the plant relatively quickly.
Good air circulation is one of the more effective prevention strategies available. Planting lavender too close together traps humid air between stems.
Spacing plants generously allows breezes to move through and dry foliage after rain or morning dew.
Watering technique also plays a meaningful role. Overhead watering with a sprinkler soaks the foliage and keeps it wet for extended periods.
Drip irrigation or careful hand watering at the soil level keeps leaves dry and less hospitable to fungal spores.
If you spot early signs of mold, remove affected stems with clean pruners. Thinning the center of the plant improves airflow relatively quickly.
Acting early gives you a better chance of containing the problem before it spreads further.
5. Wrong Pruning Timing Weakens Winter Survival
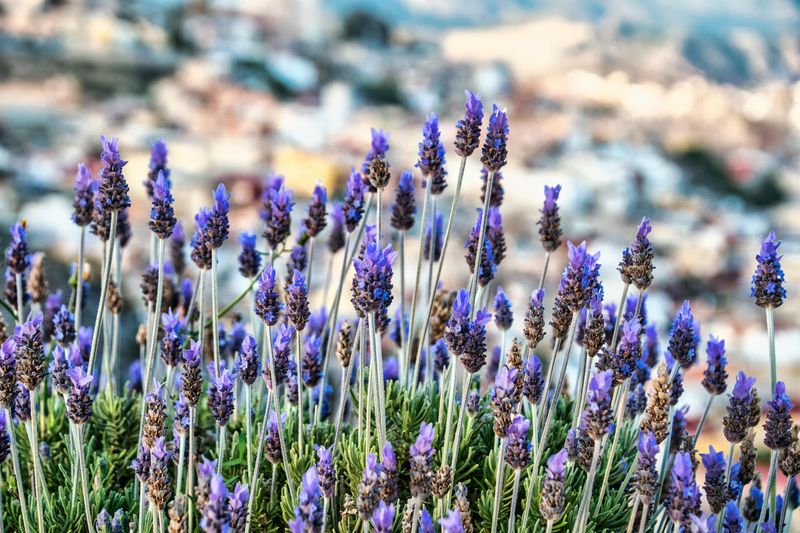
Pruning lavender at the wrong time is one of the more common mistakes gardeners make in northern climates. Cutting plants back hard in fall can leave them vulnerable.
New tender growth stimulated by fall pruning has little time to harden before the cold arrives.
Soft new growth is among the first tissue to be affected by frost. When that happens, the damage can extend deeper into the woody crown.
A plant that might have come through winter reasonably well can end up significantly set back by spring.
The more reliable approach is to skip fall pruning entirely. Leave the plant as-is after blooming ends.
Those woody stems and dried flower stalks help trap insulating snow around the crown during winter.
Spring pruning, done after you see fresh green growth emerging from the base, is the more appropriate timing. That new growth tells you where the plant is active.
You can then cut back with more confidence about where living tissue begins.
Cutting back no more than one-third of the plant at a time is a sound general guideline. Lavender tends not to regenerate reliably from old wood with no foliage.
Respecting that tendency keeps the plant healthy, shapely, and ready for another full season of blooming.
6. Low Planting Spots Collect Cold Air And Frost
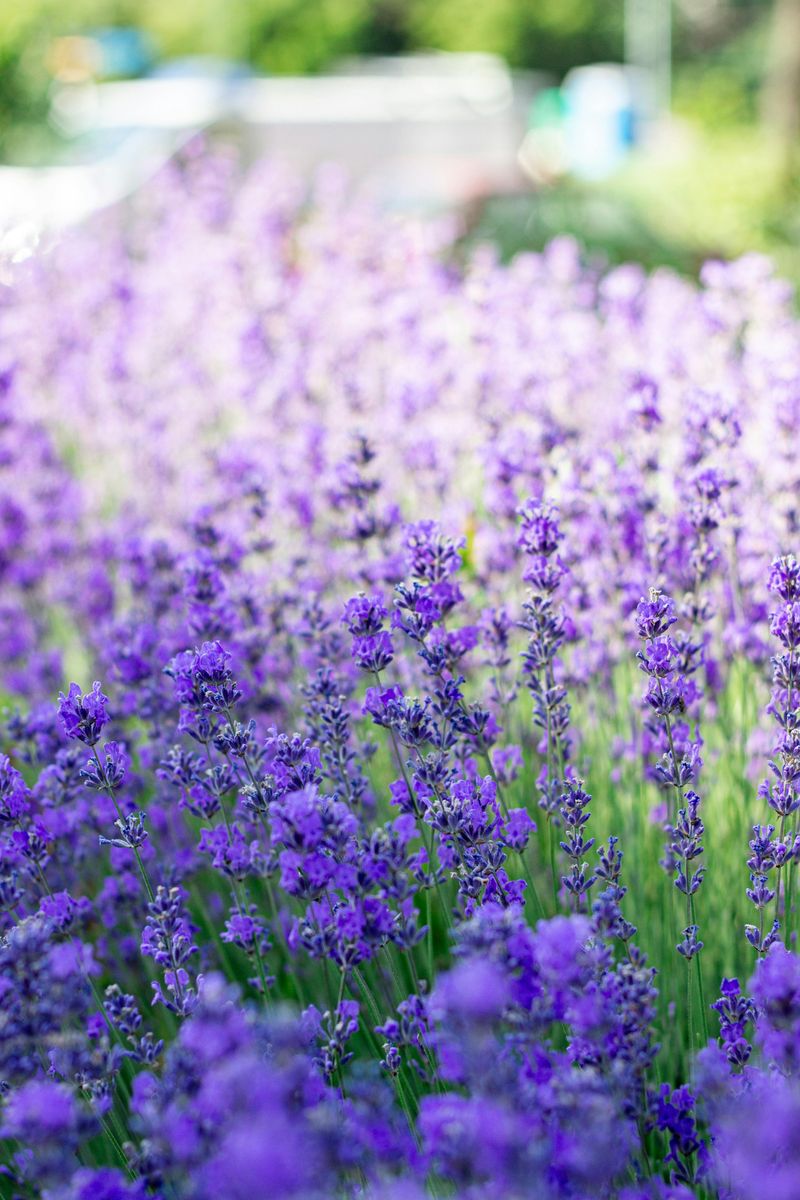
Cold air behaves similarly to water in how it moves through a landscape. It flows downhill and pools in low spots, hollows, and depressions.
Planting lavender at the bottom of a slope puts it in the path of that cold air drainage.
Frost pockets are areas where cold air collects and temperatures can drop several degrees lower than the surrounding garden. A plant in a frost pocket experiences more freeze events and more intense cold than plants just a few feet uphill.
That repeated stress can accumulate over time and affect plant health.
Choosing a planting site on elevated or sloped ground helps protect lavender from the more extreme temperature drops. South-facing slopes are particularly good choices because they receive more direct sunlight and warm up earlier in spring.
That extra warmth can encourage stronger root development before summer arrives.
Near a south-facing wall or fence is another helpful microclimate option. Masonry and brick absorb heat during the day and release it at night.
That gentle warmth can keep temperatures around the plant a few degrees higher than open garden spots.
Walking your yard at dawn after a frosty night is a useful exercise. Notice which spots show heavy frost and which stay relatively clear.
That simple observation can help you identify the more suitable planting locations before you break ground.
7. Wrong Variety Choices Cannot Handle Zone 4 Cold
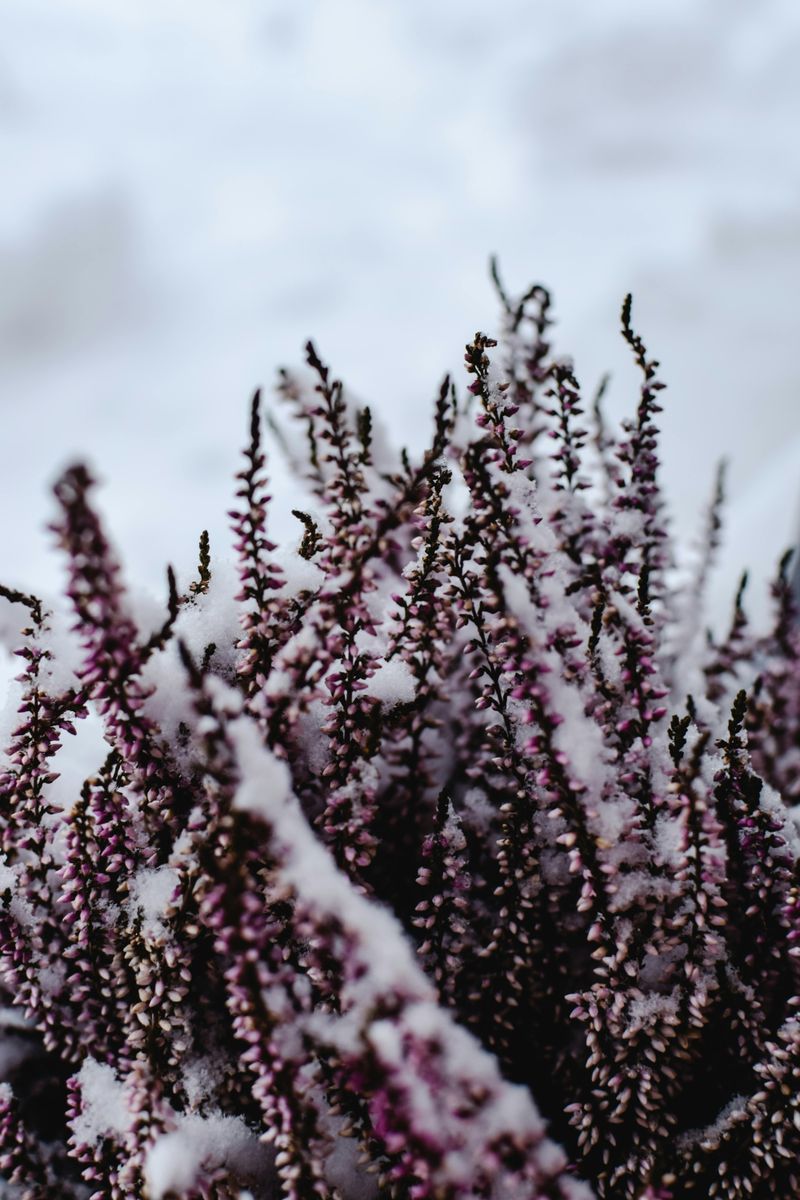
Not all lavender is equally suited to surviving a zone 4 winter. Spanish lavender, French lavender, and many ornamental hybrids perform well in warmer climates but are generally not suited to temperatures below negative twenty Fahrenheit.
Choosing a variety without checking cold hardiness is a common and costly mistake.
Lavender sold at general garden retailers is not always clearly labeled for cold hardiness, and some varieties may not survive a Minnesota winter. Knowing which varieties are zone 4 rated before you shop can save both money and disappointment.
English lavender species, particularly Lavandula angustifolia cultivars, offer among the better cold tolerance available. Named selections like Hidcote, Munstead, and Vera have track records in northern gardens.
They tend to return reliably year after year when given good drainage and proper care.
Phenomenal lavender is one of the better options for Minnesota gardeners. Success in zone 4 often depends on well-drained soil, a sheltered location, and some winter protection.
That combination makes it particularly well suited to the conditions Minnesota presents.
Reading plant tags carefully and asking nursery staff about zone ratings is worth the extra moment. A plant rated for zone 4 or lower gives you a considerably better chance of success.
Varieties rated zone 5 or warmer carry a higher risk of winter loss in Minnesota.
8. Overwatering Stresses A Drought-Tolerant Plant
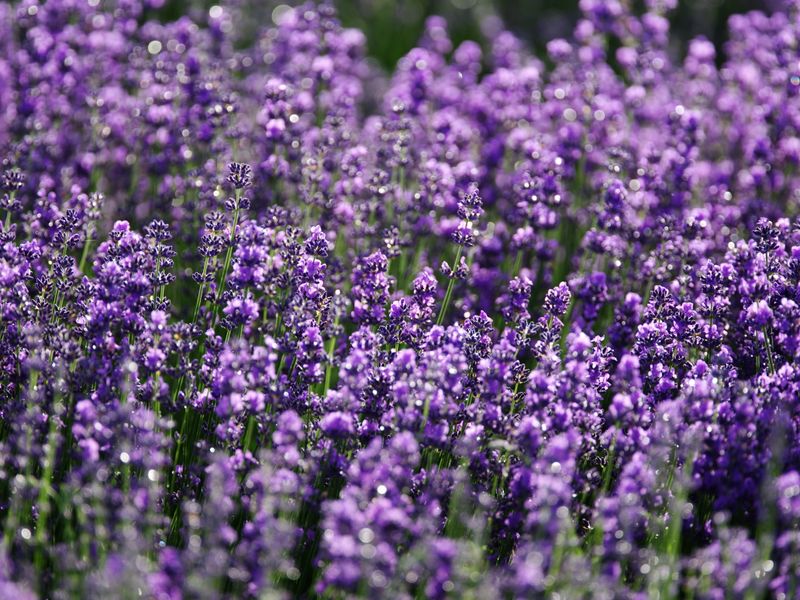
Lavender evolved in some of the drier regions of Europe. It is well-adapted to handle drought, rocky soil, and intense sun with minimal supplemental care.
Treating it like a moisture-loving plant is a common approach that can contribute to decline over time.
Overwatered lavender can show symptoms that resemble drought stress. Leaves turn yellow, stems go soft, and the plant looks droopy even in cool weather.
Responding to those symptoms with more water can worsen the situation rather than resolve it.
Established lavender plants generally do well with watering once every two weeks or less during summer, depending on rainfall and soil conditions. Young plants in their first season need a bit more attention while roots establish.
After that first year, reducing watering frequency is the more appropriate approach.
Checking soil moisture before reaching for the hose is a habit worth building. Push a finger or a wooden dowel two inches into the soil near the plant.
If it comes out damp, skip watering and check again in a few days.
Raised beds and amended soil dry out faster, which tends to suit lavender well. Matching your watering habits to the plant’s actual needs rather than a fixed schedule can make a noticeable difference in long-term plant health.
9. Plant Cold, Hardy Varieties Like Phenomenal Or Hidcote
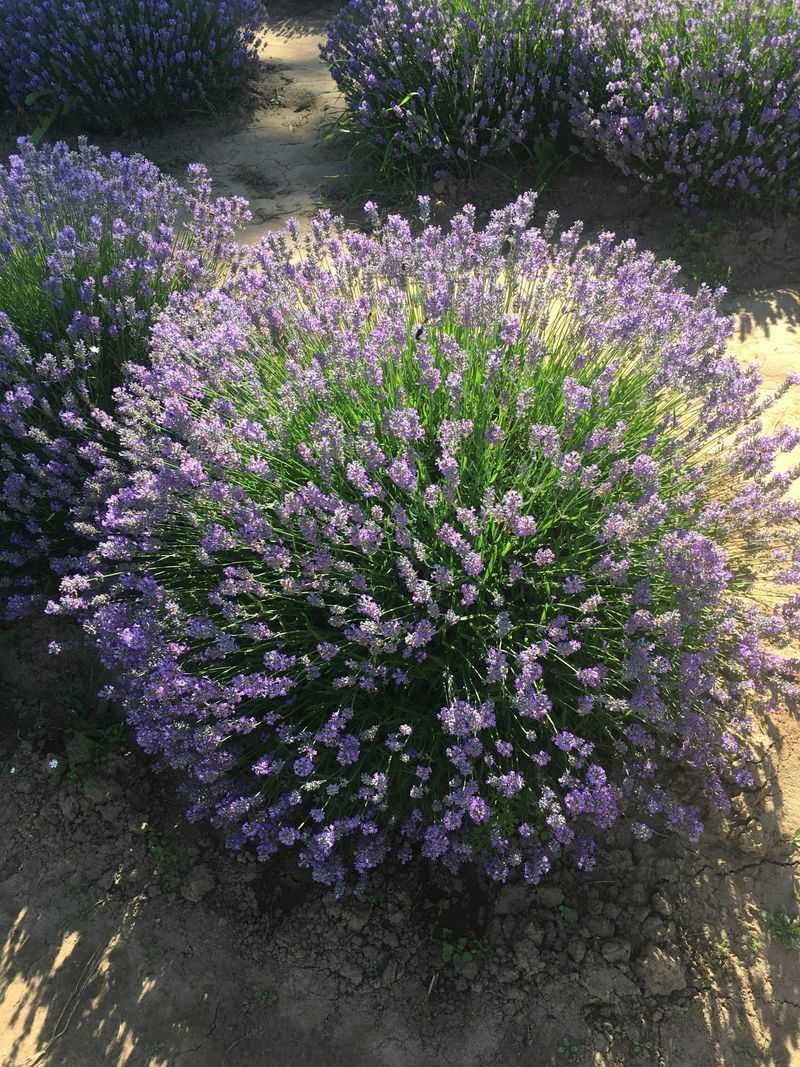
Choosing the right variety from the start is one of the more important factors in lavender success across northern gardens. Phenomenal lavender has earned a strong reputation among upper Midwest gardeners.
It blooms reliably, shows reasonable resistance to fungal issues, and has performed well through zone 4 winters with good consistency.
Hidcote is a well-established English selection that northern growers have relied on for decades. Its compact form, deep purple blooms, and cold hardiness make it a sensible first choice for anyone new to growing lavender in a challenging climate.
It tends to perform reliably when planted in well-drained soil.
Munstead is another English variety worth considering. It tends to be slightly smaller than Hidcote, which suits tighter garden spaces or container plantings that can be moved to a sheltered spot for winter.
Its silvery foliage remains attractive even when not in bloom.
Buying plants from local nurseries that focus on cold-climate gardening can be an advantage. These nurseries tend to stock varieties that have been trialed and proven in regional conditions.
A plant grown in a local greenhouse is often already adapted to the area in ways that shipped plants may not be.
Starting with proven cold-hardy varieties removes one of the more significant variables from the process. You can direct your energy toward soil preparation, drainage, and placement rather than hoping a borderline-hardy plant makes it through winter.
10. Amend Clay Soil With Coarse Sand And Compost
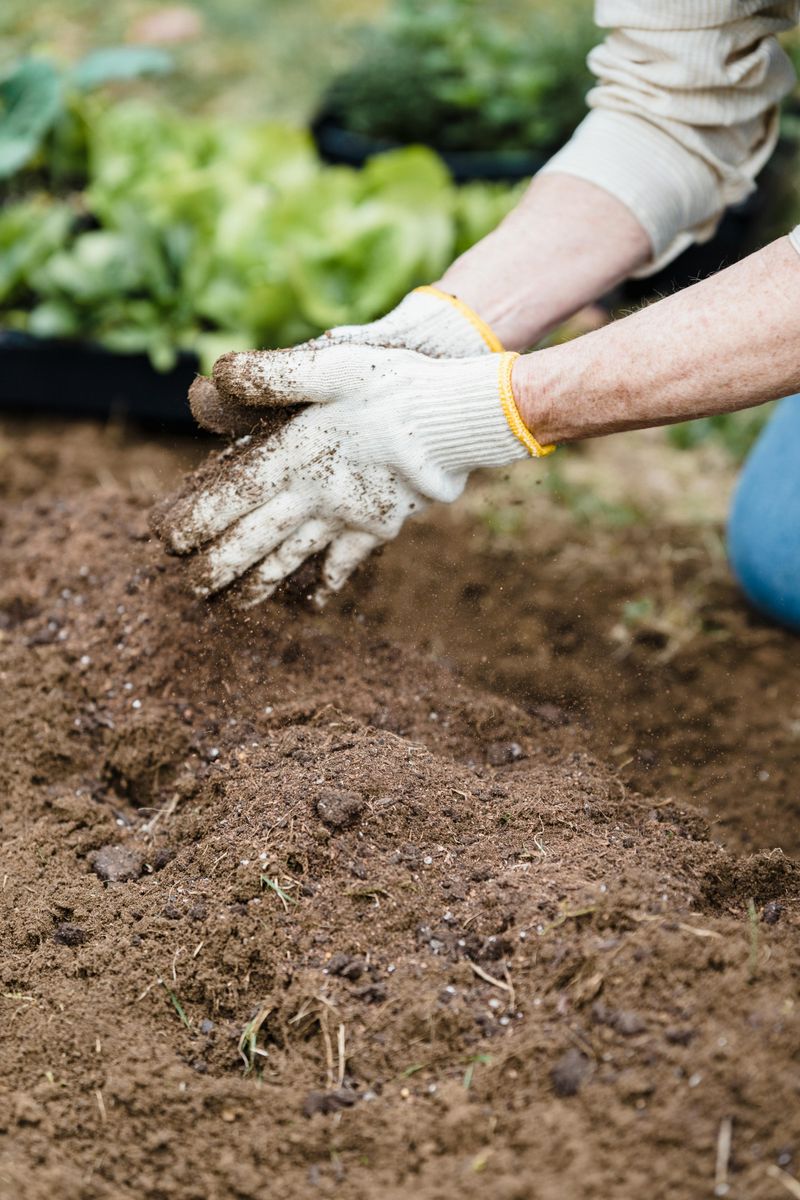
Improving clay soil before planting lavender is one of the more worthwhile steps you can take in your garden. Clay holds moisture and compacts around roots, creating conditions that lavender tends to struggle with over time.
The good news is that amending it is straightforward and does not require expensive equipment.
Coarse builder’s sand is a key ingredient. Fine play sand offers little drainage benefit and can contribute to a denser soil texture over time.
Use coarse sand with visible grit and texture rather than the smoother variety.
Mixing finished compost alongside the sand improves soil structure and adds beneficial microbial activity. Aim to work amendments into the top 12 to 18 inches of soil where lavender roots will spend most of their time.
Mixing only into the top few inches is less likely to provide meaningful benefit to root development.
A ratio of roughly one part coarse sand to one part compost to two parts native soil creates a more workable growing medium for lavender. It will not be perfect Mediterranean loam, but it will drain well enough to support healthy roots through wet seasons.
Checking your soil drainage after amending is a practical step before planting. Dig a hole, fill it with water, and observe how quickly it drains.
Seeing improvement confirms your amendments are having an effect and gives you more confidence going into planting.
11. Plant In Raised Beds Or On Sloped Ground
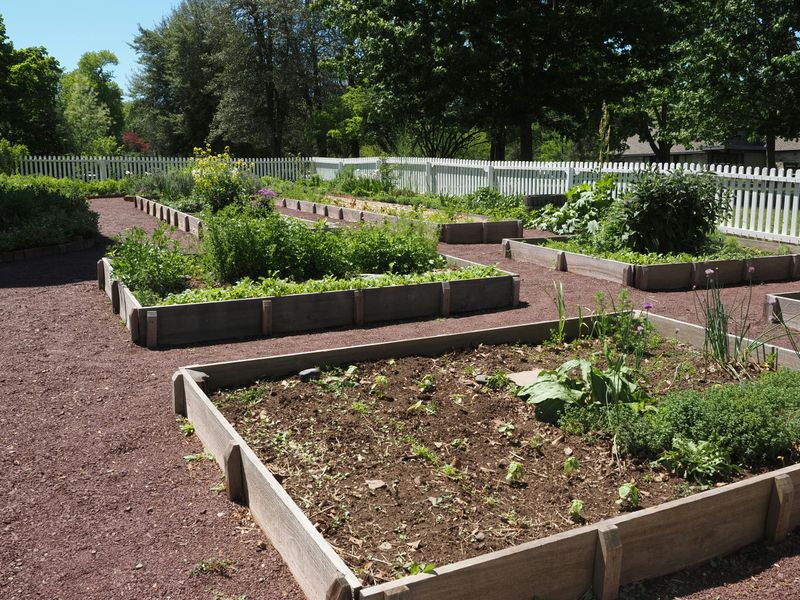
Raised beds are among the more reliable tools available to northern lavender growers. Elevating the root zone above the surrounding ground level addresses drainage concerns, warms soil earlier in spring, and gives you more control over soil composition.
It can make a meaningful difference for gardeners dealing with heavy native soils.
Even a modest raised bed just eight inches tall can improve how quickly water moves through the root zone. After a heavy rain or spring snowmelt, water drains down and away rather than pooling around plant crowns.
That shift can help reduce the root rot risk that affects many lavender plants in Minnesota.
Sloped ground offers similar benefits without the construction involved. A natural or gently graded slope allows water to move off freely rather than sit.
Planting lavender along the upper edge of a slope or on a hillside reflects the well-drained terrain it naturally occupies in Europe.
Building raised beds from untreated cedar or stone is a durable approach. Cedar resists decay naturally, and stone absorbs and releases heat that helps the root zone stay a little warmer on cold nights.
Both materials work well in a garden setting without looking out of place.
Combining raised planting with a well-amended soil mix creates conditions closer to what lavender actually needs. That level of preparation tends to make a noticeable difference in plant health and longevity.
12. Prune In Spring After New Growth Appears
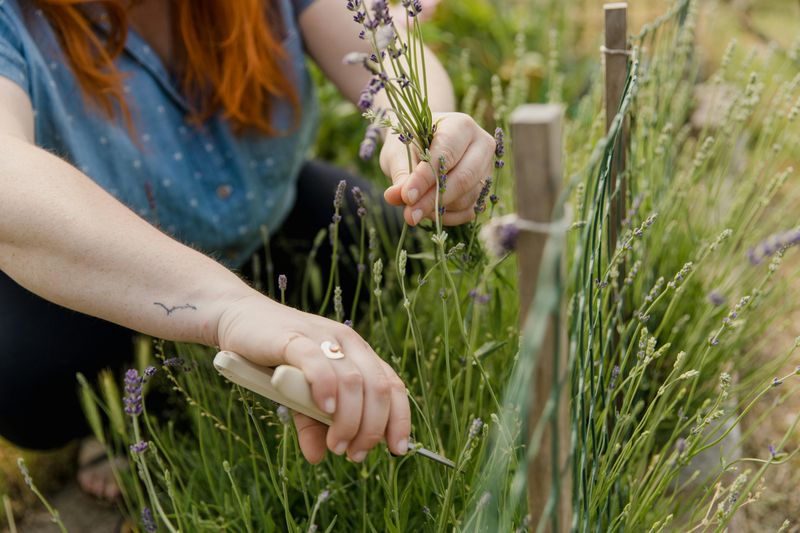
Spring pruning is one of the more satisfying seasonal tasks in the lavender garden, and getting the timing right makes a genuine difference. Waiting until you see fresh green shoots emerging from the base of the plant tells you where active growth is happening.
That visual cue takes much of the uncertainty out of the process.
Cutting back into bare wood with no visible green growth may remove portions of the plant that are unlikely to regenerate. Lavender tends not to sprout reliably from old leafless wood the way some other shrubs do.
Keeping that tendency in mind helps you prune with more confidence and less risk.
Use sharp, clean pruning shears to make smooth cuts that heal more readily. Dull blades can crush stems rather than cutting cleanly, which may invite disease into the wound.
Wiping blades with rubbing alcohol between plants is a sensible precaution against spreading any fungal issues.
Removing about one-third of the total plant height during spring pruning is a sound guideline. Shaping the plant into a rounded mound as you work encourages even airflow around stems and gives the plant a tidy appearance through the growing season.
Minnesota lavender that receives consistent, well-timed spring pruning tends to bloom more productively and stay more compact over the years. Skipping pruning for a season or two can result in leggy, woody growth and reduced blooming.
A few minutes of attention each spring tends to pay off with months of fragrant, healthy growth.