Why Your Pennsylvania Peace Lily Has Brown Tips And How To Fix It
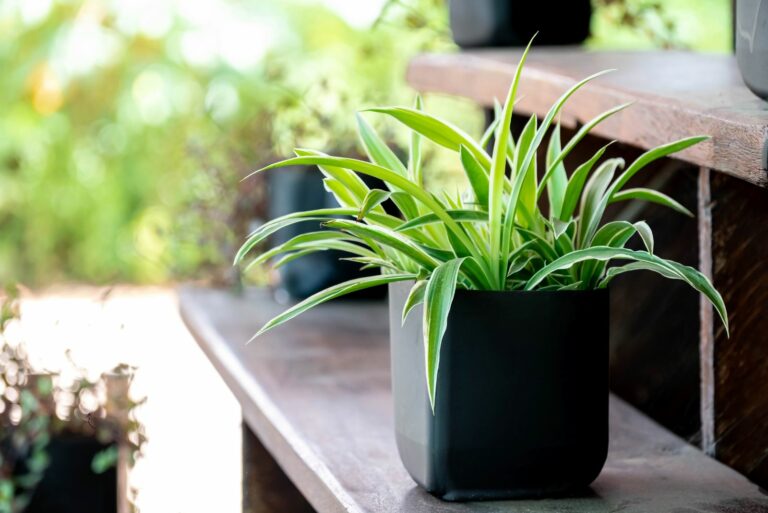
Those white flowers on this popular houseplant are not petals at all. Each one is a modified leaf called a spathe, wrapped around a tiny spike of real blooms.
Nobody warned me that such a forgiving plant could also be so dramatic. Leave it thirsty for a day, and it flops like a fainting actor. Give it a drink, and it springs back by dinner.
The leaves have their own way of talking, too. Crispy brown tips are one of the most common complaints from plant owners, especially here in Pennsylvania once the furnace kicks on. Personally, I used to blame bad luck.
To my surprise, the real causes are usually simple and fixable. Dry air, uneven watering, and even the water from your kitchen tap can all play a part. So which one is quietly bothering your plant?
1. Those Brown Peace Lily Leaf Tips Are Sending You A Message
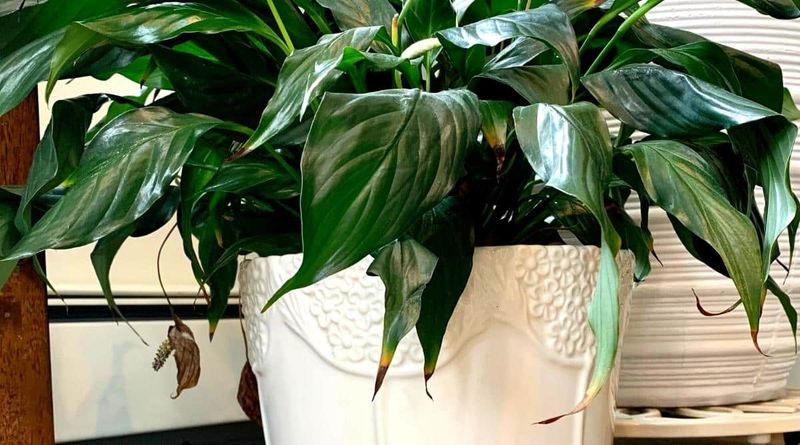
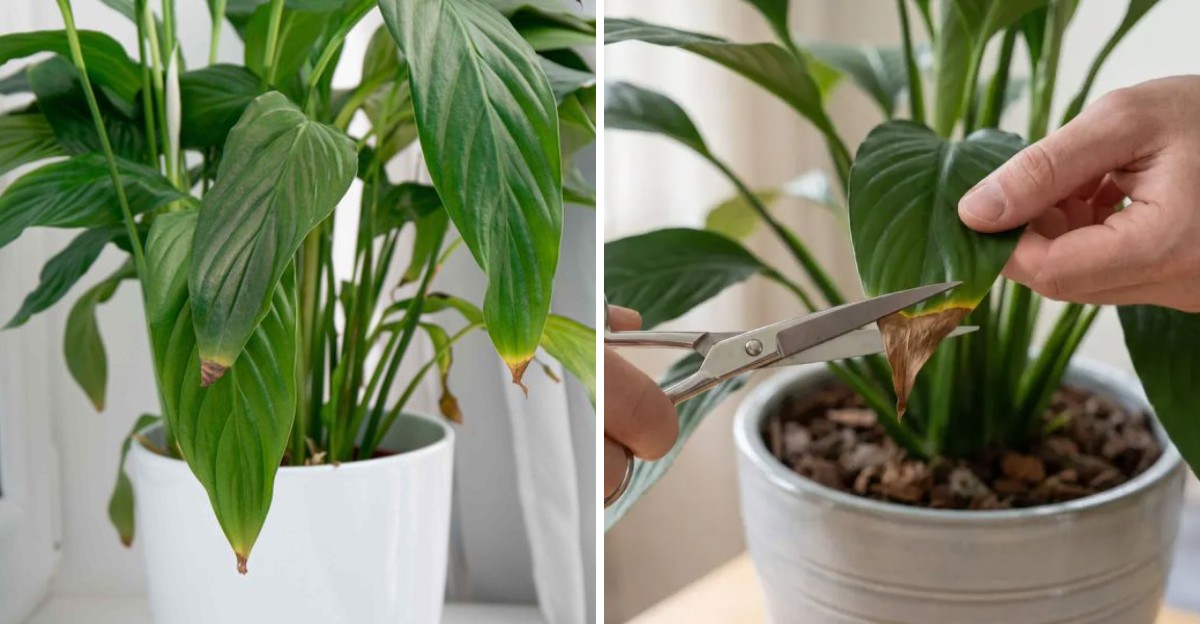
Brown tips on a peace lily are rarely a sign of disease. Most of the time, they point to stress at the very edges of the leaf, where water has the longest trip to travel.
Think of each leaf like a garden hose. Water moves up from the roots, through the stem, and out toward the tip.
When something interrupts that flow, the tip is the first spot to run short, so it dries out and turns tan or brown.
Plant experts from university extension programs list a handful of usual suspects. Dry indoor air, uneven watering, salt buildup from fertilizer or tap water, and too much direct sun top the list. Root trouble from soggy soil can also show up the same way.
I like to play detective before changing anything. Check how often you water, where the plant sits, and whether a heater vent blows nearby. Look at the soil surface for a white crust, too.
One clue rarely tells the full story. Often two or three small issues team up, so fixing just one might slow the browning without stopping it. The sections below walk through each cause, starting with the ones that matter most.
2. Uneven Watering Leaves Peace Lily Leaves Crispy At The Edges
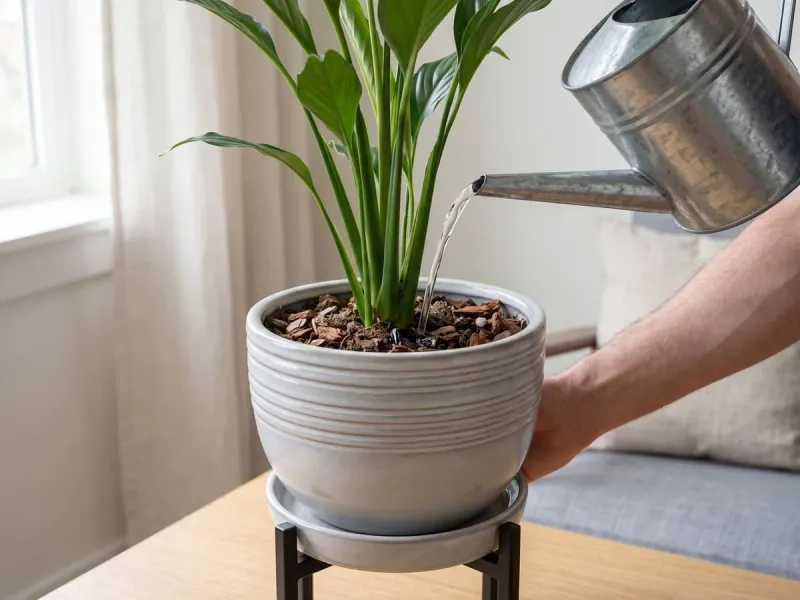
A droopy peace lily is basically shouting for a drink. That flop looks scary, but the real damage happens when the plant dries out again and again.
Each time the soil turns bone dry, the leaf tips lose moisture first. After several rounds of drought and rescue, those edges stay brown and crispy.
Overwatering causes trouble, too, because constantly wet soil starves roots of air, and stressed roots cannot move water well.
So how do you find the sweet spot? Push a finger about an inch into the potting mix. If it feels dry at that depth, water slowly until it drains out the bottom.
Lift the pot now and then to learn its weight. A light pot means thirst, while a heavy, soggy one means you should wait.
Dark, mushy brown tips often hint at too much water, while papery, tan tips usually mean too little.
Empty the saucer after watering so roots never sit in a puddle. Most indoor peace lilies need water about once a week, though that changes with the season. In winter, growth slows, so check the soil before reaching for the watering can.
3. Winter Furnace Air Can Dry Out Your Peace Lily Fast
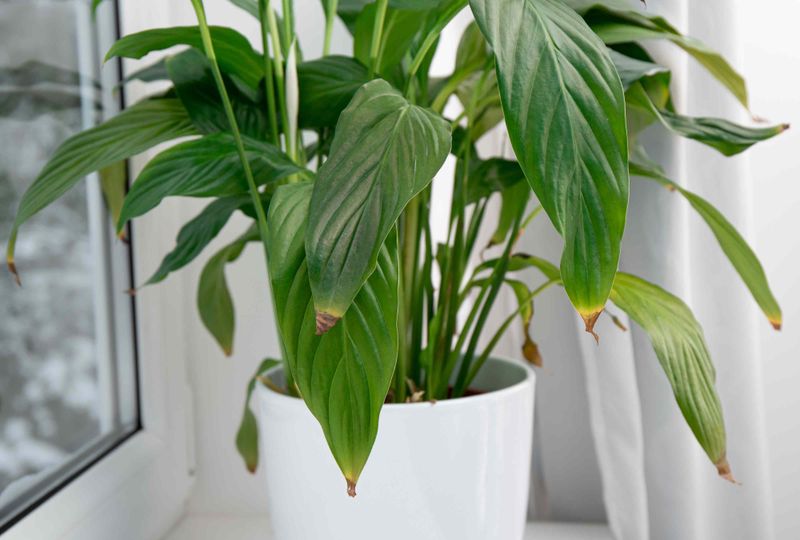
Here in Pennsylvania, January air indoors can feel as dry as a cracker. Once the furnace runs for weeks, indoor humidity often drops into the 20 to 30 percent range.
Peace lilies grow wild on shady tropical forest floors in Central and South America. Their leaves expect moist, steamy air, so dry rooms pull water out of the tips faster than roots can replace it.
My favorite fix is cheap and easy. Set the pot on a tray of pebbles with water just below the top of the stones, so moisture rises around the leaves without soaking the roots.
Grouping houseplants together helps, too, since each one releases a little moisture. A small room humidifier works even better if you can aim for about 40 to 50 percent humidity.
Misting feels nice, but its effect fades within minutes, so it is not much of a long-term answer. Placement matters a lot here.
Keep your plant several feet away from heat registers, radiators, and drafty doors. A steady spot in a bathroom with a bright window can be a happy home, since showers add extra moisture to the air.
4. Your Kitchen Faucet Might Be Feeding Salt To Your Peace Lily
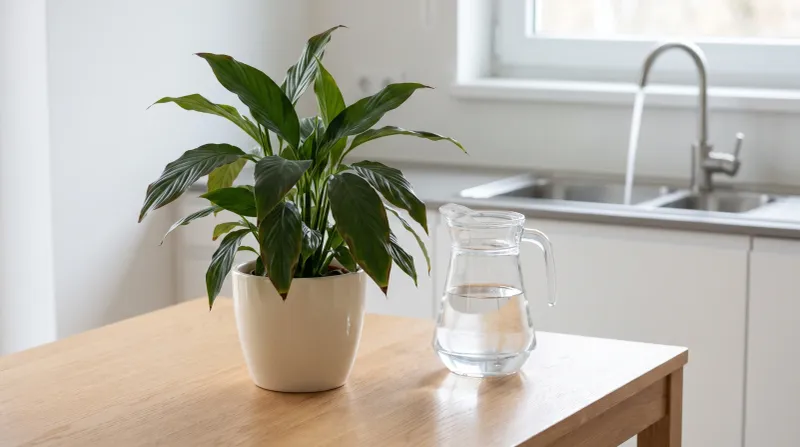
Believe it or not, the water from your tap can slowly build up trouble in the pot. Many municipal systems add chlorine or chloramine, and some add fluoride, while hard water carries dissolved minerals.
Peace lilies are known to be sensitive to these salts and to fluoride. As water evaporates, minerals stay behind in the soil, and over time they collect in leaf tips where they cause browning.
Parts of Pennsylvania have fairly hard water, especially areas with limestone bedrock. A white, crusty ring on the soil or pot rim is a handy clue that minerals are piling up.
You have a few easy options. Collected rainwater or distilled water works great. Letting tap water sit out overnight lets some chlorine escape, although it will not remove fluoride, chloramine, or minerals.
Every few months, give the pot a good flush. Run plenty of room-temperature water through the soil for a few minutes, letting it drain freely, to wash extra salts out the bottom.
If a softener treats your household water, skip it for plants. Softened water usually contains added sodium, which can make the browning even worse.
5. Extra Plant Food Can Burn Peace Lily Leaf Tips
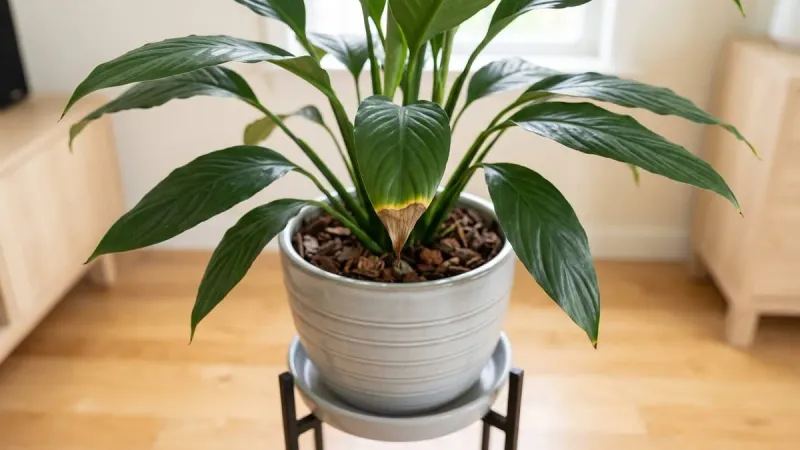
Feeding a houseplant feels like a kind gesture. With peace lilies, though, a little goes a long way, and too much love shows up as brown, scorched tips.
Fertilizer is made of salts. When extra builds up in the pot, it pulls moisture away from the roots and can injure them, which experts call fertilizer burn.
Peace lilies are light feeders. A balanced liquid houseplant fertilizer mixed at half strength, given every six to eight weeks during spring and summer, is usually plenty.
Skip feeding in late fall and winter. Growth slows down when Pennsylvania days get short, so the plant cannot use much extra food then.
Suspect you went overboard? Flush the soil with lots of plain water, letting it drain fully, and pause feeding for a couple of months. New leaves should come in cleaner.
I also like to water before fertilizing, never on bone-dry soil. Moist roots take up nutrients more gently, and that small habit lowers the risk of burn.
Slow-release pellets can be handy, but use the low end of the label rate. More pellets do not mean more flowers.
6. A Sunny Windowsill Can Scorch Peace Lily Leaves
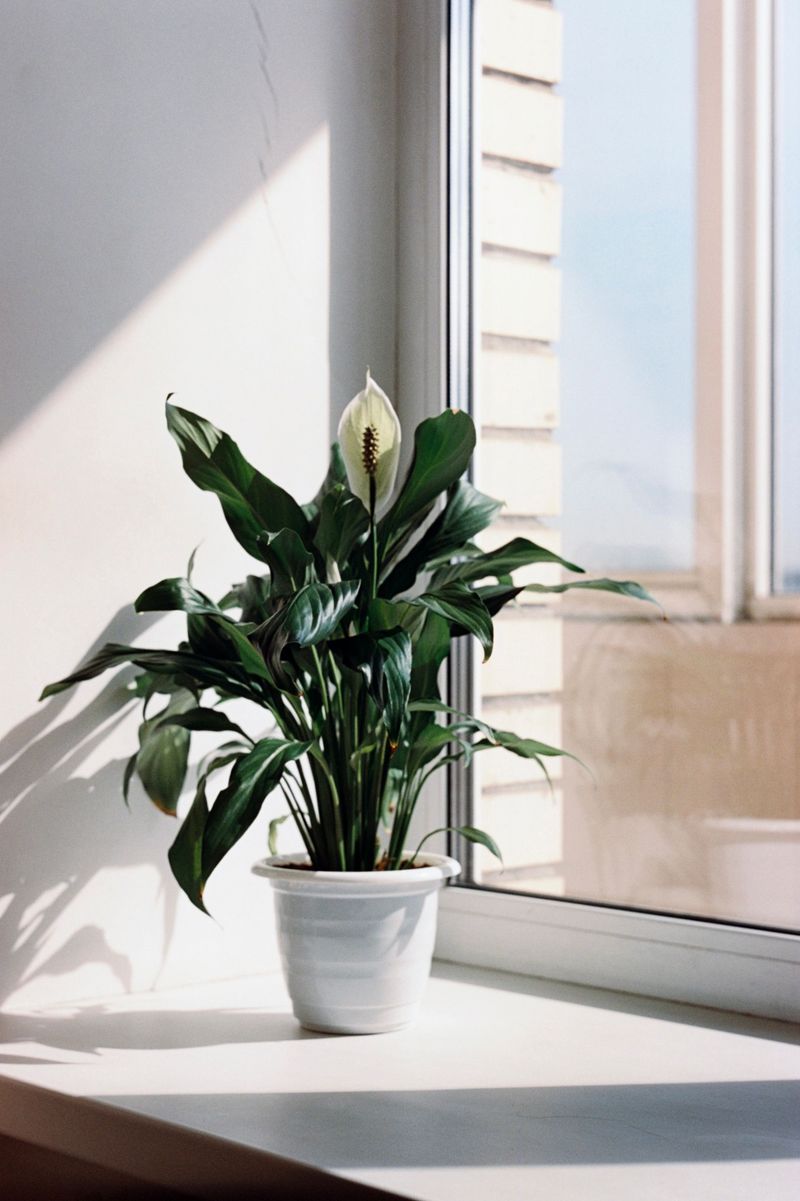
Sunshine sounds like a gift for any plant. Peace lilies, however, evolved under a thick rainforest canopy, so strong direct rays can scorch their soft leaves.
Sunburn often looks like pale, bleached patches or brown, crispy tips and edges. Hot afternoon sun through a south or west window is the usual offender, especially in summer.
Bright, indirect light suits them best. An east window with gentle morning sun works nicely, or a spot a few feet back from a sunnier window.
A sheer curtain can soften harsh light without making the room dim. You will be surprised how much difference that thin layer makes.
Too little light causes its own troubles, though not brown tips as often. A plant in a dark corner may grow slowly and stop producing those white spathes.
Watch your plant after you move it. Fresh leaves should look deep green and glossy, while yellowing or new scorch means the spot still needs tweaking.
One more tip: cold glass in winter can chill leaves that touch the window. Keep foliage a few inches from panes during frosty Pennsylvania months.
7. Snip The Brown Tips And Repot Your Peace Lily For A Fresh Start
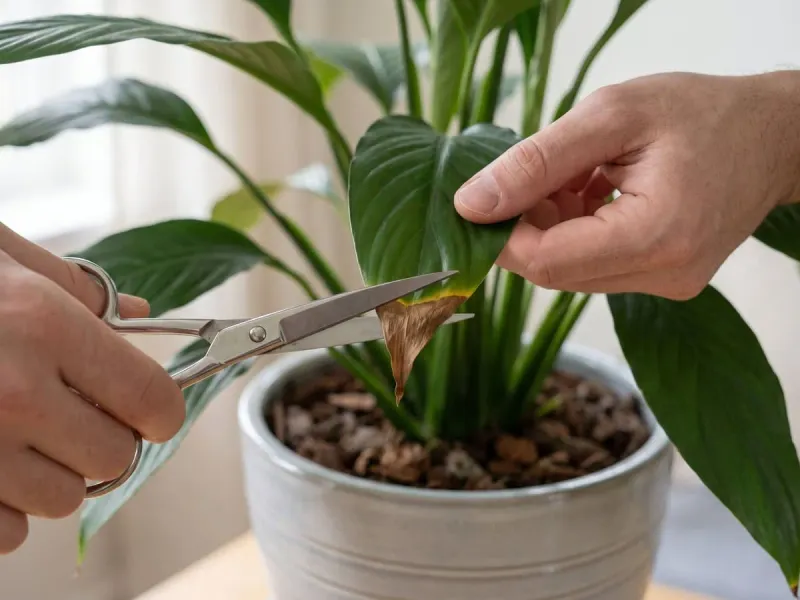
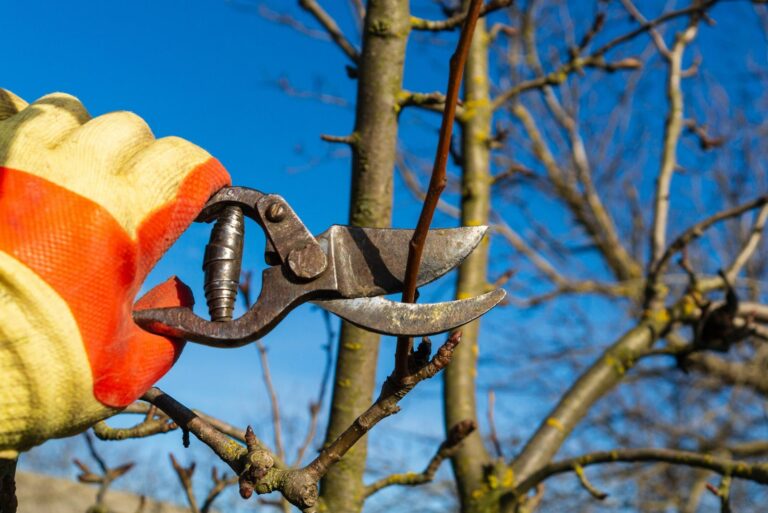
Grab some clean, sharp scissors. Brown tissue on a leaf will not turn green again, so trimming is the quickest way to tidy things up.
Cut along the natural pointed shape of the leaf, leaving a thin sliver of brown so you do not wound healthy green tissue. Wipe your blades with rubbing alcohol between plants to avoid spreading problems.
If a whole leaf turns yellow or brown, remove it at the base. Your plant can then put its energy into new growth.
Trimming is cosmetic, though. The lasting fix comes from steady watering, better humidity, gentle feeding, and softer light, so pair your snips with those changes.
Check the roots, too. If they circle the pot or poke out the drainage hole, repot in spring into a container just one or two inches wider.
Choose a pot with drainage holes and a loose, peat-free or standard indoor mix with good structure. Fresh soil also clears out old salt buildup.
Give your plant a few weeks to settle in. Clean, glossy new leaves are your reward, and a happy peace lily may even send up fresh white spathes.