10 Pumpkins And Gourds Still Worth Harvesting Before An Ohio Frost
Frost has a date circled on the Ohio calendar, and a few stragglers out in your patch still have time to earn their keep.
Some pumpkins and gourds crossed the finish line weeks ago and have sat there ever since. Others stay stubbornly green, and you’ve probably written them off.
Don’t. A handful are still worth the trip to the garden, and a few look nothing like what you’d expect.
The mix covers every fall mood. Some belong on a porch step, some in a pie, and some on a shelf where they’ll outlast the turkey leftovers.
One cold night ends the harvest for good, so the order you pick in matters. Pull the right ones first and you’ll come away with a full wheelbarrow.
Check the forecast, clear a spot on the porch, and get ready to haul.
1. Jack-O’-Lantern Pumpkins Once They’re Uniformly Orange
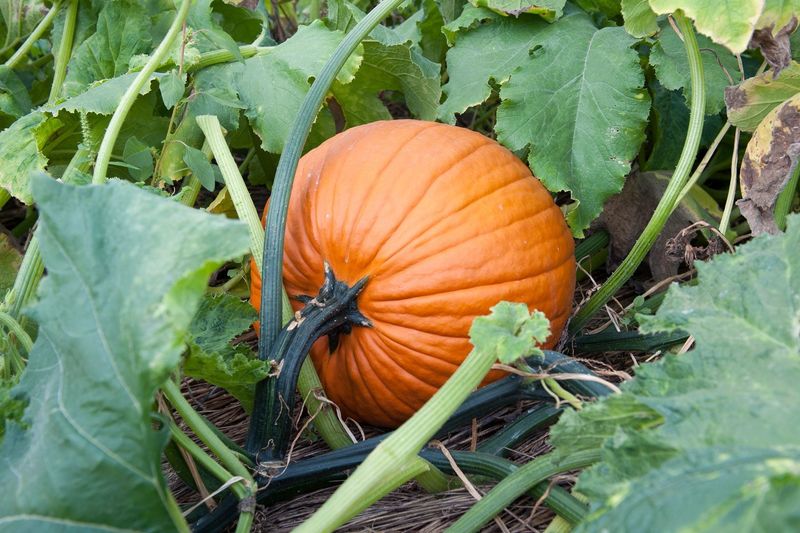
Picture a kid racing into the patch to claim the biggest, roundest pumpkin. That classic carving pumpkin is the star of every Ohio porch in October.
Color is your first clue. Look for an even orange shade from top to bottom, with no green patches lingering near the stem.
Next, check the stem itself. When it starts to dry out and turn brown, the pumpkin has finished growing and is ready to come inside.
Give the rind a firm tap with your knuckle too. A hard shell that sounds a bit hollow means the inside has matured.
Timing matters more than many folks think. Temperatures below 45 degrees can start to harm pumpkins, and a hard frost can soften the skin fast.
A short chill around 35 degrees may be okay for a night. Still, bring those pumpkins somewhere warmer quickly to help them bounce back.
Cut the stem with pruners instead of twisting it off. Leave three to four inches attached, since that little handle helps the pumpkin last much longer.
Here is a fun fact for carving night. The first jack-o-lanterns in Ireland were made from turnips, and immigrants switched to pumpkins in America because they were bigger and easier to carve.
2. Pie Pumpkins With Hard, Fully Colored Rinds
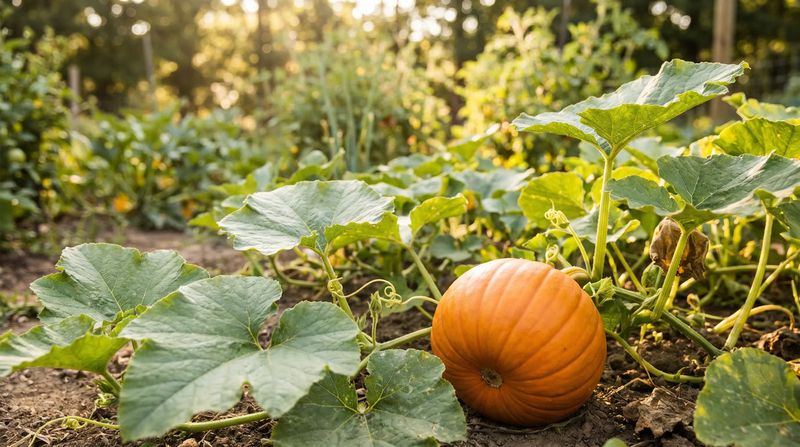
Grandma knew the secret to a great Thanksgiving pie started in the garden, not the grocery store. Small sugar pumpkins have sweeter, smoother flesh than their big carving cousins.
These little gems need patience. Let them stay on the vine until the rind is fully colored, with no pale or greenish streaks left.
Try the thumbnail test to be sure. Press your nail into the skin, and if the rind resists without denting, the pumpkin is mature.
A soft rind tells you the pumpkin needs more time. Picking too early often means bland flavor and a shorter shelf life in your pantry.
Watch your weather app closely as October rolls on. Pie pumpkins should be gathered before a hard frost settles over your yard.
Once picked, set them in a warm, dry spot for about ten days. That curing time toughens the skin and helps them store for months.
Your Ohio Garden Changes Every Week. Your Plan Should Too.
Gardening in Ohio changes quickly throughout the season. Every Friday you’ll receive a simple weekly plan showing exactly what to plant, prune, fertilize, harvest, and protect so you never miss the right timing.
Later, keep them somewhere cool, like a basement shelf around 50 to 55 degrees. Check every week or so for soft spots.
When baking day arrives, roast halves face down until tender. The puree tastes fresher and richer than canned, and your kitchen will smell like a holiday card.
3. Butternut Squash A Few Weeks After It Turns Tan
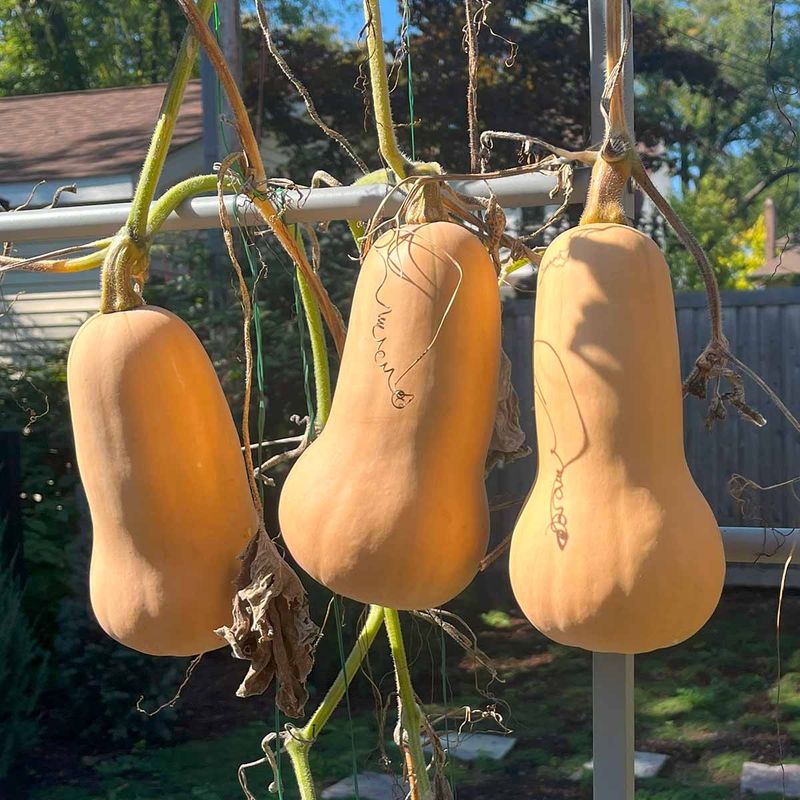
Patience pays off big with butternut squash. Many gardeners pick it the moment it looks tan, but waiting a little longer brings sweeter results.
Early on, the skin is pale yellow with faint green lines. As it ripens, it shifts to a deep tan or beige that looks almost like peanut butter.
Color alone can fool you, though. A squash that turned tan last week may still have a rind soft enough to scratch.
Give it a few extra weeks on the vine if the weather allows. The rind should feel hard all over, and the stem should look dry and corky.
Those green lines fading away is another helpful hint. Fully mature butternuts usually show a smooth, even color with no stripes.
Frost is the big worry here. Butternut squash is sensitive to cold, so harvest before temperatures drop low enough to chill the fruit.
When you cut it, leave about an inch of stem. A squash without its stem can rot quickly near that open spot.
Well-cured butternuts can last three months or more in storage. That means cozy soups and roasted cubes well into the snowy Ohio winter.
4. Acorn Squash Once The Ground Spot Turns Golden Orange
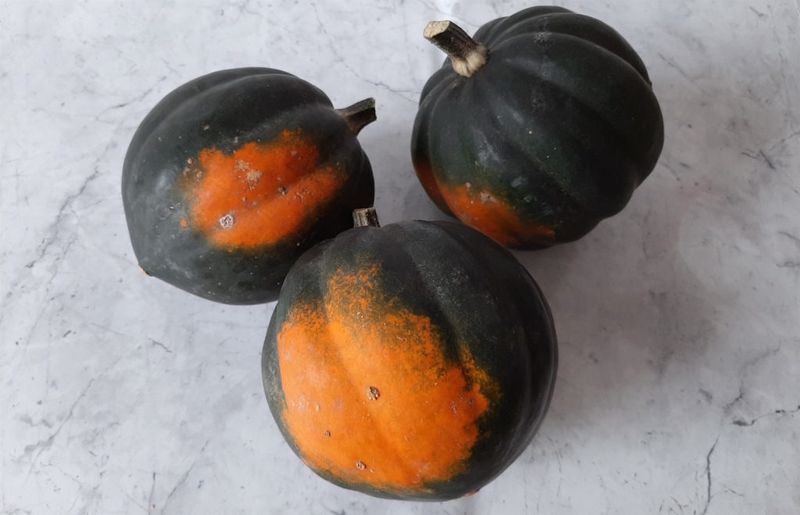
Flip an acorn squash over and you will find a hidden secret. That pale patch where it rested on the soil tells you nearly everything about ripeness.
Gardeners call it the ground spot. When it changes from light yellow to a warm golden orange, the squash is close to ready.
Look at the top side next. The dark green color should be fully developed, and the skin should look dull rather than shiny.
Shine usually means the squash is still young. A matte, firm surface shows it has toughened up for storage.
Now press with a fingernail. You should only be able to scratch the skin, or need real pressure to break through it.
Frost can hurt acorn squash more than you might expect. Even if it looks fine afterward, cold damage can cut down how long it keeps.
Pick yours before the first heavy frost rolls through. Acorn squash does not store as long as some types, so plan to eat it within a couple of months.
For an easy dinner, slice it in half and add butter and brown sugar. Bake until soft, and even picky eaters may ask for seconds.
5. Spaghetti Squash As It Shifts From Ivory To Golden Yellow
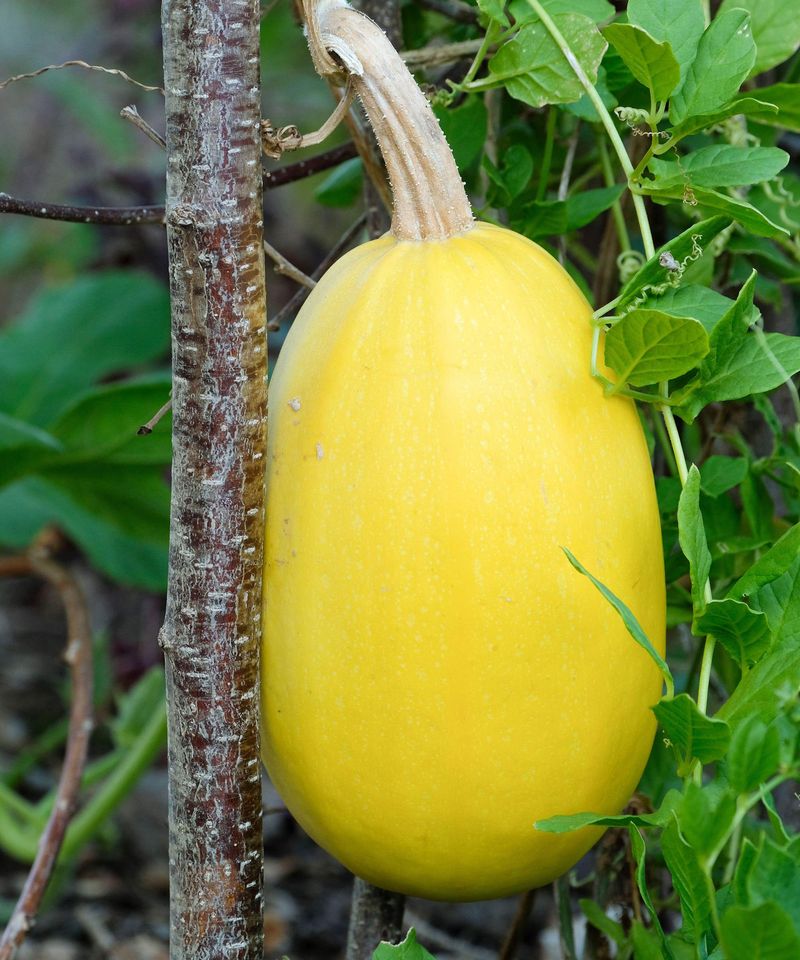
Few vegetables feel like a magic trick, but spaghetti squash comes close. Bake it, scrape it with a fork, and out come golden strands that look like noodles.
Getting that magic starts with good timing. Young squash have pale ivory skin, and ripe ones shift to a rich golden yellow.
Check the plant around it too. Vines and leaves turning brown and drying out are signs the season is wrapping up.
The skin should feel hard and tough to pierce with a fingernail. If it dents easily, give it more time if the forecast allows.
Most spaghetti squash ripens about 40 to 50 days after the flowers bloom. That usually lands in late summer or early fall in Ohio.
A light frost can help finish ripening and bring the vines to a close. A hard freeze below 32 degrees, though, can lower quality and storage time.
Bring them in before that deep cold hits. Cure them in a warm room for a week or two afterward.
Want a quick tip for cooking? Cutting the squash crosswise into rings instead of lengthwise gives you longer strands, almost like real pasta.
6. Hubbard Squash With Rinds That Resist Your Thumbnail
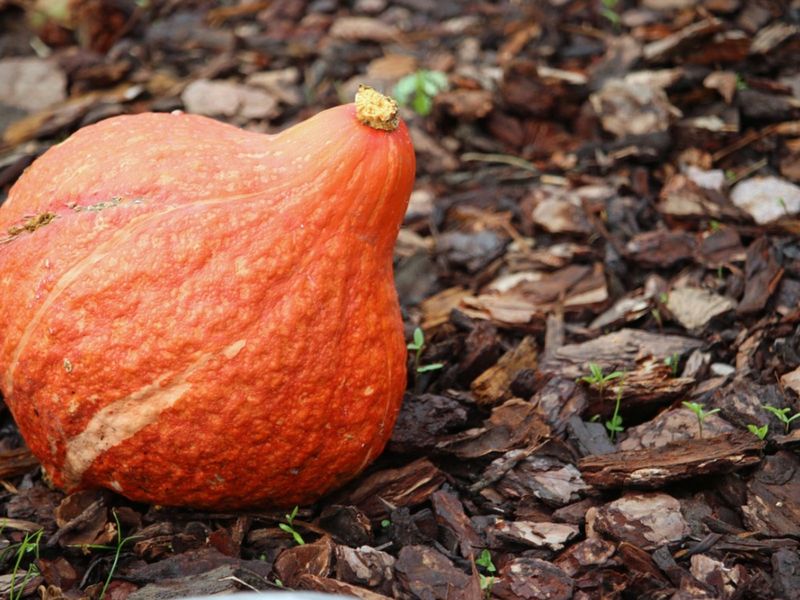
Some squash are cute, but Hubbards are giants with bumpy armor. A single one can weigh fifteen pounds or more and feed a crowd.
That thick shell is your best ripeness guide. Press your thumbnail into the rind, and a ready Hubbard will push back without a mark.
The stem should look dry and corky as well. A green, juicy stem means the squash is still pulling food from the vine.
Most varieties are ready about 50 to 55 days after the fruit first sets. Jot that date on a calendar so you are not guessing.
Hubbards have tropical roots, believe it or not. They do not enjoy the cold, so gather them before any heavy frost.
A light frost may bring a touch of extra sweetness. Even so, they need to be indoors before a hard freeze arrives.
Moving one can be a workout, so bring a wagon or wheelbarrow. Lift from underneath and avoid carrying it by the stem.
The payoff is huge. Cured Hubbards can store for up to six months, and old farm families sometimes cracked them open with a hatchet.
7. Kabocha Squash, Which Keeps Sweetening After Harvest
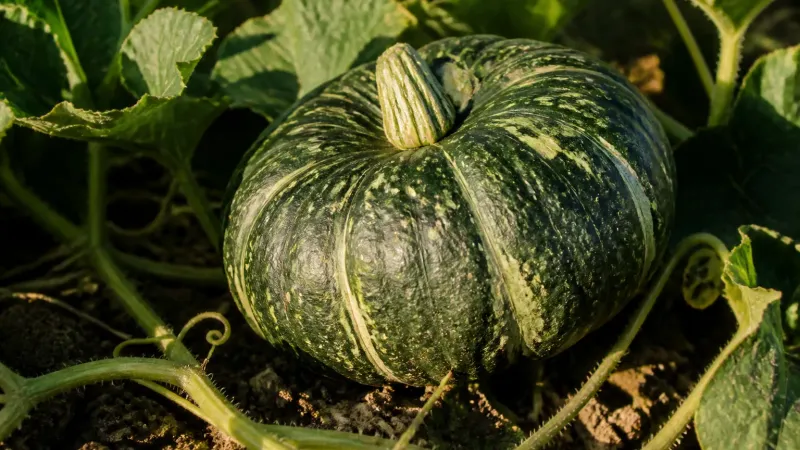
Imagine a squash that tastes better a month after you pick it. Kabocha, often called Japanese pumpkin, does exactly that while it rests in storage.
Start by watching the rind. A ripe kabocha changes from glossy to a dull, matte finish, a bit like a chalkboard.
The stem should dry out and turn corky brown. The rind itself gets very hard and resists a fingernail dent.
Give it a thump with your knuckles. A hollow sound is a good sign the flesh inside is ready.
Most kabocha are ready about 50 to 55 days after fruit set. That is roughly 85 to 100 days from transplanting into the garden.
Pick before a hard frost threatens your area. Then comes the fun part, where you mostly just wait.
During the first month of storage, starches inside slowly turn into sugars. The flesh becomes sweeter, nuttier, and almost like a sweet potato.
Many cooks wait two to four weeks before slicing one open. Try roasting wedges with the skin on, since kabocha skin softens nicely and is safe to eat.
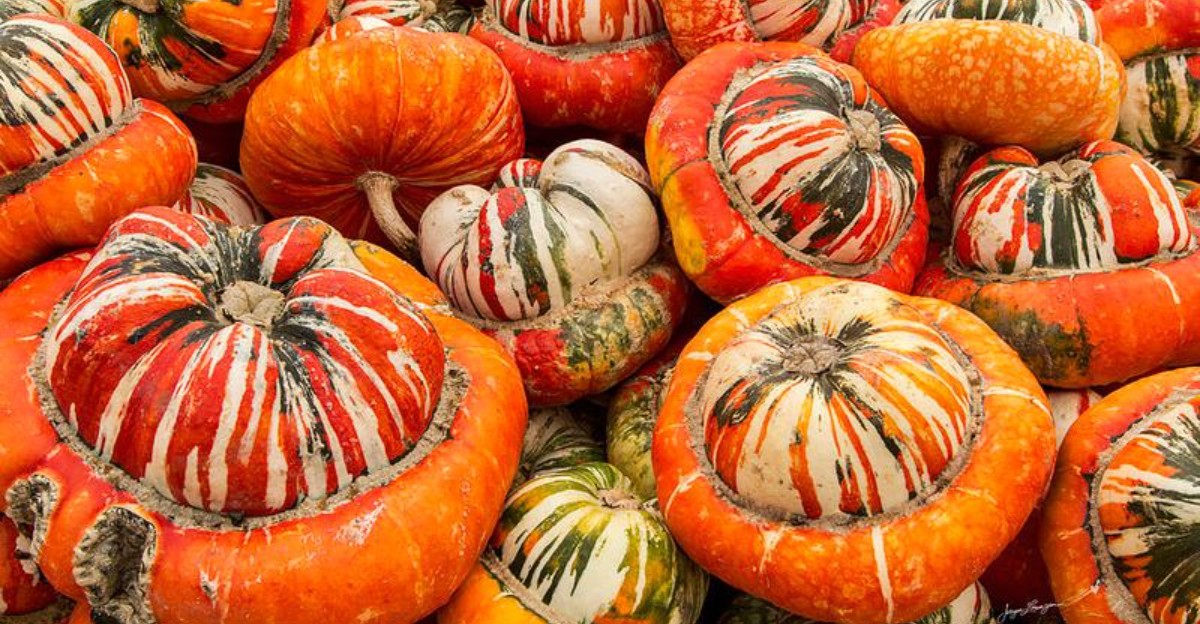
8. Turk’s Turban Squash For Short-Term Fall Decor
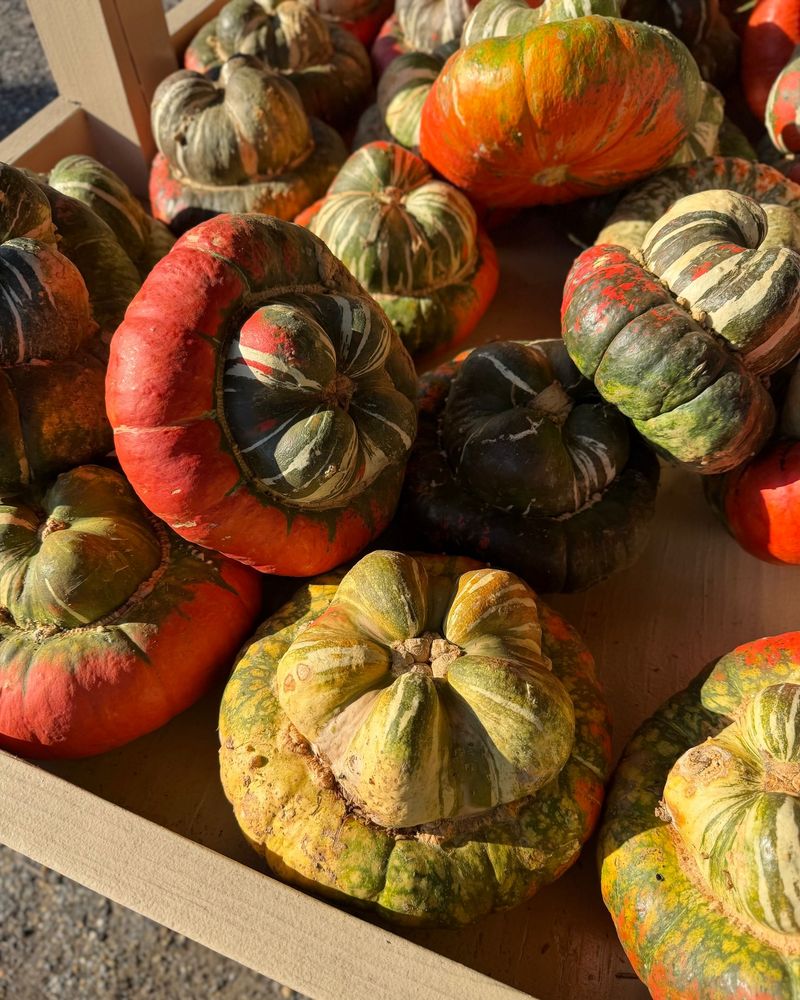
Talk about a showstopper. Turk’s Turban looks like a squash wearing a colorful hat, with a striped cap perched on a bright orange base.
People love it for porches, tables, and harvest centerpieces. Its wild shape makes guests stop and ask what in the world it is.
For the best colors, let it ripen fully on the vine. The cap should show bold oranges, greens, and creamy whites.
Other clues help too. The rind hardens, takes on a duller look, and the stem begins to turn brown.
Pick it before the first frost touches your garden. Cold can blotch that pretty skin and shorten its display life.
Think of this one as short-term decor. It usually looks great for a few weeks to a couple of months, not all winter.
Wipe it with a cloth dampened in a little diluted vinegar before displaying. That simple step can help slow mold.
Here is a surprise for many folks. Turk’s Turban is edible, with mild, nutty flesh, so you can roast it once the decorating season wraps up.
9. Ornamental Gourds Once Their Stems Turn Brown
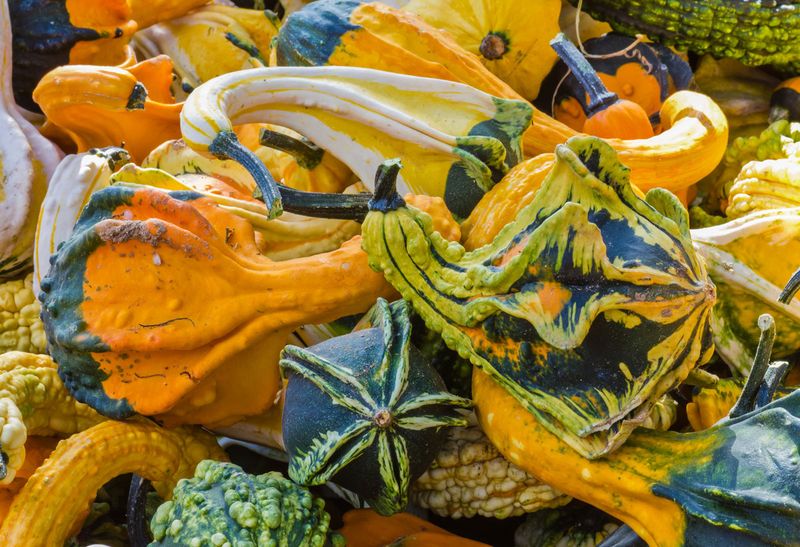
Warty, striped, twisted, and bumpy, ornamental gourds are the goofy cousins of the squash family. Kids love sorting them into silly piles by shape.
Knowing when to pick them is pretty simple. Watch the stem attached to each gourd, and wait until it begins to dry and turn brown.
The shell should feel hard when you squeeze it gently. The curly tendrils nearby will also brown and dry as the plant winds down.
Do not wait too long into fall, though. These small gourds are often more sensitive to cold than hard-shelled winter squash.
Bring them in before any significant frost settles in. Chilled gourds tend to soften and spoil quickly indoors.
If you want them to last as long as possible, let the stem dry fully before cutting. Snip with pruners and keep a short stem attached.
Wash them in soapy water and dry them well. Then spread them out in a warm, airy spot so they do not touch.
Fun bit of history here. People have grown gourds for thousands of years, using them as bowls, rattles, and even fishing floats long before plastic came along.
10. Bottle Gourds, The Toughest Of The Bunch
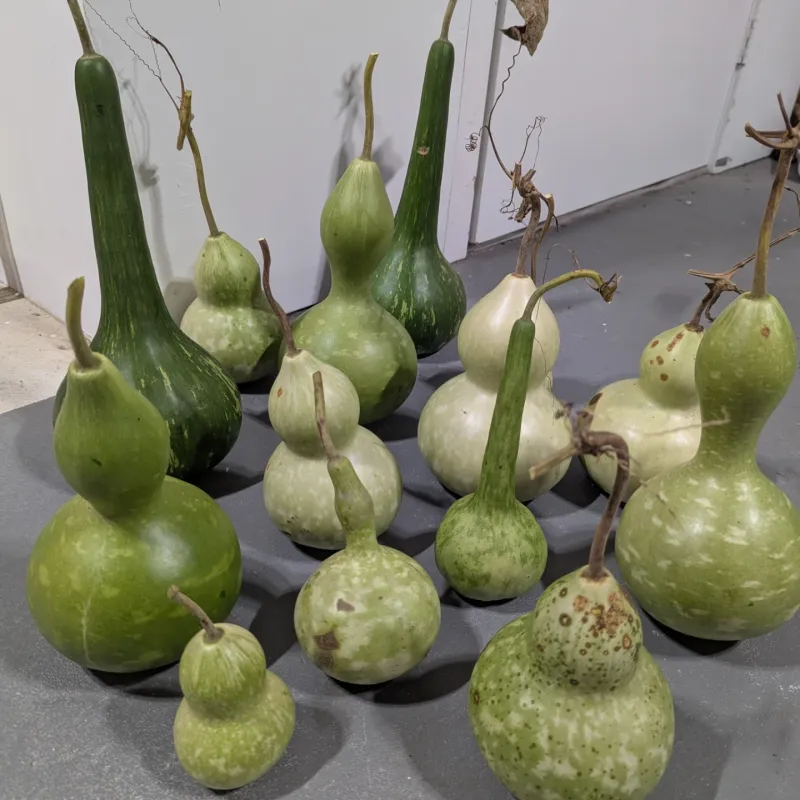
If the rest of your garden is a team, bottle gourds are the tough linebackers. They shrug off cold that would send other squash into a slump.
Their hard shells are famous for a reason. Some growers even leave them out in the field through snow, and they hold up surprisingly well.
Harvest timing starts with the stem. When it dries and turns brown, the gourd is no longer drawing food from the vine.
The body may still look green at that point, and that is fine. Color will change as the gourd dries over the coming months.
For the best results, leave them on the vine until the shells harden. Many growers wait until after the first hard frost before cutting.
Leave about one to two inches of stem when you snip them free. That stub helps the gourd dry evenly.
Hang them or set them on a rack in a dry, airy space. Drying can take several months, and moldy spots on the skin are often normal.
Once the seeds rattle inside, your gourd is ready. Crafters turn them into birdhouses, bowls, and drums with a little sanding and imagination.