8 November Rosemary Jobs To Do In Georgia Before Winter Arrives
Botanists quietly moved a beloved kitchen herb into the sage genus in 2017, and most cooks still have no idea. Its needle-like leaves hold oils that perfume your fingers for hours after a single brush in the garden.
That tough little shrub loves blazing Georgia summers, yet a sudden November freeze can still leave it brown and sulking.
Georgia’s first frost dates vary considerably by location, often arriving in October in the northern mountains and later in November or beyond in warmer southern and coastal areas.
I have to admit my own plant once looked unbeatable until one icy January night in north Georgia proved otherwise. You might notice the trouble starts long before winter, usually with soggy soil and well-meaning watering cans.
A few simple chores this month can mean fresh sprigs for holiday roasts instead of brittle gray sticks. Some tasks are worth tackling now, while others are better left until the daffodils start poking up again.
1. Check The Frost Forecast Before Your Rosemary Shivers
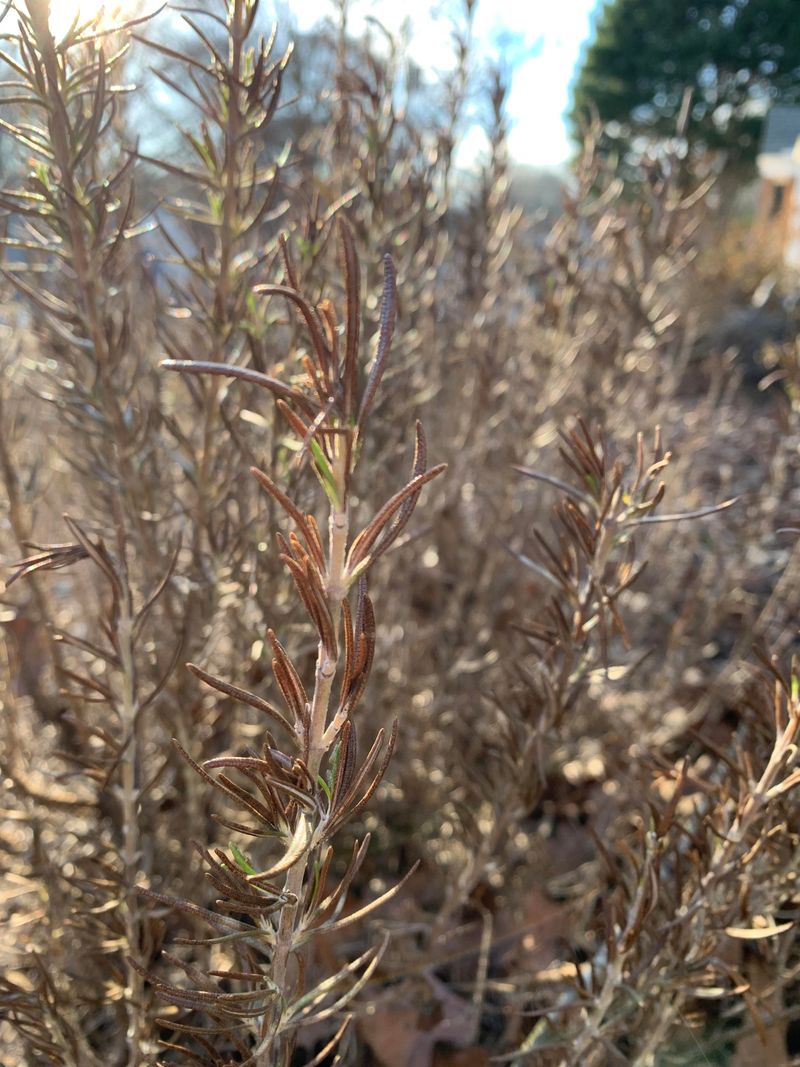
Weather apps became my favorite gardening tool the year a surprise freeze turned my rosemary tips crispy overnight.
Those silvery needles can handle a light chill, but a hard freeze arriving without warning is another story.
Frost dates swing widely across the state because elevation and distance from the coast change everything. Mountain towns near Blairsville often chill down weeks before gardens around Savannah feel their first frosty morning.
The University of Georgia runs a free weather network with stations scattered across dozens of counties. I like checking the station closest to my yard because it reflects local conditions better than big city forecasts.
Pay special attention whenever the forecast drops into the low twenties, since many common rosemary types start struggling there. Hardier selections such as Arp and Madalene Hill can usually shrug off colder nights with far less fuss.
Wind matters too, because dry gusts pull moisture from evergreen leaves faster than roots can replace it.
A cold night with steady wind often causes more browning than a calm night at the same temperature.
Keep an old bedsheet or frost cloth folded near the back door for those sudden cold snaps. Drape it over the shrub before sunset, then pull it off the next morning once temperatures climb.
Personally, I set a phone alert for freeze warnings so I am not caught scrambling in my pajamas. That small habit has saved more herbs in my garden than any fancy gadget I have purchased.
2. Bring Potted Rosemary Into A Bright Cool Garage
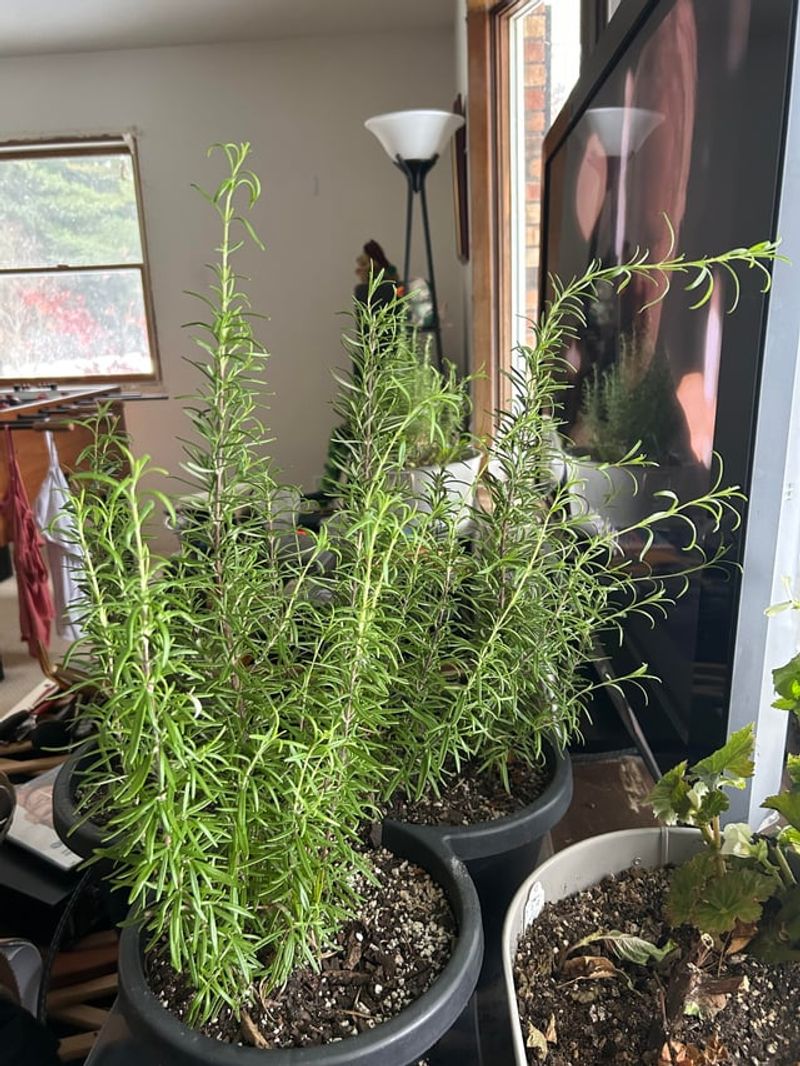
Rosemary in a pot faces a tougher winter than its cousins in the ground, because cold air surrounds the roots. Soil inside a container freezes much faster than garden soil, leaving tender roots with nowhere to hide.
Gardeners in the colder mountain and Piedmont areas should plan to move containers indoors before the first hard freeze.
Many experts suggest making the switch two or three weeks early so plants can adjust gradually.
Cozy living rooms sound kind, yet warm dry air and dim corners usually leave rosemary weak and moody. The sweet spot is a bright room that stays roughly between 40 and 60 degrees Fahrenheit.
An unheated garage with a sunny window works beautifully, and so does an enclosed porch or cool sunroom. I keep mine beside a south-facing garage window, and it stays green and fragrant all winter.
Light is the biggest challenge indoors, since rosemary prefers at least six hours of strong sun each day. A simple LED grow light on a timer can fill the gap during short gray afternoons.
Before carrying pots inside, check the undersides of leaves for spider mites or tiny white mealybugs hiding there. A firm spray of water outdoors removes most hitchhikers before they spread to your other houseplants.
Coastal gardeners with mild winters can often leave pots outside, moving them in only during rare deep freezes.
Rolling plant caddies make those quick trips much easier on your back and on your patience.
3. Wrap Outdoor Rosemary Containers In Frost Fleece
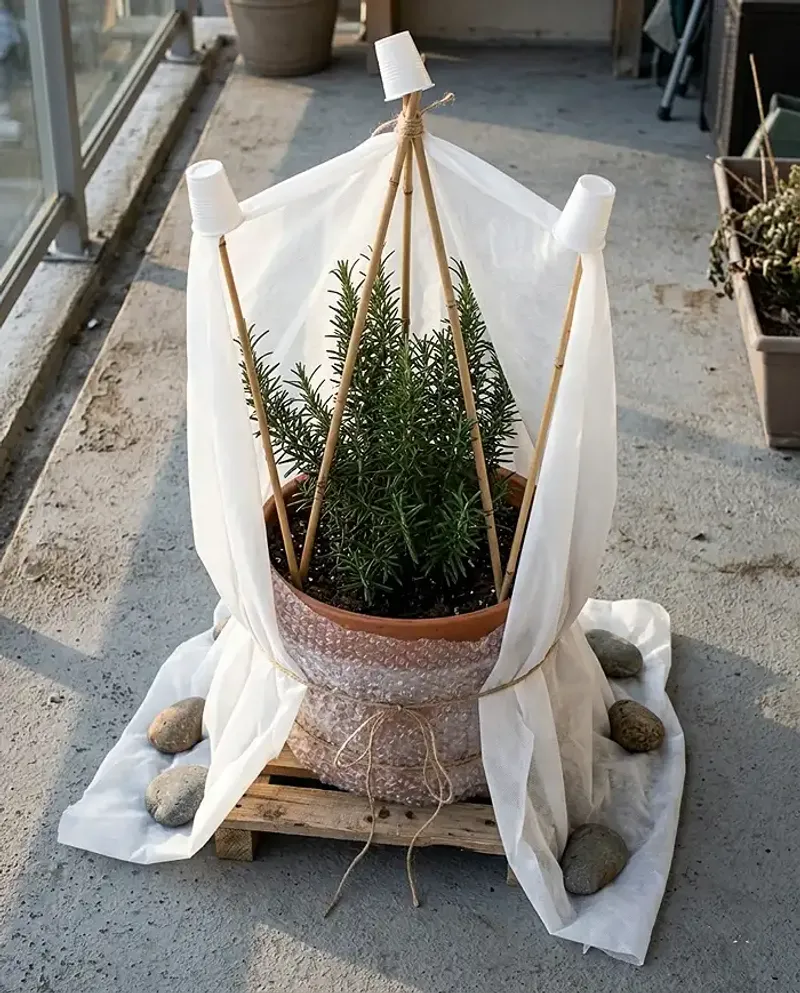
Big clay pots look gorgeous on a patio, but they can crack when wet soil inside freezes and expands. Rosemary planted in them can suffer too, since frozen roots cannot pull up water for the leaves.
In milder parts of Georgia, many gardeners keep their potted rosemary outside all winter with a little extra help.
Wrapping the container acts like a warm coat for the root zone, slowing how quickly soil temperatures drop.
Frost fleece and bubble wrap both work well when wound snugly around the outside of the pot. I tie mine with garden twine, leaving the top open so the plant still breathes and soaks up sunlight.
Location matters just as much as wrapping, so slide pots against a sunny south or west-facing wall. Brick and stone soak up heat during the day and release it slowly through the chilly night.
Grouping several containers together also helps, because the pots shelter one another from biting winter winds. You might be surprised how much warmer a tight cluster stays compared with one lonely pot.
Lift containers onto pot feet or a couple of bricks so water drains away instead of freezing underneath. That tiny gap also keeps cold concrete from chilling the bottom of the root ball overnight.
On the coldest nights, toss frost cloth over the leaves as well and anchor the edges with stones. Plastic sheeting touching the foliage can trap cold and cause damage, so stick with breathable fabric instead.
4. Spread Pine Straw Around Rosemary After A Hard Freeze
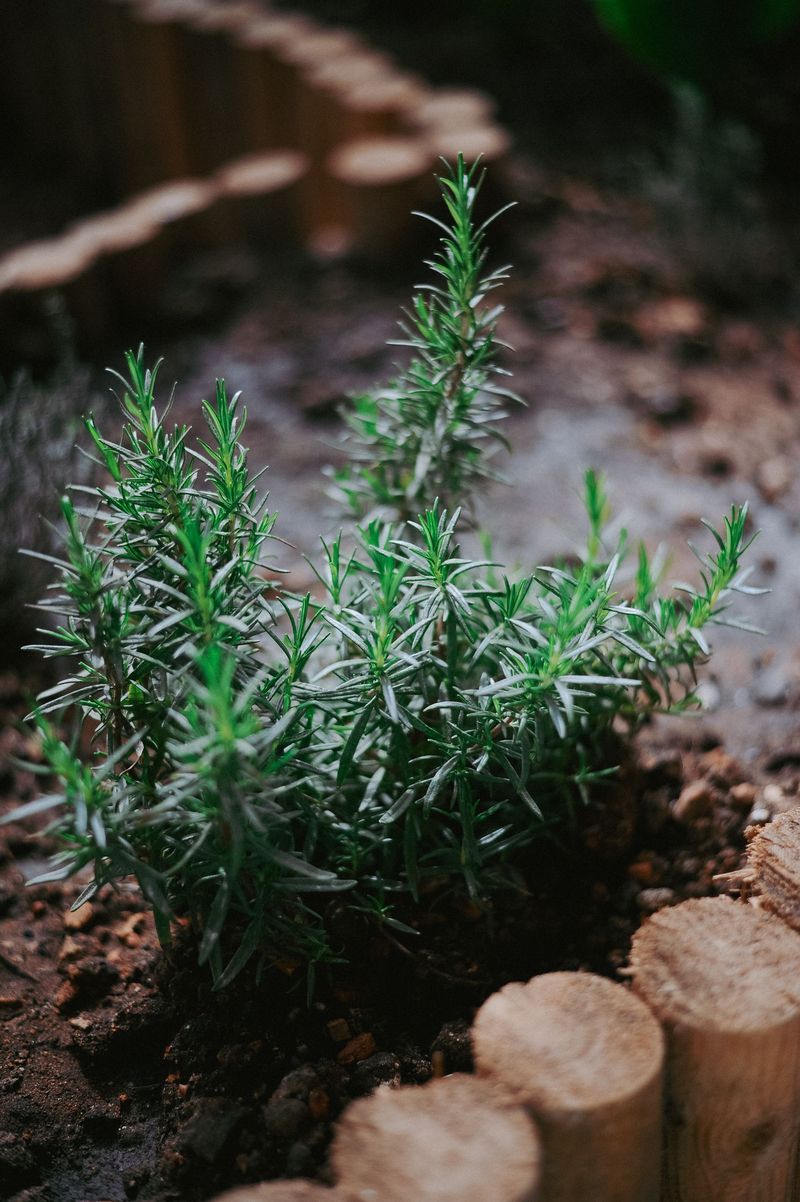
Pine straw might be the most southern mulch around, and rosemary roots seem to appreciate its airy texture.
Those loose needles let water slip through quickly, which suits a Mediterranean shrub that hates soggy feet.
Timing is the tricky part, because mulching too early can keep soil warm and delay natural hardening. Waiting until after the first hard freeze lets the plant settle into its winter rest on schedule.
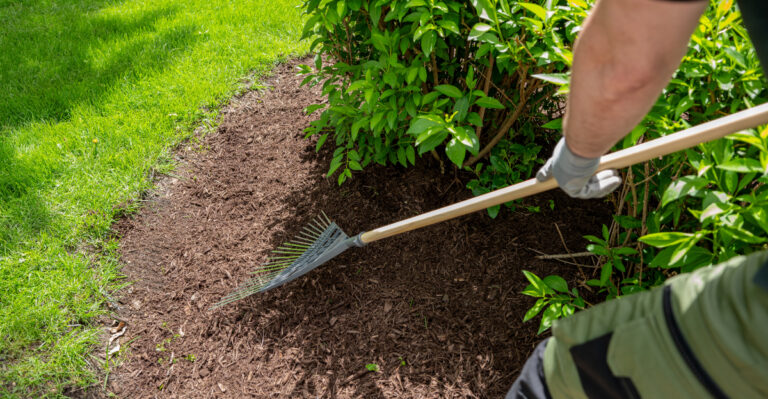
Once that freeze passes, spread a few inches of pine straw or shredded leaves around the root zone. The goal is steady soil temperatures rather than a heavy blanket that smothers the plant’s crown.
Winters here bounce between frosty mornings and sunny sixty-degree afternoons, and that seesaw stresses roots a lot. Mulch softens those swings, so the ground freezes and thaws less often throughout the cold season.
Keep the mulch pulled back two or three inches from the woody stems to discourage rot and fungus. I like leaving a little bare ring around the base, kind of like a moat around a castle.
Skip heavy materials like wet grass clippings or thick hardwood bark, since they hold moisture against the stems.
Rosemary prefers lean, gritty conditions, so lighter mulches that dry quickly are the better match here.
Some gardeners top dress with pea gravel instead, which reflects warmth and keeps the crown nice and dry. Both options work, and pine straw is often free if you have tall loblolly pines nearby.
5. Ease Up On Watering Your Resting Rosemary
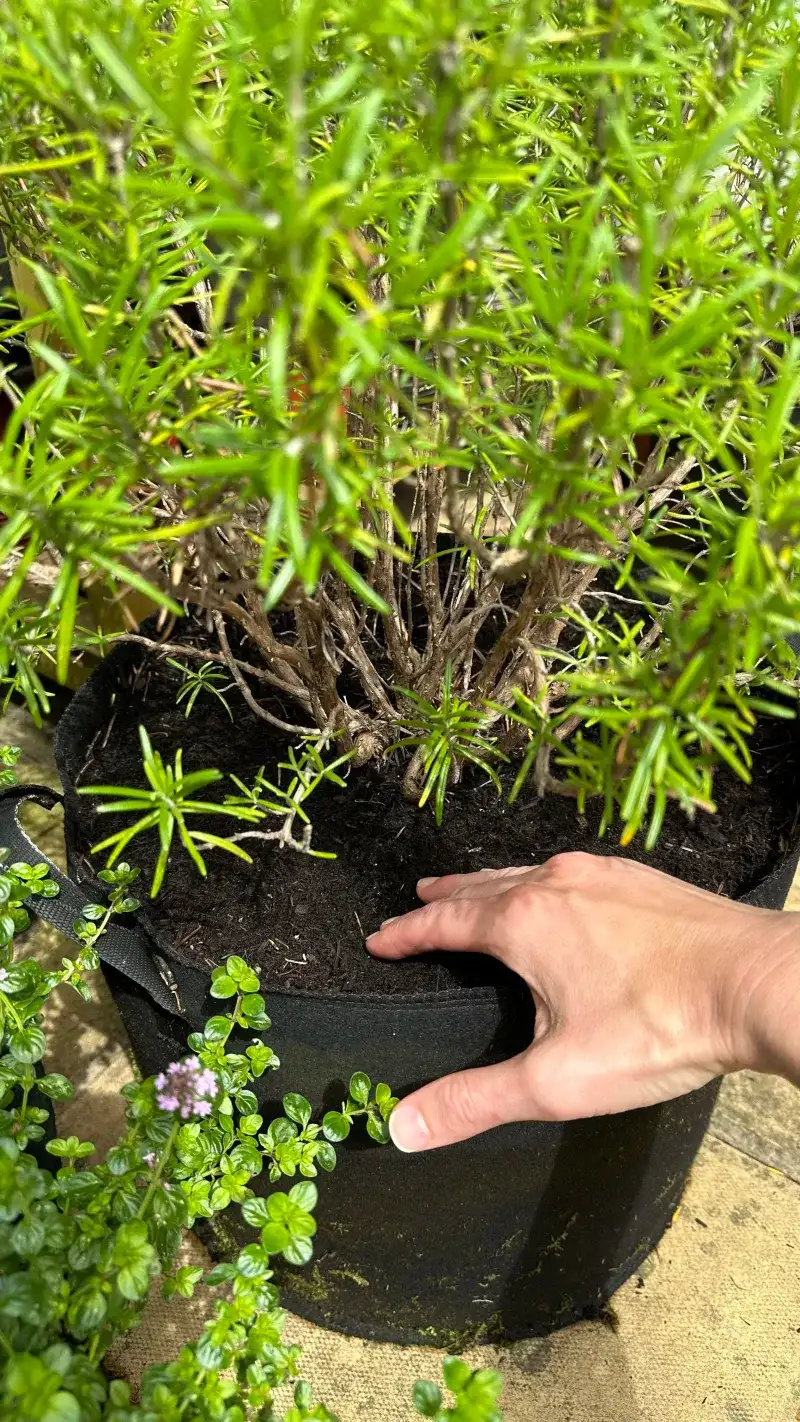
Plenty of rosemary plants suffer more from an eager watering can than from a chilly winter night.
Those resinous leaves evolved on sunny Mediterranean hillsides where summer rain is scarce and soil drains fast.
Growth slows way down as days shorten, so the plant simply drinks much less than it did in July. Extra water just sits around the roots, inviting rot that can quietly spread before you spot any signs.
My favorite test costs nothing, because I just push a finger into the soil up to the second knuckle. If the top inch or two feels dry, it is time to water, and otherwise I wait.
In-ground shrubs in Georgia usually get plenty from winter rainfall, so the hose can stay coiled for weeks. The exception comes during a dry spell right before a freeze, when moist soil actually helps roots.
Indoor pots dry out at their own pace, depending on room temperature and how much sun they receive. Lifting the container is a handy trick, since a light pot usually means the soil is thirsty.
When you do water, soak the soil until it drains from the bottom, then empty the saucer. Letting a pot sit in a puddle is like making the plant wear soggy socks all day.
Watch the needles for clues, because yellowing lower leaves often point to excess water rather than thirst. Brittle tips that crumble between your fingers, on the other hand, can signal the soil stayed too dry.
6. Check Drainage So Rosemary Roots Avoid Soggy Red Clay
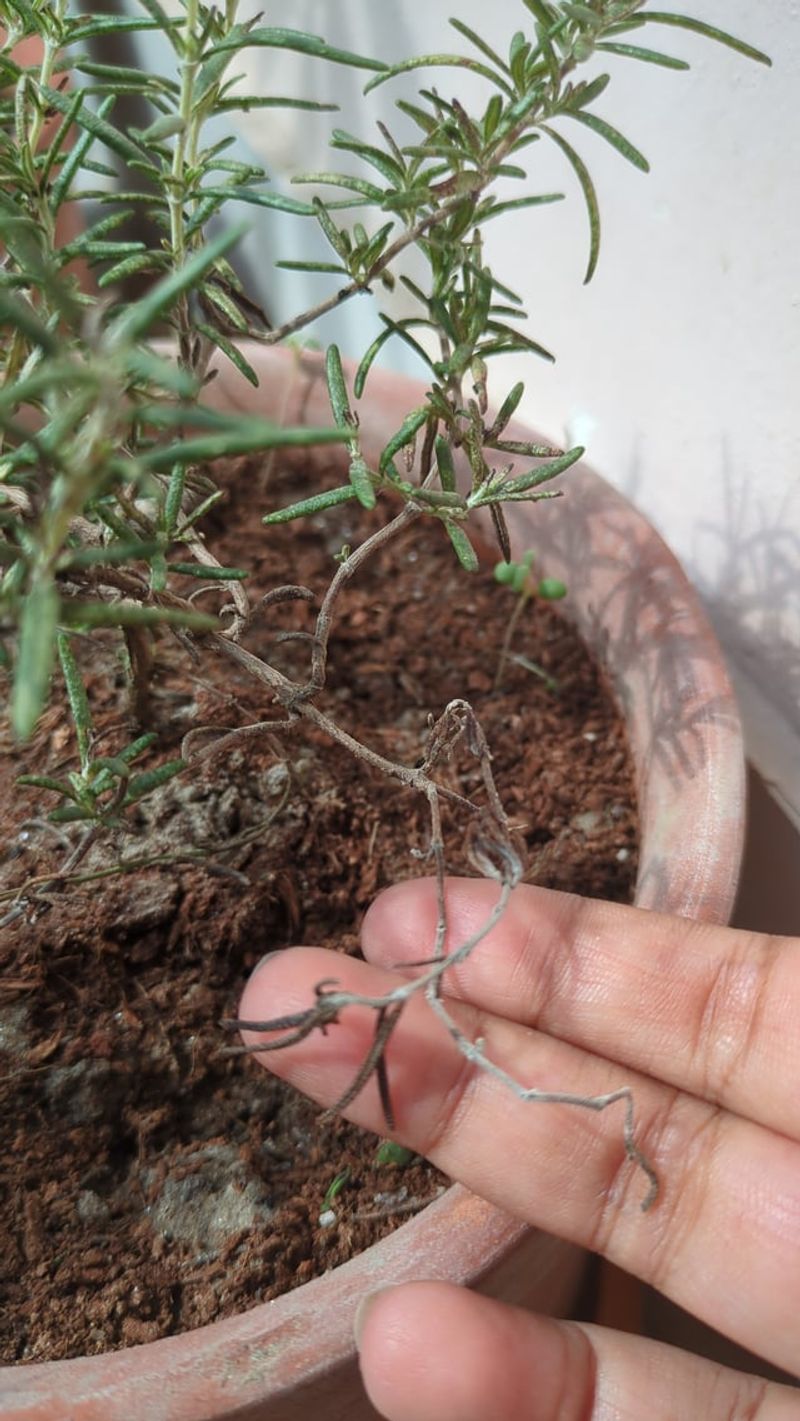
Red clay gives Georgia gardens their famous color, but it can hold water like a sponge after winter storms. Rosemary roots sitting in that cold, soggy mess for weeks often turn mushy and dark brown.
A quick drainage test tells you a lot, and it only takes a shovel and a little patience. Dig a hole about a foot deep near your plant, fill it with water, and watch.
Water that lingers for many hours means the spot drains poorly and needs some serious attention soon. I learned this the hard way after losing a gorgeous shrub planted at the bottom of a slope.
Young rosemary planted in a soggy spot can be moved now in milder areas, ideally onto a raised mound.
Gardeners in colder regions may prefer waiting until early spring, when roots can settle in before summer heat.
Raised beds filled with a gritty mix give rosemary the sharp drainage it craves through rainy months. Adding expanded shale or small pine bark chips helps, while fine sand can pack down like concrete.
Containers need attention too, so flip each pot over and make sure the drainage holes are open. Roots and packed soil can clog those holes over time, turning a healthy pot into a swamp.
Skip the old trick of adding gravel to the bottom, since research shows it raises the soggy layer. A uniform, fast-draining potting mix made for cacti or herbs does a much better job overall.
7. Snip Only Brown Or Broken Rosemary Stems
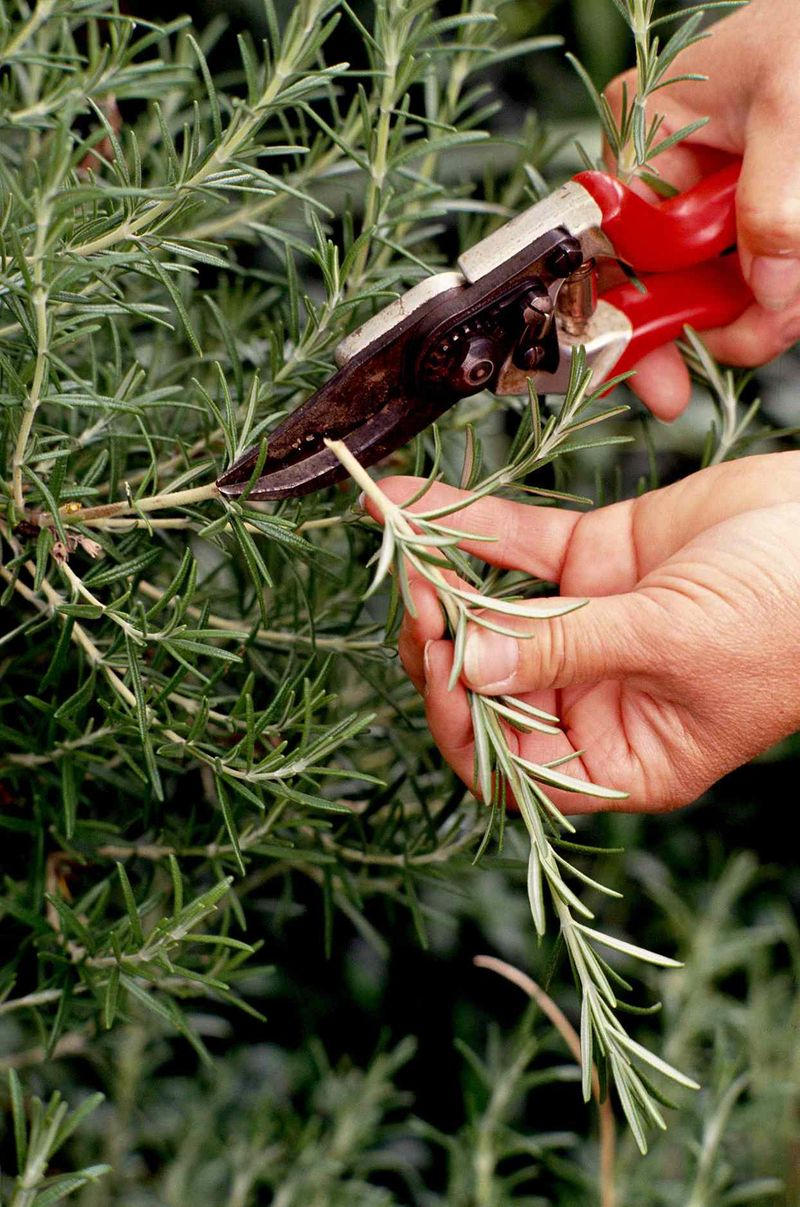
Grabbing the pruners in late fall feels productive, yet rosemary would rather you leave them in the shed.
Heavy cuts now can wake up soft new shoots that an early frost can scorch within days.
Major shaping is best saved for late spring or early summer, after the pale blue flowers fade. Plants pruned then have months of warm weather to recover and toughen up before the next winter.
For now, focus on light housekeeping, like removing brittle stems and branches snapped by wind or curious dogs. Scratch the bark gently with a fingernail, since green tissue underneath means that branch is still alive.
Harvesting a few sprigs for Thanksgiving stuffing is perfectly fine, and I happily raid my shrub every November.
Just take small snips spread across different branches instead of shearing one whole side bare of leaves.
Avoid cutting deep into the old woody base, because those gray stems rarely sprout new growth. Leave some green needles on every branch you trim so it can keep producing food through winter.
Clean, sharp pruners make tidy cuts that seal faster and give fungus fewer chances to sneak inside. A quick wipe with a household disinfectant between plants keeps any disease from hopping to its neighbors.
Frost-bitten tips might look scruffy after a cold night, but leave them alone until spring arrives. Those damaged bits can help shield the healthy growth below, acting like a small umbrella against the next freeze.
8. Root Fresh Rosemary Cuttings On A Sunny Windowsill
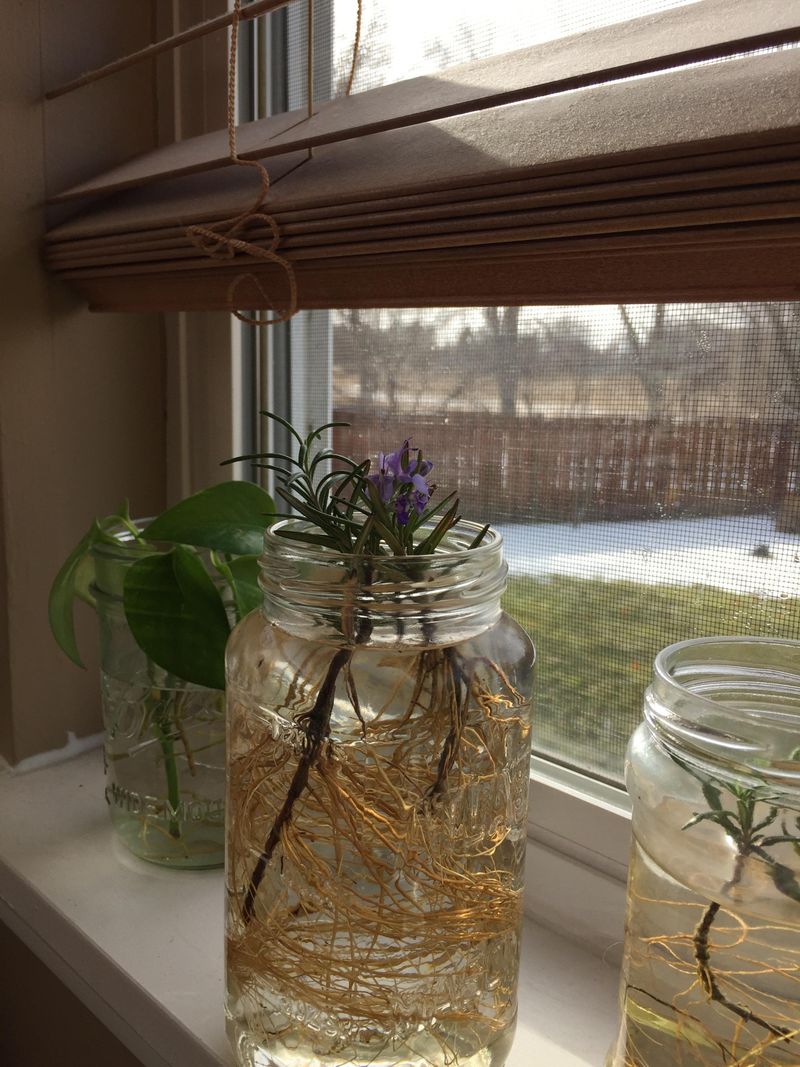
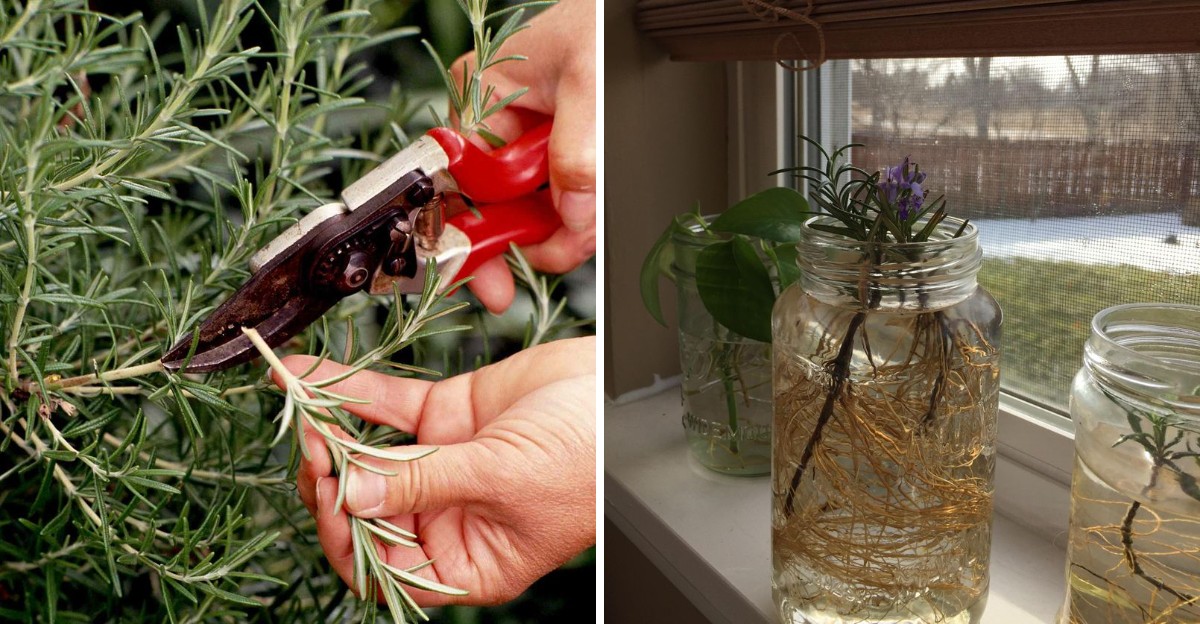
One healthy rosemary shrub can secretly hold dozens of future plants in its soft green tips. Taking a few cuttings now gives you backup copies in case winter hits harder than expected.
Choose flexible stems about four to six inches long, avoiding the stiff brown wood near the base.
Strip the needles from the bottom couple of inches, then make a clean cut just below a leaf node.
Some folks root them in a glass of water, and watching tiny white roots appear is weirdly satisfying. My own preference is a gritty blend of coarse sand and potting mix, since those roots transplant better.
Dipping the cut ends in rooting hormone can speed things along, though plenty of cuttings root fine without it. Keep the medium lightly moist, not wet, and cover the pot loosely with a clear plastic bag.
Set your little nursery on a bright windowsill indoors, especially if you garden in the colder northern counties. Bottom heat from a seedling mat helps a lot, because cuttings root slowly when the soil feels chilly.
Patience is key here, since rosemary often takes several weeks before roots form and new growth appears. A gentle tug that meets resistance tells you the roots have finally grabbed hold of the mix.
By spring, you could have a tray of sturdy young plants ready for the garden or for gifting. Friends who receive a homegrown rosemary start tend to remember it every time they cook a roast.