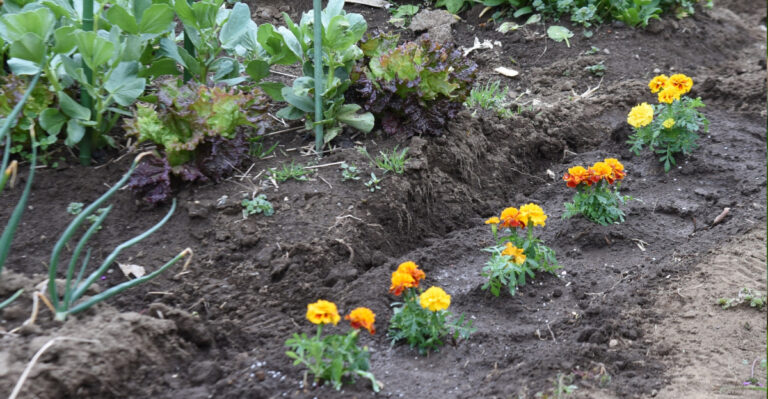
How To Fix Virginia Lawn By Hand (From Diagnosis To Recovery)
Your lawn should not feel like a hiking trail.
Bumps, dips, and uneven patches make mowing harder, drainage worse, and your yard look neglected even when you put in the work.
The frustrating part is that most Virginia homeowners do not realize how simple the fix actually is.
Heavy equipment and contractors are completely unnecessary here.
A free weekend and the right approach are all you need.
Leveling a bumpy lawn by hand is one of those satisfying projects where the results show up the same day you start.
Virginia lawns develop uneven spots for all kinds of reasons, from soil settling to tree roots to years of foot traffic.
Most of them are completely fixable without spending a fortune, and every step of the process is more straightforward than it looks.
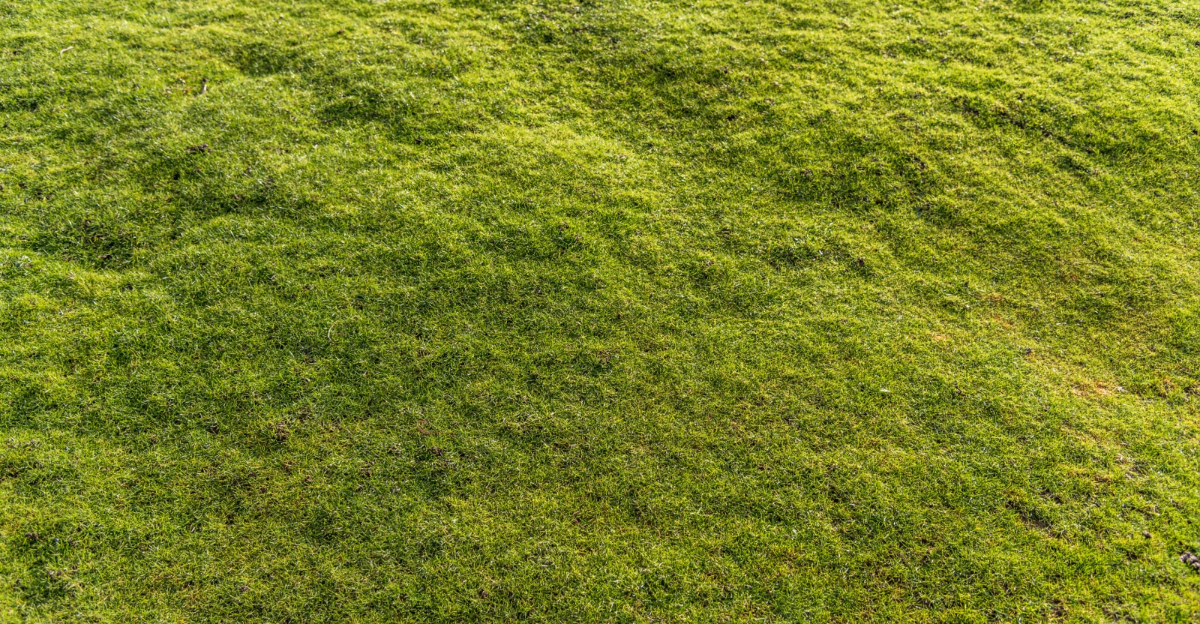
Why Virginia Lawns Become Uneven Over Time

Image Credit: © Kurt Barlow / Pexels
Freeze-thaw cycles do more damage than most people realize, and your lawn pays the price every single winter.
During cold winters, water in the soil freezes and expands, pushing the ground upward.
When it thaws, the soil does not always settle back into place evenly.
Tree roots are another major troublemaker lurking just beneath the surface.
As roots grow outward, they push soil and turf upward in irregular patterns.
You might notice ridges forming near old trees that seem to get worse every year.
Burrowing animals like moles, voles, and earthworms also leave behind tunnels and mounds that disrupt the surface.
Heavy foot traffic compacts soil unevenly, creating low spots in high-use areas.
In rare cases, soil movement near a home’s foundation can also contribute, though that usually signals a deeper issue worth investigating separately.
Knowing the cause of your uneven turf helps you choose the right fix.
A lawn that heaved from frost needs a different approach than one damaged by drainage issues.
Once you understand what created the problem, you are already halfway to solving it.
Identify Problem Areas Before You Start

Walking your yard barefoot on a dry afternoon is one of the most underrated diagnostic tools available to any homeowner.Your feet will feel dips, ridges, and soft spots that your eyes might completely miss.
Take your time and move slowly across every section of the lawn.
After your barefoot survey, grab a handful of small flags or even simple sticks to mark every problem spot you find.Low spots that collect water after rain are high priority, since standing water encourages moss, fungus, and weak grass roots.
Bumps and ridges that catch your mower blade are also worth flagging immediately.
A long straight board or a level placed on the ground can reveal just how significant the grade changes are in your yard.For a more thorough check, water your lawn lightly and watch where puddles form within 30 minutes.
Puddle locations almost always indicate the lowest spots that need the most attention.
Take photos of every flagged area before you begin any work.These before-and-after shots are incredibly motivating once the project wraps up, and they help you track any spots that might need a second round of attention later.
Your Virginia Garden Changes Every Week. Your Plan Should Too.
Gardening in Virginia changes quickly throughout the season. Every Friday you’ll receive a simple weekly plan showing exactly what to plant, prune, fertilize, harvest, and protect so you never miss the right timing.
Knowing exactly where to focus keeps the whole project efficient and targeted.
Tools And Materials You Will Need

You do not need a garage full of fancy equipment to get this job done right.A few well-chosen hand tools and the correct materials are all it takes to transform a rough, uneven yard into a smooth surface.
Having everything ready before you start saves time and keeps your momentum going.
Start with a sturdy landscape rake, which is wider and flatter than a standard garden rake.This tool is essential for spreading topdressing mix evenly across low spots.
A flat-bladed shovel is helpful for moving larger amounts of soil and cutting into raised bumps.
You will also want a lawn roller, which can be rented cheaply from most hardware stores.Filling it with water adds weight, and rolling the lawn helps press down high spots and firm up freshly added soil.
A wheelbarrow makes hauling topdressing mix much less exhausting.
On the materials side, pick up a quality topdressing mix, a soil moisture meter if you want to be precise, and grass seed that matches your existing lawn.Gloves and knee pads will save your hands and knees during longer work sessions.
Being well-equipped from the start turns a daunting project into a manageable afternoon of satisfying yard work.
The Best Time Of Year To Level Your Lawn In Virginia

Get the timing wrong and your lawn will remind you about it for the rest of the season.
For most Virginia lawns, early fall is the ideal window.
Temperatures are cooling down, the soil still holds warmth, and grass is actively pushing new root growth before winter.
Early spring works as a second option when fall is not possible.
Tall fescue, which dominates northern and central Virginia, recovers best when temperatures stay between 60 and 75 degrees.
Avoid leveling during the heat of summer when cool-season grass is already stressed.
Warm-season grasses like Bermuda and Zoysia, popular in the southern parts of the state, prefer late spring into early summer leveling.
They are actively pushing new growth during warmer months, so they fill in repaired areas faster.
Working with your grass type rather than against it makes the whole process smoother.
Never attempt to level a lawn by hand when the ground is frozen or waterlogged.
Working in soggy conditions compacts the soil and causes more harm than good.
Patience with timing pays off with a noticeably faster and fuller recovery.
How To Fill Low Spots And Bumps By Hand

Fixing a low spot by hand is genuinely satisfying work once you get the hang of the rhythm.
Start by loosening the existing grass in the low area with a garden fork, which helps the new soil bond with the ground below.
Avoid digging too deep, since disturbing established roots can set your grass back significantly.
Add your topdressing mix in thin layers, no more than half an inch at a time.
Piling on too much at once smothers the grass underneath and creates new problems instead of solving old ones.
Spread each layer evenly with your landscape rake, working it gently into the grass blades.
For raised bumps caused by tree roots or frost heave, use a flat spade to carefully peel back the turf like a flap.
Remove or tamp down the excess soil underneath, then lay the turf flap back down and press it firmly into place.
Water the repaired area immediately to help it re-establish contact with the soil below.
Repeat the thin-layer process over several weeks for deeper low spots rather than trying to fix everything in one session.
Patience here produces a far more professional-looking result.
Each thin layer settles properly and gives the grass room to grow through, which produces a far cleaner result than rushing the process.
The Right Soil Mix For Topdressing A Virginia Lawn

Grabbing any bag of dirt from the hardware store and dumping it on your lawn is a mistake that many first-timers make.
The wrong soil mix can actually make drainage worse and create a layer that your grass roots struggle to penetrate.
Choosing the right blend upfront protects all the effort you are putting into this project.
Use a screened topdressing mix that closely matches your soil (compost topdressing is often useful for clay soils).
Sand improves drainage and prevents compaction over time, while compost adds nutrients and supports healthy microbial activity in the soil.
This combination works well with both cool-season and warm-season grasses common across the state.
Straight topsoil is rarely the best choice here, it tends to be heavy and slow-draining in many parts of Virginia, though quality varies by source.
Clay-heavy soil can create a hard layer that traps moisture and suffocates grass roots during wet seasons.
If your existing soil is sandy, lean your mix slightly heavier on compost to improve water retention.
Local garden centers often carry pre-blended topdressing mixes labeled specifically for lawn use, which takes the guesswork out of mixing your own.
Always match the texture of your topdressing as closely as possible to the existing soil in your yard.
A well-matched mix blends into your existing soil without creating a visible layer or drainage barrier.
How To Care For Your Lawn After Leveling

The work does not stop once the last scoop of topdressing is raked into place.
How you care for your lawn in the weeks after leveling determines whether the repairs hold or slowly undo themselves.
Think of post-leveling care as the follow-through that seals the deal on all your hard work.
Water the treated areas lightly every day for the first two weeks, keeping the soil consistently moist but never soggy.
Fresh topdressing dries out fast in warm spring afternoons. Dry soil stalls germination and slows recovery.
A light misting in the early morning works better than one heavy soaking late in the day.
Hold off on mowing the repaired sections until new grass has reached at least three inches tall.
Mowing too early pulls up shallow roots and can disturb the fresh soil layer before it has bonded properly.
Once the new growth is established, mow at a high setting for the first few cuts to reduce stress on tender grass blades.
Applying a light starter fertilizer after seeding gives your repaired spots a nutritional boost that speeds up coverage.
Avoid heavy foot traffic on freshly leveled areas for at least three to four weeks.
Stay consistent for a few weeks and your lawn will do the rest.