What Michigan Gardeners Should Do To Daylilies Right After They Finish Blooming
Daylilies earn their place in Michigan gardens every summer without much argument. Bold color, reliable performance, and zero drama during the growing season.
Then the blooms finish and suddenly nobody knows what to do, which is fair because daylilies give very few clues.
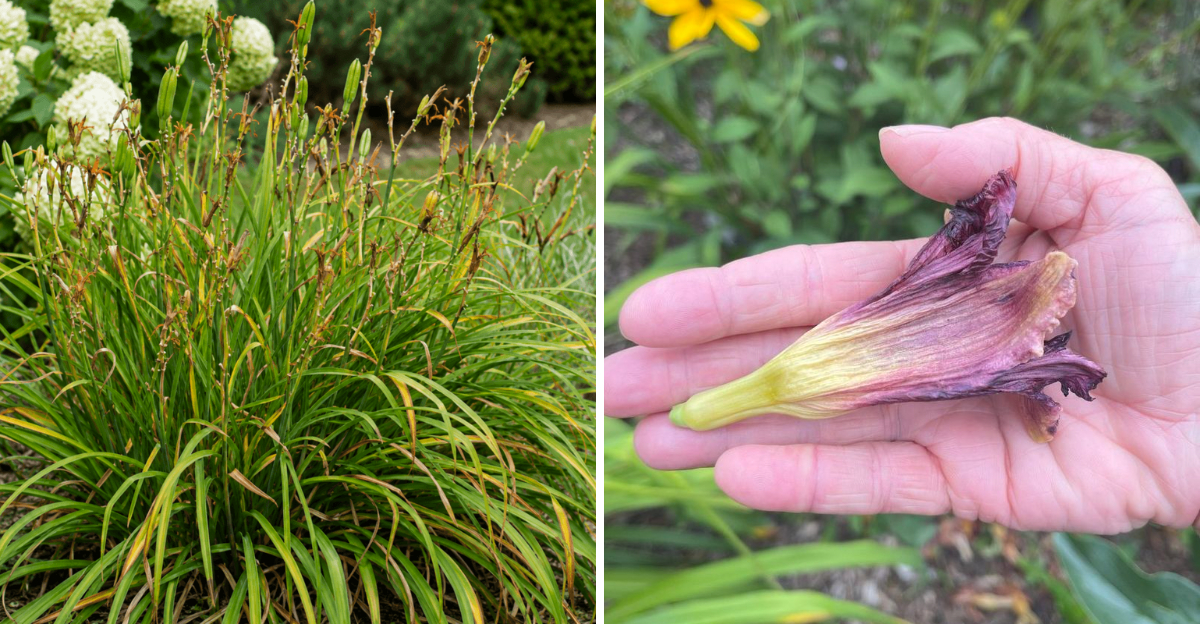
The spent stalks just sit there looking vaguely purposeful while seed pods quietly form and start pulling energy away from the plant in ways that show up next season rather than this one.
The fix is simple and takes about ten minutes, but knowing which parts to remove and which parts to leave completely alone makes all the difference.
Those green leaves are still working hard long after the flowers are gone, and the plant needs every one of them to build strength for next year.
1. Remove Spent Flower Stalks First
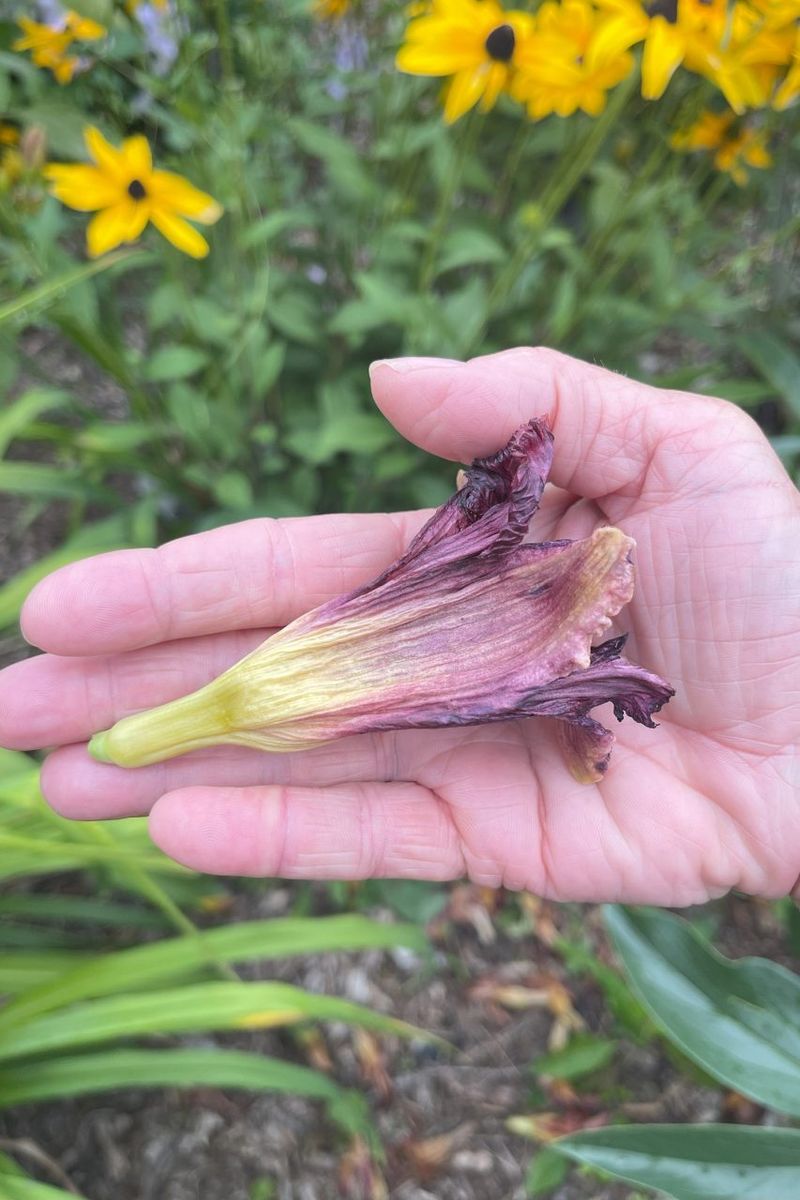
Once the last flower on a daylily stalk has faded, that stalk has done its job. What remains is a bare, stiff stem that adds nothing to the look of the garden and serves no real purpose for the plant going forward.
In a Michigan perennial bed, these spent stalks can pile up quickly during mid to late summer, especially when multiple plants finish blooming around the same time.
Removing them promptly is one of the easiest things a home gardener can do to keep the bed looking neat and well-tended. A clean pair of hand pruners or garden scissors works well for this task.
Simply locate the stalk where it rises from the base of the plant and cut it off as close to the ground as comfortably possible without disturbing the surrounding foliage.
Many gardeners find this task satisfying because the results are immediately visible. The bed looks tidier right away, and the plant appears cleaner without a cluster of bare sticks poking up through the leaves.
Beyond appearances, removing spent stalks also discourages the plant from putting energy into forming seed pods, which can draw resources away from the roots and crown.
For Michigan gardeners managing sunny foundation beds, cottage-style borders, or mixed perennial plantings, this is a low-effort step that pays off in a cleaner summer garden.
It does not require special tools or a lot of time, and it can be done gradually over several days as different stalks finish blooming rather than all at once.
2. Leave The Green Foliage In Place
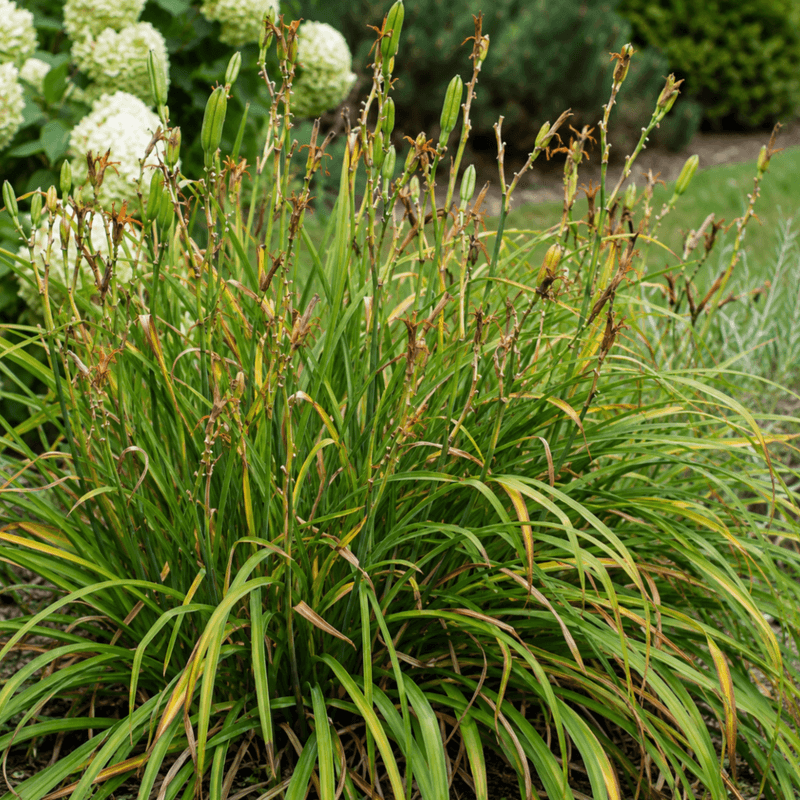
After the flowers are gone, it can be tempting to cut the whole daylily plant back to the ground for a cleaner look. Many Michigan gardeners assume that once blooming is over, the plant is finished for the season and no longer needs its leaves.
That assumption, while understandable, can actually work against the plant’s long-term health.
Green daylily foliage continues photosynthesizing well into late summer and early fall, even after the last bloom fades. The leaves are converting sunlight into energy that travels down to the roots and crown, where it is stored for the following growing season.
Cutting that foliage back too soon interrupts this process and reduces the energy reserves the plant depends on to produce strong growth and flowers next year.
Your Michigan Garden Changes Every Week. Your Plan Should Too.
Gardening in Michigan changes quickly throughout the season. Every Friday you’ll receive a simple weekly plan showing exactly what to plant, prune, fertilize, harvest, and protect so you never miss the right timing.
In a typical Michigan landscape, daylily leaves remain green and functional for weeks or even months after bloom.
They blend naturally into mixed perennial borders, add texture to sunny beds, and continue contributing to the visual structure of the garden even without flowers.
Leaving them in place is not neglect; it is actually the smarter move for the plant’s overall wellbeing.
The general guidance from horticultural experts is to let the foliage stand as long as it remains green and healthy. There is no need to rush the cleanup.
The leaves will naturally begin to yellow and decline as the season progresses, and that is the right time to address them. For now, a hands-off approach to the foliage is exactly what the plant needs.
3. Seed Pods Use Energy The Plant Needs
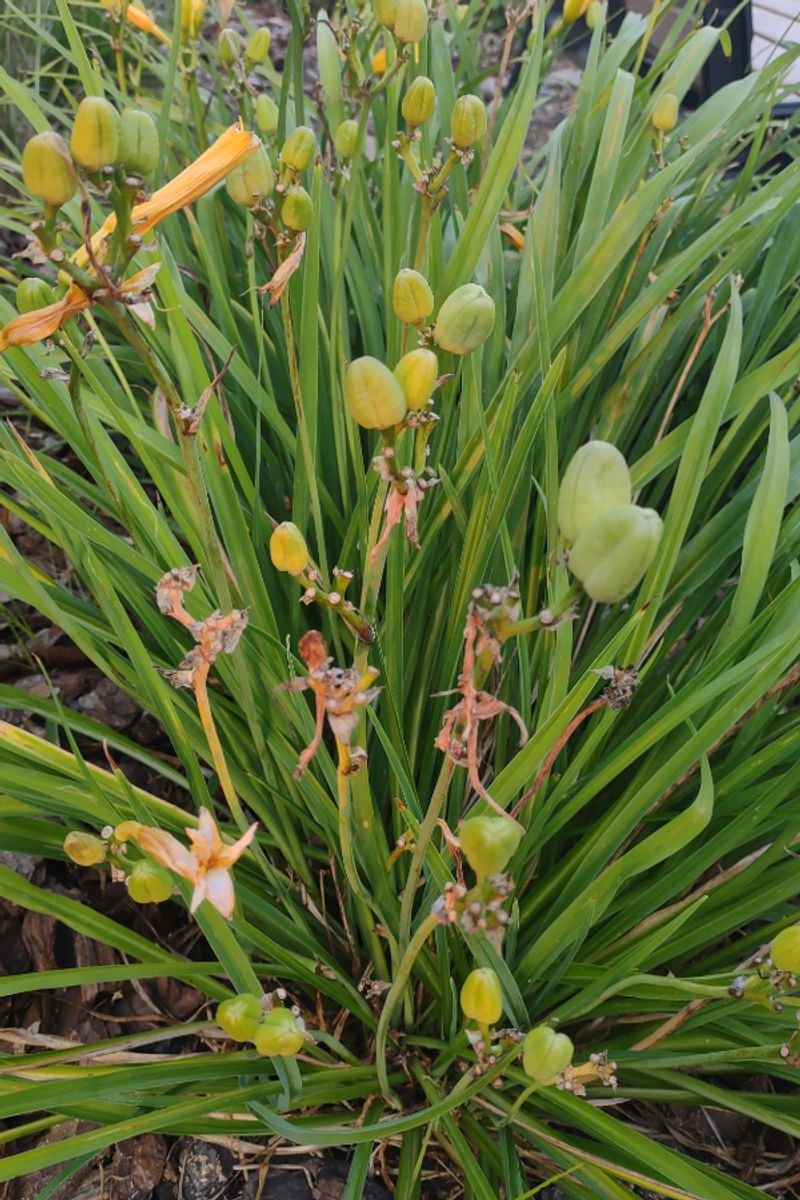
Tucked at the tip of a spent flower stalk, a small green pod sometimes begins to swell where the bloom used to be. That pod is a developing seed case, and while it might look harmless or even interesting, it represents a significant draw on the plant’s energy.
Daylilies that are allowed to form and mature seed pods shift resources toward reproduction rather than root development.
For home gardeners in Michigan who want vigorous, well-rooted plants that return reliably each summer, letting seed pods develop on common garden daylilies is generally not the most beneficial choice.
The energy used to ripen seeds is energy that could otherwise support root growth, crown health, and the development of next season’s flower buds.
Removing seed pods is simple and takes only a moment. Once you spot a pod beginning to form at the base of a spent flower, snip it off along with the stalk or remove it separately if the stalk is still holding other buds.
Catching them early, before they swell and mature, makes the job easier and more effective.
It is worth noting that hybrid daylilies grown from seed rarely resemble the parent plant, so saving daylily seeds for replanting is generally not a reliable way to reproduce a specific variety.
For Michigan gardeners who love a particular cultivar, division is a much better method of propagation.
Removing seed pods keeps energy where it belongs and supports the plant without any complicated effort on the gardener’s part.
4. Cut Stalks Close To The Base
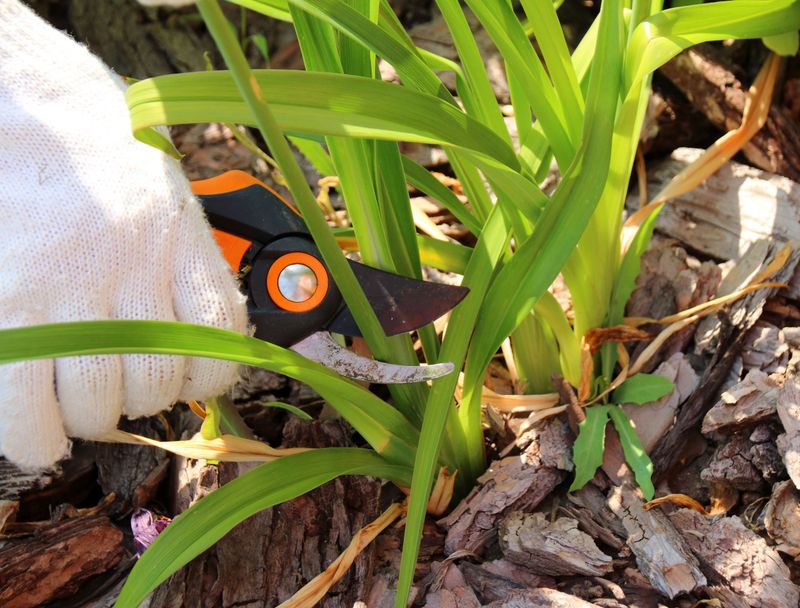
Where you make the cut on a spent daylily stalk matters more than most people expect.
Cutting too high leaves an awkward stub sticking up above the foliage, which can look untidy and may also become a spot where moisture collects or insects find easy entry.
Getting the cut as close to the base as possible gives the plant a much cleaner appearance and removes the stalk more completely.
Most gardeners find that a pair of clean, sharp hand pruners makes this job easy and precise. Sharp blades create a clean cut that heals more smoothly than a jagged one made with dull tools.
Before heading out to the garden, wiping the blades with a clean cloth is a simple habit that helps keep tools in good shape from plant to plant.
In practice, cutting close to the base means snipping the stalk right where it meets or nearly meets the crown of the plant, among the base of the leaf fans. You do not need to dig or disturb the roots to do this.
A careful snip at the right spot is all it takes, and the remaining stub, if any, will naturally break down over time.
Michigan gardeners working in tightly planted perennial beds may need to gently part the foliage to get a clear view of where the stalk originates. Taking an extra moment to find the right spot before cutting helps avoid accidentally nicking healthy leaves.
The result is a neater plant and a tidier bed that looks well cared for through the rest of summer.
5. Clean Up Yellowing Leaves Later
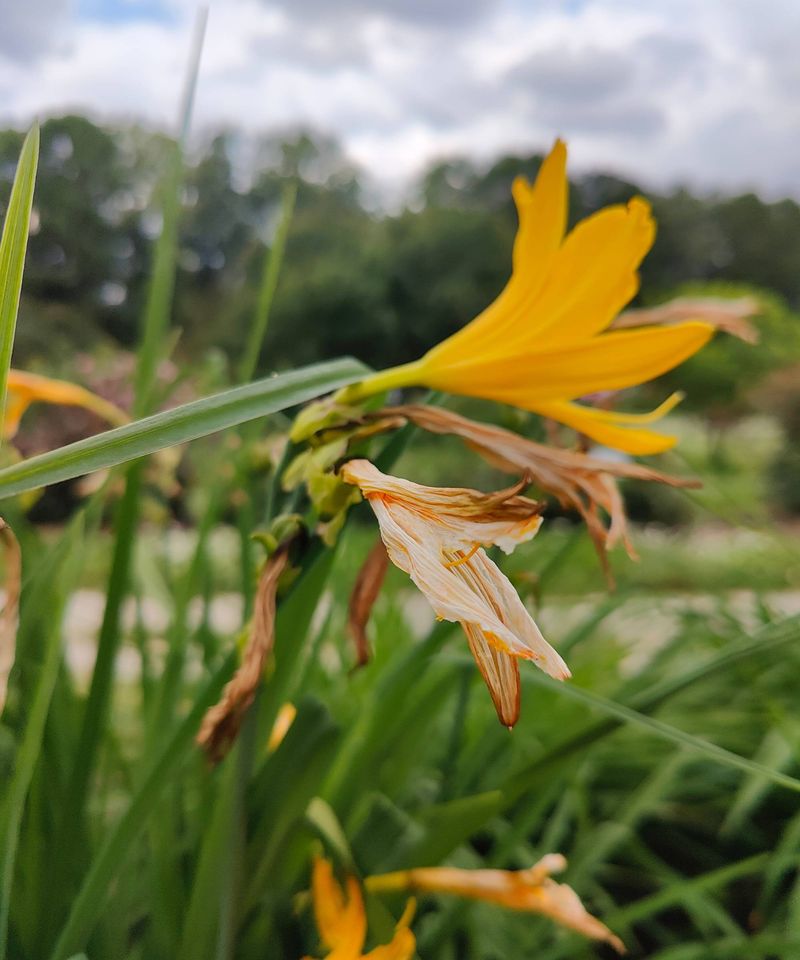
As summer moves toward fall across Michigan, daylily foliage naturally begins to show its age. Leaf tips may turn brown, older outer leaves may yellow, and the overall appearance of the plant gradually shifts from lush green to a more tired, weathered look.
This is a normal part of the seasonal cycle and not something that requires an urgent response in the middle of summer.
Waiting until the foliage actually begins to decline before removing it is the right approach. Pulling or cutting back green leaves too early, even if they look a little ragged, removes active photosynthetic tissue that the plant is still using.
Once leaves are clearly yellowing, browning, or fading back on their own, they are no longer contributing to the plant’s energy production and can be cleaned up without concern.
Removing declining foliage is straightforward. Many gardeners simply pull yellowing leaves away by hand with a gentle tug, since they often detach easily once they have started to break down.
Others prefer to use scissors or pruners to trim them off neatly. Either approach works fine, and the choice usually comes down to personal preference and how tightly the plants are growing together.
For Michigan perennial beds, a light fall cleanup of daylily foliage helps the garden look tidy heading into the cooler months. Some gardeners prefer to leave a bit of the old foliage in place through winter as light mulch around the crown.
Either way, late-season cleanup of yellowing leaves is a low-stress task that fits naturally into the broader rhythm of fall garden work.
6. Watch For Crowded Clumps
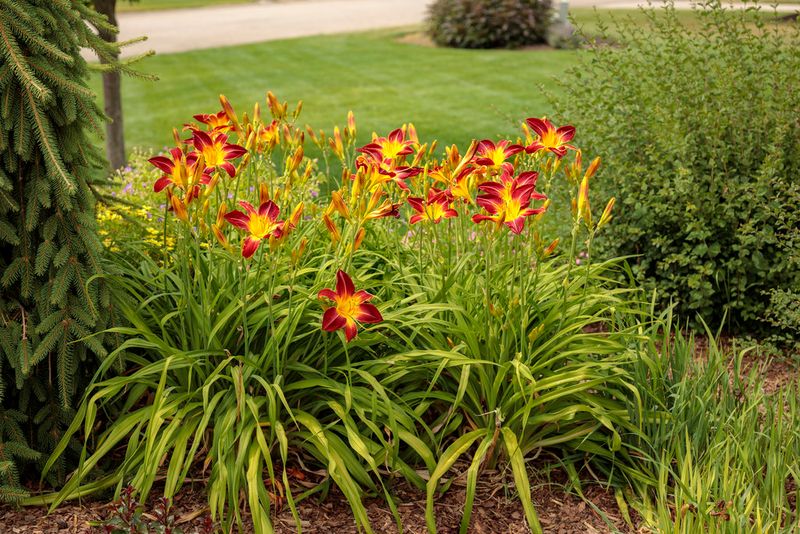
Over several growing seasons, daylilies spread steadily outward, producing new fans of foliage that gradually fill in around the original plant. What starts as a single modest clump in a Michigan garden bed can become a dense, overcrowded mass within a few years.
When clumps get too crowded, individual fans begin competing for water, nutrients, and light, and flower production often drops noticeably as a result.
The period right after bloom is a good time to take stock of how your clumps are looking. If a clump seems packed with foliage but produced fewer flowers than usual this season, overcrowding may be part of the reason.
Crowded plants tend to push more energy into vegetative growth and less into the flower development that makes daylilies so rewarding in a summer garden.
Division is the solution, and late summer or early fall is a reasonable window for dividing daylilies in Michigan, once the heat of midsummer begins to ease.
Dividing a clump involves digging it up, separating the fans into smaller sections, and replanting them with more space between them.
It sounds like a big task, but daylilies are resilient plants that handle division reasonably well with a bit of care.
Not every clump needs to be divided every year. Some gardeners go four or five years between divisions without any issues.
The key is paying attention to how the plant is performing. If flowering has declined and the clump looks dense and congested, that is a reliable sign that division would likely benefit the plant and refresh the bed heading into the next growing season.
7. After-Bloom Care Supports Next Year’s Flowers
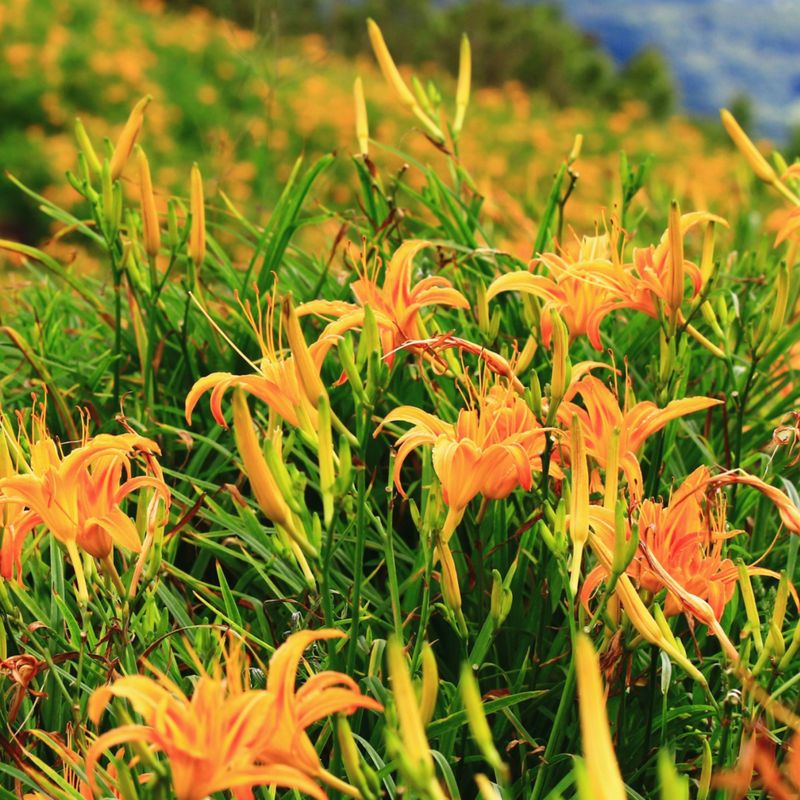
Good daylily care does not end when the flowers do. What happens in the weeks following bloom plays a quiet but meaningful role in how well the plant performs the following summer.
Removing spent stalks, leaving healthy foliage in place, and discouraging seed pod formation all contribute to a plant that goes into fall with stronger energy reserves and a better foundation for next year’s growth.
For Michigan gardeners, the post-bloom period runs through much of late July and into August, depending on the variety and the season.
During this stretch, the garden may not look as dramatic as it did during peak bloom, but the work happening below the surface is significant.
Roots are absorbing moisture and nutrients, the crown is building up reserves, and the plant is quietly preparing for what comes next.
Simple, consistent habits during this period add up over time. A garden where spent stalks are regularly removed, foliage is respected, and crowded clumps are addressed when needed tends to produce more reliable flowering year after year.
No single step is a dramatic intervention, but together they reflect an approach to perennial care that works with the plant’s natural rhythms rather than against them.
Michigan landscapes are full of daylilies that return dependably each summer with very little fuss, and that reliability is partly the result of thoughtful after-bloom care.
Keeping the expectations realistic and the tasks manageable makes this kind of seasonal maintenance approachable for gardeners of any experience level, from longtime perennial enthusiasts to those tending their first flower bed.