How To Set Up A Rain Barrel Near Your Patio That Cuts Down On Hose Trips All Summer
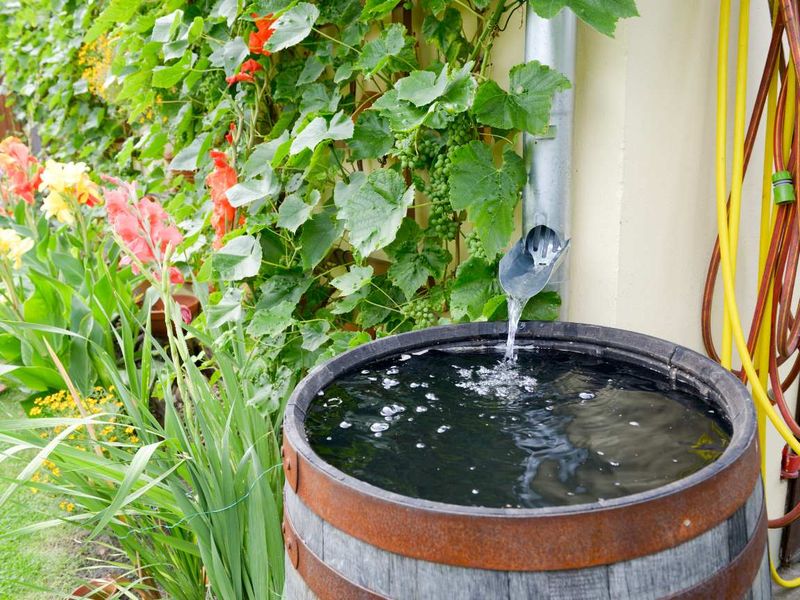
Dragging a garden hose across a hot patio to water a dozen containers in August is one of those chores that sounds minor until you are doing it every single day. A rain barrel positioned close to your pots can change that routine in a real way, collecting roof runoff and making it available right where you need it. North Carolina gets enough summer rainfall to refill a barrel quickly between storms, though a single barrel will not carry you through every dry stretch on its own. This guide walks you through the setup, the honest limits, and the small habits that make the system actually work.
Make The Promise About Fewer Hose Trips
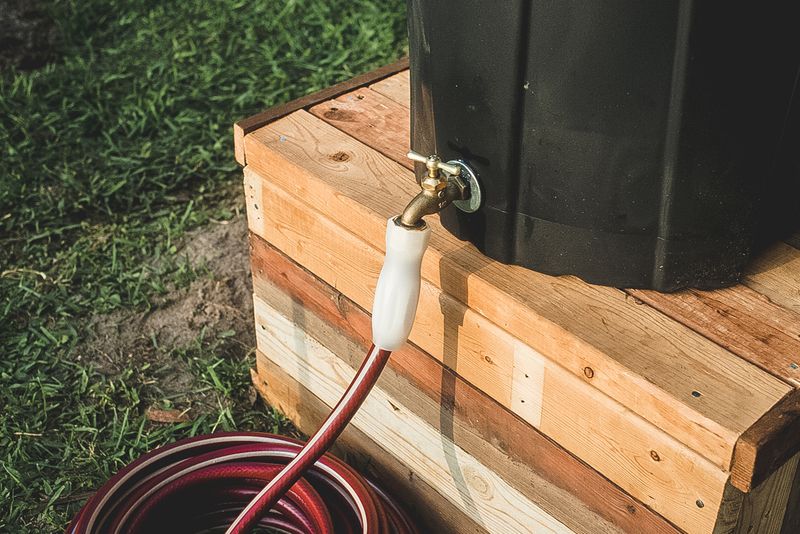
August in the North Carolina Piedmont is the kind of heat that makes you resent every foot of hose you have to uncoil. Pots dry out fast in that sun, and if your spigot is on the far side of the house, watering a dozen containers turns into a genuine project. A rain barrel sitting close to the patio solves that specific problem well, putting water where you need it without the trip across the yard.
What it does not do is guarantee a full summer of free watering without any backup. EPA WaterSense guidance on rainwater reuse describes harvested roof runoff as a reserve for nonpotable uses, not a replacement for water-efficient landscaping and regular irrigation. The barrel supplements your routine rather than replacing it, and during a genuine August dry spell, you will still reach for the hose or a backup supply.
Placement matters more than most people expect. Putting the barrel close to the containers means a short hose run, better gravity flow, and less hassle. NC DEQ’s rainwater harvesting guidance confirms that proximity to the end use improves both convenience and performance. A barrel under a distant downspout with 40 feet of hose running to the patio loses most of the convenience advantage.
One barrel holding 50 to 60 gallons is a reasonable starting point. University of Minnesota Extension’s rain barrel overview notes that two linked barrels give you 100 to 120 gallons of reserve, which stretches your supply across more watering events without making any promises about seasonal independence. Start with one, see how your containers use it, then decide whether a second barrel makes sense for your setup.
Estimate How Quickly Your Roof Can Refill It
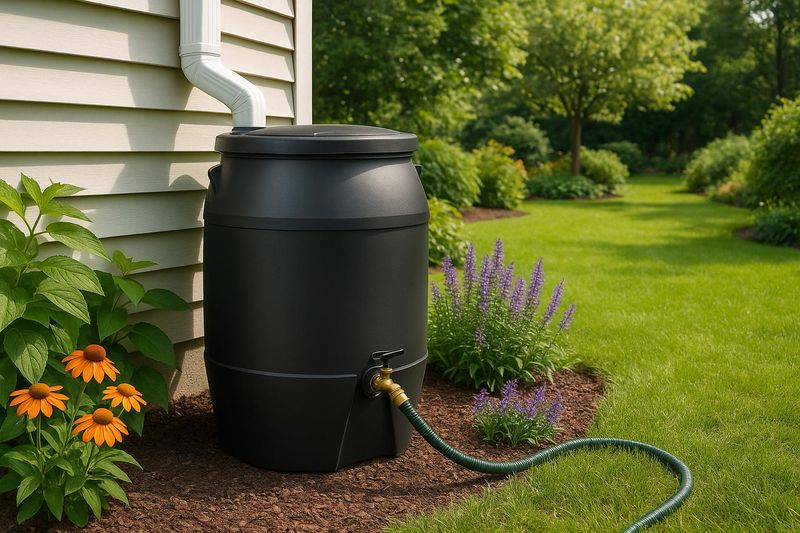
Most people are surprised by how fast a barrel fills. The standard calculation used by extension programs is roughly 0.6 gallons collected per square foot of roof area per inch of rainfall. A modest 200-square-foot section of roof feeding one downspout produces about 120 gallons from a single 1-inch storm, which is more than enough to top off a 55-gallon barrel with water left over.
NC DEQ’s water conservation page points out that a quarter-inch rain event can fill the barrels on a typical American home, which tells you something important: your barrel will probably be full before you think it is. A 1-inch rain across 1,000 square feet of catchment generates around 600 gallons total, far more than a single barrel can hold.
Your North Carolina Garden Changes Every Week. Your Plan Should Too.
Gardening in North Carolina changes quickly throughout the season. Every Friday you’ll receive a simple weekly plan showing exactly what to plant, prune, fertilize, harvest, and protect so you never miss the right timing.
That math cuts both ways. Your barrel refills quickly, but it also overflows quickly if you have not planned for the excess. NC DEQ’s rain barrel how-to guide requires an overflow fitting as part of a properly built system, and that fitting needs a destination before you ever connect the downspout.
Use the 0.6-gallon figure to frame your storage decision honestly. If your catchment area produces 120 gallons from a 1-inch storm and your barrel holds 55 gallons, adding a second barrel keeps you from wasting the rest of that runoff. Two barrels do not promise all-summer coverage, but they do give you more watering events between dry stretches, which is the actual goal.
Choose The Catchment And Overflow Route First
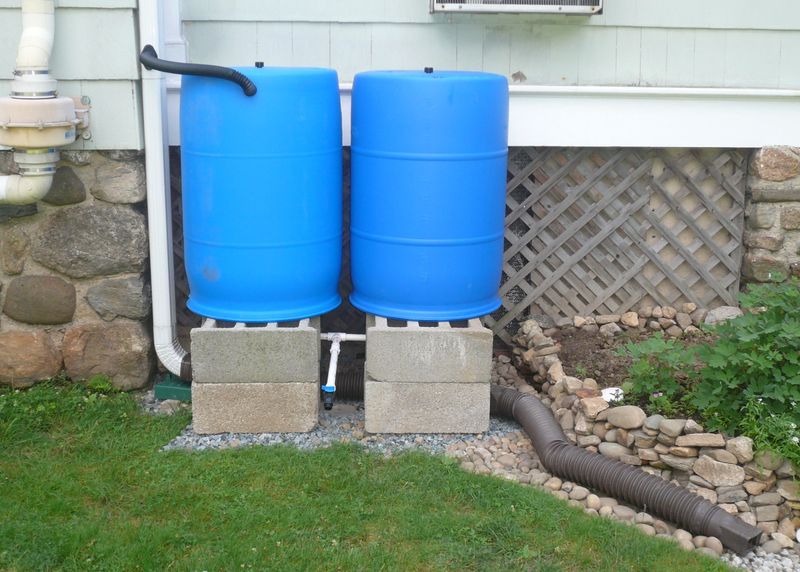
Before you buy a barrel, walk the path water will travel from your roof to your containers and then away from the house. The catchment surface, the gutter condition, the downspout location, and the overflow destination all need to be settled before anything else. Getting this sequence wrong is how people end up with pooling water next to their foundation.
NC DEQ’s rain barrel installation guide lists four essential parts: a roof catchment surface, a gutter and downspout in good condition, a screened inlet or filter, and a storage barrel with a bottom spigot and an overflow outlet. Every one of those parts has a job. The screen keeps leaves, insects, and debris out of the water. The tight lid keeps mosquitoes out and reduces evaporation.
The overflow fitting sends excess water away from the house.
Direct that overflow toward a rain garden, a mulched planting bed, or another stable area well away from the foundation, doors, walkways, and any erodible soil. NC DEQ is clear that a small barrel does not prevent flooding and does not replace proper drainage. It captures its storage volume and then overflows, so the overflow path matters as much as the barrel itself.
Roof material is worth checking before you decide how to use the water. Penn State Extension’s rain barrel guide specifically advises against using runoff from old tar-and-gravel roofs, asbestos shingles, treated wood shingles, copper roofs, zinc anti-moss strips, or gutters with possible lead-based coatings for edible-crop irrigation. Roof runoff can carry bird droppings, bacteria, metals, and hydrocarbons regardless of roof type.
EPA’s Soak Up the Rain guidance warns that roof runoff can pick up bacteria and chemicals that matter when edible plants are involved. A first-flush diverter can reduce the initial contaminant load from the first surge of a storm, but NC DEQ’s water conservation materials make clear that a diverter does not make stored water safe or potable. Think of it as a modest improvement, not a safety guarantee.
Build A Stable Base And Keep Plumbing Separate
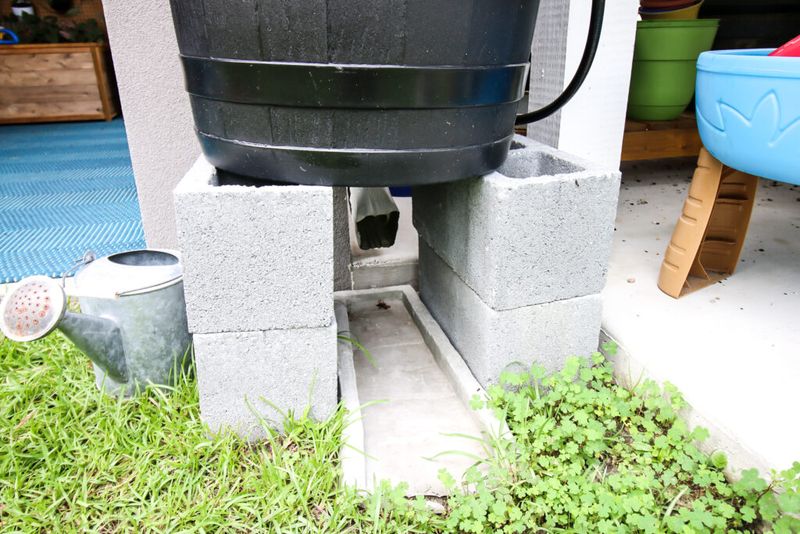
A full 55-gallon barrel weighs more than 450 pounds. That number stops most people cold, and it should, because a barrel that shifts, settles, or tips over on an uneven surface is a serious hazard. Build the base before you bring the barrel out, not after.
Cinder blocks stacked level and stable are the most common base, and they work well for elevating a barrel 12 to 36 inches above the outlet. That height is enough to generate useful gravity flow through a short hose or low-pressure drip line. Clemson Extension’s rainwater harvesting guidance recommends securing an elevated barrel to reduce injury risk, especially in a location where children or pets could bump it.
The installation sequence matters. Set the base first, confirm it is level, then place the barrel. Connect the screened downspout inlet next. Install the bottom spigot and the overflow fitting.
Run a short test with a bucket of water before you attach any irrigation line, so you can see where the overflow actually goes and whether the spigot flows freely. NC DEQ’s installation guide recommends this step-by-step approach to catch problems before the system is in regular use.
Keep the barrel plumbing completely separate from your household water supply. EPA guidance on onsite rainwater capture notes that more complex systems connected to indoor plumbing fall under plumbing and building codes, including requirements for identification, filtration, and overflow safeguards. A basic patio barrel connected only to a short outdoor drip line avoids most of that complexity, but you should never connect a rain barrel to a potable-water line.
On the legal side, North Carolina General Statute 160A-202 limits a city’s ability to prohibit rain barrels or cisterns used for irrigation, which is genuinely helpful. It does not cover counties, HOAs, or every local building and plumbing requirement, so check with your local authority before installing anything more complex than a simple gravity-fed barrel.
Use Short Low-Pressure Lines For Small Zones
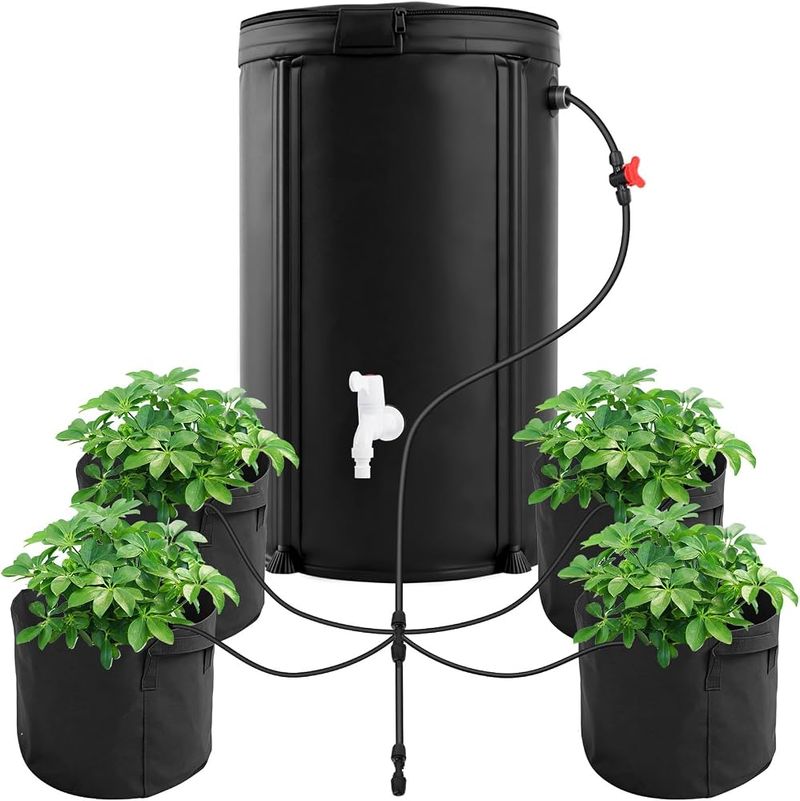
Here is where it gets tricky. A barrel raised 2 feet above the outlet produces less than 1 psi of water pressure, and that pressure drops further as the barrel empties. Standard soaker hoses, conventional sprinklers, and long drip runs are designed for household water pressure, which runs 40 to 80 psi. Plugging those into a rain barrel spigot and expecting even coverage is a reliable way to be disappointed.
Clemson Extension notes specifically that elevated barrels rarely provide enough pressure for ordinary soaker hoses unless the hose is rated for low-pressure use. The fix is simple: use short runs of drip tubing or adjustable emitters designed for low-pressure systems, and water one small zone at a time rather than trying to supply the whole patio at once.
NC State Extension’s guide to low-volume irrigation recommends directing water onto the potting mix rather than the foliage, which is good practice for both plant health and water efficiency. A short run of 1/4-inch drip tubing with one or two adjustable emitters per container does that job at the pressure a gravity-fed barrel can actually provide.
Test each outlet while the barrel is full, then check it again when the barrel is about half empty. Flow slows as the water level falls, and an emitter that worked fine at the start of a watering session may barely drip by the end. Uphill runs, clogged emitters, and lines serving too many containers all make that problem worse. Keep runs short, keep zones small, and test before you rely on the system during a dry week in July.
If you want to expand to an automated or larger system, a small pump or a cistern becomes worth the investment.
Let Each Container Set Its Watering Schedule
Stored water can disappear faster than most people expect during a North Carolina summer. A collection of 10 containers in full sun on a Coastal Plain patio in July can drink through 20 to 30 gallons in two or three days, depending on the plants, the pot sizes, the wind, and how hot the nights stay. The barrel does not set the schedule, the plants do.
NC State Extension’s vegetable gardening handbook recommends adjusting irrigation based on rainfall, temperature, soil type, and plant demand rather than a fixed calendar. Vegetable gardens average roughly 1 inch of water per week as a general guide, but container plants dry out faster than in-ground beds and need individual attention rather than a uniform schedule.
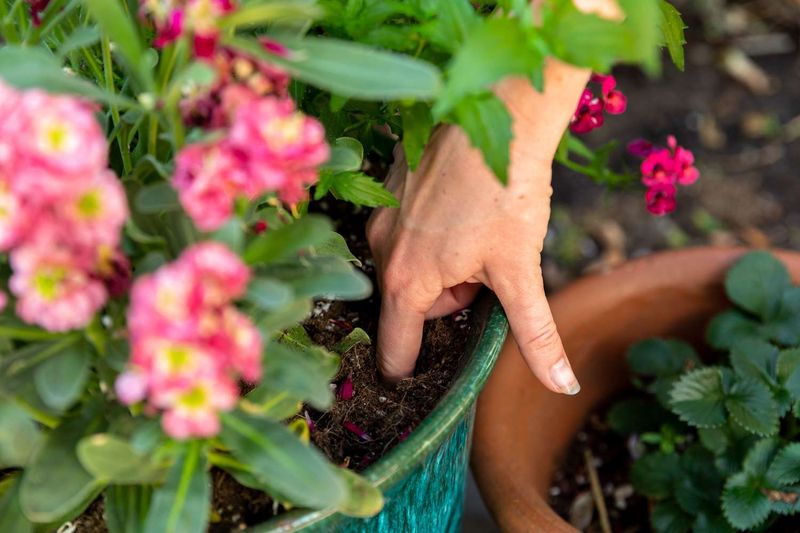
The quickest check is to lift the pot. A dry container is noticeably lighter than a watered one, and you can feel the difference in your wrist before the plant shows any stress. NC State’s container garden guide for the Piedmont also suggests pressing a finger into the top inch of potting mix, small, dark, unglazed, or wooden containers lose moisture faster than larger plastic, fiberglass, or glazed pots. Match your watering frequency to the container, not to a timer.
Mulch is a quiet helper here. NC State’s beginner vegetable gardening guide recommends approximately 1 to 2 inches of loose organic mulch around garden plants, kept away from stems, to conserve soil moisture between waterings. That same principle applies to large containers with enough surface area to hold a thin mulch layer. Every bit of moisture you hold in the pot is water your barrel does not have to replace.
Maintain Capacity Before The Next Storm
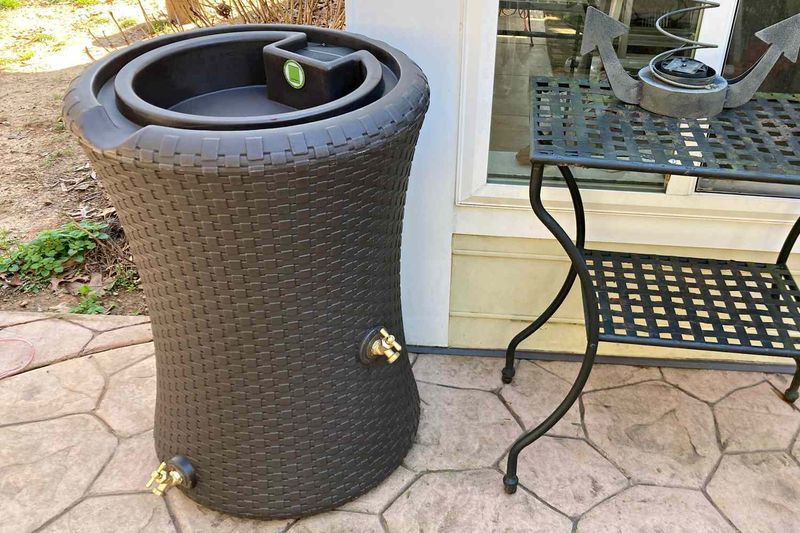
A rain barrel that sits full and idle for two weeks is not doing its job. Standing water in a closed barrel is less useful than water you have already put on your containers, and a barrel that is still full when the next storm arrives cannot capture any new runoff. Active use is part of the maintenance plan, not just an afterthought.
EPA’s green infrastructure guidance emphasizes active drawdown and periodic cleaning as essential practices for keeping a rain barrel dependable. Use stored water between storms rather than saving it for a crisis. If a storm is coming, water your containers the day before so the barrel has room to catch fresh runoff.
Check the screen and lid at least once a month during the growing season. NC DEQ recommends inspecting screens and fittings regularly to keep leaves and debris from clogging the inlet and to confirm that mosquitoes cannot find an entry point. A small rip in a screen or a loose lid seal is enough to create a breeding site, and North Carolina’s warm, humid summers give mosquitoes all the time they need.
Inspect the base and the overflow path after every heavy storm. North Carolina’s summer thunderstorms can dump 2 to 3 inches of rain in an hour, which will overflow a small barrel many times over. EPA’s rain barrel guidance is direct: the overflow path must send water away from the foundation, and the barrel should be cleaned periodically to remove sediment and algae buildup. Keep a backup water source available for the stretches when rainfall simply does not cooperate.
Use Untreated Water Most Conservatively
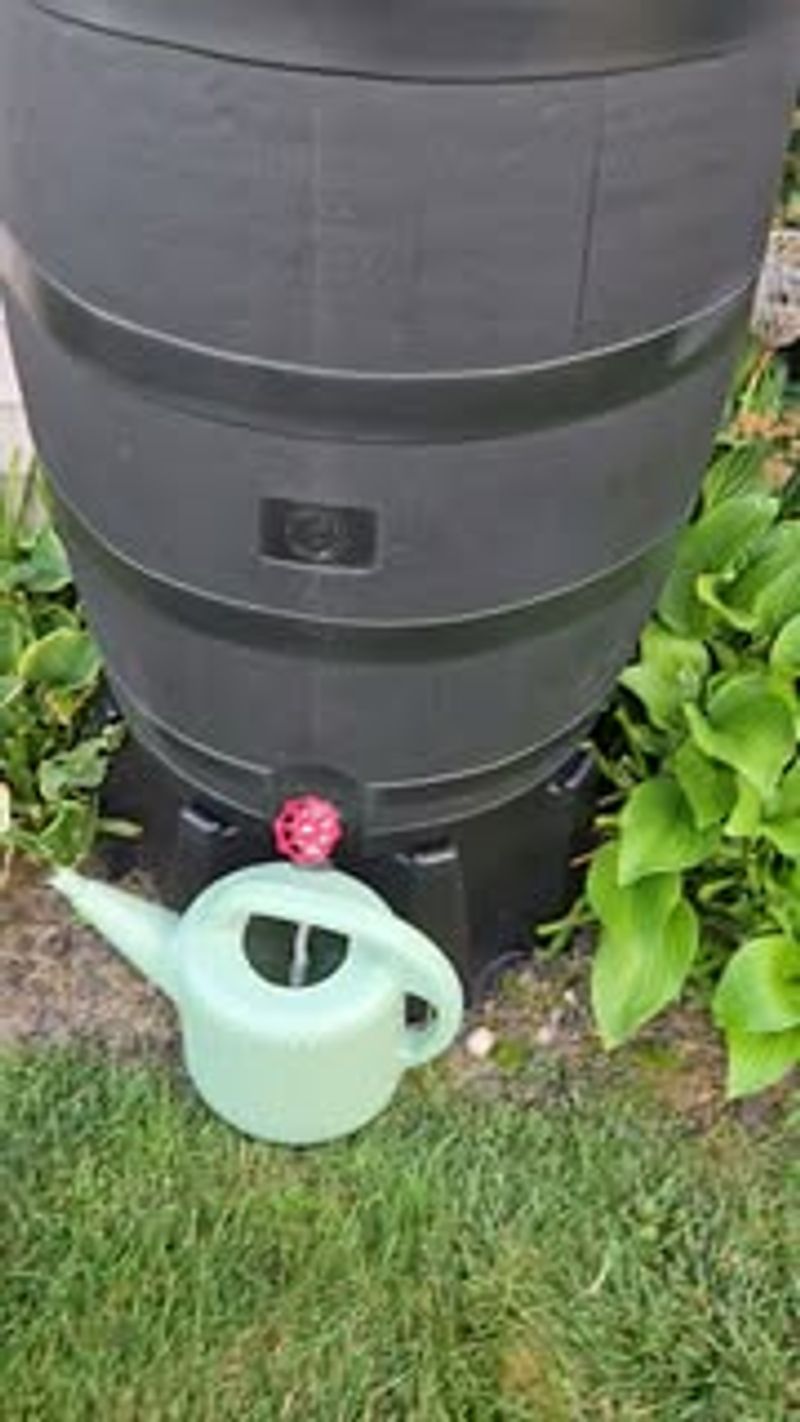
The clearest, lowest-risk way to use barrel water is on ornamental plants, flowers, shrubs, and containers that hold nothing you plan to eat. Petunias, impatiens, ferns, and ornamental grasses get all the benefit of free supplemental water with none of the food-safety questions. For most North Carolina patio gardeners with a mix of pots, that covers the majority of the collection right there.
EPA’s rain barrel guidance recommends keeping untreated roof runoff away from edible crops where possible, because runoff can carry bacteria and contaminants from roofing materials, gutters, and animal activity. If you do water edible containers with barrel water, direct the flow to the soil surface, avoid contact with leaves and fruit, and wash all produce with potable water before eating it.
Rutgers research on rain barrel water quality found that while most sampled systems fell below irrigation limits for lead, zinc, and E. coli, bacterial contamination was present in 66 percent of samples and exceeded a single-sample irrigation limit in 9 percent. The recommendation from Rutgers is caution, soil-level application, no foliage contact, and testing if you plan to use the water regularly on food crops. That is a reasonable standard for North Carolina gardeners as well.
Start the system small. Run one zone, check each emitter, and watch how your containers respond for a week or two before expanding. NC State Extension’s low-volume irrigation guidance supports this incremental approach, testing and adjusting before scaling up. Keep your municipal or well-water line accessible for the dry weeks when the barrel runs low.
The real payoff of this setup is not unlimited free water, it is a barrel of useful water waiting 10 feet from your pots on a Tuesday afternoon when you would rather not drag a hose anywhere.