What Smart Texas Gardeners Do The Last Week Of July That Most Homeowners Never Think To Try
The last week of July in Texas feels like the finish line of a very long and very hot race. Most homeowners are in pure survival mode, doing the minimum to keep things alive and counting down to the first cool front of fall.
And that instinct is understandable. But the gardeners who come out of summer with the best looking yards aren’t just surviving July. They’re using the last week of it strategically.
There’s a handful of specific actions that experienced Texas gardeners take in the final days of July that most homeowners never think to try.
Not because the information is secret or complicated, but because it requires thinking a few weeks ahead when the heat makes it very tempting to just think about today.
These moves set up a smoother transition into fall, protect plants that are already stressed, and take advantage of timing windows that close quickly once August arrives.
Done in the last week of July, they make a noticeable difference. Here’s exactly what smart Texas gardeners are doing right now.
1. They Start The Fall Garden Before Summer Is Over
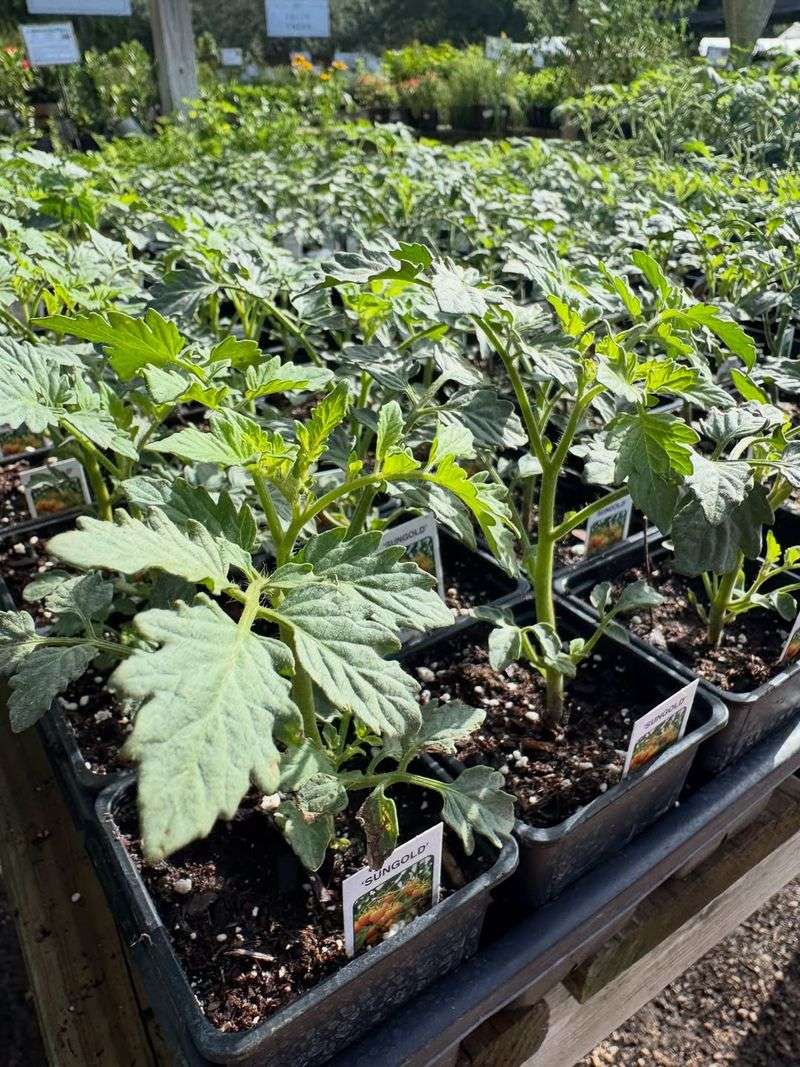
Most people think fall gardening starts in September, but experienced Texas gardeners know better. Late July is actually prime time to get your fall beds ready and your transplants in the ground.
Getting a head start now means your plants have time to settle in before cooler weather arrives.
Depending on where you live in Texas, your fall crop list will look very different. Gardeners in South Texas may be planting tomatoes and peppers, while those in the Panhandle might focus on cole crops like broccoli and cabbage.
Beans and eggplants are also popular choices across many regions of the state. Texas planting dates vary dramatically from county to county. A single statewide schedule will not work for everyone.
Your local county extension office publishes a planting calendar built specifically for your area, and following it is one of the smartest things you can do.
Obtaining transplants early matters too. Nurseries tend to stock fall vegetable starts for a short window, and popular varieties sell out fast. Call ahead or visit early in the week to get the best selection before shelves run low.
Preparing your beds now also gives the soil time to settle after you add compost or other amendments. Freshly worked soil can have air pockets that cause roots to dry out. Letting it rest a few days before planting gives everything a chance to firm up properly.
Starting early also gives your plants a longer growing season before the first frost arrives. More growing days means more fruit and a better harvest overall.
Smart Texas gardeners never wait until it feels like fall to start thinking about fall gardening.
2. They Solarize An Empty, Problem-Plagued Garden Bed
Picture a garden bed that has been taken over by stubborn weeds, mysterious fungal patches, or tiny root-knot nematodes chewing through everything you plant. Sound familiar?
Soil solarization is one of the most underused tricks in the Texas gardener’s playbook, and late July is the perfect time to use it.
Your Texas Garden Changes Every Week. Your Plan Should Too.
Gardening in Texas changes quickly throughout the season. Every Friday you’ll receive a simple weekly plan showing exactly what to plant, prune, fertilize, harvest, and protect so you never miss the right timing.
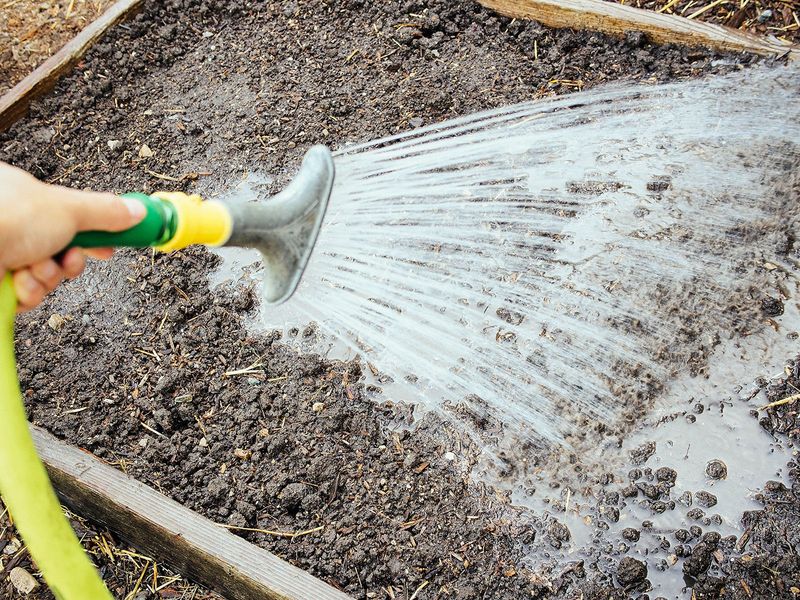
The process is straightforward. Till the bed well, then water it deeply until the soil is thoroughly moist all the way through.
Next, stretch clear plastic sheeting tightly across the surface and seal all four edges with soil, rocks, or boards to trap the heat inside.
Leave it in place for at least four to six weeks. The intense Texas summer sun heats the soil beneath the plastic to temperatures that can reduce weed seeds, soilborne fungi, and nematode populations significantly.
Texas A&M research supports July solarization specifically because the sun angle and heat levels are at their peak.
One common mistake is reaching for black plastic instead of clear. Black plastic absorbs heat at the surface but does not allow enough solar energy to penetrate deeply into the soil.
Clear plastic creates a greenhouse effect that heats the soil much more effectively at greater depths.
You do not need any special equipment or expensive products to solarize. A roll of clear plastic from a hardware store is all it takes.
Make sure the plastic is at least one to two mils thick so it holds up through wind and heat without tearing easily.
Once the treatment period ends, remove the plastic carefully and plant your fall crops without tilling again. Tilling after solarization can bring untreated soil back to the surface, reducing the benefits you worked hard to achieve.
3. They Pre-Soak Fall Beds Before Installing Drip Lines
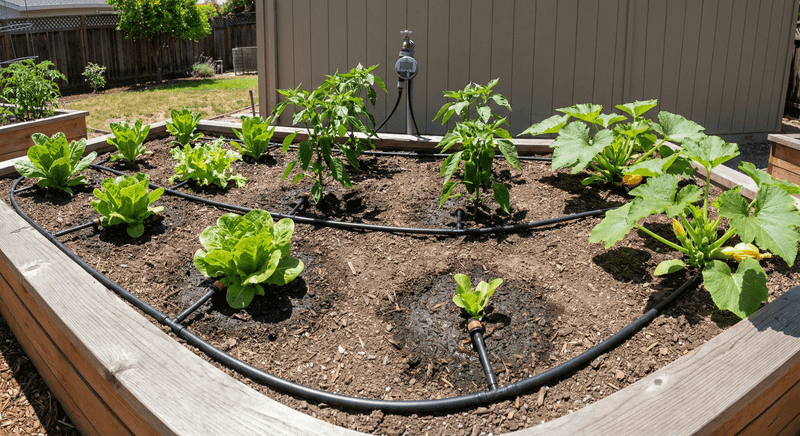
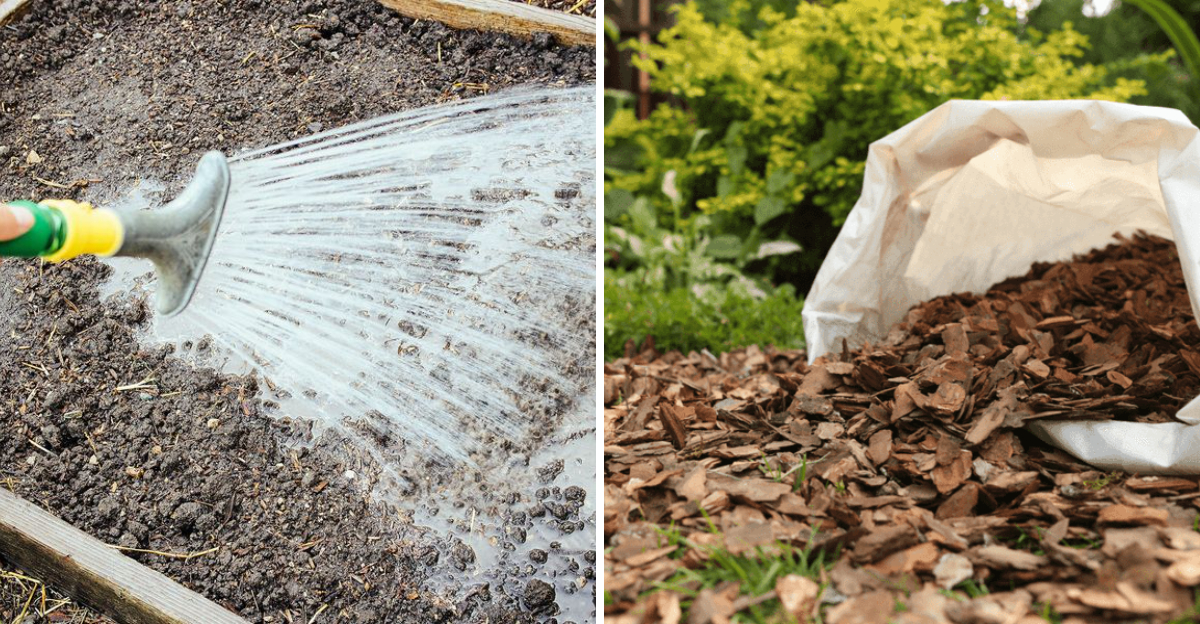
Before a single drip line goes into the ground, savvy Texas gardeners water their prepared fall beds thoroughly and let them sit. It sounds like a small detail, but this step makes a real difference in how well your irrigation system performs once plants are in the ground.
Texas A&M recommends soaking the entire planting area and allowing the soil to settle naturally before planting or installing drip irrigation. When soil is freshly tilled and dry, it has a loose, almost fluffy texture full of air gaps.
Water applied to that kind of soil tends to move straight down in narrow columns rather than spreading sideways.
That sideways movement, called lateral water movement, is exactly what developing plant roots need. Roots spread outward as much as they grow downward, especially in the early weeks after transplanting.
If water only drops straight down in a thin column, roots growing to the side will stay dry even when the irrigation system is running on schedule.
Sandy soils are especially prone to this problem. Water moves through sand very quickly and with very little sideways spread.
Pre-soaking and settling the bed helps compact the soil just enough to encourage better lateral movement when drip irrigation is applied later.
Clay soils present a different challenge. They can repel water when completely dry, causing it to run off instead of soaking in.
A thorough pre-soak breaks that surface tension and allows the soil to accept moisture more readily going forward.
Allow at least 24 to 48 hours after pre-soaking before you plant or lay your drip lines. The bed will feel firmer, look darker, and be in much better shape to support strong root development from day one.
4. They Build Temporary Shade And Wind Protection For Transplants
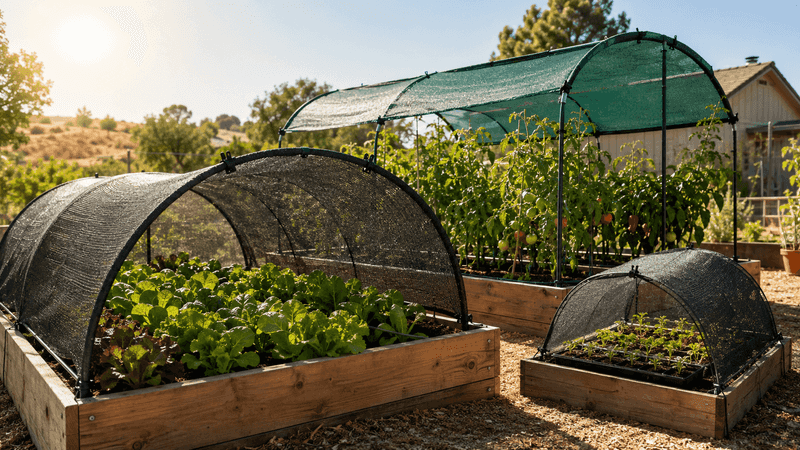
Putting a fresh transplant into a Texas garden in late July is a bit like asking someone to run a marathon on their first day of training. The plant is young, its root system is small, and the conditions outside are genuinely tough.
A little temporary protection can make all the difference between a plant that thrives and one that barely hangs on.
Newly planted vegetables lose moisture quickly when exposed to full sun and hot, dry wind.
Their root systems are still restricted to the size of the container they came from, which means they cannot pull up much water yet. Daily wilting can stress a plant severely, even if it survives.
Lightweight spun fabric, often called row cover or floating row cover, is one of the best tools for this situation. It lets in light, air, and some moisture while blocking a portion of the intense sun and reducing wind speed across the leaf surface.
Unlike solid plastic sheeting, it does not trap heat underneath, which would make things worse.
Row cover also provides a physical barrier against insects that are actively feeding in late summer.
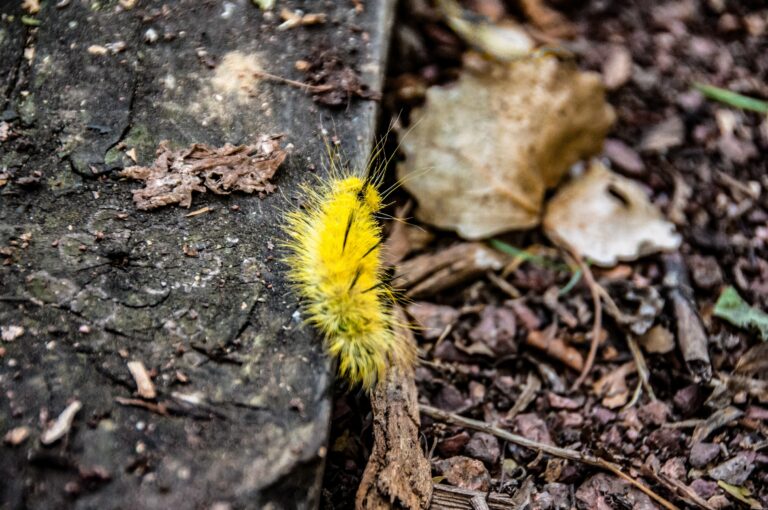
Caterpillars, aphids, and other pests can do serious damage to young transplants before the plants even have a chance to establish. A simple fabric cover buys your plants time to get stronger.
Simple wire hoops or wooden stakes can hold the fabric up off the leaves to prevent heat buildup at the contact points.
Most gardeners leave protection in place for about two to three weeks, then gradually remove it as the plants show strong new growth and roots begin to spread.
Even a temporary shade structure built from old window screen or shade cloth attached to wooden posts works well. Creativity and low cost go hand in hand with this technique.
5. They Perform A Catch-Can Test On The Irrigation System
Here is a question most homeowners never ask: does your sprinkler system actually water your yard evenly? Most people just set a timer and assume everything is getting what it needs.
But experienced Texas gardeners know that assumption can lead to dry patches, overwatered zones, and a lot of wasted water.
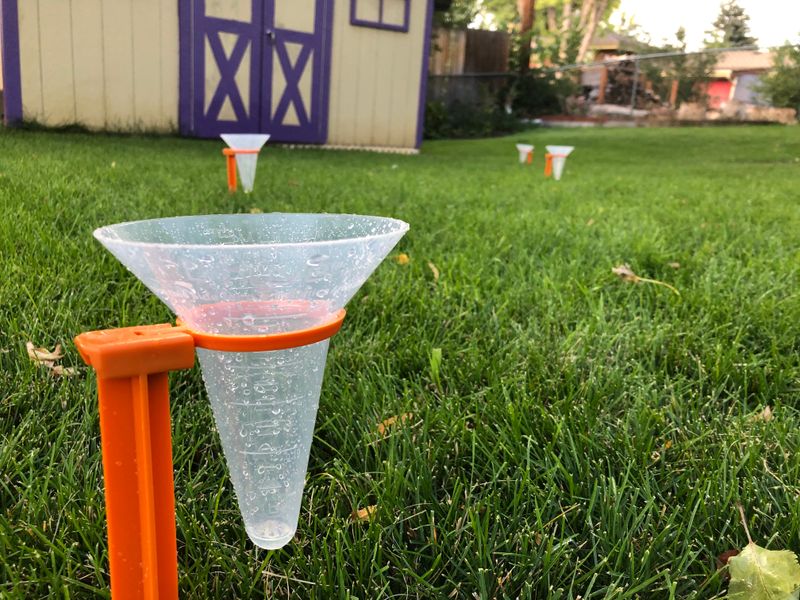
A catch-can test is a simple, low-cost way to find out exactly what your irrigation system is doing. Grab a collection of identical containers, such as empty tuna cans or small plastic cups, and place them in a grid pattern across your lawn or garden area.
Run your sprinklers for a set amount of time, then measure the water collected in each container.
The differences between containers can be surprising. Some spots may collect twice as much water as others.
Dry zones, excessive overlap between heads, and inconsistent coverage all show up clearly in the results. You may find that one section of your yard is being overwatered while another is barely getting anything at all.
The test also reveals your system’s actual application rate, which tells you how long you need to run it to apply a specific amount of water. Most Texas lawns need about one inch of water per week, but without testing, you are just guessing.
Texas clay soil is especially prone to runoff when water is applied too quickly. If you notice puddles forming or water rolling off sloped ground, split your irrigation runtime into two or three shorter cycles with a soak period in between.
This cycle-and-soak approach gives water time to penetrate deeply rather than running off the surface.
Adjust your sprinkler heads after the test to fix coverage gaps. Small tweaks now save water and improve results all season long.
6. They Restore Mulch Before August’s Heat Arrives
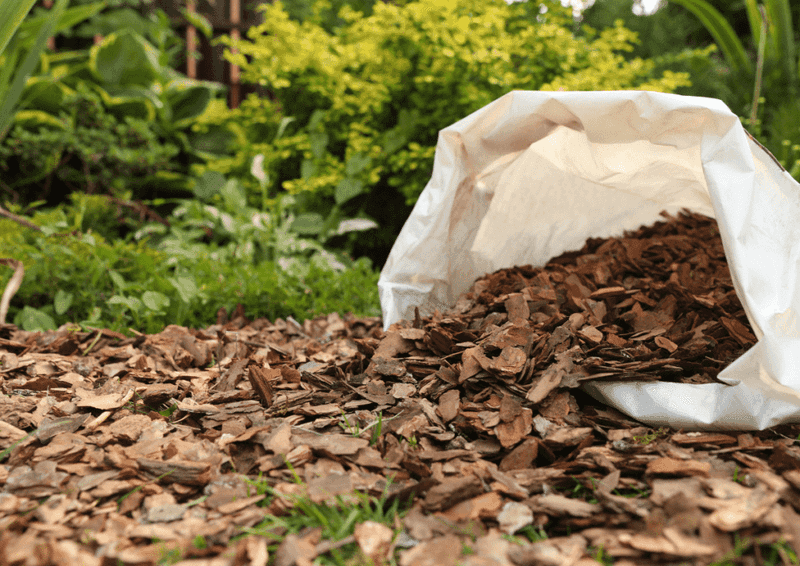
Walk through a Texas garden in late July and you will often see mulch that has nearly disappeared. What started as a thick, protective layer in spring has broken down, washed away in heavy rains, or become so thin it barely covers the soil anymore.
Restoring that mulch before August hits is one of the smartest and most overlooked tasks of the summer season.
Organic mulch does several important jobs at once. It shades the soil surface, which slows evaporation and keeps root-zone temperatures from spiking in the midday heat.
It also suppresses weed growth by blocking sunlight from reaching weed seeds waiting in the soil below.
As organic mulch breaks down over time, it actually improves the soil structure underneath. Earthworms and beneficial microbes work through decomposing mulch and incorporate it into the soil, adding organic matter and improving drainage.
So even old, thin mulch that looks spent is doing something useful, but it needs to be refreshed to keep performing well.
Texas A&M guidance recommends about one to two inches of mulch around vegetable plants. Deeper layers can work well for established landscape beds, depending on the material used.
Hardwood chips, straw, and shredded leaves are all popular choices in Texas gardens. One rule that applies to every type of mulch: keep it away from plant stems and tree trunks.
Mulch piled against stems traps moisture and can lead to rot and pest problems over time. Pull it back a few inches from the base of each plant to leave a small breathing gap.
Late July mulching gives your garden a strong protective layer heading into August, which is often the most punishing month of the Texas summer. A little work now saves a lot of watering effort later.