What To Do After Your Nevada Orchid Blooms In August To Help It Bloom Bigger Next Year
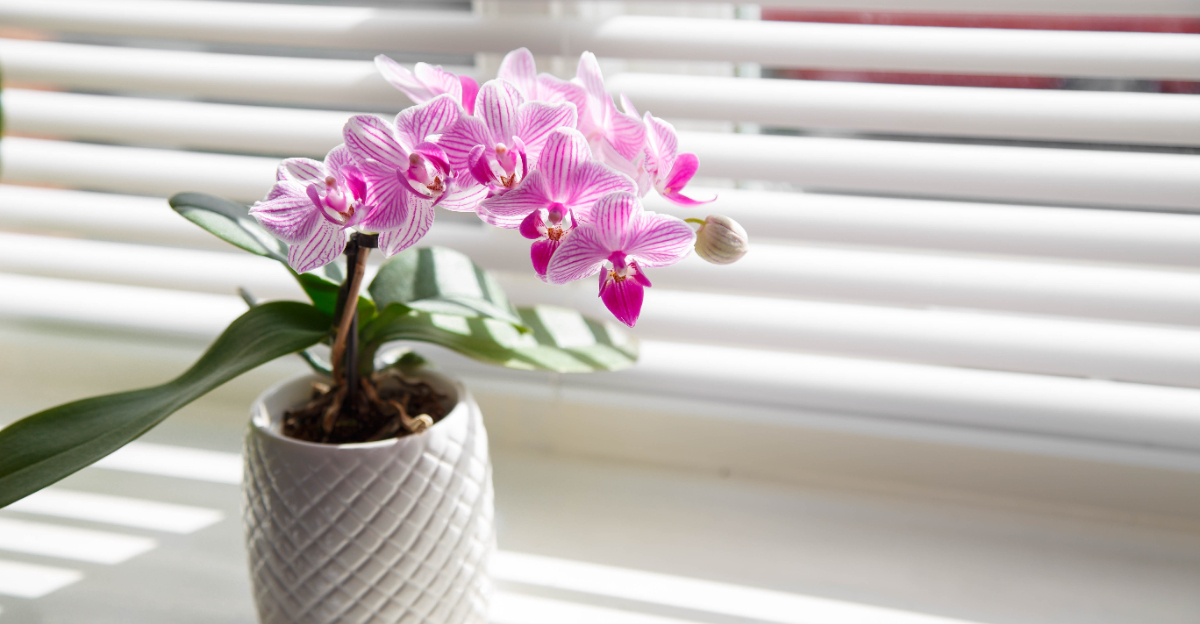
Your orchid just finished performing, and now silence follows. Petals drop quietly, leaving you wondering what happens next. Nothing about this stage looks exciting, yet it determines next year’s growth.
Roots quietly shift into a different state, preparing steadily for renewal. Most growers assume their plant has simply stopped growing. Actually, this quiet phase is where real transformation begins.
Timing matters everywhere, whether you garden in Nevada or elsewhere. Skipping proper care now makes weaker blooms far more likely later. Attention, not neglect, separates thriving orchids from tired ones.
Small adjustments made today ripple forward into next season’s display. Every choice you make either builds momentum or slows it. Confidence comes from understanding what your orchid truly needs.
Little stays still in this quiet recovery window. Energy keeps shifting and rebuilding beneath the surface.
Growers across Nevada are already discovering these quiet secrets. Once you know these moves, you cannot look away now.
1. Trim Spent Flower Spikes Back To A Node
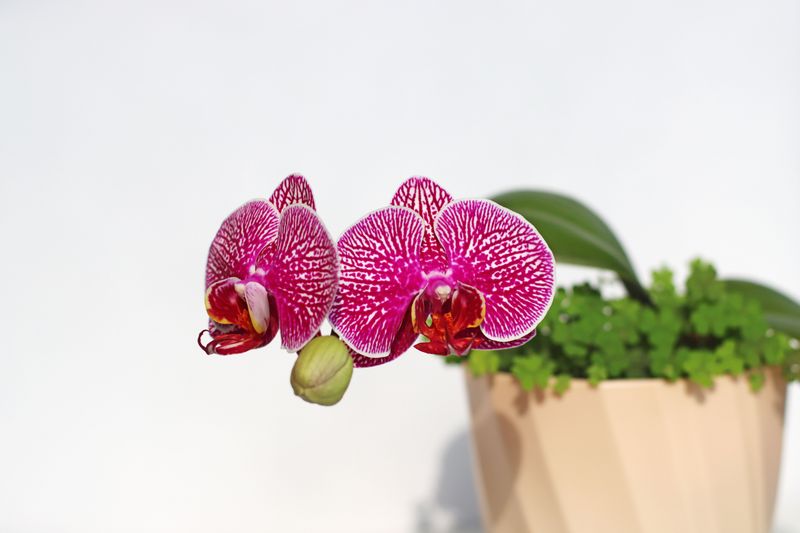
Grab your scissors, because this step matters more than most people realize. After your orchid blooms in August, the spent flower spike is basically draining energy your plant could use for recovery.
Cutting it back smartly tells the plant to redirect that stored power toward root and leaf growth.
Look closely at the spike and find a node, which is a small bump or joint along the stem. Cut roughly half an inch to one inch above that node using a clean, sharp blade, depending on the spike’s thickness.
A dirty tool can introduce bacteria, so wipe the blade with rubbing alcohol before you make the cut.
Phalaenopsis orchids are especially known for pushing out a secondary spike from that node.
If you have this type and a new spike appears within a few weeks, you may see blooms again sooner than expected. Other orchid genera typically do not rebloom this way.
If the spike looks yellow, brown, or shriveled all the way down, skip the node and cut the whole thing at the base.
A spent spike cannot produce new growth no matter how hopeful you are. Removing it completely keeps the plant clean and disease-free.
Many growers skip this step and wonder why their orchid looks tired for months. Trimming the spike is the first domino in a chain of healthy recovery steps.
Once you make that clean cut, your plant can finally shift its focus to building strength for bigger blooms next year.
2. Reduce Watering Frequency As Growth Slows
Overwatering is one of the most common ways to stress an orchid during its rest phase. After your plant finishes blooming, its metabolism slows down noticeably.
Giving it the same amount of water you did during active growth is like forcing someone to eat a huge meal when they are already full.
During August and into fall, water less frequently, checking the medium rather than following a fixed schedule. This often means roughly every ten to fourteen days depending on your climate and pot.
Your Nevada Garden Changes Every Week. Your Plan Should Too.
Gardening in Nevada changes quickly throughout the season. Every Friday you’ll receive a simple weekly plan showing exactly what to plant, prune, fertilize, harvest, and protect so you never miss the right timing.
If it still feels damp, wait another three or four days before checking again. Orchid roots tell you a lot about moisture levels. Healthy, hydrated roots look silvery-green.
When they look bright white or very pale, that is your signal that the plant is ready for a drink. This visual check is more reliable than any watering schedule you could follow.
Using the soak-and-drain method works beautifully here. Place the pot in a bowl of room-temperature water for about fifteen minutes, then let it drain completely.
Never let your orchid sit in standing water, because soggy roots rot fast and that sets back your bloom timeline significantly.
Cutting back on water does not mean neglecting the plant. Think of it as respecting what the orchid actually needs right now.
A slightly thirsty orchid is far better positioned to rebound with strong roots and lush leaves, which directly supports bigger blooms next year.
3. Increase Humidity To Counter Dry Summer Air
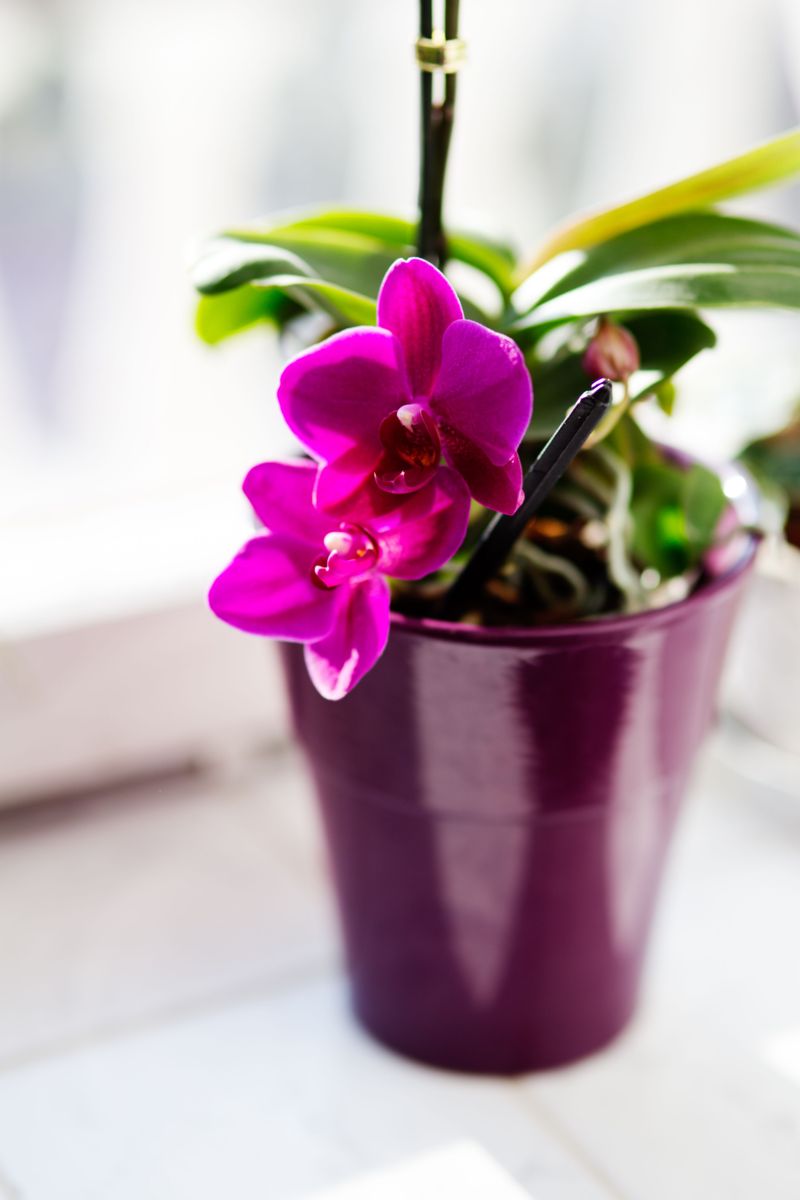
Many popular orchids are tropical at heart, and dry summer air is one of the biggest stressors during recovery. If you live somewhere with low humidity, your orchid is quietly struggling even when it looks fine on the outside.
Low moisture in the air stresses the plant and slows the energy-rebuilding process it needs for next year’s blooms.
Aim for humidity levels between 50 and 70 percent around your plant. A small hygrometer costs very little and takes the guesswork out of monitoring.
Once you know your indoor humidity level, you can take specific action instead of just guessing.
A pebble tray is one of the easiest fixes available. Fill a shallow tray with small stones, add water just below the top of the stones, and set your orchid pot on top. As the water evaporates, it creates a gentle pocket of moisture right around the plant.
A small humidifier placed nearby works even better, especially in rooms with air conditioning running all day. AC units pull a surprising amount of moisture out of indoor air.
Running a humidifier for just a few hours each morning can make a noticeable difference in how your orchid looks and feels.
Grouping plants together also helps, since they naturally release moisture through their leaves. Your orchid does not need a rainforest, but it does need consistent humidity to thrive.
Getting this right after blooming sets the stage for a powerhouse performance when flowering season returns.
4. Move It Away From Direct Hot Afternoon Sun
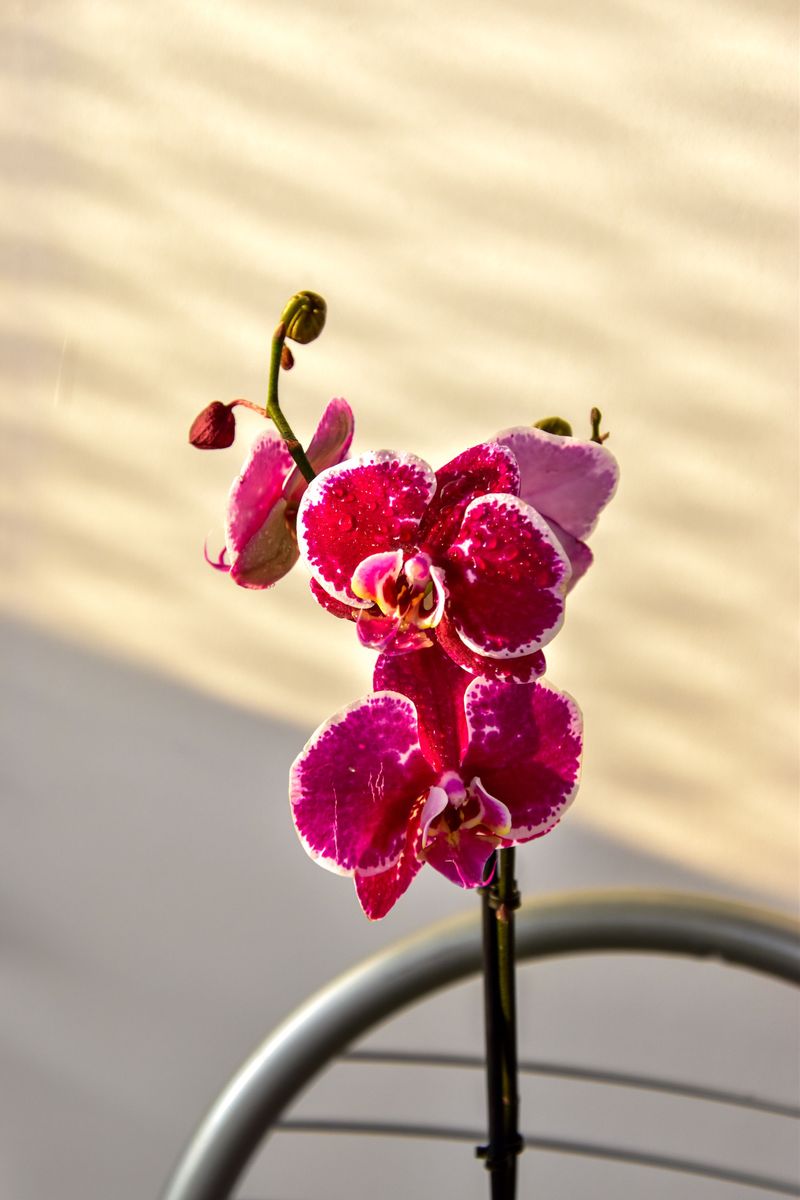
August afternoon sun is intense and can stress your orchid during this recovery window. Direct sunlight during this recovery window can scorch leaves, stress the root system, and slow the plant’s recovery.
You want calm, steady light, not a sunburn. East-facing windows are ideal for post-bloom orchids. The morning light there is softer, cooler, and much easier for the plant to handle.
If east-facing spots are not available, a north-facing window with bright ambient light works well too.
Watch the leaves as your guide. Healthy orchid leaves are medium green with a slight yellowish tint.
If leaves look dark forest green, the plant is not getting enough light. If they show reddish or bleached patches, the sun exposure is too harsh and you need to move the pot immediately.
Sheer curtains are a simple solution for south or west-facing windows. Hanging a light curtain diffuses the intensity without blocking the light completely.
This creates the kind of soft, filtered glow that mimics an orchid’s natural habitat under a forest canopy.
Do not make the mistake of thinking more sun equals more blooms. That logic works for some plants, but orchids operate differently.
Protecting your plant from harsh afternoon rays during August recovery is one of the quietest but most powerful things you can do for bigger blooms next year.
5. Feed With A Balanced Fertilizer Every Other Week

Your orchid just spent months producing flowers, and that takes a serious toll on its nutrient reserves.
Think of fertilizing after blooming like giving an athlete a solid recovery meal after a tough race. The right nutrients now directly fuel the next round of flowers.
Choose a balanced fertilizer with equal parts nitrogen, phosphorus, and potassium, often labeled as 20-20-20 or 10-10-10.
Balanced blends support overall plant health without pushing too much leafy growth or too much root activity in one direction. Either extreme can delay blooming.
Mix the fertilizer at half the strength listed on the package. Orchids are sensitive, and a full-strength dose can cause fertilizer burn on the roots.
Half strength every two weeks gives the plant a steady, gentle supply of nutrients without overwhelming it.
Always water the plant lightly before applying fertilizer. Feeding a dry orchid can shock the root system and cause damage.
A slightly moist medium helps the plant absorb nutrients more evenly and efficiently throughout the pot.
Skip fertilizing entirely if you notice any yellowing leaves or mushy roots. Those are signs of stress, and adding fertilizer to a stressed plant makes things worse.
Address the underlying issue first, then resume feeding once the orchid looks stable and healthy again.
Consistent feeding during this post-bloom window builds the internal reserves your orchid needs. By the time blooming season arrives again, your plant will be loaded with energy and ready to deliver its best show yet.
6. Check Roots And Repot If Medium Has Broken Down
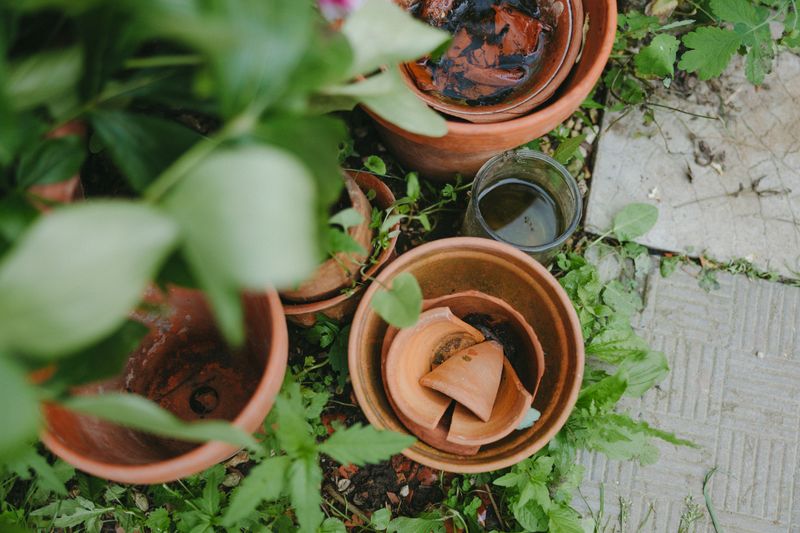
Roots are the engine of your orchid, and August is the best time to pop that hood and take a look. After a full blooming cycle, the potting medium often breaks down into a soggy, compacted mess.
Broken-down bark holds too much moisture and cuts off the airflow roots desperately need.
Gently slide the plant out of its pot and examine what you find. Fresh orchid bark looks chunky, fibrous, and relatively firm.
Old, degraded bark looks dark, mushy, and almost soil-like, which means it is time for a fresh start.
Healthy roots are firm and have a silvery-green color. Soft, brown, or hollow-feeling roots are damaged and need to be trimmed away.
Use sterilized scissors and cut cleanly just above where the damage ends, leaving all healthy tissue intact.
Choose a pot just one size larger than the current one when repotting. Too much extra space encourages the medium to stay wet for too long, which creates root problems all over again.
A snug fit keeps conditions just right for recovery and future growth. Use fresh orchid bark or a quality orchid mix, not regular potting soil. Standard soil overwhelms orchid roots because it retains far too much water.
After repotting, hold off on watering for about five days to let any trimmed root ends callous over and heal properly.
Repotting at the right time gives your orchid a completely fresh foundation. Strong, healthy roots mean stronger stems and bigger blooms when flowering season comes back around.
7. Provide Strong Indirect Light For Energy Recovery
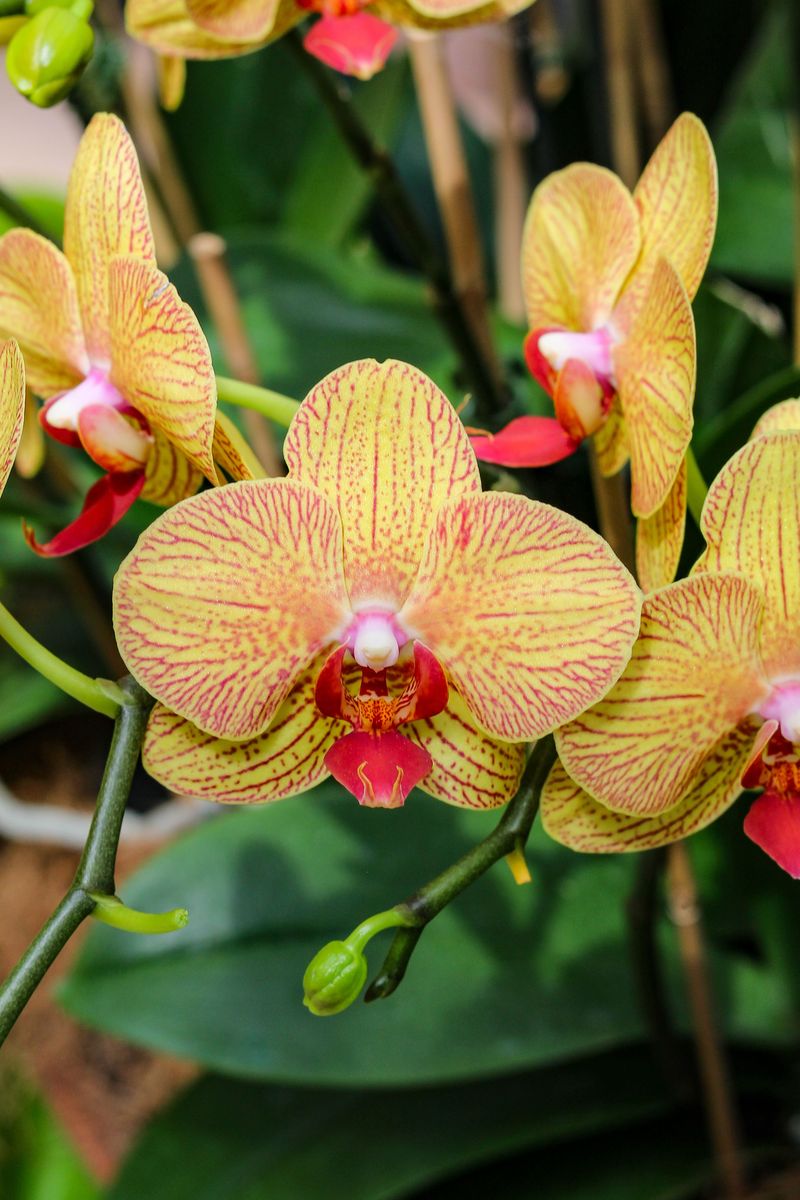
Light drives your orchid’s energy production, which is critical right now. After blooming, the leaves take over as the main energy factory.
Strong but indirect light during this phase helps the plant rebuild the carbohydrate reserves it burned through during flowering.
Set your orchid within three to five feet of a bright window. The goal is consistent, steady brightness without harsh rays hitting the leaves directly.
Think of it as the difference between sitting in a sunny room versus sitting directly in the sun.
South or west-facing windows work well in August as long as a sheer curtain softens the intensity. If you notice the leaves warming up noticeably to the touch, the light is probably too strong.
Move the pot back a foot or two and check again the next day. Artificial grow lights are a solid option if your Nevada home does not have great natural light.
Full-spectrum LED grow lights placed roughly twelve inches above the plant for around twelve to fourteen hours per day can help mimic outdoor light conditions, though exact placement varies by light wattage.
Many growers swear by this method during late summer. Rotate the pot a quarter turn every week so all sides of the plant receive equal exposure.
Orchids tend to lean toward the light source over time, and rotating keeps growth balanced and even. An even, well-lit plant builds energy reserves more efficiently across all its leaves.
Strong indirect light during recovery is one of the most overlooked steps in orchid care. Getting this right after your orchid blooms in August is a direct investment in next year’s flower count.
8. Keep It Away From Evaporative Cooler Drafts

Evaporative coolers are common in dry climates, and they can be stressful for orchids during recovery.
The steady blast of cool, dry air coming from those vents can stress your plant in ways that are hard to spot until visible stress appears. Orchids need stable air, not constant chilly gusts.
Cold drafts cause temperature fluctuations that confuse the plant’s internal signals. When an orchid experiences unpredictable temperature swings, it redirects energy toward coping with stress instead of root and leaf recovery.
Check where your cooler vents point and map out a safe zone in your Nevada home. Placing your orchid well away from a direct vent line, several feet if possible, is generally safer for your plant.
A corner shelf or a spot in a hallway away from the main airflow works well. If moving the plant is not an option, redirect the vent slightly using an adjustable louver or a simple vent deflector.
These small plastic covers cost almost nothing and can redirect airflow away from sensitive plants without reducing cooling in the rest of the room.
Also watch for spots near exterior doors that get opened frequently in summer. Each door opening brings in a rush of dry outside air that mimics a cooler draft. Consistency in the orchid’s environment is everything during this recovery window.
Protecting your orchid from drafts after it blooms in August is one of the simplest steps on this list. Stable air supports stable growth, which supports the healthy blooms you are working toward.