Why August Is A Smart Time To Divide Arizona Agave Pups
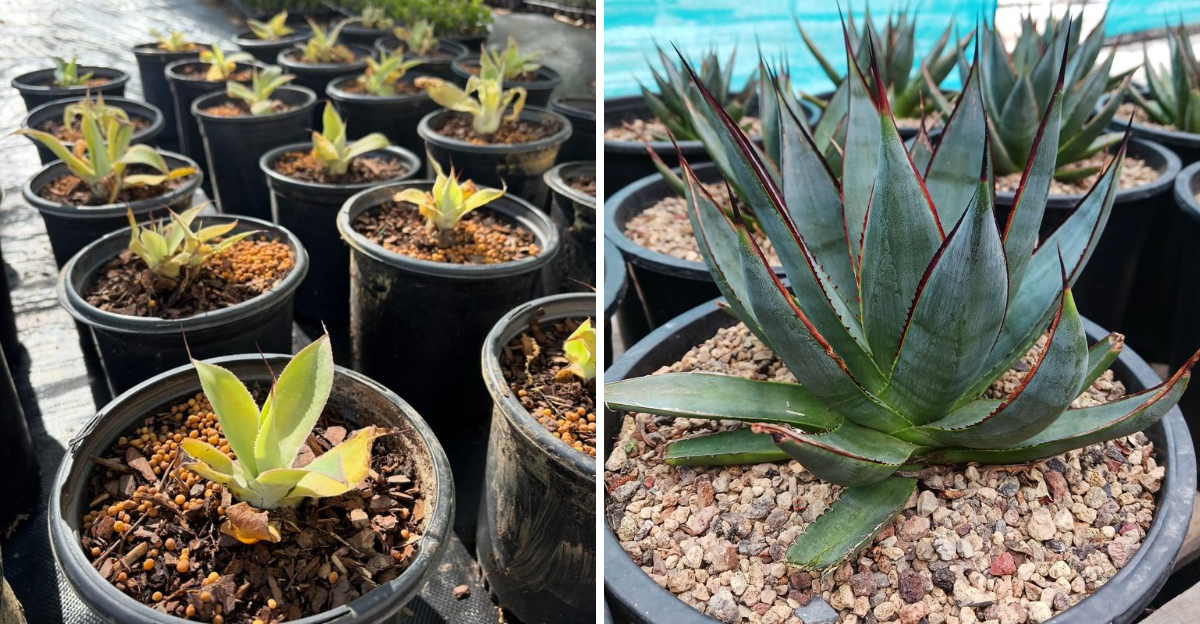
Agave pups seem happy growing beside the parent plant for years. Then one day the space starts feeling crowded, and everything changes.
It is tempting to leave them exactly where they are. Waiting too long can make the job harder than it needs to be.
Timing plays a much bigger role than most homeowners realize. Choosing the right month gives young plants a better chance to settle before cooler weather arrives.
August gives Arizona gardeners an opportunity that does not stay open forever. A little planning now can make the next growing season much easier.
Healthy agaves deserve the best possible start.
Giving these young plants a little attention at the right time can help them establish more successfully and reward you with stronger growth in the seasons ahead.
1. Warm Soil Helps New Roots Form More Quickly
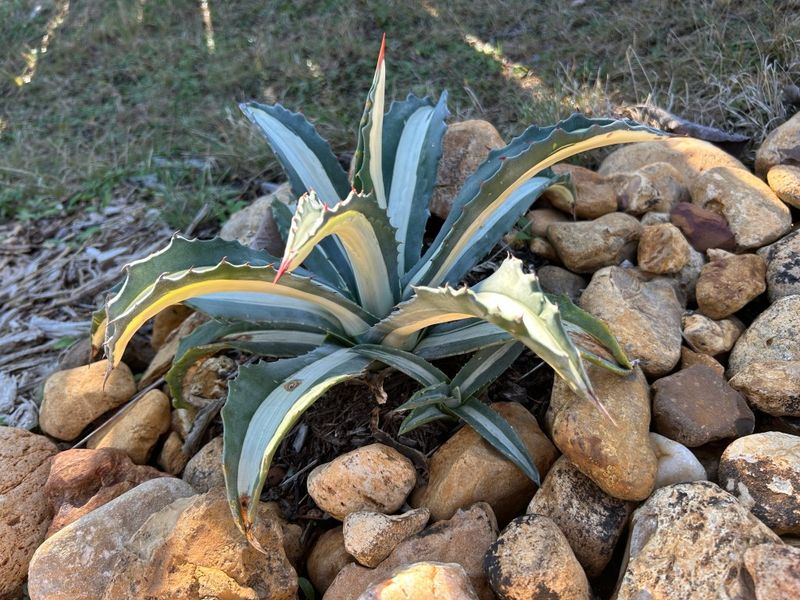
Root growth depends heavily on soil temperature. Agave pups placed into warm ground in August have a natural advantage over those divided during cooler months.
Soil in the desert Southwest holds heat well into late summer. Ground temperatures around 75 to 85 degrees Fahrenheit can encourage faster root initiation compared to cooler conditions in fall or winter.
Warm soil keeps the tissue at the base of the pup active. Roots tend to push outward more readily when conditions feel similar to the plant’s natural growing season.
Cooler soil slows that process noticeably. A pup divided in November may sit dormant for weeks before roots begin forming, which leaves it vulnerable longer.
August gives the pup a head start. Roots can begin establishing before temperatures drop, giving the plant a firmer grip on the soil before winter arrives.
Agave is naturally adapted to heat. Using that adaptation to your advantage is one of the simplest ways to improve success rates when dividing pups.
Soil warmth is not a guarantee of success on its own. Drainage, planting depth, and post-division care all play important roles too.
But starting with warm ground removes one barrier that cooler seasons create.
2. Separate Only Well-Established Pups From The Parent Plant
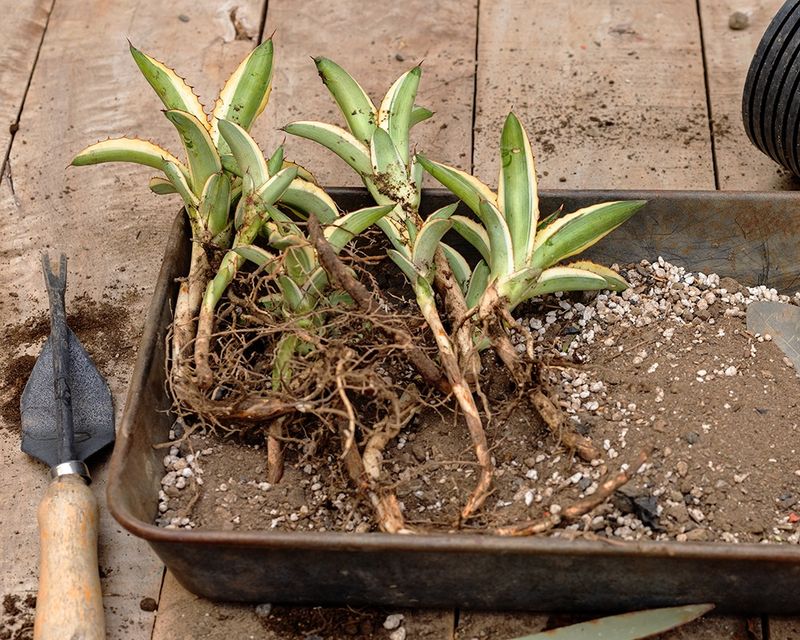
Not every pup is ready to survive on its own. Grabbing one that is too small often leads to a weak plant that struggles to establish roots.
A well-established pup typically has several visible leaves and a firm base. Size matters, but firmness at the base matters even more.
Soft or underdeveloped bases often mean the pup has not formed enough independent tissue yet.
Aim for pups that are at least one-quarter the size of the parent plant. Larger pups have more stored energy to pull from during the transition period after separation.
Look for pups positioned a few inches away from the main stem. Those that are still tightly fused to the parent may not be ready.
Tugging gently can help you feel whether the connection is still strong.
Skipping the smallest pups is not a loss. Letting them grow a bit longer before dividing usually results in a healthier plant with better odds of taking root on its own.
Your Arizona Garden Changes Every Week. Your Plan Should Too.
Gardening in Arizona changes quickly throughout the season. Every Friday you’ll receive a simple weekly plan showing exactly what to plant, prune, fertilize, harvest, and protect so you never miss the right timing.
In Arizona, agave pups can develop quickly during warm months. Checking your plants in late July helps you identify which pups will be ready by mid-August.
Patience with pup selection tends to pay off. Choosing only the right ones reduces stress on both the pup and the parent plant.
3. Use A Clean Knife For A Smooth Cut
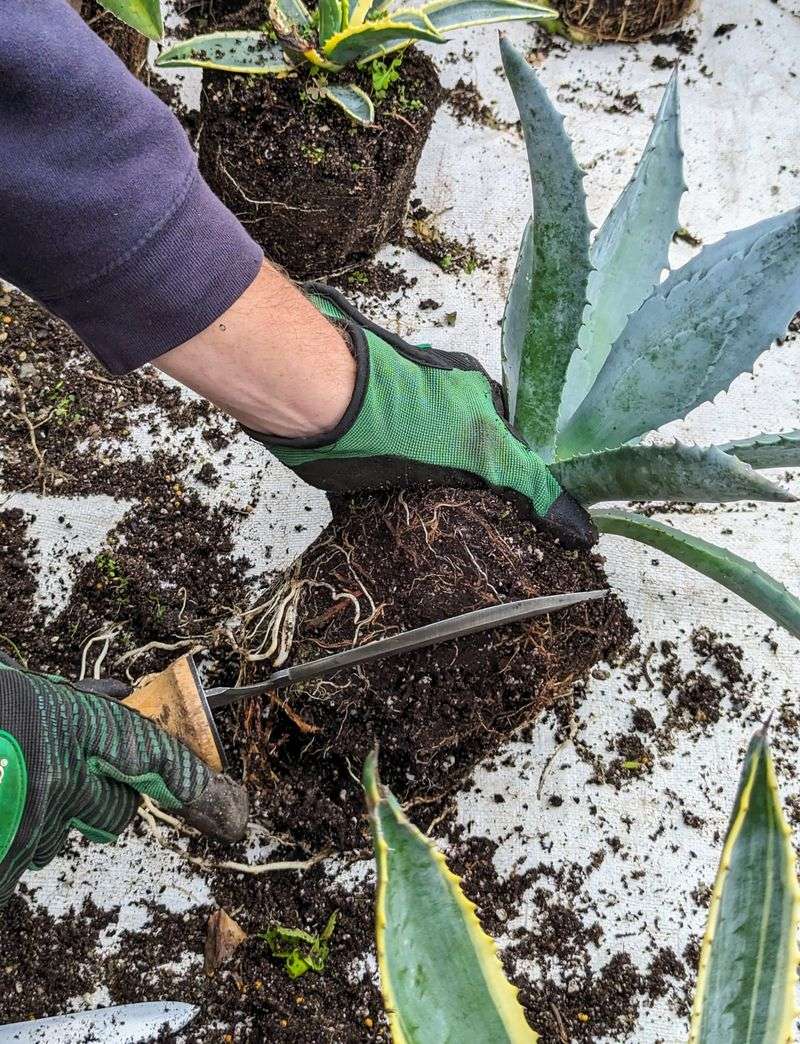
A ragged cut causes more damage than most gardeners expect. Torn tissue takes longer to callus and creates a larger entry point for rot.
Sharp tools make a cleaner separation. A sturdy knife with a firm blade works well for most agave pups.
Pruning saws work better for larger, more established pups with thick bases.
Before cutting, wipe the blade with a clean cloth. Removing soil and plant residue from the blade reduces the chance of transferring bacteria or fungal spores from one cut to another.
Angle the cut slightly if possible. A slightly angled surface sheds moisture more easily than a flat horizontal cut, which can help during monsoon season when humidity rises.
Cut as close to the parent plant as practical without leaving a jagged stub. Stubs can hold moisture and become a problem area over time.
One clean pass is better than multiple partial cuts. Hesitant or repeated sawing motions tend to fray the tissue rather than slice through it smoothly.
After cutting, set the tool aside and inspect the base of the pup. A smooth, slightly concave surface is what you are aiming for.
Rough edges can be trimmed gently if needed before the callusing process begins.
4. Let The Cut End Dry Before Replanting
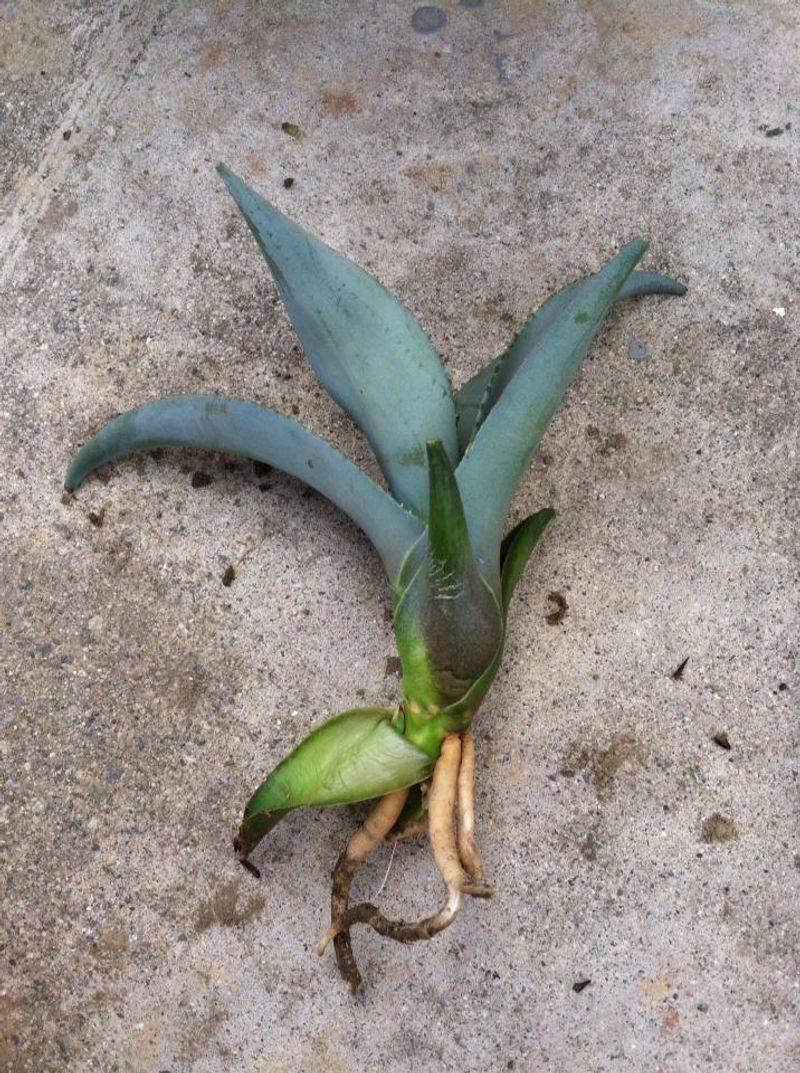
Skipping the drying step is one of the most common mistakes gardeners make after dividing agave pups. Planting too soon invites rot at the cut surface.
After separation, set each pup in a shaded, dry spot. A covered porch or shaded bench works fine.
Keep them off the ground and away from standing moisture.
Callusing is the process where the cut tissue firms up and forms a dry, protective layer. In warm, dry desert air, this can take anywhere from two to five days depending on humidity levels.
August monsoon conditions can slow callusing slightly. If humidity is high, allow a few extra days before planting.
The surface should look dry and slightly hardened, not moist or soft.
Do not place freshly cut pups in direct afternoon sun during callusing. Intense heat can stress the tissue before it has a chance to firm up properly.
Laying pups on their sides works well. Air circulates around the cut end more evenly than if the pup is propped upright on a surface.
Once callused, the pup is far better prepared to handle contact with soil. A properly sealed cut surface reduces the chance of moisture-related problems during the first weeks after planting.
5. Place Each Pup In Fast-Draining Soil
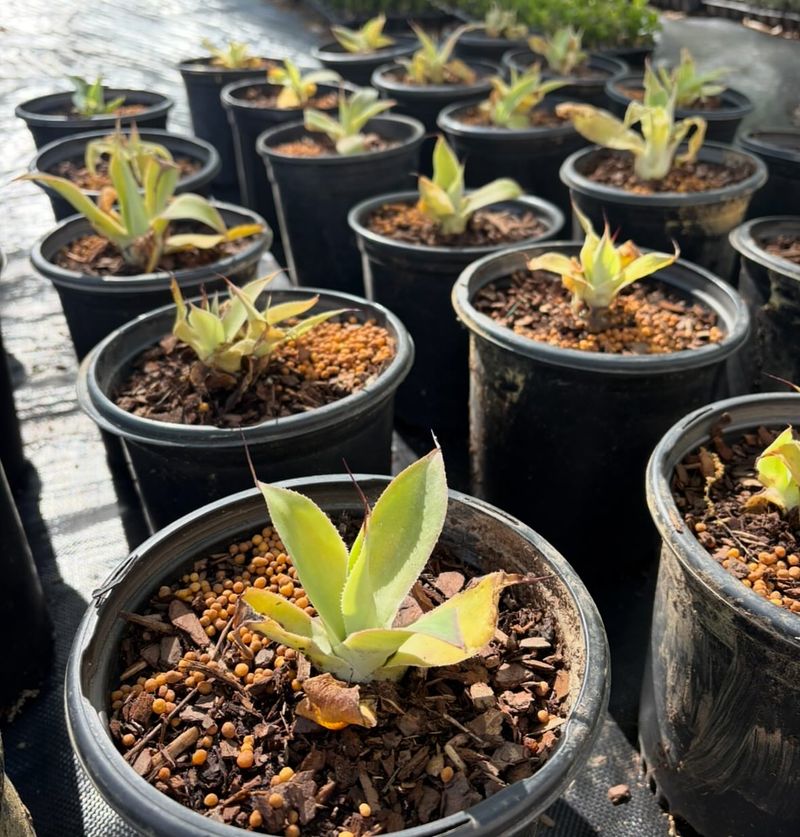
Agave roots cannot tolerate sitting in wet soil. Even healthy pups can struggle quickly if the ground around them holds moisture for too long.
Fast-draining soil is a non-negotiable requirement for agave. A mix of native soil with coarse sand or decomposed granite works well in most desert Southwest gardens.
Pre-mixed cactus and succulent blends from garden centers are another practical option.
Avoid heavy clay or compacted ground. Water pools in those areas after monsoon rains, which puts the pup’s base at risk during August’s wetter stretches.
Raised beds and sloped garden areas naturally drain faster than flat ground. If your yard has low spots that collect water, those locations are not ideal for newly planted pups.
Planting depth matters too. Set the pup so the base sits just at or slightly above the soil surface.
Burying it too deep traps moisture around the tissue that needs to stay dry.
Gravel mulch around the base can help. A thin layer of pea gravel or decomposed granite keeps the area around the stem drier and reduces direct soil contact after rain.
Checking drainage before you plant saves effort later. Pour a small amount of water into the planting hole and watch how quickly it absorbs.
Slow drainage is a clear sign the spot needs amendment before planting.
6. Water Only After The Cut Has Callused
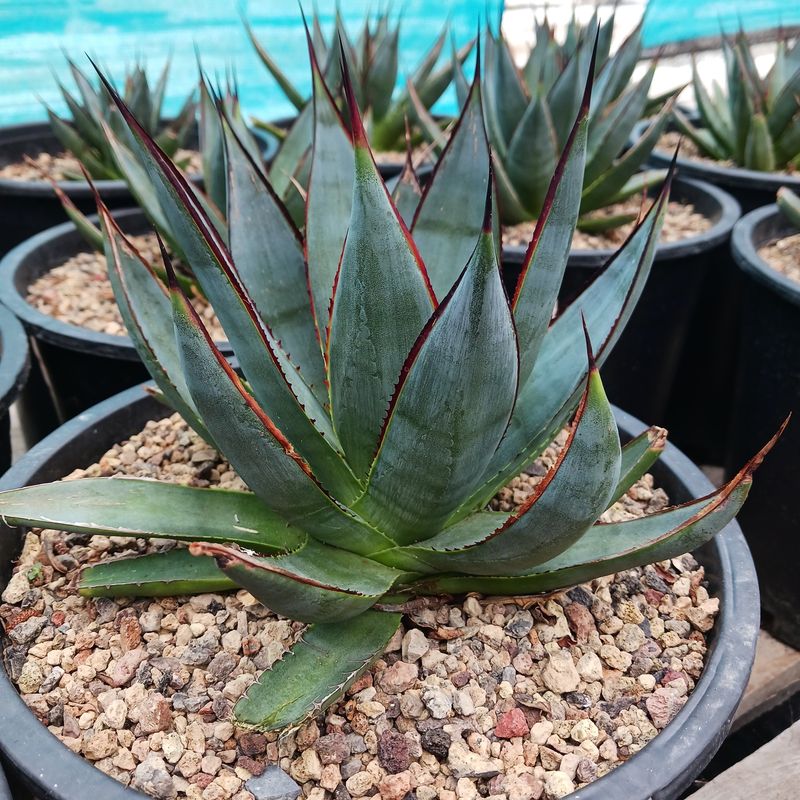
Watering too early is a reliable way to cause problems. Moisture introduced before the cut surface has sealed creates conditions where rot can develop fast.
Wait until the pup shows a clearly callused base before giving it any water. In dry Arizona conditions, that typically means waiting at least three to five days after separation.
Once planted, hold off on the first watering for another day or two. Letting the pup settle into dry soil first allows the roots to begin searching for moisture on their own terms.
When you do water, keep it light. A slow, deep soak is better than frequent shallow sprinkles.
Agave roots respond well to infrequent but thorough watering cycles.
August monsoon rain can complicate this. If heavy rain hits shortly after planting, make sure the drainage around the pup is working properly.
Standing water is more of a concern than the rain itself.
After the first few weeks, reduce watering frequency. Agave is naturally adapted to dry conditions and does not need regular irrigation once it begins to establish.
Overwatering a newly planted pup is a harder problem to fix than underwatering. When in doubt, wait an extra day or two before adding more moisture.
The plant is more resilient than it looks.
7. Leave Enough Space For Future Growth
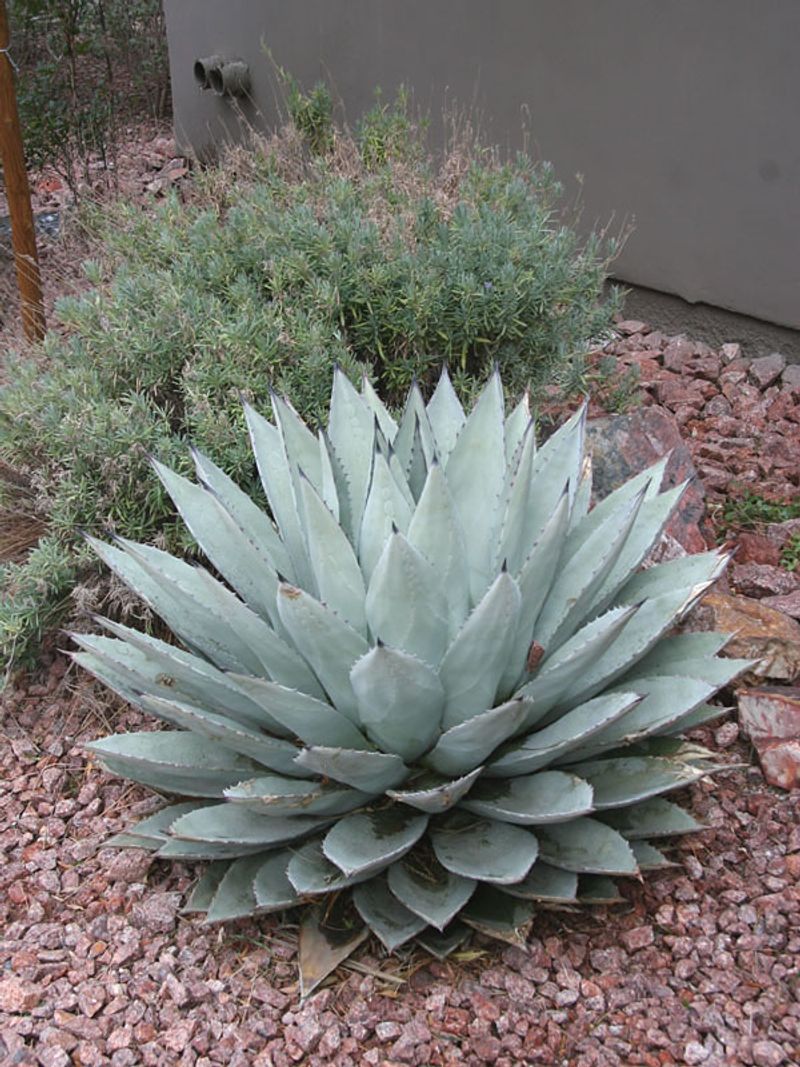
Agave plants get bigger than most people expect. A pup that fits in your palm today can spread several feet wide within a few years under the right conditions.
Spacing matters from the start. Planting pups too close together creates competition for soil resources and makes it harder to manage each plant as it matures.
Most medium-sized agave species need at least four to six feet of space between plants. Larger varieties may need even more.
Check the expected mature size of your specific variety before choosing a planting location.
Crowded agave plants are also harder to work around safely. Agave leaves have sharp tips, and navigating between tightly packed plants becomes a real challenge over time.
Consider what is nearby. Agave pups planted close to walkways, fences, or other structures may eventually grow into them.
Giving extra clearance now prevents problems later.
Spacing also affects air circulation. Plants with room to breathe tend to dry out more evenly after rain, which supports better overall health in humid monsoon conditions.
Take a few minutes to mark out spacing before planting. A simple stake or marker in the soil helps you visualize how much room each pup will actually need.
Adjusting placement now is far easier than relocating a mature plant later.