What Oregon Gardeners Should Do When Mulch Starts Pulling Away From Plant Crowns
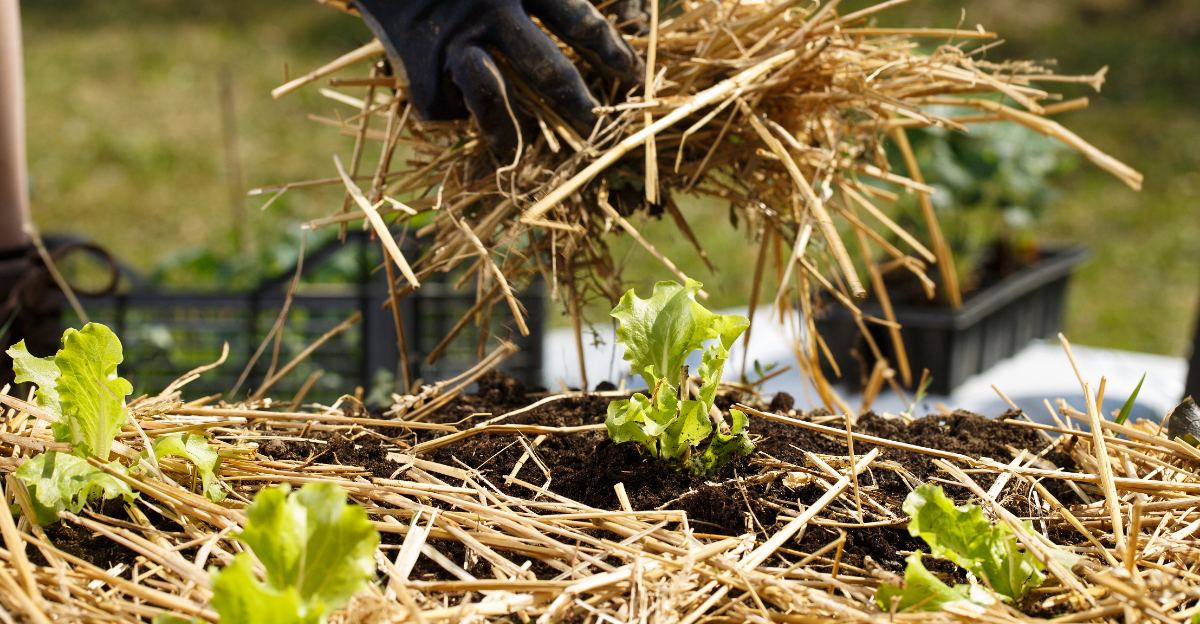
Your morning walk through the garden usually feels peaceful, until it doesn’t. One glance at your favorite bed and you spot it: bare soil ringing the crown, mulch scattered like it packed up and left overnight.
For Oregon gardeners, that gap isn’t just an eyesore. Exposed crowns swing wildly in temperature, draw in curious pests, and throw the whole moisture balance out of rhythm, right when your plants can least afford it.
Maybe a downpour did it. Maybe wind pushed it around while you slept, or it simply drifted with time, the way mulch tends to do. The cause matters less than the fix, and the fix matters more the longer you wait.
Here are eight practical steps to put that mulch back where it belongs, and keep your Oregon garden steady through whatever the seasons bring next.
1. Check The Crown For Rot Or Pest Damage First
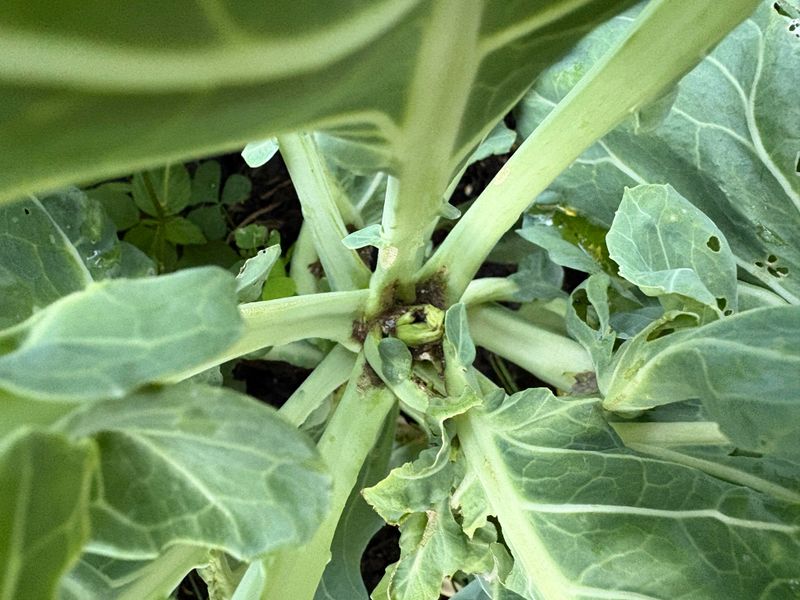
Before you touch a single piece of mulch, get down close and look at the crown. Exposed crowns are an open invitation for trouble, and problems hide fast under loose debris.
Rot shows up as soft, discolored tissue right at the soil line. Gently press the base of the stem with your fingertip to feel for mushiness or sliminess.
Pest damage looks different. Watch for tiny holes, webbing, sawdust-like frass, or tunneling in the lower stem tissue.
Slugs are especially common in wet Oregon conditions. Check for silvery slime trails near the crown, particularly in the early morning.
Root weevils are another local troublemaker worth watching for. Their larvae feed underground, but adult feeding notches on leaf edges are a reliable tip-off.
If you spot rot, do not re-mulch yet. Let the area dry out, remove damaged tissue carefully, and treat with a copper-based fungicide if needed.
Pest damage calls for targeted action before coverage is restored. Skipping this step means trapping active problems under a fresh layer of material.
Healthy crowns look firm, green or tan, and free of soft spots. Once you confirm the crown is clean, you are ready to move forward with confidence.
Taking five minutes to inspect now saves hours of troubleshooting later. A healthy start is what makes every other step on this list actually work.
2. Rake Loose Mulch Back Into Place By Hand

Mulch shifting away from plant crowns is one of those problems that looks worse than it is. Most of the time, the material has simply migrated a few inches and just needs to be guided back.
Start by using your hands instead of a metal rake. Metal tines can nick roots and disturb shallow feeder roots that sit just below the surface.
A small hand rake or a gloved palm works perfectly for this job. Work in slow, circular motions from the outer edge inward toward the base of the plant.
Avoid dragging mulch across bare soil aggressively. Rough movement compacts the top layer and breaks down the structure of finer materials like bark dust or compost.
As you work, fluff the mulch gently. Packed-down layers lose their insulating and moisture-holding benefits, so loosening them restores function while you reposition the coverage.
Your Oregon Garden Changes Every Week. Your Plan Should Too.
Gardening in Oregon changes quickly throughout the season. Every Friday you’ll receive a simple weekly plan showing exactly what to plant, prune, fertilize, harvest, and protect so you never miss the right timing.
Keep an eye out for buried weed seeds while you rake. Disturbing the soil surface can trigger germination, so try to minimize soil exposure as much as possible.
Once the mulch is back near the crown, smooth it out evenly. Aim for a consistent depth of two to three inches across the entire root zone.
Step back and take a look at the whole bed when you finish. Uneven spots are easy to miss up close but obvious from a few feet away.
A well-raked bed does more than look tidy. It actually performs better at every job mulch is supposed to do.
3. Add A Fresh Layer Where Coverage Has Thinned

Thin spots in your mulch bed are like gaps in a winter coat. The protection is still there, but not where you need it most.
After raking existing material back into place, assess the depth. If any area measures less than two inches, it needs a top-up before the season moves forward.
Grab a bag of the same material you already have, if possible. Mixing bark dust with wood chips or straw with shredded leaves creates inconsistent texture and uneven drainage.
Consistency matters for both function and appearance. Matching materials blend seamlessly and maintain the same moisture retention and temperature buffering properties throughout the bed.
Pour fresh mulch a few inches away from the crown and spread outward. Avoid dumping a pile directly on top of the plant base, even when coverage looks thin there.
Work the new layer in gently with your hands or a wide plastic rake. The goal is an even, two-to-three-inch blanket that covers the full root zone without mounding.
For larger beds, a wheelbarrow makes the job faster and easier on your back. Load it up, park it close, and work in small scoops rather than heavy dumps.
Fresh mulch also brings a bonus: it suppresses new weed growth before seeds get a foothold. A timely top-up now saves serious weeding time later in the season.
Think of this step as preventive care. A well-covered root zone handles Oregon rain, wind, and cold far better than a patchy one ever could.
4. Switch To A Material That Resists Shifting

Not all mulch behaves the same way when rain hits or wind picks up. Some materials are practically designed to drift, and swapping them out is sometimes the smartest fix.
Lightweight materials like straw, dried leaves, and fine bark dust are the biggest offenders. A single heavy downpour can send them sliding several inches in any direction.
Heavier alternatives hold their ground much better. Shredded hardwood bark, wood chips, and even coarse gravel stay put through most Oregon weather events.
Shredded hardwood is a favorite for perennial beds. Its irregular texture causes pieces to interlock slightly, which prevents the mass movement that smoother materials experience.
Wood chips from a local arborist are another excellent option. They are chunky, heavy, and break down slowly, which means fewer top-ups over the course of a season.
For slopes or areas with serious runoff problems, consider coarse gravel or crushed rock. These materials do not decompose, but they anchor the soil surface and eliminate shifting almost entirely.
Gravel does have a trade-off: it does not add organic matter to the soil as it breaks down. Use it in areas where aesthetics and stability matter more than soil enrichment.
Before switching materials entirely, remove as much of the old layer as possible. Layering incompatible materials creates drainage problems and uneven decomposition over time.
Choosing the right mulch for your specific conditions is one of the highest-impact decisions you can make. The best mulch is the one that actually stays where you put it.
5. Build A Slight Slope To Stop Future Runoff
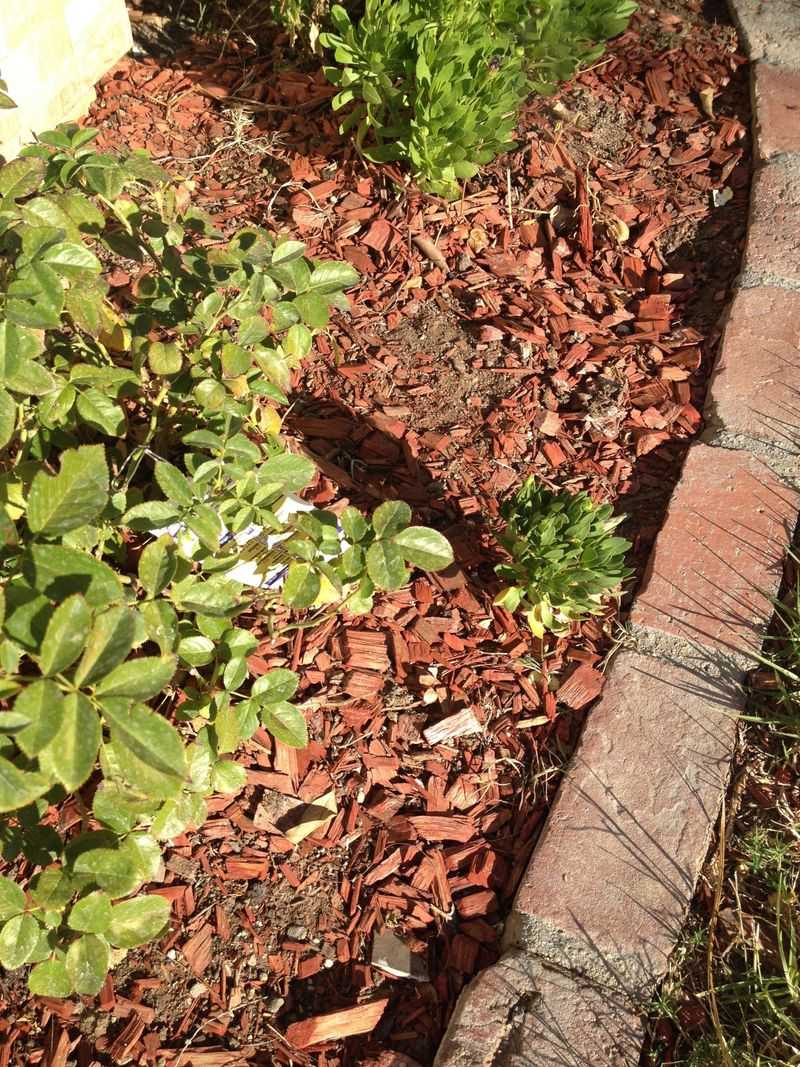
Water is the main reason mulch migrates in Oregon gardens. Rain hits hard and fast here, and flat mulch beds just cannot handle the volume without shifting.
The fix is simple but surprisingly effective. Grade your mulch so it slopes gently away from the plant crown rather than sitting perfectly level.
Even a subtle slope of one to two inches over twelve inches of distance makes a real difference. That gentle grade redirects water outward instead of letting it pool and push material around.
Start by mounding mulch slightly higher about six inches out from the crown. Then taper it downward as you move toward the outer edge of the bed.
Do not build a volcano shape around the stem. A raised ring around the crown creates a water trap that holds moisture right against the tissue you are trying to protect.
The goal is a wide, shallow dome centered on the plant with no raised collar touching the base. This shape sheds water naturally while keeping the root zone covered evenly.
Use a hand trowel to shape and smooth as you go. Small adjustments are easier to make with a narrow tool than with a wide rake.
Check your slope after the next rain to see how well it performed. Adjust any spots where water pooled or where mulch moved more than an inch or two.
Shaping your mulch bed like this is a one-time investment that pays off every wet season. Gravity becomes your ally instead of your enemy.
6. Avoid Piling Mulch Directly Against The Stem
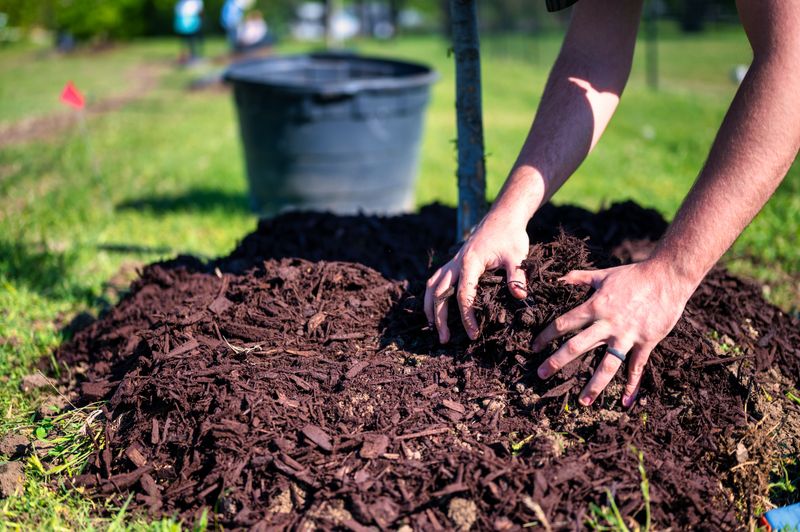
Mulch volcanoes are a common mistake in Oregon gardens, and they cause real harm. Piling material directly against a stem traps moisture and creates the perfect conditions for fungal problems.
Even if the mulch looks dry on top, the area pressed against the stem stays damp. That constant moisture softens bark and tissue, opening the door to infection and decay.
The rule of thumb is simple: keep mulch at least two to three inches away from any stem or trunk. That small gap allows airflow and lets the crown stay dry between rains.
When mulch pulls away from crowns, Oregon gardeners often overcompensate by piling it back up too close. Resist that urge, even when bare soil around the stem looks alarming.
Bare soil right at the crown is actually preferable to packed mulch pressed against living tissue. Air circulation at the base is more valuable than coverage in that tight spot.
For shrubs and small trees, the gap should be even wider. Aim for four to six inches of clear space around woody stems before mulch begins.
Pull existing mulch back if it is already touching stems. Use a gloved hand or a narrow trowel to create that essential buffer zone without disturbing roots.
Check this gap every time you top up or reposition material. It is the easiest thing to overlook and one of the most important details to get right consistently.
Proper spacing is not just technique. It is one of the most protective habits any gardener can build into their regular routine.
7. Water Deeply Before Replacing Any Disturbed Mulch

Dry soil under disturbed mulch is a missed opportunity you do not want to skip past. When the protective layer shifts, soil can dry out surprisingly fast, even in a rainy climate.
Before you replace or reposition any mulch, give the root zone a deep, slow drink. Watering now locks in moisture that the mulch will then help preserve once it is back in place.
Shallow watering does not cut it here. The goal is to push water eight to twelve inches down into the soil where feeder roots are actively working.
A soaker hose or a slow trickle from a regular hose works best. Let it run for twenty to thirty minutes to ensure genuine penetration rather than surface dampness.
Avoid using a high-pressure spray setting. Forceful water disturbs soil structure and can splash pathogens up onto lower stems and foliage.
After watering, wait fifteen to twenty minutes before spreading new mulch. This short pause lets surface water absorb fully so you are not trapping puddles under the coverage layer.
Touch the soil surface before you begin. It should feel moist but not muddy, firm but not crusted, and cool to the touch even on a warm afternoon.
Watering before mulching also helps the material settle into position more naturally. Dry mulch on dry soil tends to shift again quickly with the next breeze or light rain.
This one extra step sets your whole mulch repair job up for long-term success. Moisture below the mulch is what makes the mulch actually worth having.
8. Recheck After Heavy Rain Or Freeze Thaw Cycles
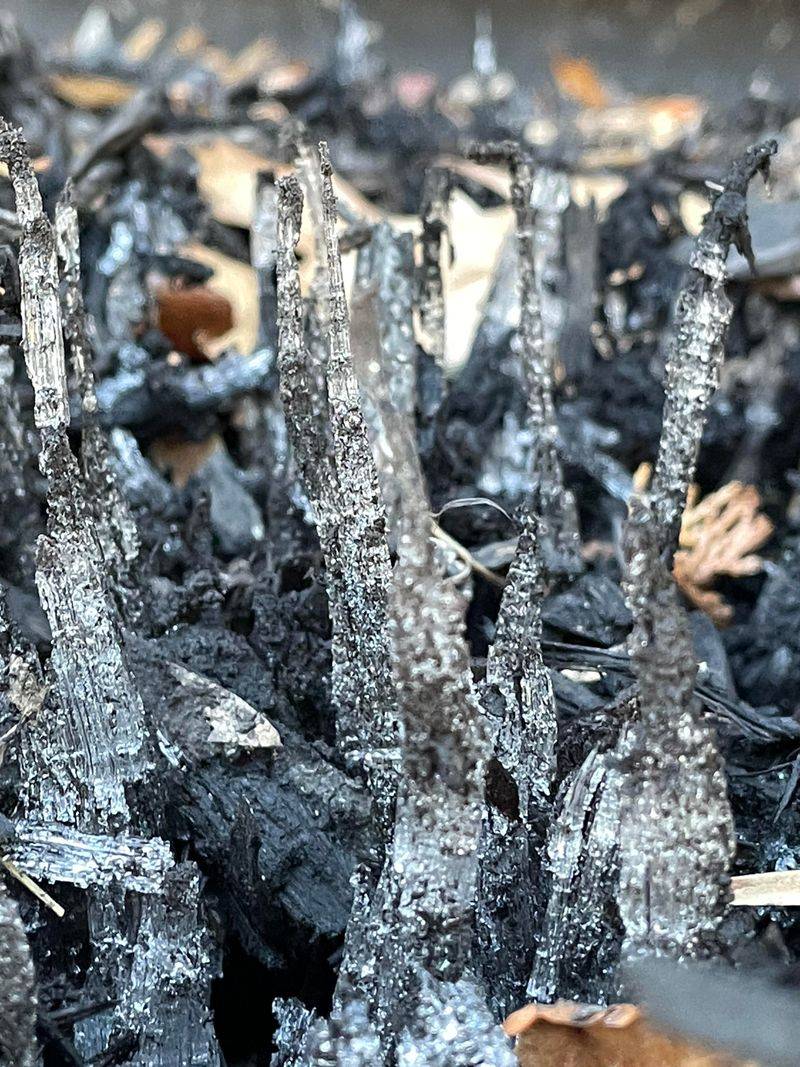
Fixing mulch once is not enough in an Oregon garden. Rain, wind, and freeze-thaw cycles will test your work repeatedly throughout the year.
Make it a habit to walk your beds after every major weather event. A quick five-minute check after heavy rain can catch shifting mulch before it becomes a bigger problem.
Freeze-thaw cycles are especially disruptive in late fall and early spring. Soil expands as it freezes and contracts as it thaws, and that movement pushes mulch outward from the crown.
After a freeze event, look for mulch that has heaved or tilted away from the base. Even material that looked perfect before a cold snap can shift several inches overnight.
Winter is when plant crowns are most vulnerable to exposure. Bare crowns in January face frost, wind, and fluctuating temperatures with no buffer at all.
Keep a small bag of extra mulch in your shed or garage during the colder months. Quick top-ups after storms are much easier when supplies are already close at hand.
Spring is another high-risk season for mulch displacement. Snowmelt and early rains create fast runoff that can strip coverage from crowns just as new growth is starting.
Set a simple seasonal reminder to inspect your beds in October, January, and March. Those three checkpoints cover the highest-risk periods for mulch movement in Oregon.
Staying consistent with rechecks is what separates a thriving garden from a struggling one. When mulch starts pulling away from plant crowns, catching it early is your best move.